This post was sponsored by Simon Says Stamp. Thanks, Simon!
Hi friends! I am back today with some projects featuring a brand new, limited edition Halloween Treats Card Kit from Simon Says Stamp! This card kit is absolutely jam-packed with fantastic goodies for your fall and Halloween cardmaking. Here’s a sneak peek:

The individual elements of the Halloween Treats card kit are valued well over $100, but you can purchase all of these fantastic pieces as a bundle for only $59.99! What an amazing bargain, right? I have three projects to share with you today that use tons of the different elements included in the kit, so let’s get started with the details!

I am not normally huge on patterned paper, preferring instead to stamp my own with my selected color palette, but the Halloween Treats card kit comes with an adorable paper pad filled with super handy individual images, delicately-patterned papers, and a pretty color palette that is not too spooky! I made good use of the patterned papers, using them as accents and as focal points for all three of my projects.
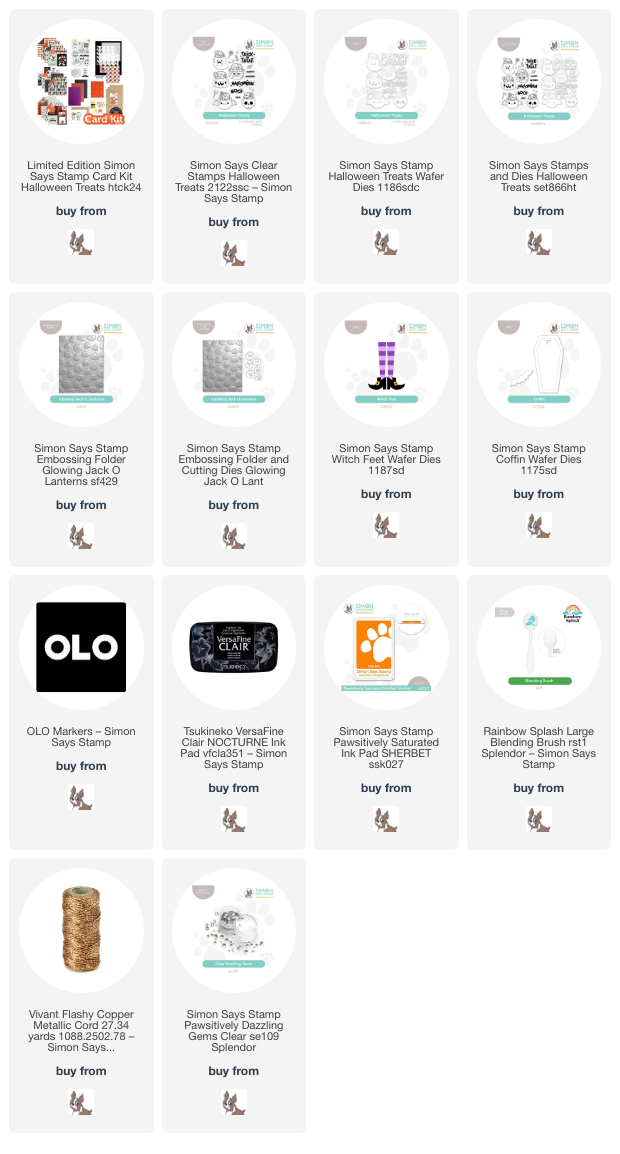
*I have linked all of the products used at the bottom of the post for your convenience using affiliate links. Thank you for shopping with my links! I truly appreciate your support for my work!*

My first project features a sentiment panel that I trimmed from the paper pad included in the kit. I trimmed it down using my trimmer, then used a blending brush with Sherbet Pawsitively Saturated ink to blend a bit of interest around the edges of the printed piece. I think those little witch feet for the two letter L’s are so darn cute, so I used the Witch Feet Wafer Dies included with the Halloween Treats card kit with some black cardstock and orange glitter paper to create some of my own! I also die cut three of the little bats in the included Coffin Wafer Die set from some more black cardstock to pull more imagery from the printed panel.

For the background, I trimmed a panel of bright orange cardstock down to 3.5″ x 5.5″ and ran it through my die cutting machine using the Glowing Jack O’Lanterns embossing folder included in the Halloween Treats card kit, again blending around the edges with Sherbet ink to add some more dimension and interest. I paired this textured patterned panel with some of the delicately dotted patterned paper included in the kit, breaking up the two patterns with a thin strip of black cardstock. I popped up the sentiment panel, witch feet, and bats with some foam adhesive, creating a fun and festive Halloween card!

For my second project, I paired the patterned papers with the adorable stamp set included in the Halloween Treats card kit. I stamped the pumpkin candy bucket, sentiment, and some individual sweets from the Halloween Treats stamp set using black pigment ink, then embossed with clear embossing powder to create super crisp and detailed lines before using OLO markers to color the images. After I had finished coloring everything, I used my sharp scissors to cut the images out, but you could of course purchase the coordinating dies (not included with the kit) to make quick work of that!

I pulled another of the delicate patterned papers from the paper pad included with the kit, this time with a bolder, more graphic diamond pattern in black, white, and orange. I cut it down to A2 size, then added some strips of orange glitter paper and black glossy cardstock. I also trimmed down a panel of vellum upon which I built my Halloween candy scene, adhering everything with liquid and foam adhesive, then flipping the vellum panel over and adding my foam adhesive behind the solid die cuts and adding it to the patterned paper card front. Finally, I added a few Clear Pawsitively Dazzling Gems for added sparkle!

Finally, I created this adorable little treat bag using the patterned paper and brown paper sacks included with the Halloween Treats card kit. I cut more of the sweet polka dot patterned paper down to fit the front of the paper bag, accenting it with one of the pre-printed cards that I matted with black cardstock. I adhered the sentiment to the card front and folded over the top of the bag twice. I then used a hole punch to punch some holes through the folded area and closed it up with some sparkling coppery twine from my stash. How adorable is this? It would be so cute filled with Halloween treats for a teacher or a little one!
Well, that’s all for my projects today! The Halloween Treats card kit is limited edition, so once it sells out, it won’t be restocked as a kit. Luckily, if you miss out, you can still purchase most of the individual elements of the kit, as they will be added to the Simon store in the regular product lineup. Awesome, right? Thanks so much for stopping by today, and have a marvelous day!
Leave a Reply