This post was sponsored by Simon Says Stamp. Thanks, Simon!
Hi friends! For today’s projects, I took a bit of a departure from my more typical holiday projects to use some really modern imagery and color palettes with new items from the Simon Says Stamp Sweet Wishes release from earlier this month. One of my favorite things about working with a new release is that it pushes me outside of my typical comfort zone; I tend to gravitate towards classic, feminine imagery and color palettes as a general rule, but sometimes it’s fun to try something new and stretch my creative legs a bit. The new Stylized Tree die inspired me to create two different cards using a very vivid and unique holiday color palette. Let’s get started with the details!
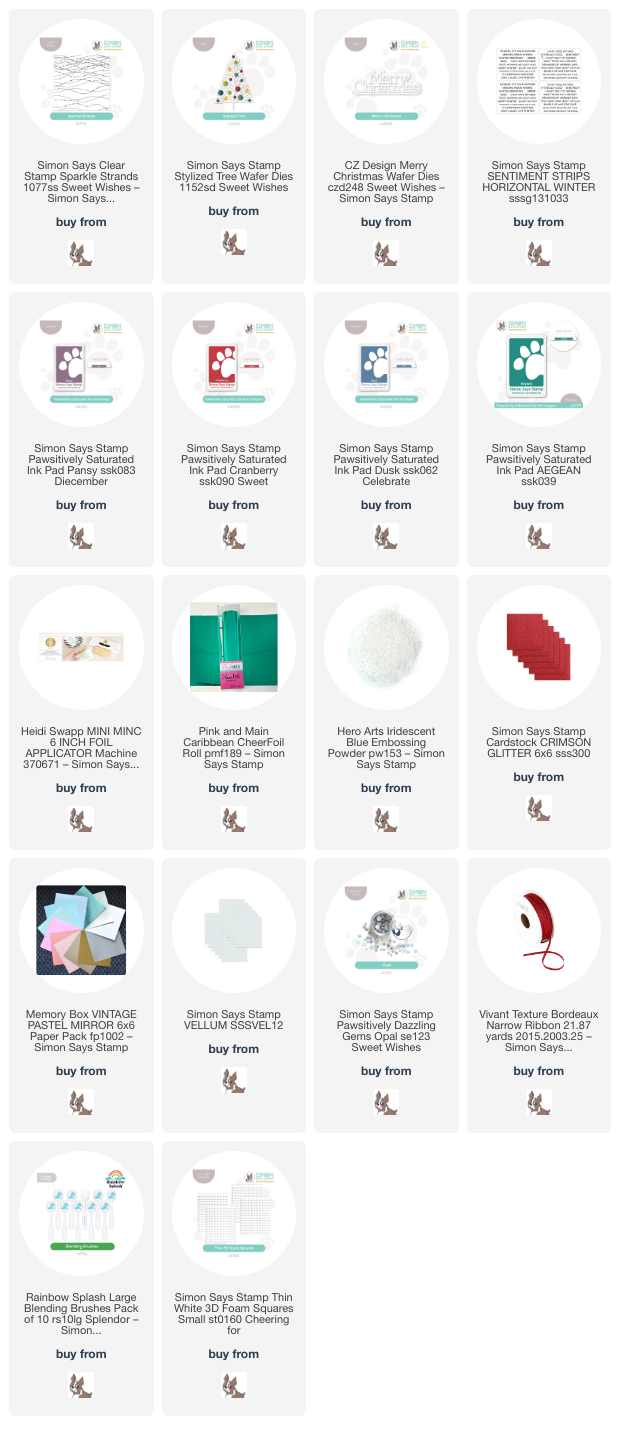
*I have linked all of the products used at the bottom of the post for your convenience using affiliate links. Thank you for shopping with my links! I truly appreciate your support for my work!*

I have really been enjoying unusual holiday ombré color palettes lately, and while I always have lots of room for red and green in my creative conscious, I find myself reaching for unique colors to make these cards stand out amongst the more expected holiday projects. For both of my cards today, I used Aegean, Dusk, Pansy, and Cranberry Pawsitively Saturated Inks to create a vibrant and unique color scheme.

To begin my first card, I heat embossed the new Sparkle Strands clear background stamp onto an A2 panel of white cardstock using Iridescent Blue embossing powder. I then used blending brushes to blend Pawsitively Saturated Inks in shades of Aegean, Dusk, Pansy, and Cranberry to create a unique muted partial rainbow. The Cranberry and Aegean inks at the top and bottom really reinforce the holiday theme while the Dusk and Pansy in the middle help keep things super interesting! After I had finished blending, I trimmed 1/2″ from the long edges of the blended panel and tucked some Crimson glitter cardstock on either side to create a full size A2 card front.

After I had created the background, I die cut the new Stylized Tree die from some white mirror cardstock, as well as the ornaments from some scraps of glitter cardstock that I had lying on my desk. (There’s a reason I save my scraps!!) I also hot foiled a sentiment from the previously released Sentiment Strips Horizontal Winter which I added some beautiful teal shine to using Caribbean Cheerfoil and my Minc machine. I popped up the sentiment with some foam adhesive squares, then added a few Opal Pawsitively Dazzling Gems to the tree to add even more shine and texture. Finally, I added a delicate bow to the top of the tree created using Vivant Bordeaux thin ribbon.

For my second card, I wanted to use the same vibrant colors while creating a more simplistic and definitely modern feel that worked beautifully with the Stylized Tree die cut. I used residual ink left on my ink brushes from the previous card to blend a Christmas tree “glow” on my white card front. Using the residual ink without reloading my brushes helps to keep the colors muted and definitely conveys the idea of glowing Christmas lights! After blending, I splattered the background with some sparkling handmade glitter watercolors and set it aside to dry.

After I had created my background, I die cut the Stylized Tree from the center of an A2 panel of teal mirror cardstock. I trimmed my blended, splattered panel down 1/4″ on all sides and mounted it in the center of the teal mirror panel, leaving a shining border around the edges of the card. I adhered the die cut tree to the blended area using liquid adhesive to create a flat and easily mailed surface. I die cut the new Merry Christmas die from some more Crimson glitter cardstock, backing the glitter detail layer with a vellum shadow layer and popping the entire piece up with some very thin strips of foam adhesive. I added a few Opal Pawsitively Dazzling Gems “ornaments” and another bow created from Vivant Bordeaux thin ribbon to finish the project off!
Well, that’s all for my projects today. I so enjoy trying new styles and color palettes; how perfect would these cards be for a masculine recipient? No frills, just some sparkle and a bow, which I think are fairly unavoidable during the holidays. I have lots more inspiration to share, so be sure to come back soon! Thanks so much for stopping by today, and have a marvelous day!
Leave a Reply