This post was sponsored by Simon Says Stamp. Thanks, Simon!
Hi friends! I have a color saturated card today featuring one of my all-time favorite colors: turquoise! I can’t get enough of this color in all of its shades, so I decided to do a “color wash” card (it’s a home decor trend that I adore!) with some of the new goodies from the Simon Says Stamp Moments in Time release. Let’s get started with the details!
*I have gathered links to all of the products used at the bottom of the post for your convenience, using affiliate links. Thank you for shopping with my links! I truly appreciate your support for my work!*

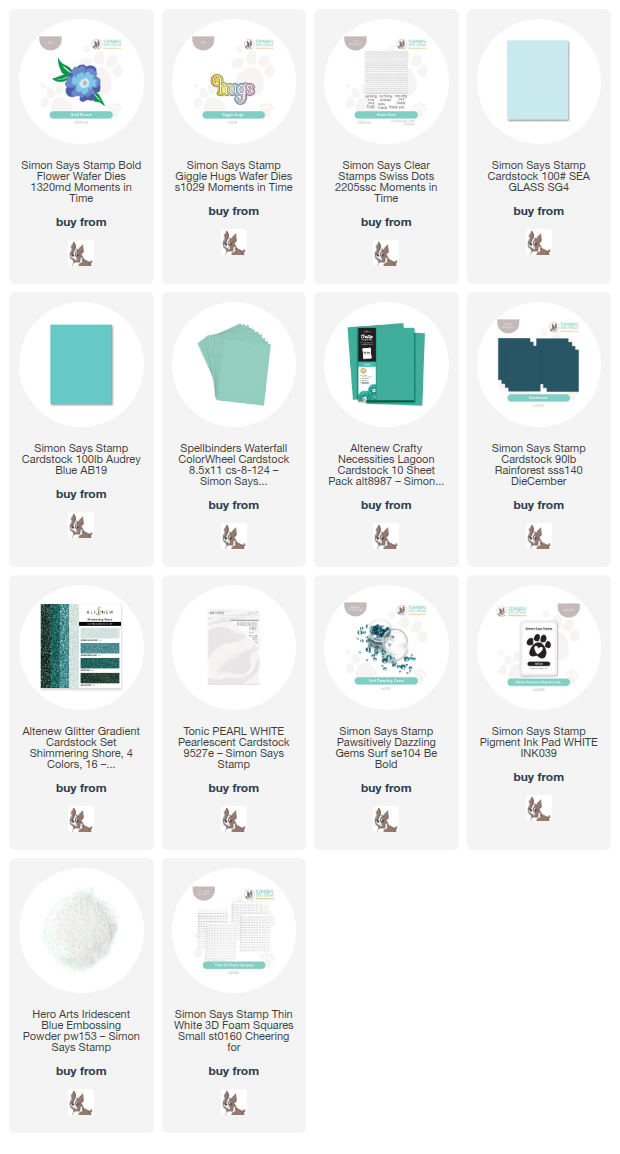
I knew that I wanted to create a chunky, modern, floral background using the new Bold Flower die set, so I die cut the components multiple times from Simon Says Stamp Audrey Blue & Sea Glass Cardstock as well as Spellbinders Waterfall cardstock and some sparkling deep teal glitter from Altenew. I assembled all of the flowers using thin foam adhesive squares to add plenty of dimension between the large layers. I also die cut the leaves from Simon Says Stamp Rainforest Cardstock.

For the background, I decided to add some subtle texture behind the florals using the new Swiss Dots background stamp. I stamped an entire panel of Altenew’s Lagoon cardstock using Simon Says Stamp’s White Pigment Ink, then added some Iridescent Blue embossing powder to add subtle shimmer. The opaque white ink stands out nicely on the vivid turquoise cardstock, and the addition of the shimmery embossing powder takes it up another notch! I love the combination of the white pigment with the iridescent embossing powders on colored cardstock.

For the greeting, I kept things simple with a layered Giggle Hugs die cut, cutting the detail layer from pearlescent white cardstock and the shadow from more deep teal glitter cardstock. I arranged the flowers and foliage over the polka-dotted background, adhering them with more thin foam adhesive squares, tucking the foliage beneath and adhering with liquid adhesive to create a variety of heights. I adhered the “hugs” greeting with a double layer of foam adhesive so that it stood out amongst the saturated background. Finally, I added some Surf Pawsitively Dazzling Gems for added sparkle!
Well, that’s all for my project today! I love creating custom patterns and backgrounds with stamps and dies, making them my own with my personal color palette preferences. I encourage you to do the same! Thanks so much for stopping by today, and have a marvelous day!
Leave a Reply