This post was sponsored by Simon Says Stamp. Thanks, Simon!
Hi friends! I have a super colorful project to share with you today featuring white cardstock, dies, and ink… that’s basically it! I love the magical transformation that can happen with white cardstock die cuts, applying your favorite coloring medium to them, whether it’s ink blending, watercolor, alcohol markers, or whatever your heart desires. For today’s project, I blended my little heart out, selecting a vibrant pastel rainbow of inks from multiple companies to add beautiful and soft colors to these plain die cuts. Let’s get started with the details!
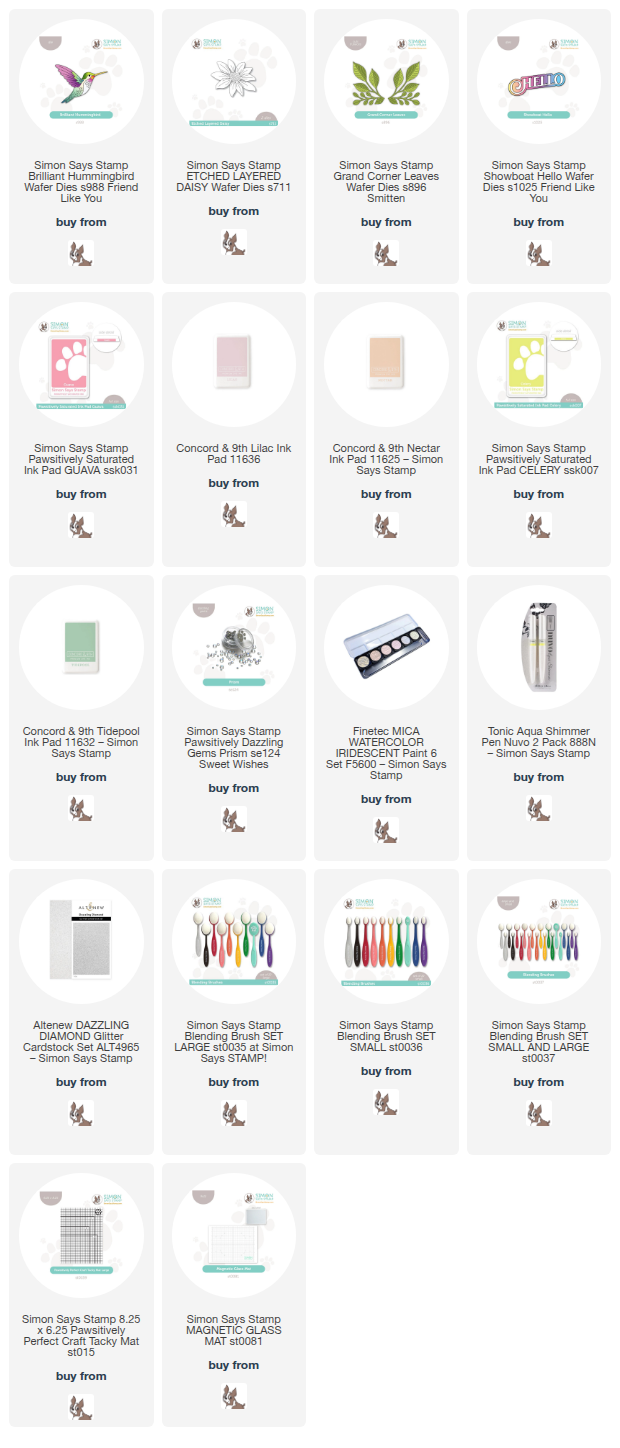
*I have gathered links to all of the products used at the bottom of the post for your convenience, using affiliate links. Thank you for shopping with my links! I truly appreciate your support for my work!*

I began my project by die cutting Brilliant Hummingbird, Grand Corner Leaves and Etched Layered Daisy dies, all from Simon Says Stamp. I selected the following inks for blending: Pawsitively Saturated Ink Guava, Concord and 9th Lilac, Concord and 9th Nectar, Pawsitively Saturated Ink Celery, and Concord and 9th Tidepool. I softly blended a diagonal rainbow on a plain A2 card front using blending brushes, keeping my pressure minimal so as to create a very subtle and lovely pastel rainbow background that I think looks almost iridescent! I splattered the background with some shimmering glitter watercolors, almost giving the effect of sparkling raindrops in front of my rainbow!

After I had created my background, I set my sights to adding color to the beautifully detailed die cuts. I used the same shades of ink that I used to create the background to add lots of soft color to each die cut, adding multiple layers of color to each to create lots of visual interest on each image and create distinction between them. The Simon Says Stamp Craft Tacky Mat is an amazing tool to help keep your die cuts in place while blending; I keep one attached to a glass craft mat on my desk at all times so that I can easily grab it for stenciling or blending on die cuts! Once I had finished adding color to my cardstock pieces, I adhered the pieces together using liquid adhesive, then added some sparkle to the hummingbird with a shimmer pen, further enhancing the iridescent effect on these delicate, lovely birds!

After I had finished customizing and assembling all of the die cut pieces, I arranged the flowers and foliage on my rainbow card front, adhering them with a mixture of liquid and foam adhesive for tons of added dimension. For a simple greeting, I die cut the detail layer of the new Showboat Hello from white glitter cardstock, then added a shadow cut from some iridescent mylar cardstock that I found my stash. I popped the greeting die cut up with some more foam adhesive, tucking it in a bare spot in the arrangement of die cuts, and finally added some sparkling Prism Pawsitively Dazzling Gems to complete the overall iridescent effect!
Well, that’s all for my projec today. I have some super fun Christmas in July projects planned next, a huge departure from today’s project, so I hope you will come back to check those out! Thanks so much for stopping by today, and have a marvelous day!
so beautiful. one of the most beautiful cards I have ever seen. thanks for sharing. Do you have a UTube tutorial for this? Thanks
I do not, I’m sorry! I tried to give detailed written instructions. I’m so glad that you liked the card! Thanks for visiting my blog!
Emily, a stunning card. It grabbed by eye right from the start. Thanks for sharing!
Wow!!! Soooo Beautiful!!!!