Hi friends! I am back again with another STAMPtember collaboration project! Today, we’re introducing the exclusive, limited editon Penny Black STAMPtember Collaboration Set: Bright and Merry! You can check it out HERE. I decided to create a large A7 Christmas card today, taking advantage of the generous size of the detailed Christmas tree stamp in the Bright and Merry stamp set to create an easily mailed, almost-single layer holiday card with lots of sparkling elements and a pretty bow. Let’s get started on the details for my project!
If you are new to STAMPtember from Simon Says Stamp, throughout the month of September, Simon Says Stamp will have exclusive collaborations with some of our favorite stamping companies, releasing an exclusive, limited edition stamp set designed in collaboration with a different company nearly every day! (Click HERE to see the Collaboration Sets page, and be sure to bookmark it!)

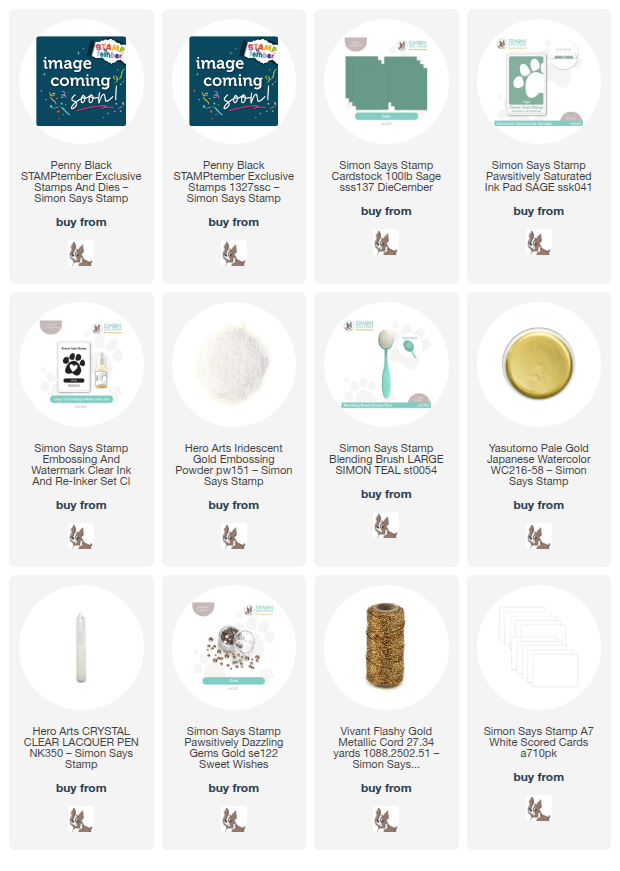
To begin my project, I stamped the beautiful Christmas tree from Bright and Merry on a panel of Simon Says Stamp Sage cardstock using embossing ink, then used Hero Arts Iridescent Gold embossing powder to emboss the image. This iridescent embossing powder is absolutely exquisite on colored cardstock, but this card would look gorgeous if you replaced the gold with white ink and Iridescent Blue embossing powder for a cooler-toned project! After I had heat embossed the tree and the greeting from Bright and Merry onto a 4×6 panel of Sage cardstock, I used a blending brush to blend Sage Pawsitively Saturated Ink around the edge of the panel, creating a “glow” around the Christmas tree.

I love adding lots of sparkling elements to my holiday cards, so I used gold watercolor to splatter around the edges of the blended panel, creating shimmering metallic “snow” and adding that general magical Christmas feel to the card. To help the ornaments stand out a bit on the tree, I painted some gold glitter watercolors onto the ornaments, then added Hero Arts Crystal Lacquer directly over the top. The clear lacquer has multiple benefits; it keeps the glittery watercolor securely locked on the ornaments without worry that it will flake off while also adding some extra dimension and texture to the card front.

Once all of the lacquer and watercolor splatters were dried, I centered the blended panel over an A7 Sage card front, creating a Sage frame around my tree. I adhered the panel with liquid adhesive to keep it as flat as possible, and thus easy to mail. For a touch of further sparkle and embellishment, I added some Gold Pawsitively Dazzling Gems as well as a sparkling gold twine bow to the top of the tree. These final gold accents take the card from “pretty” to “polished,” in my opinion!
Well, that’s all for my project today! If you love the STAMPtember Collaboration Sets, don’t wait to purchase them, because these limited edition sets will NOT be restocked. Once they’re gone, they’re gone! (Click HERE to see the Collaboration Sets page, and be sure to bookmark it!) Each day holds new surprises, so be sure to check out the Simon Says Stamp social media at noon ET every day throughout STAMPtember so that you don’t miss out. Thanks so much for stopping by today, and happy STAMPtember!!!
Leave a Reply