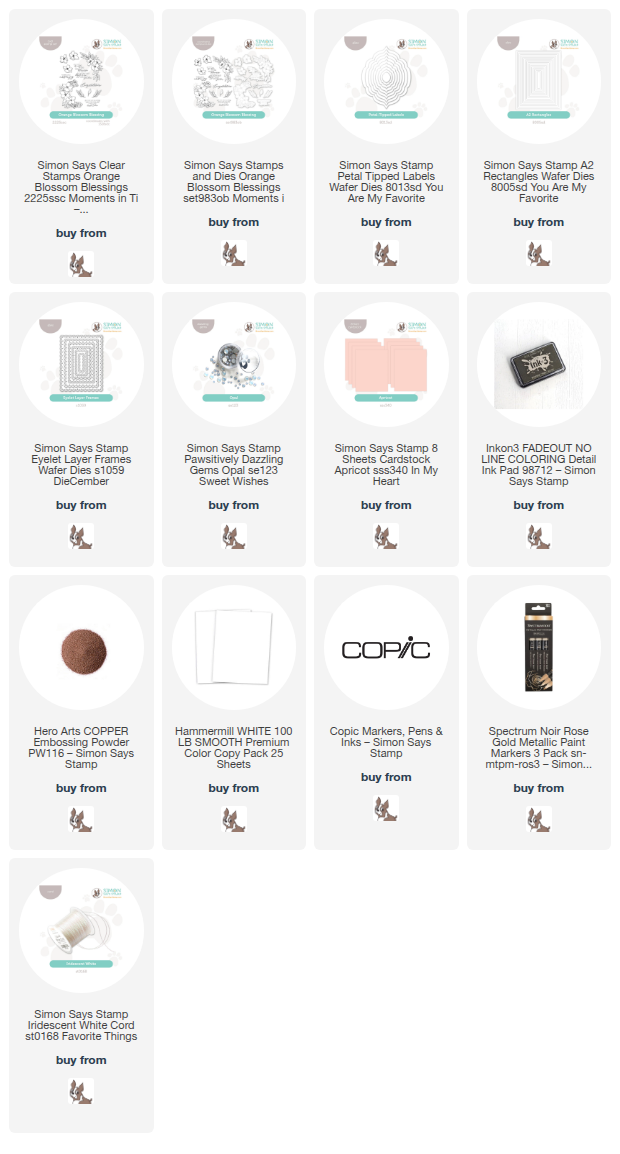
This post was sponsored by Simon Says Stamp. Thanks, Simon! *I have gathered links to all of the products used at the bottom of the post for your convenience, using affiliate links at no extra cost to you. Thank you for shopping with my links! I truly appreciate your support for my work!*
Hi friends! My love affair/obsession continues with the blushy peach Apricot cardstock from Simon Says Stamp… I am so inspired by such a beautiful shade, the epitome of springtime in my eyes! I couldn’t resist pairing it with an older set that I illustrated for Simon Says Stamp, called Orange Blossom Blessing. I illustrated this set to have two generously sized floral bouquets with orange blossoms and foliage, but I also wanted to make sure that there were plenty of individual options for bouquet building and accents. I created two different cards using just the individual stamps and some die cut accents. Let’s get started with the details on my projects!

As I said earlier, the Apricot cardstock from the In My Heart release, (click HERE to see the entire new release!) has quickly become a favorite of mine, so I used that shade as the basis for both of my projects, selecting some beautiful blushy coordinating alcohol markers. Using the individual flower and foliage stamps from Orange Blossom Blessing, I stamped a custom background pattern on an A2 panel of white cardstock using no-line coloring ink, as well as several individual images on a separate panel of white cardstock.

For the first project, I created a custom background pattern by stamping flowers all over the panel of white A2 cardstock, rotating the stamps and the cardstock each time to create a fluid and continuous pattern. I filled in the open spots with the individual foliage stamps, trying to keep things from looking repetitive. After I had colored all of the images with the alcohol markers, I used a rose gold opaque metallic paint pen to add the stamens to the centers of each flower. I love how that touch of metallic marker adds a subtle shimmer to the panel!

Because I had spent a bit of time coloring the card front, I didn’t want to cover it any more than necessary, so I stamped a simple “congratulations” from Orange Blossom Blessing onto some white cardstock and heat embossed it with Copper embossing powder to coordinate with the metallic flower centers. I die cut the sentiment with its coordinating die, and also die cut a vellum Petal Tipped Labels die upon which I could mount the sentiment. I popped it up with some thin foam adhesive squares, then added some more thin foam adhesive behind the solid die cut to hide it and mounted it on the corner of the horizontal card front. I also added a thin white frame cut using the A2 Rectangles, which I adhered around the edge of the card front with liquid adhesive. A thin white silk bow and some Opal Pawsitively Dazzling Gems finished the card off!

For my second card, I used the individual floral images to accent the larger sentiment from the Orange Blossom Blessing set. After coloring the flowers using the same color palette as the first project, I die cut the individual images with their coordinating dies, as well as the embossed wedding blessing sentiment, which I heat embossed in white on vellum cardstock. I think that it looks so dainty, but still so generously sized that it can be a focal point on the card!

I also die cut one of the Eyelet Layer Frames, cutting out the center with one of the A2 Rectangle dies, creating a neat frame with beautiful details! I popped up the frame using foam adhesive on a panel of my beloved Apricot cardstock, centering the frame on the A2 card front. I added some clear dimensional adhesive behind the vellum greeting and placed it in the center of the frame, then tucked the individual flower and foliage die cuts around the sentiment, creating a delicate floral swag around the greeting. Finally, I added a few Opal Pawsitively Dazzling Gems and an Iridescent White Cord bow for a bit of added texture!
Well, that’s all for my projects today! I just love when a color sparks an entire card set like this gorgeous Apricot cardstock. Are any of you planning to attend the CREATE event in Columbus, Ohio? If so, I will be teaching at a Create It, Take It booth, so I’d love it if you stopped by and said hi!! Thanks so much for stopping by today, and have a marvelous day!
Can the orange blossom blessings be used to emboss?