This post was sponsored by Simon Says Stamp. Thanks, Simon! *I have gathered links to all of the products used at the bottom of the post for your convenience, using affiliate links at no extra cost to you. Thank you for shopping with my links! I truly appreciate your support for my work!*

Hi friends! It’s Day 2 of the Simon Says Stamp Always There Blog Hop, celebrating the fabulous Always There release! (Click HERE to see the entire collection!) You should have arrived here from Barbara Tarayao, and your next stop is Nichol Spohr. You can check the full hop list over on the Simon Says Stamp Blog. As always, there is a fun freebies to celebrate the release and the blog hop!

This month’s release is an ode to springtime with gorgeous flowers and greenery in stamp, stencil, and die form, and I am so happy that I have designed two different sets for this release: Keep Palm (click HERE) and Blooms of Encouragement (click HERE). I love coloring large scale images, and the flowers in Blooms of Encouragement are some of my favorite flowers that I’ve illustrated. I created this gift set featuring a fun framed painting on glass and a coordinating card made with layered stamped blooms from the new Heirloom Roses. Let’s get started on the details for my projects!

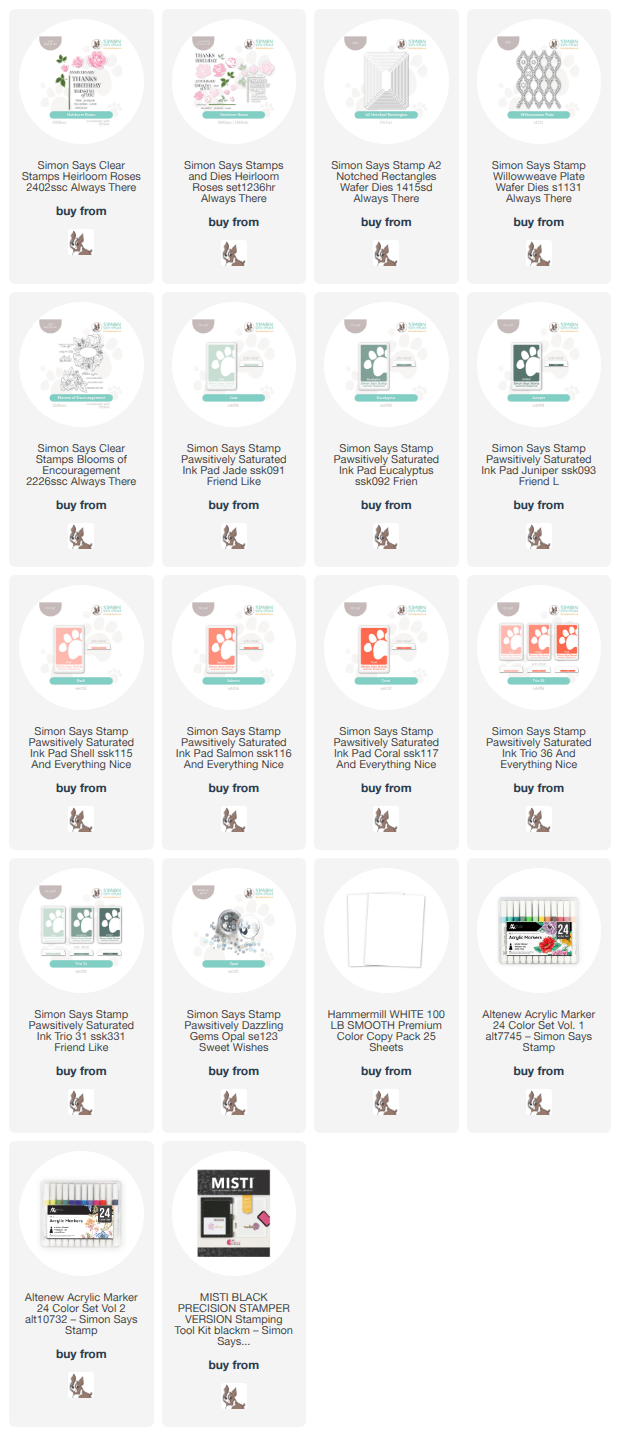
To begin my card, I stamped the gorgeous blooms and foliage from Heirloom Roses using Pawsitively Saturated Inks in shades of Jade, Eucalyptus, Shell, Salmon, Coral. These colors are so beautifully springy to me, with that bright pop of coral juxtaposed with the soft minty greens. I used the coordinating dies to cut the stamped images out, as well as a greeting from Heirloom Roses stamped using Juniper ink on crisp white cardstock.

Behind the blooms and sentiment, I wanted to create some tone-on-tone texture using the new Willowweave Plate. I die cut the plate from white cardstock, as well as a frame using the new A2 Notched Rectangles, nestling two of the nested dies together to create the frame. I added adhesive on the back of the Notched Rectangle die cut, then placed the Willowweave die cut on it, creating a decorative framed backdrop for the flowers. I trimmed off any excess foliage from the Willowweave die cut, then popped up the frame on my A2 card front. The extra texture that these vines of foliage add behind the blooms is just so pretty, I think! I added the blooms and sentiment die cuts over the framed backdrop with more foam adhesive, then added a few Opal Pawsitively Dazzling Gems for a bit of sparkle.

For the gift portion of the set, I used the pretty dahlia image from Blooms of Encouragement to create this framed painted artwork. I used a technique that was quite new to me. I started by stamping the bouquet on a piece of cardstock, then placing the glass from a 4×4 inch frame that I purchased from the local dollar store over the stamped image, taping it to the panel with some washi tape. I didn’t want to stamp the image directly to the glass, so I took advantage of the clear glass to use it as a guide to create this pretty painted bloom.

I used acrylic paint markers to add color to the glass, following the lines of the stamped image on the paper. This method of painting is quite forgiving; as long as you start with the parts of the image that are closest to you, mistakes are minimal. The opacity of the markers ensures that the images painted first are the ones that are visible when the painting is flipped over to the proper side. The markers moved like a warm knife through butter over the glass, and I was so impressed with how the painting turned out!

I did use a dry paintbrush to blend some some of the petals a bit, creating a smoother transition between colors for shadows and shape. Once I had completed the painting, I used a hot glue gun to securely place the glass back in the frame, allowing the clear glass to remain safely in the frame without having to add the backer which which the frame was purchased. To protect the painting from potential scratches, I also hot glued a piece of clear acetate on the back, cut to fit the glass frame. Finally, since the frame back that I discarded contained the hanger for the frame, I decided to hot glue some coordinating satin ribbon to the frame. I can’t wait to hang this in my new craft room and am so excited to experiment more with this technique. A simple dollar store frame can be so much more with a little creativity!
Well, that’s all for my projects today! This release is fantastic, right? So gorgeous! And Simon Says Stamp is offering the adorable gift-with-purchase that you see in the graphic at the top of the post with any purchase from the Always There release! (Click HERE to see the entire collection!)
Don’t forget to check out Day 1 of the blog hop, as well! (Click HERE to see the full list from yesterday’s hop!)Your next stop on the hop is Nichol Spohr. Thanks so much for stopping by today, and happy hopping!
I just looove the card!!!!! The frame idea is very different and gives a floating effect!
Wow Emily what great projects !! Your card is gorgeous, I love the orangish’coral colored Roses with the soft green leaves. The new Willow weave die cut served as a beautiful base to highlight your beautiful roses and it worked wonderfully to have a frame made using the new Notched Rectangle frames over top and to bring your focus in on the roses. And then there is your gift project, for a new to you technique it worked beautifully. You showcased two beautiful new floral stamp sets from this new release, I always know I can count on you to make beautiful floral projects. Thanks so much for sharing.
Beautiful work as always! Love your style. I think you also designed the floral stamp set, that’s beautiful by itself. Very talented! Thanks for sharing.
Lovely technique, thank you for sharing!
Who would have thought that a stencil could make such a difference. Beautiful job with these layering stencils Emily. And the more inspirations I see using that Willow Weave Die, the most I love it! Just beautiful cards. Thank you. 🙂
The coral rose really grabbed my attention. Thanks for sharing!
Beautiful projects! I love the framed flower!
Your projects are beautiful. I love florals so it’s right up my alley. Thank you for inspiring me today.
So cute! Thanks for sharing!
All your projects are just wonderful. But I especially love the home decor piece. Love that you didn’t put a backer to the framed piece and you let the glass be clear. Great idea!! ✨️
Love your cards and how your framed your art!
Dear Emily,
I saw both of these during Heidi’s live the other day. I was already super-impressed and I continue to be! Your projects are SUPERB as always. It was fabulous to see you and get to give you a hug at CREATE!
Lori S in PA
I love how you painted the glass!!! Both are Gorgeous!!!!
I never would have thought to paint a stamped image on glass. Very clever! Thanks for sharing how you did it.
Thank you for such beautiful inspiration! So clever!
So very pretty!
Beautiful cards! Especially love the first with the frame and embossed background and coverplate!
Beautiful colors and love that willoweave plate. Classic
Indeed pretty enough to frame & display.
I love your projects!
All of your creations are wonderful as always! I especially like the Thanks card!
Very pretty and I love the framed piece!
Absolutely gorgeous! Love that frame. Nice idea.
I love how you painted the glass!!! Both are Gorgeous!!!! and so creative!
The flower with several pinks is my favorite. It’s special…
Gorgeous card and artwork! Painting on the glass is a fantastic idea. It looks lovely! Thank you for the inspiration!
I love the Heirloom Rose stamp set and the thank you font is so beautiful! Love how you showed us so many ways to use the set! Beautiful!
beautiful florals!
Such beautiful and creative ideas! 🩷🌸🩷
Beautiful makes!!
Love the die cut background design and the gorgeous flowers! Beautiful colors! Love the card and the painting on glass too!
I have a set of acrylic markers and am excited to try the technique you used to create the framed art. Thanks for sharing your beautiful designs!
Wow! so clever and creative! it looks like a framed art piece! 🙂
Beautiful cards and wonderful background to set off this floral image. So much creativity shown here.
Two beautiful projects, Emily!
Beautiful! And that background on that red flower is so cool!
Gorgeous florals! Loving those roses and your piece of art decor looks fabulous! So creative!
Beautiful cards and inspiration
Absolutely beautiful cards – the layered stencils really brought out the beauty in the florals and the colors were perfect! Thank you for sharing your awesome talent and inspiration!
LOVE your pretty card and the framed art piece, Emily! Such a beautiful way to add beauty to your craft room. TFS
I love your creations Emily. Really love the framed art piece, so creative. Thanks for sharing.
Such pretty creations and creativity! Appreciate you sharing and looking forward to trying out the project in the frame!
WOW, I am suprised how you combined the products together. It created very nice result. Nice card.
What an amazing gift! I would never have thought to try something like this. Beautiful card & gift!!
Gorgeous card and gift! Love the Heirloom roses set and the blooms of encouragement. Love your illustrations!
I just love your pained glass piece, so cool!!
luv this i had no idea you could do something like that gonna have to try for myself
Wow! Amazing projects!
Beautiful makes! The willowweave die is my favourite.
Beautiful cards! The willowweave die is gorgeous!
Beautiful cards
Gorgeous! I especially like the Blooms of Encouragement.
awesome idea to frame this card – so pretty
What a cool and fun idea! The acrylic on glass looks fabulous. Beautiful creations xoxo
Very beautiful card and projects. I love all of the colors. Thank you for inspiring me.