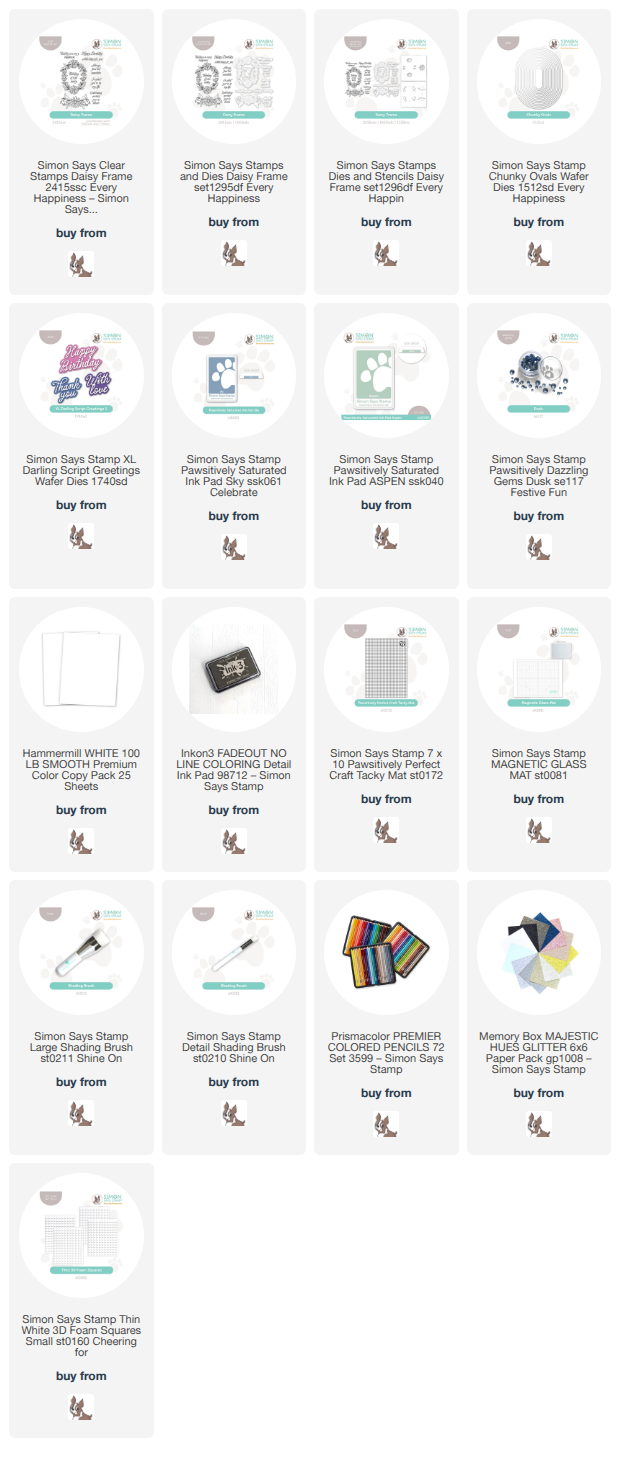
This post was sponsored by Simon Says Stamp. Thanks, Simon! *I have gathered links to all of the products used at the bottom of the post for your convenience, using affiliate links at no extra cost to you. Thank you for shopping with my links! I truly appreciate your support for my work!*

Hi friends! Simon Says Stamp has released their newest collection with the Every Happiness release (click HERE to check out the entire release!), and this is an extra special release for me, because the new Daisy Frame stamp set is one of my illustrations!! I have always loved daisies, but their simplicity has for some reason eluded my brain when it came to arranging them for a stamp set. I was recently reading a book with my daughter and one of the characters was weaving a daisy crown, and it hit me: a daisy chain! I am so excited that this set offers not only super detailed dies but stencils, too, to make coloring super easy for those who aren’t interested in working with coloring mediums. Let’s get started on the details on my project for tonight!

To begin my project, I wanted to create a no-line colored look, even though I knew I would be using the Daisy Frame stamp with the Daisy Frame Stencils, so I stamped the large floral frame using no-line coloring ink. I then placed the stamped panel on my Stencil Station (a 7×10 Craft Tacky Mat placed on a Magnetic Glass Mat, always at the ready for easy and quick stenciling!) and placed the Daisy Frame stencils in their appropriate spots. I used the new Shading Brushes to blend Sky & Aspen Pawsitively Saturated Inks, creating a lovely, serene color palette.

Once I had finished blending using the stencils, I used some colored pencils to add a little extra shading and shape to the stenciled images. Because I used a no-line coloring ink, I achieved the no-line look I was going for, but some of the details got a bit lost. Adding some simple shading with colored pencils helped enhance some of those details! After I had finished blending and adding extra shading, I used the super detailed coordinating die to cut out the frame. The new Chunky Ovals dies, with their slightly elongated shape, were perfect to pair with this oblong oval flower frame! I popped up the floral die cut on this oblong oval using thin foam squares, then added more thin foam squares behind the oval and adhered it to a white, A2 card front.

For the greeting, I kept the color palette light and airy, die cutting the gorgeous Thank You from the new XL Darling Script Greetings 1. I die cut one of the detailed dies from white glitter cardstock, then cut two more from some white scrap cardstock and layered them together with liquid adhesive. This change of texture and additional height on the sentiment help to add visual interest to this limited-palette project! I popped it up with some additional thin foam squares, then added a few Dusk Pawsitively Dazzling Gems around the wreath for a bit of added sparkle.
Well, that’s all for my project today!! I have so many fun things to share with you using this new Every Happiness release (click HERE to check out the entire release!). Don’t forget about the fabulous two-day blog hop happening later this week. Inspiration and prizes galore! Thanks so much for stopping by today, and have a marvelous day!
You have me so inspired Emily. I adore this card and your new set is GORGEOUS.