This post was sponsored by Simon Says Stamp. Thanks, Simon! *I have gathered links to all of the products used at the bottom of the post for your convenience, using affiliate links at no extra cost to you. Thank you for shopping with my links! I truly appreciate your support for my work!*
Hi friends! Life with four kids is always a little crazy even when it’s relatively calm, and I am always on the lookout for ways to save myself some time when crafting. I love creating “twofer” projects, using leftover from one project to create another! This particular twofer set started with a lovely floral stenciled panel, created using the new Bellflower Blossoms. Let’s get started with the details on today’s project!

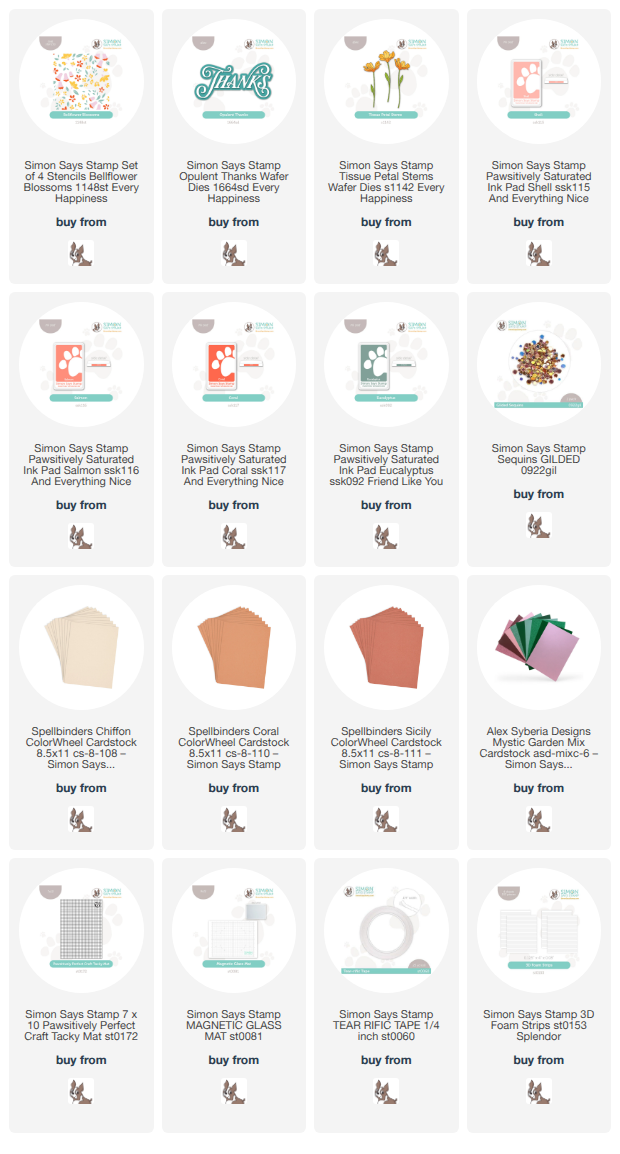
To begin, I firmly placed my white A2 panel of cardstock on my Stencil Station, then used the Simon Says Stamp Shading Brushes to blend Pawsitively Saturated Inks in shades of Shell, Salmon, Coral, & Eucalyptus using the new Bellflower Blossoms all over the panel. I love the beautiful blushy coral tones with this pretty floral pattern! Once I had finished adding all of the stenciled layers to the panel, I placed the shadow layer from the new Opulent Thanks set on the bottom right corner and ran it through my die cutting machine, creating a window with which I could create my shaker.

After I had created my die cut window, I trimmed the stenciled panel down slightly so that it was a wee bit smaller than my A2 card front, creating a delicate white frame around the edge of my patterned panel. I backed the opening with some leftover stamp packaging and adhered it with some super sticky double sided tape. I also added some foam adhesive around the window, creating a complete ring around the opening to hold my sequins with foam adhesive strips. I filled the window with some Gilded Sequin Mix and placed it on my white card base, creating a pretty backdrop for the detail layer of the sentiment!

Once I had created the shaker window and card base, it was time to embellish the front. I cut the detail layer of the Opulent Thanks set from some deep green pearlescent cardstock and adhered it directly over the shaker window with liquid adhesive. I also die cut some pretty blooms using the new Tissue Petal Stems, cutting coordinating shades of coral cardstock and some foliage with the same pearly green cardstock. I arranged the blooms around the shaker window, adhering them with liquid and thin foam adhesive for added dimension. Isn’t it so pretty? And I have leftovers for a future project!!
Well, that’s all for me today. I will be back in a day or two with part two of my Stenciled Twofer series to show you how I used the leftover die cuts. Thanks so much for stopping by today, and have a marvelous day!
Leave a Reply