• Skip to main content
  • Skip to primary sidebar
  • Skip to secondary sidebar

Sixth Street Sundries

Emily Midgett

  • Home
  • About Me
  • Contact
  • OLO Marker Color Swatch Chart
  • Shop

simon says stamp

Simon Says Stamp Card Kit November 2026: Jolly Season!

October 14, 2026

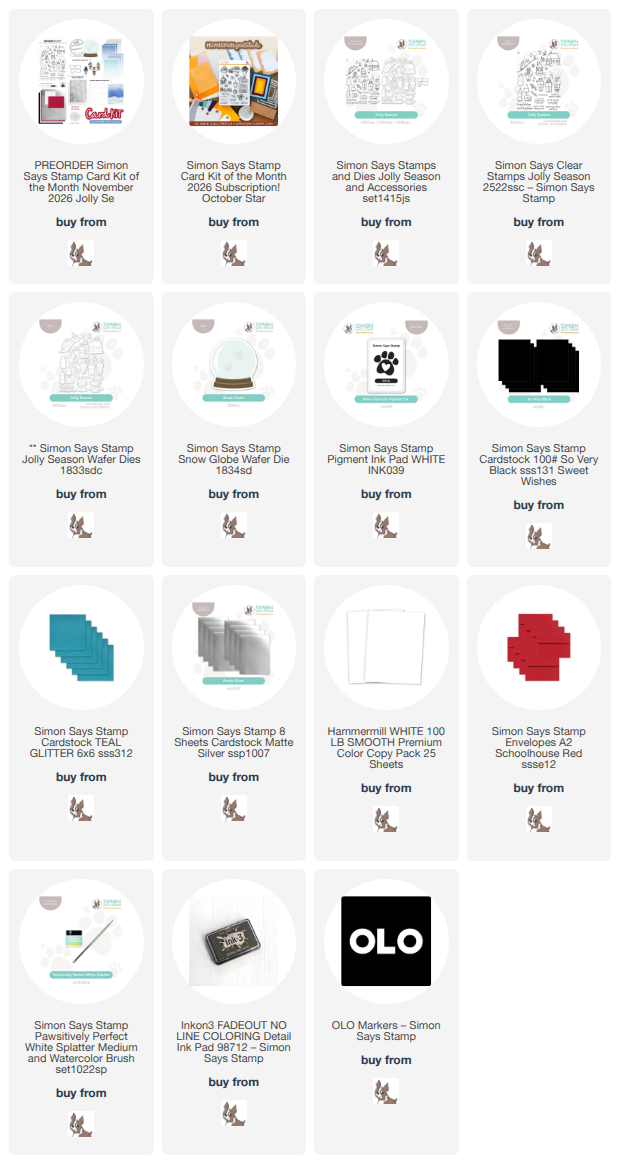
This post was sponsored by Simon Says Stamp. Thanks, Simon! *I have gathered links to all of the products used at the bottom of the post for your convenience, using affiliate links at no extra cost to you. Thank you for shopping with my links! I truly appreciate your support for my work!*

Hi friends! We are officially in holiday crafting mode around here, and the new Simon Says Stamp November Card Kit (click HERE to see all of the details!) is sure to inspire the most wonderful holiday cards! The new Jolly Season kit is filled with lots of fun ways to create beautiful holiday cards with a whimsical twist. Here’s a sneak peek at the kit:

An adorable stamp set, stencils, dies, embellishments, tools…. this kit is full of creative holiday goodies! A la carte, these items would retail for over $80, but the kit is available as a curated set for only $44.99! You can also become a monthly kit subscriber to receive an even better discount! (Click HERE to see the subscription details.) I have two totally different projects to share with you using this new kit, and my first project is super bold and modern. Let’s get started with the details!

To begin, I stamped the three carolers from the new Jolly Season stamp set onto some white cardstock using no-line coloring ink. I used alcohol markers to add cheery red, vivid teal, and neutral, cool brown to the images, adding the eyes and mouth using a fine-tipped black pen. I used the coordinating dies (an add-on for this month’s kit) to cut the finished images out.

For the background, I masked off the bottom 1/4 of the black A2 card front, then splattered some white snowflakes using Simon Says Stamp’s Pawsitively Perfect White Splatter. I removed the mask, then used the included cube of white ink to stamp lots of snowflakes from the Jolly Season stamp set, as well as some white dots and snowflakes with a white gel pen.

For the greeting, I stamped the simple “fa la la la la” on white cardstock using black ink, then die cut it with it’s coordinating die. I cut a rectangle of red cardstock and flagged the ends, then placed the die cut sentiment in the center with some thin foam adhesive. To accent the sentiment and emphasize the division between the snowy top and untouched bottom 1/4, I trimmed a super thin strip of the matte silver foil cardstock included with the kit and adhered it with liquid adhesive. I added the carolers and sentiment with foam adhesive, then as a final touch, added some glittering teal snowflakes, cut using the snowflakes from the Snow Globe die included with the kit.

Well, that’s all for my project today!

The Simon Says Stamp Card Kits are such an incredible value; the value of the individual elements of each kit equals far more than the $44.99 price tag, so you’re getting incredible bang for your buck. If you are consistently interested in the Simon Says Stamp Card Kit of the Month, you can sign up HERE to become a subscriber for an even bigger discount on these carefully curated products. As always, Simon also makes each individual element of the kits available a la carte, so that you can pick and choose what you would like to purchase if buying the entire kit isn’t really your thing. Options galore! Who can say no to such incredible value though, right?

Thanks so much for stopping by, and have a marvelous day!
Filed Under: simon says stamp Tagged With: card kit, christmas card, die cutting, holiday card, jolly season, no line coloring, olo markers, snow globe

Rustic Monochromatic Stars for Christmas with Rainbow Splash!

October 12, 2026

This post was sponsored by Simon Says Stamp. Thanks, Simon! *I have gathered links to all of the products used at the bottom of the post for your convenience, using affiliate links at no extra cost to you. Thank you for shopping with my links! I truly appreciate your support for my work!*

Hi friends! I have a monochromatic holiday project to share with you today featuring some newer stamps and dies from Simon Says Stamp’s Rainbow Splash line! (Click HERE to check out the entire collection!) This line of simple stamps, dies, stencils, inks, and accessories are intended to be super user-friendly, making them perfect for both beginning stampers and seasoned stampers alike! The line also comes complete with ink and perfectly coordinated cardstock so that you know that your colors will always match. For someone who has been called “matchy matchy” her entire life, these coordinating products just plain make my heart happy. I chose to use the newer Glad Tidings stamp set with monochromatic inks and cardstock to create this elegant holiday card. Let’s get started with the details on my project!

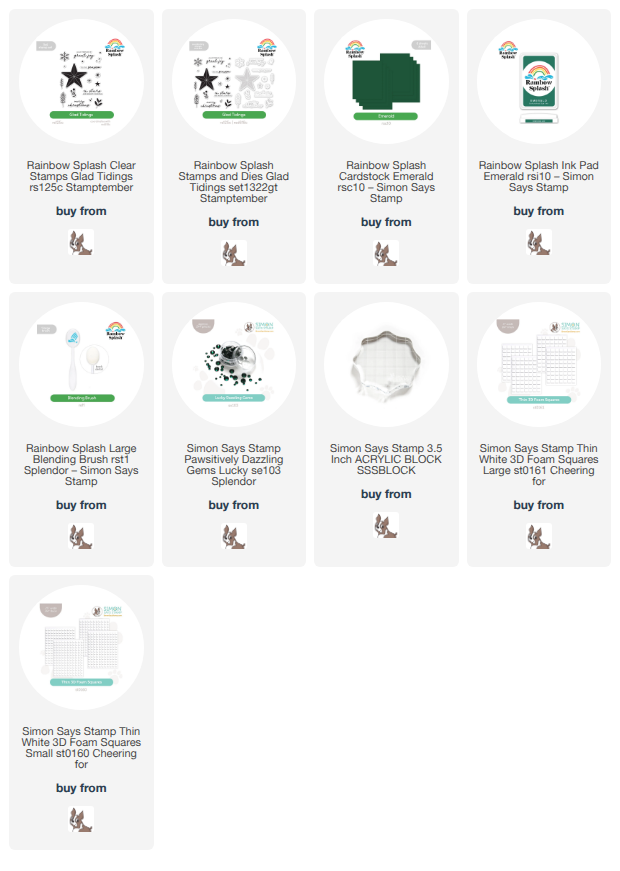
The diminutive Glad Tidings stamp set features a variety of elegant holiday imagery, with a large five-point star and lots of smaller holiday images, allowing you to create super pretty arrangements. I used Emerald Rainbow Splash ink to stamp a continuous holiday pattern on a 3.75″ x 5″ panel of Emerald Rainbow Splash cardstock, starting with the largest star image and working my way down to the smallest images, filling in blank spots and rotating both the stamps and the cardstock to make sure that the pattern looks as complete and continuous as possible. After I had finished stamping the images, I used a blending brush to blend more Emerald ink around the edges, creating a vignette effect on my stamped panel.

Once I had finished stamping and blending, I decided to stamp some individual images to adorn my greeting. I stamped lots of sprigs of greenery, again using Emerald Rainbow Splash ink on Emerald Rainbow Splash cardstock, then used the coordinating dies to cut the images out. I also white embossed a sentiment from Glad Tidings on more Emerald Rainbow Splash cardstock.

Before adhering my die cuts to the card front, I adhered the stamped and blended panel to a full size A2 panel of Emerald Rainbow Splash cardstock, centering it so that there was a clean Emerald frame around the patterned panel. I also trimmed down a strip of Emerald cardstock and flagged the end with my sharp scissors, then popped it up on the card front with some thin foam adhesive squares. I placed the sentiment on the strip with more foam adhesive, then arranged the greenery sprigs around the sentiment with foam adhesive and liquid adhesive. Finally, I added a touch of monochromatic holiday sparkle with some Lucky Pawsitively Dazzling Gems!

Well, that’s all for my project today! I love creating custom patterned paper with solid stamps; I think that the effect is so professional and unique. Thanks so much for stopping by today, and have a marvelous day!

Filed Under: simon says stamp, Uncategorized Tagged With: christmas card, custom patterned paper, die cutting, emerald, glad tidings, holiday card, ink blending, rainbow splash

Simon Says Stamp Sending Cheer Blog Hop- Day 2 + Freebie + Giveaway!

October 10, 2026

This post was sponsored by Simon Says Stamp. Thanks, Simon! *I have gathered links to all of the products used at the bottom of the post for your convenience, using affiliate links at no extra cost to you. Thank you for shopping with my links! I truly appreciate your support for my work!*

Hi friends! I am so excited to be hopping along with my friends at Simon Says Stamp to celebrate their new Sending Cheer Release! (Click HERE to see everything!) You should have arrived here from Nina-Marie Trapani, and your next stop isSandi MacIver. You can also start at the beginning at the Simon Says Stamp Blog!

I just love Christmas crafting. I love the colors, the excuse to use excessive sparkle and shine, the imagery, the textures… I can’t get enough. My love of Christmas meshes nicely with my love of coordinated gift sets, and it is with that in mind that I created this festive set of tags and a matching holiday card using new (and old!) dies. Let’s get started with the details on my projects!

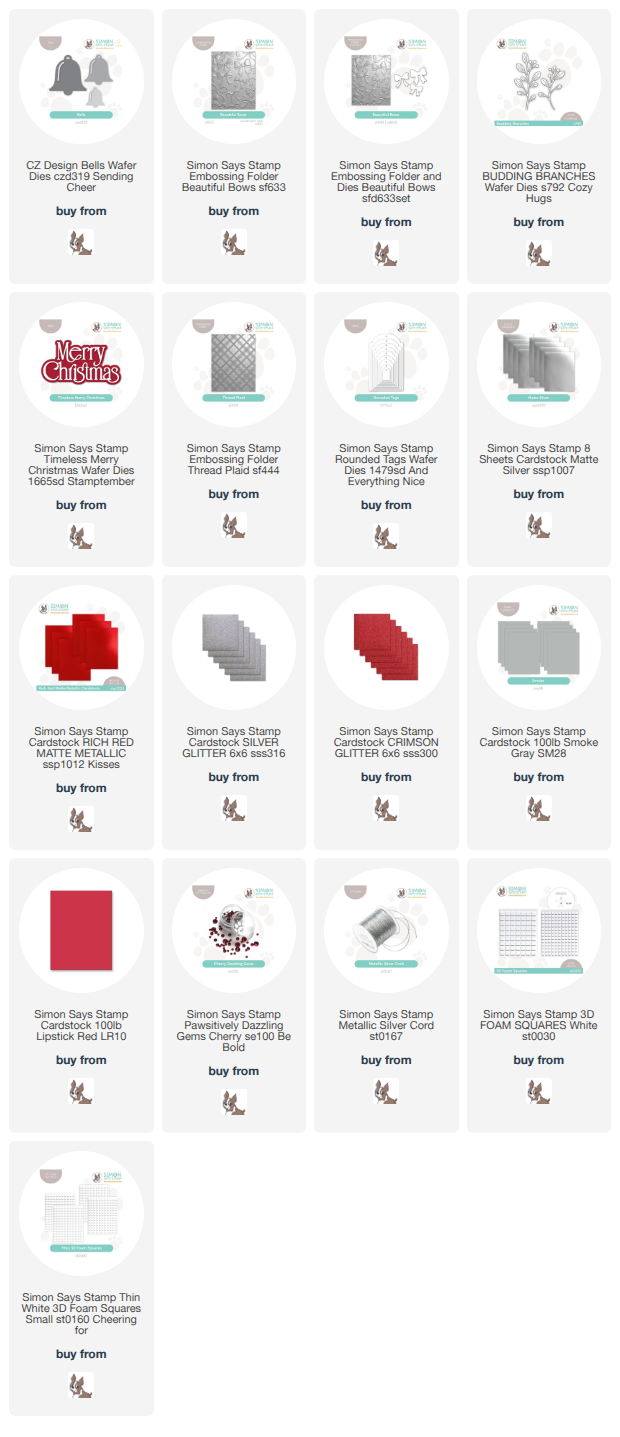
The new Beautiful Bows embossing folder with coordinating dies was an immediate favorite of mine from this release. I absolutely love the incredible detail and texture that the embossing folder provides, and the option to create die cut embossed bows just adds to the versatility of this product! Now, embossing on regular cardstock is gorgeous, but embossing on foil cardstock is absolute magic. I used Simon Says Stamp’s Matte Red Metallic cardstock with the Beautiful Bows folder and dies and it is *perfection* for Christmas! I created a detailed and sparkling holiday card filled with texture and layers, then created two very simple-but-effective tags that coordinate perfectly with the card!

For the card, I die cut some sparkling silver glitter bells using the new Bells dies, which come in multiple sizes and are just simple enough that you can embellish without restraint! I created a background with the timeless Thread Plaid embossing folder and Simon Says Stamp’s Fog cardstock, embellished with some strips of red glitter and silver foil cardstock at the bottom. I created a dimensional die cut greeting with the spectacular Timeless Merry Christmas die, cutting twice from plain white cardstock and adding a top layer of red glitter cardstock to give it lots of dimension and sparkle. I arranged the bells and the die cut red foil Beautiful Bows, then filled out the arrangement with matte silver foil Budding Branches die cuts. Multiple textures of specialty paper helps add to the luxury of the card! I finished the card off by adding bejeweled “berries” to the foliage with Cherry Pawsitively Dazzling Gems. I just love how this card turned out, and it would look so pretty in so many different color ways!!

For the tags, I took advantage of the variety of sizes included with the new Bells die set and paired them with more of the gorgeous embossed, die cut red foil Beautiful Bows. I die cut both sizes of bells from silver glitter cardstock, as well as a small tag from the previously-released Rounded Tags die set, cut from Simon Says Stamp’s Lipstick Red cardstock. I layered the bows atop the silver glitter bells; I think the pop of shiny red looks wonderful against the sparkling silver glitter cardstock!

To create the folded tag for the larger silver bell, I used a folded piece of cardstock and placed the same size Bells die on it, making sure that the fold was below the top of the bell so that the die created a shaped card! I adhered the silver glitter bell to the folded tag with liquid adhesive and added the smaller silver glitter bell and bow to the red tag with foam adhesive. Finally, I added some silver cord to allow for easy application to a holiday gift! These tags are simple, but they are so very festive and, I think, very elegant, like something from an upscale stationery store!

Well, that’s all for my projects today! Now for some fun giveaway information:

Simon Says Stamp is giving away a $25 coupon to one lucky winner from every stop on the hop! The winners will be selected from each blog’s comment section. Winners will be selected and posted on the Simon Says Stamp blog!

On top of the giveaway, Simon Says Stamp is also running a special freebie! You can receive the not-yet-released Hedge Hugs stamp set for free with any purchase from the Sending Cheer collection! (Click HERE!) No code necessary; the free set will be added to your cart automatically with any purchase from Sending Cheer!

Your next stop is Sandi MacIver. Thanks so much for stopping by today, and happy hopping!

Filed Under: simon says stamp Tagged With: beautiful bows, bells, budding branches, christmas tags, die cutting, embossing folder, gift tags, holiday, holiday card, rounded tags, sending cheer, shaped card, shaped tags, thread plaid, timeless merry christmas

Joyful Snowman with New Simon Says Stamp Sending Cheer Release!

October 9, 2026

This post was sponsored by Simon Says Stamp. Thanks, Simon! *I have gathered links to all of the products used at the bottom of the post for your convenience, using affiliate links at no extra cost to you. Thank you for shopping with my links! I truly appreciate your support for my work!*

Hi friends! I am back today with some more inspiration using the new Simon Says Stamp Sending Cheer release (click HERE to see everything!). Yesterday’s project featured all things fall with a color saturated Sweater Weather theme, but today I’m switching gears with this delightfully pink snowman project! Simon Says Stamp has tons of incredible snowman dies, and I think the new Joyful Snowman might just be my favorite! From the stitched scarf to the sweet top hat to the chubby little arms, I am just in love with how perfectly proportioned and accessorized he is. Let’s get started on the details for my project!

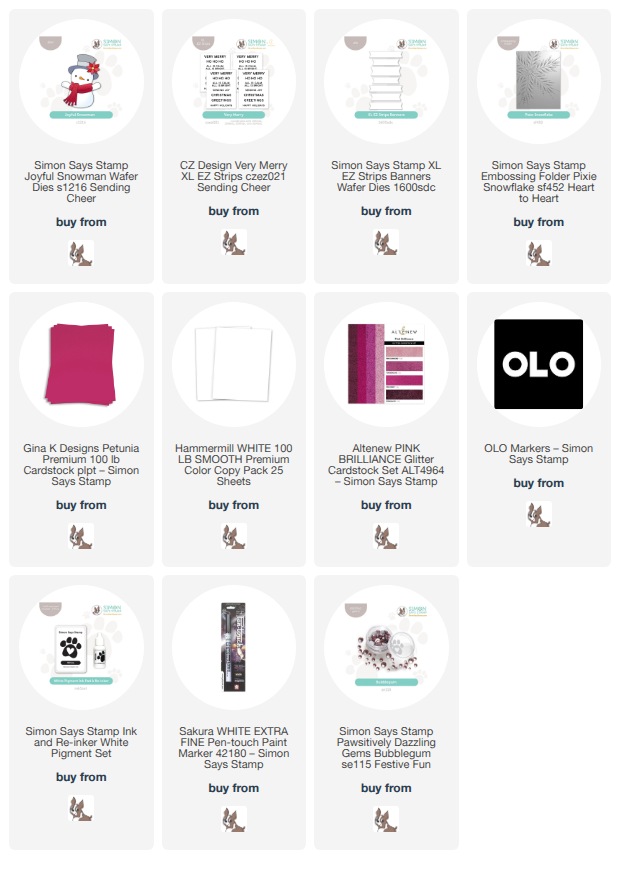
To begin, I die cut the components of the new Joyful Snowman die set from plain white cardstock. I then used OLO Markers to add some subtle blue shadows to the arms, head, and body, and added vibrant magenta and deep black to the scarf, hat, flower, and hat band. I am so, so happy with how this came out! After I had colored all of the pieces, I assembled everything with liquid glue and thin foam adhesive squares and set the little snowman aside to dry.

For the background, I wanted to keep things relatively simple to allow my snowman to still be the star of the show, but I also wanted some wintry texture, so I selected the exquisite Pixie Snowflake embossing folder. This extra large snowflake added delicate texture to my deep magenta card front, and I enhanced the texture with some swipes of white pigment ink on the raised areas. I also added some dots with my white paint pen, creating lovely and delicate accents to this beautiful snowflake image.

For the greeting, I used my guillotine trimmer to cut the “sending joy” from the new Very Merry XL EZ Strips sentiment card set (you could easily use one of the handy dandy XL EZ Strips dies, but I was rushing and didn’t want to take the time to locate mine! Trimmers still work, just not as nicely as the coordinating dies!) I trimmed the strip out, then trimmed a slightly wider strip of coordinating pink glitter cardstock. I flagged the end of my sentiment strip with my scissors, adhered it to the pink strip, then flagged the ends of the glitter strip. I adhered both pieces to the snowflake card front with foam adhesive, then placed the snowman on top of the senitment strip, tucking the greeting just below his arm! Finally, I added a few Bubblegum Pawsitively Dazzling Gems for additional sparkle and texture.

Well, that’s all for my project today! My brain is whirling with ideas for this sweet little snowman. A project for another day, I guess! Don’t forget about the Sending Cheer Blog Hop taking place over on the Simon Says Stamp Blog. You can be inspired, find out about the freebie, and enter to win a gift card at each stop! (Click HERE to start at the beginning!) Thanks so much for stopping by today, and have a marvelous day!

Filed Under: simon says stamp Tagged With: christmas card, die cutting, embossing folder, holiday card, joyful snowman, no line coloring, olo markers, pixie snowflake, sending cheer, snowflake, xl ez strips

Simon Says Stamp Sending Cheer Release: Now Available!

October 8, 2026

This post was sponsored by Simon Says Stamp. Thanks, Simon! *I have gathered links to all of the products used at the bottom of the post for your convenience, using affiliate links at no extra cost to you. Thank you for shopping with my links! I truly appreciate your support for my work!*

Hi friends! The gorgeous new Sending Cheer release from Simon Says Stamp is available on the Simon Says Stamp website (click HERE to see everything!) and it’s absolutely filled with gorgeous goodies for all kinds of occasions: florals, fall, Christmas, even some glorious new cardstock colors! We are entering my favorite crafty time of year; I can never get enough of autumn and Christmas (maybe not Halloween so much…) but gorgeous, saturated colors, cozy themes, a little whimsy, a little magic, and some elegant imagery makes this time of year so very enjoyable as a creator. For my first card using goodies from the new release, I paired lots of different autumnal products with some metallic inks, colored pencils, and some colored cardstock to create this warm and cozy fall card. Let’s get started with the details on my project!

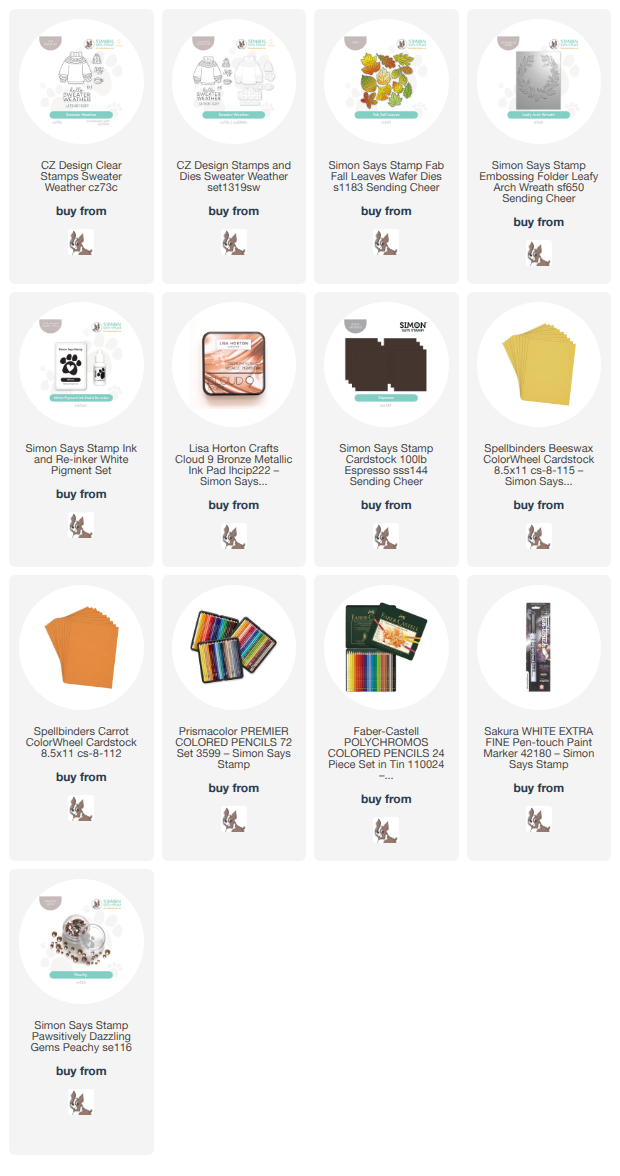
Whenever I am faced with the choice of colored cardstock or white cardstock, I will almost always choose colored cardstock. So when I saw the lush new colors included with this release, the rainbow wheels inside my head immediately started turning! I pulled out the new Espresso cardstock to create this saturated project, pairing the deep chocolatey brown with the new Sweater Weather stamp set. This 3×4 inch set packs a lovely punch for such a petite product, with a lovely (and fairly substantial) sweater illustration and cozy sentiments. I stamped the sweater on the Espresso cardstock using Simon Says Stamp’s White Pigment Ink, then used colored pencils to color the sweater in a lovely autumnal color palette of burnt orange, peach, and a deep pumpkin orange, accented with some white paint pen dots and swipes for added detail! I die cut the finished sweater with it’s coordinating die.

Once I had completed the sweater, I used the new Leafy Arch Wreath embossing folder to emboss an A2 panel of Espresso cardstock. To help accent some of the beautiful embossed details on the panel, I swiped a metallic bronze ink pad directly onto the raised areas, creating a gorgeous gilded effect. I also die cut several leaves from the new Fab Fall Leaves die set, cutting them from coordinating shades of orange and peachy yellow. I added some alcohol marker shading to the center of the leaves just for a bit of extra depth and dimension.

Before assembling all of the components, I heat embossed the greeting from Sweater Weather onto some more Espresso cardstock, stamping the sentiment first with white pigment ink and adding white embossing powder. The combination creates an incredibly crisp and visible greeting on the deep brown cardstock! I die cut it with it’s coordinating die, as well, then began arranging the die cuts on the gilded, embossed background. I popped up the sweater and sentiment, then tucked the leaves behind them, adhering everything with foam squares. Finally, I added some Peachy Pawsitively Dazzling Gems for additional sparkle and texture!

Well, that’s all for me today! I have so many more projects to share with you using this marvelous new release, and the Simon Says Stamp is hosting a 2-day blog hop this weekend chock full of inspiration using the new Sending Cheer release (click HERE to see everything!). Thanks so much for stopping by today, and have a marvelous day!

Filed Under: simon says stamp Tagged With: 3D embossing folder, colored cardstock, colored pencil, die cutting, embossing folder, fab fall leaves, leafy arch wreath, no line coloring, sending cheer, sweater, sweater weather

  • Page 1
  • Page 2
  • Page 3
  • Interim pages omitted …
  • Page 143
  • Go to Next Page »

Primary Sidebar

  • Facebook
  • Instagram
  • Pinterest
  • YouTube

Favorite Shops

Secondary Sidebar

Subscribe

Enter your email address to subscribe to this blog and receive notifications of new posts by email.

Instagram
Something is wrong.
Instagram token error.
Follow
Load More

Archives

Tags

3D embossing folder alcohol markers better press birthday birthday card blog hop card kit christmas christmas card christmas tag colored pencil copic copic coloring Daniel Smith die cutting embossing folder embroidery felt giveaway holiday holiday card hot foil ink blending karin brushmarker pro layered stencil masculine my monthly hero new release no line coloring no line watercolor OLO marker olo markers original illustration pawsitively saturated rainbow shaker card slimline stamping stamptember stencil thank you thinking of you valentine's day video watercolor

Popular Posts

Simon Says Stamp Sending Cheer Blog Hop- Day 2 + Freebie + Giveaway!
Altenew October 2026 Release Blog Hop + Giveaway!
Altenew Build A Flower Sweet Violet+Giveaway!
Floral Follies on Canvas with New Simon Says Stamp STAMPtember!
Simon Says Stamp Card Kit November 2026: Jolly Season!
Simon Says Stamp STAMPtember Tim Holtz Collaboration: Festive Holidays!
Altenew March 2020 Release Blog Hop+Giveaway!
Honey Bee Stamps Bee Bold Release Blog Hop!
Waffleflower July Release Blog Hop!
Altenew Paint A Flower: Carnation Blog Hop+Giveaway!

Disclosure

Some affiliate links are used in my posts. This means that, should you click on one of my links and purchase something from that company, I will receive a small portion of the sale at no extra cost to you. I use the money earned from these sales to help maintain my blog. I so appreciate you visiting and, if you do choose to use one of my affiliate links, thank you so much for your support!
Copyright © 2026 ·Brunch Pro Theme · Genesis Framework by StudioPress · WordPress · Log in
Loading Comments...