• Skip to main content
  • Skip to primary sidebar
  • Skip to secondary sidebar

Sixth Street Sundries

Emily Midgett

  • Home
  • About Me
  • Contact
  • OLO Marker Color Swatch Chart
  • Shop

simon says stamp

Simon Says Stamp Rainbow Splash with an Autumn Twist!

September 25, 2026

This post was sponsored by Simon Says Stamp. Thanks, Simon! *I have gathered links to all of the products used at the bottom of the post for your convenience, using affiliate links at no extra cost to you. Thank you for shopping with my links! I truly appreciate your support for my work!*

Hi friends! Amidst the fantastic STAMPtember releases and fun surprises, Simon Says Stamp has added to their Rainbow Splash product line. (Click HERE to see the full range of products!) These products, introduced a a couple of years ago during STAMPtember, are intended to be as user-friendly as possible, making them excellent options for both beginner stampers and seasoned stampers alike! They feature simple designs, a fabulous rainbow color palette in both ink and coordinating cardstock, and useful tools that will enhance your crafting experience. During the 2026 STAMPtember Mega Simon Says Stamp release, (click HERE to see the entire release!), Simon added some beautiful new fall- and winter-themed products that are simple enough for a beginner crafter to be able to enjoy, as well as unique enough that a seasoned crafter like myself can create something lovely! I created this autumnal thanks card using a couple of the new stamp and die sets, as well as some other tricks to make the card feel like “me.” Let’s get started with the details on my project!

To begin, I stamped several images from the diminutive-but-very-useful So Very Thankful stamp set from the Rainbow Splash line using Rainbow Splash Black Ink. Because this ink is alcohol marker-friendly, I was able to add some simple coloring to these line images, keeping the colors very autumnal with reds, oranges, and some deep olive green. I mixed colors that I would not normally try to blend for the leaves, and I love how they came out! Autumn leaves are truly a rainbow of colors, sometimes within one leaf, and I love that the markers were able to smoothly blend into one another. Once I had finished coloring all of the images, I used the coordinating dies to cut each image out.

Next, I stamped the sentiments from Flourish Phrases on white cardstock using Emerald Rainbow Splash Ink and used the large coordinating “thanks” die to cut out the larger greeting, cutting the smaller strips with my guillotine trimmer. I also used a blending brush to blend more Emerald ink on my white card front, then splattered that background with some coppery metallic watercolors for a quick touch of texture!

Once my card front had dried, I began assembling all of the die cuts. I placed the sentiment die cuts first, adhering them with thin foam adhesive squares over the blended and splattered area, then arranged the pumpkin and foliage in a cluster around the sentiment components, creating a little swag. The final touch for this simple and elegant card was a burlap twine bow tucked amongst the pumpkin and leaves!

I wanted to also mention that there are a few of the Pinkfresh Studio STAMPtember collaboration stamp sets left! (Click HERE to see the stamp set!) Here’s a fun shaker project that I made with the product suite:

My secret to blending pink ink on that minty green cardstock: Simon Says Stamp Pastel Pigment Inks! The opaque pigment inks sit nicely atop the colored cardstock without muddling the colors together as a transparent dye ink would. I was even able to layer dye ink over the top of the blended pigment ink for a layered effect!! If you missed out on the dies and stencils, you can still purchase the fabulous stamp set with it’s gorgeous imagery and poignant sentiments for a limited time! I will have all of the supplies that I used to create this elegant shaker card in the link list below.

Isn’t that such a fun technique? I can’t wait to try it out with other projects!

Well, that’s all for me today! Thanks so much for stopping by today, and have a marvelous day!
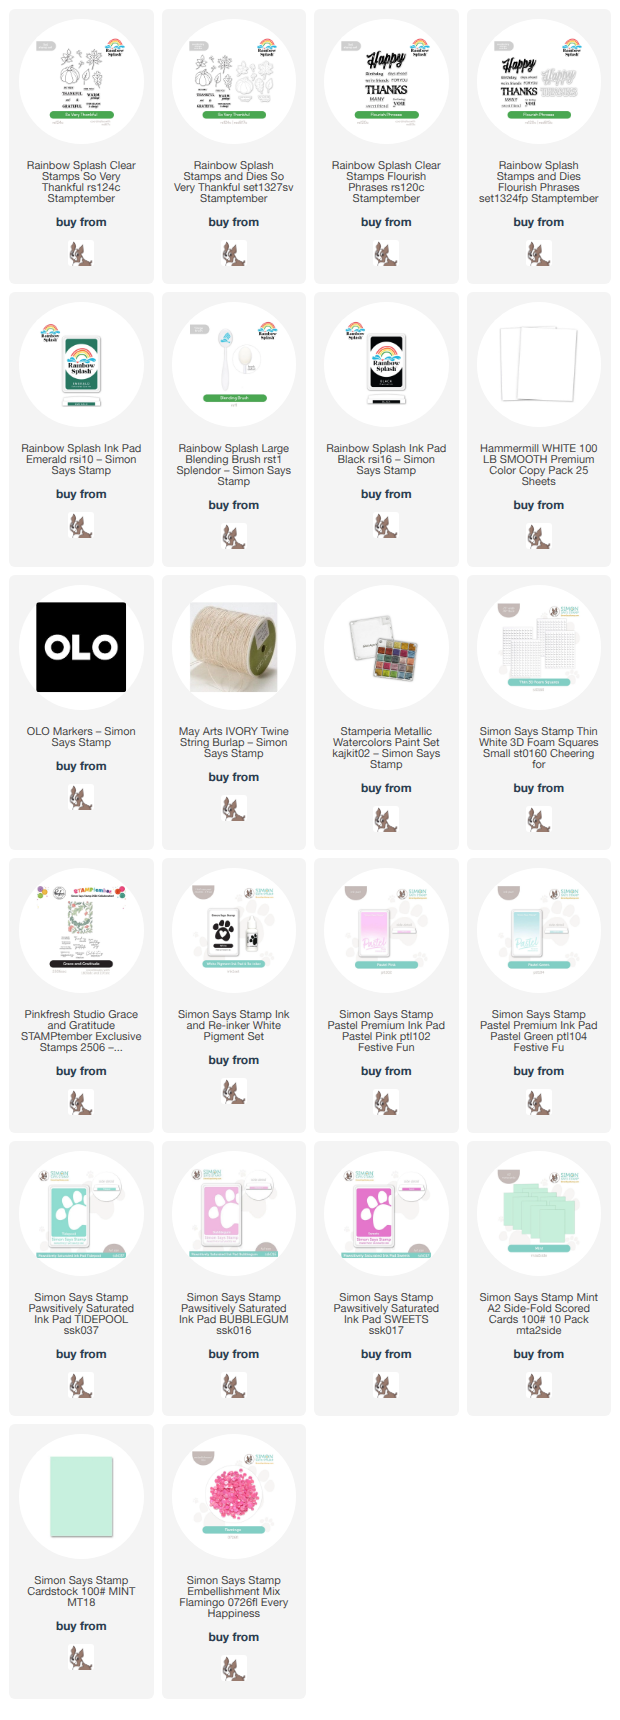
Filed Under: simon says stamp, Uncategorized Tagged With: flourish phrases, ink blending, olo markers, pinkfresh studio, rainbow splash, so vey thankful, stamptember, thank you card

Simon Says Stamp STAMPtember Collaboration Set with InkOn3!

September 23, 2026

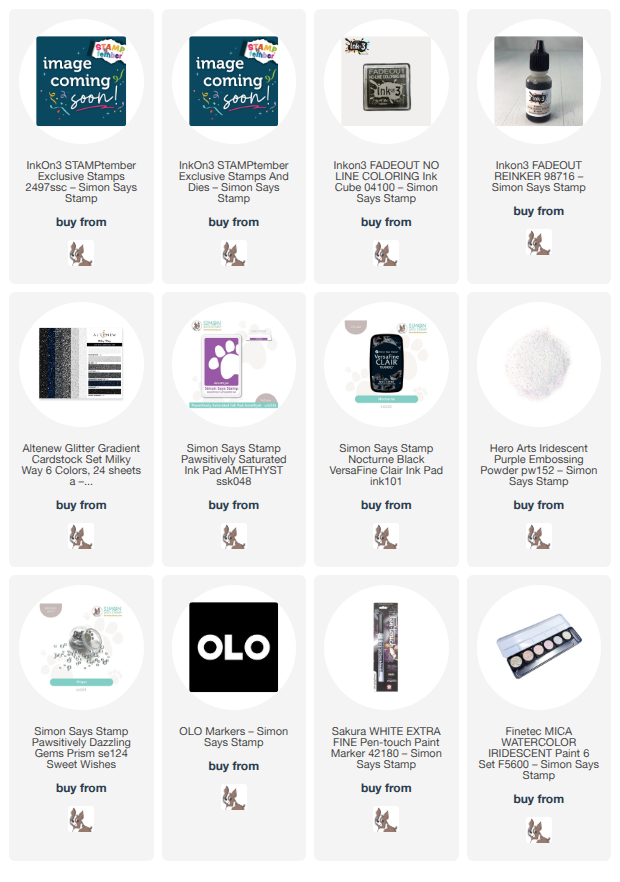
Hi friends! The new InkOn3 Witch Cat Collaboration Set (click HERE to see all of the details!) for STAMPtember is now available, and it’s so dang cute…. I can never resist a cute kitty! I was first introduced to InkOn3 a long time ago when they released their Fadeout Ink (click HERE), which is absolutely perfect for no-line watercoloring and alcohol marker coloring with your stamps. It makes it super easy to look like you can draw as well as color beautifully! I’ve tried other brands of no-line coloring ink and I always come back to the original. (The full sized pad is currently sold out, but the cube and re-inker are still in stock!) This sweet Witch Cat collaboration set features a huge kitty with a sassy witch’s hat and semi-spooky moon. Here’s a peek at this exclusive, limited edition set:

I just love the style of the kitty, with a storybook illustrative style that makes no-line coloring super fun. I created a magical all-purpose card with my OLO Markers and some sparkling additions, so let’s get started with the details on my project!

I began by stamping the Witch Cat image on some plain white cardstock using InkOn3’s Fadeout Ink. This ink fades beautifully into the background when alcohol marker is applied to the image, making it look as though you have some serious artistic skills! I used my OLO Markers to add vibrant color to the pumpkins and moon, then decided to go completely classic Halloween and create a black kitty. I kept true to the illustration, using the “fluff lines” as a guide for where to put my shadows and highlights. I added some white paint pen to the jade green eyes, nose, and whiskers, as well as a bit of sparkling silver watercolor to the buckle on the witch hat for some special details! Once I had completed the coloring process, I used the coordinating die to cut out the generously-sized image.

After I had finished coloring and die cutting the stamped image, I wanted to keep the color palette as seamless as possible between elements. I had selected a lavender card front for the background, blended with Amethyst Pawsitively Saturated Ink in the corner, so I selected a coordinating shade of purple OLO Marker from my stash and colored around the edges of the entire die cut image. It looks much lighter in the photo, for some reason, but in reality that die cut edge matches quite nicely with the background!

Before assembling the card, I splattered that blended corner with some sparkling iridescent watercolors to add to the magical aesthetic. I love how the water spots and the watercolors add such texture and interest to the background! For the greeting, I stamped the “you’re simply magical” sentiment from Witch Cat onto some more lavender cardstock using Nocturne ink, then added some Iridescent Purple Embossing Powder over the top, creating a fabulous iridescent embossed sentiment. I used the coordinating die to cut out the greeting, then began assembling the elements of the card. I cut down some shimmering iridescent gray glitter cardstock into a flagged strip, layering it behind the kitty die cut on the splattered background. I added the sentiment over the top with some more foam adhesive squares, finally finishing everything off with some Prism Pawsitively Dazzling Gems!

Well, that’s all for my project today! Remember: these STAMPtember Collaboration sets are exclusive to Simon Says Stamp and Limited Edition, so don’t wait. All of the collaboration sets have sold out thus far, so you won’t want to miss out on this adorable kitty! Thanks so much for stopping by today, and Happy STAMPtember!

Filed Under: ink on 3, simon says stamp, Uncategorized Tagged With: die cutting, halloween card, ink blending, no line coloring, OLO marker, olo markers, stamptember, witch cat

Simon Says Stamp STAMPtember Surprise: Boo Bundle Halloween Card Kit!

September 22, 2026

This post was sponsored by Simon Says Stamp. Thanks, Simon! *I have gathered links to all of the products used at the bottom of the post for your convenience, using affiliate links at no extra cost to you. Thank you for shopping with my links! I truly appreciate your support for my work!*

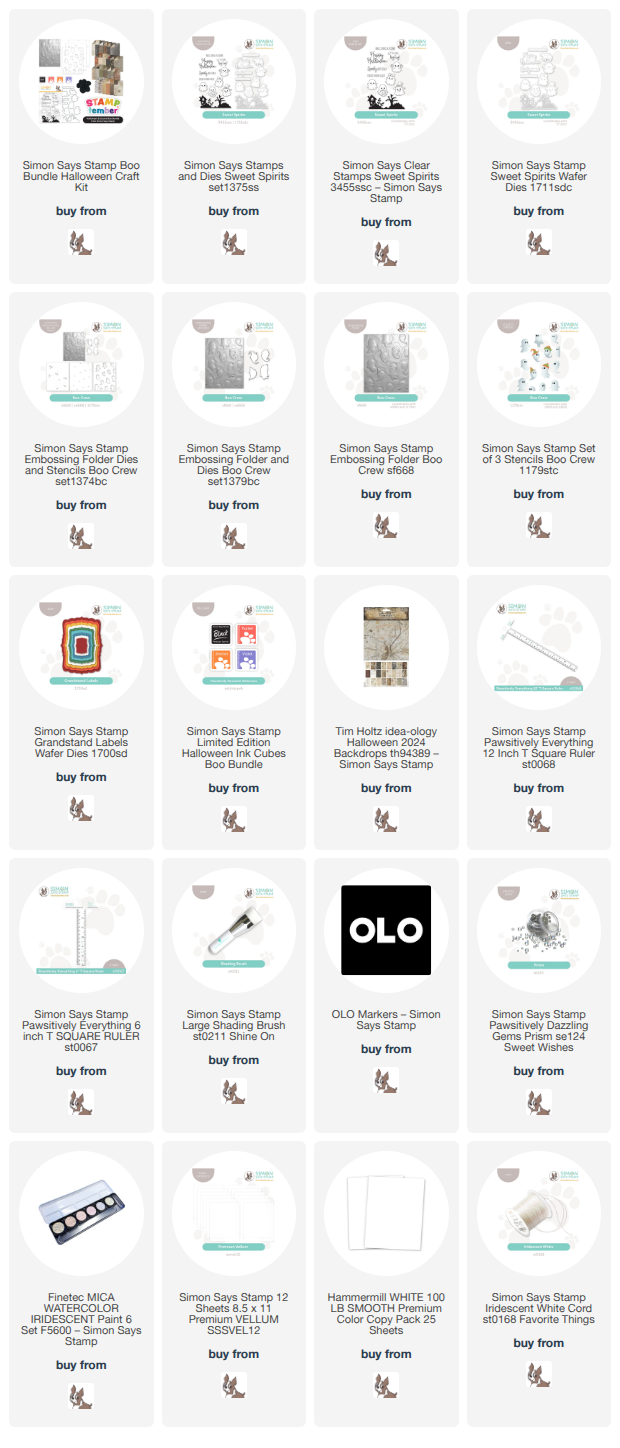
Hi friends! Simon Says Stamp isn’t done with STAMPtember surprises, and today’s release is just darling. If you love coordinating products and cute Halloween goodies (I’m not a “blood and guts Halloween” fan, but I can definitely get on board with cute ghosties and witches!) then the brand new Boo Bundle Card Kit (click HERE to see all of the details on the Simon Says Stamp website!) is right up your alley!! Here’s a peek at the kit:

It’s packed full of goodies, from stamps and dies to embossing folders and stencils to extra goodies that make your cardmaking super streamlined and super fun. And on top of that, it’s an excellent value, retailing at only $49.97 for over $90 worth of product! As always with Simon’s kits, this kit is limited edition and so is the incredible value. If you miss out on the kit, you can still purchase the individual components. If you love this kit, don’t wait!

The kit includes so many darling elements that work beautifully together or separately. I created this pair of not-so-scary Halloween cards that are perfect for younger kids, especially. I kept the color palette simple, sticking with black, white, and a touch of the Violet ink included with the kit. Let’s get started with the details on my projects!

For my first project, I did a little masking and a little stamping to create this fairly flat and fairly simple project. I started by masking off the bottom 1/3 of the card with some Post-It Notes and my T-square ruler to make sure everything was straight, then used a shading brush to blend Violet ink in a semi-circle above the masked area. Keeping the mask in place, I stamped the spooky house and tree silhouette stamp from Sweet Spirits, included with the kit, using the Black ink cube included with the kit. I used a few more Post-It Notes to cover the house before I splattered the sky with sparkling iridescent watercolor “stars.” Next, I covered the “seam” with a strip of black glitter cardstock from my stash to help simplify the transition between the top and bottom portions of the card.

For the main focal point, I stamped a sweet little ghostie from Sweet Spirits with a bow on some plain white cardstock and added a touch of shadow and some coordinating purple to her bow. (Love that the black ink included with the kit is alcohol marker-friendly!) I also stamped a greeting with the same black ink, then die cut both images with their coordinating dies. Finally, I added some iridescent Prism Pawsitively Dazzling Gems for another pop of sparkle!

For my second card, I chose to create a layer cake of patterns. I embossed the Boo Crew embossing folder using white cardstock, then used the stencils to add some subtle gray shadows to the ghosts, darker gray eyes, and added Violet blending for their hats. I trimmed the bottom 1/2 from the embossed panel, then trimmed some black and white patterned paper included with the kit. I broke up the different patterns with another strip of black glitter cardstock from my stash, creating a visual barrier between the two busy black and white patterns. For the greeting, I stamped two different sentiments from Sweet Spirits using black ink and die cut them, placing them on the very edge of the card front with a piece of vellum cut using the Grandstand Labels die set. I finished the project off with an Iridescent Cord bow and a few more Prism Pawsitively Dazzling Gems!

Well, that’s all for my projects today! This darling Boo Bundle Card Kit is sure to sell out, so don’t wait if it’s right up your alley. (click HERE to see all of the details!) Thanks so much for stopping by today, and have a marvelous day!

Filed Under: simon says stamp Tagged With: boo bundle, boo crew, card kit, die cutting, embossing folder, grandstand labels, halloween, ink blending, limited edition, olo markers, patterned paper, spooky, sweet spirits

Simon Says Stamp STAMPtember 2026 Collaboration with Pink & Main Release!

September 21, 2026

Hi friends! I am a day late due to a weather-induced migraine, but I wanted to pop on quickly and share the absolutely adorable STAMPtember collaboration set from Simon Says Stamp and Pink & Main! (Click HERE to see it on the website!) Here’s a sneak peek:

One of my fondest holiday memories is also somewhat bittersweet; one of the last Christmas celebrations that we had at my Grammy’s house with everybody together was an ugly Christmas sweater party for the grandkids. My cousins, husband, sister, and I had such fun combing thrift stores for the “ugliest” sweaters we could find! (We all know that an “ugly” sweater is 100% in the eye of the beholder though!) I was definitely thinking of that fun memory whilst creating my project for today.

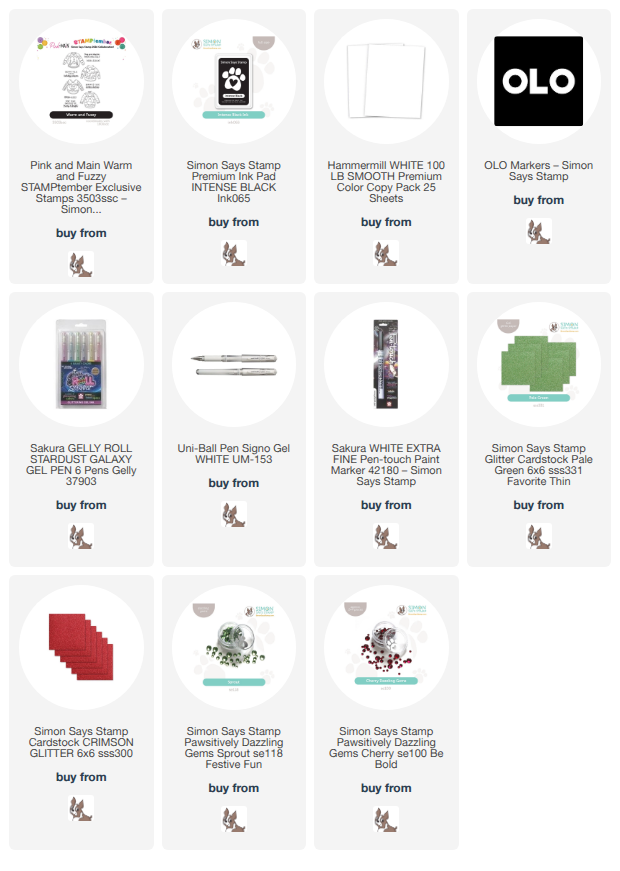
I began my project by stamping all four of the sweaters from the limited edition Warm and Fuzzy STAMPtember set using alcohol marker-friendly black ink on plain white cardstock. I then used my OLO Markers to add traditional holiday colors to the sweaters, embellishing the decorative accents with sparkle pens and metallic paint pens for a bit more festive flair!

Once I had finished coloring all of the images, I used the coordinating dies (which are sadly sold out-apologies for my tardiness in posting this!) to die cut all of the sweaters. I the used my guillotine trimmer to trim down some coordinating strips of glitter cardstock in red and green and adhered them to my card base. I arranged the sweaters all down the strips of glitter cardstock, almost as though they were hanging there in a holiday display!

After I had placed my sweaters on the card front with foam adhesive, I stamped a sentiment from Warm and Fuzzy with black ink, then tucked it amongst the sleeves, popping it up with some foam squares. The final touch was a few sparkling red and green Pawsitively Dazzling Gems!

Well, that’s all for my project!

Important note: these fabulous and exclusive STAMPtember collaboration sets are limited edition, meaning that once they sell out, they won’t be restocked. Don’t wait on these! You won’t want to miss out! Click HERE to see all of the collaboration sets that remain!

Thanks so much for stopping by today, and happy STAMPtember!!

Filed Under: Pink & Main, simon says stamp Tagged With: christmas card, holiday card, olo markers, stamptember, ugly christmas sweater, warm and fuzzy

Simon Says Stamp Exclusive STAMPtember Collaboration: Concord & 9th!

September 19, 2026

Hi friends! I am back today with another absolutely fantastic, highly-anticipated collaboration set reveal from crafty superstar Concord & 9th! Concord & 9th continues to wow the crafty community with each release, creating innovative and bold designs and exquisitely curated color products. This STAMPtember collaboration release (click HERE to check it out!) is a perfect representative of their bold style, allowing us tons of creative options. Here’s a sneak peek:

This exclusive, limited edition Incredibly Grateful collaboration stamp set and coordinating dies are gorgeously bold, with tons of options for customization. I chose to put that spectacular colored cardstock from Concord & 9th to good use and created a pair of coordinating-but-not-matching projects that are a colorful homage to the end of summer. Let’s get started with the details on my projects!

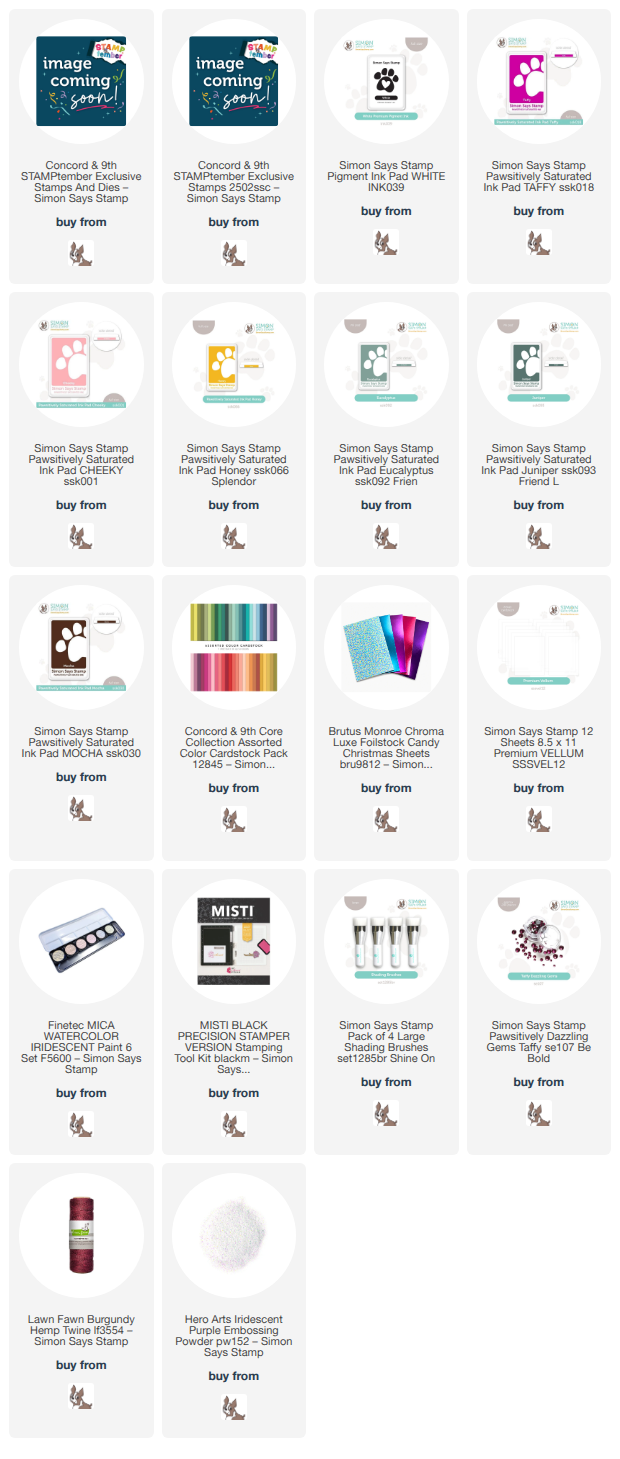
In order to create the vibrant stamped colors on both of these vividly colored cardstocks, I had to use a secret weapon: white pigment ink. I’ve shared projects of this nature before, and I am super stoked about how beautifully these came out. The theory is basically this: the white pigment ink stamped first creates a barrier between the colored dye ink sinking down into the cardstock. It goes back to the color mixing that you learned in grade school, in which red + green = brown, yellow + blue = green, blue + red = purple, etc. The same holds true for colored cardstock and ink. Stamping these colors, particularly the yellow and green, on these vibrant pinks would simply create mud or not be visible at all, but with that first layer of white pigment ink, you can create a barrier to prevent those transparent dye inks from sinking down into the cardstock and losing their vibrancy!

To begin my first card, I placed my A2 panel of vivid mid-pink cardstock in my MISTI and began stamping the scalloped rectangle background from Incredibly Grateful with Simon Says Stamp White Pigment Ink. The MISTI is very important for this technique, unless you are an excellent re-stamper! I then stamped the same image again directly over the top of the white rectangle with Mocha Pawsitively Saturated Ink. I repeated this process with each subsequent image, filling in all of the openings with their appropriate images and stamping each first with white pigment ink to create that barrier. I then used Pawsitively Saturated Inks in shades of Taffy, Cheeky, Honey, Eucalyptus, and Juniper to stamp all of the images. I think my favorite color on this bright medium pink cardstock is the sunny yellow! That particular color would simply have darkened the pink cardstock without that white barrier, but with it, it remains vivid.

After I had finished stamping the card front, I decided to also stamp an extra Taffy flower on a separate piece of the same mid-pink cardstock, again using the white pigment ink as the first layer. I used scissors to fussy cut the image. I used some vibrant magenta foil cardstock and vellum to die cut the pretty “thankful for you” sentiment die set. I love that there are so many additional options included with the coordinating dies… so much value in this stamp and die combo! I popped up the sentiment and the extra flower with some thin foam adhesive squares, then added some Taffy Pawsitively Dazzling Gems for a little sparkle and a deep maroon twine bow for texture!

My second card uses the individual flower and foliage images from Incredibly Grateful to create a little bouquet without the adorable scalloped frame. I love that there are so many creative options with this set. I used the same technique as above, stamping the white pigment barrier first and then stamping again directly over the top with the colorful dye inks. This time, I used a darker shade of pink cardstock, almost a magenta, and that really helped those lighter-colored dye inks to pop! After I had stamped all of the images, I used a blending brush to blend Taffy ink in the top corner of my stamped card, adding some sparkling splatters in the blended area. I think it looks like raindrops!

For the greeting, I used some more of the incredible dies to die cut embossed sentiments, creating a fabulous custom sentiment. You have tons of options for greetings with the Incredibly Grateful set!! I stamped both greetings with white pigment ink (an homage to white pigment ink today!) and added iridescent embossing powder over the top to make those crisp letters pop! A few Taffy Pawsitively Dazzling Gems and another maroon twine bow finishes everything off. Both of these cards would be fairly flat and easy to mail!

Well, that’s all for me today!

Important note: these fabulous and exclusive STAMPtember collaboration sets are limited edition, meaning that once they sell out, they won’t be restocked. Don’t wait on these! You won’t want to miss out! Click HERE to see all of the remaining STAMPtember collaboration sets, and if there’s a company coming up that is a favorite of yours, be sure to add your email to the “notify me” box so that you know as soon as it’s available!

Thanks so much for stopping by today, and happy STAMPtember!!

Filed Under: Concord and 9th, simon says stamp, Uncategorized Tagged With: colored cardstock, incredibly grateful, ink blending, stamptember, thank you card, white pigment

  • « Go to Previous Page
  • Page 1
  • Page 2
  • Page 3
  • Page 4
  • Page 5
  • Interim pages omitted …
  • Page 143
  • Go to Next Page »

Primary Sidebar

  • Facebook
  • Instagram
  • Pinterest
  • YouTube

Favorite Shops

Secondary Sidebar

Subscribe

Enter your email address to subscribe to this blog and receive notifications of new posts by email.

Instagram
Something is wrong.
Instagram token error.
Follow
Load More

Archives

Tags

3D embossing folder alcohol markers better press birthday birthday card blog hop card kit christmas christmas card christmas tag colored pencil copic copic coloring Daniel Smith die cutting embossing folder embroidery felt giveaway holiday holiday card hot foil ink blending karin brushmarker pro layered stencil masculine my monthly hero new release no line coloring no line watercolor OLO marker olo markers original illustration pawsitively saturated rainbow shaker card slimline stamping stamptember stencil thank you thinking of you valentine's day video watercolor

Popular Posts

Simon Says Stamp Sending Cheer Blog Hop- Day 2 + Freebie + Giveaway!
Altenew October 2026 Release Blog Hop + Giveaway!
Altenew Build A Flower Sweet Violet+Giveaway!
Floral Follies on Canvas with New Simon Says Stamp STAMPtember!
Simon Says Stamp STAMPtember Tim Holtz Collaboration: Festive Holidays!
Altenew Paint A Flower: Carnation Blog Hop+Giveaway!
Autumn Legs with Colorado Craft Company and Catherine Pooler!
Hero Arts Partners Blog Hop: Lawn Fawn!
Rustic Monochromatic Stars for Christmas with Rainbow Splash!
Altenew March 2020 Release Blog Hop+Giveaway!

Disclosure

Some affiliate links are used in my posts. This means that, should you click on one of my links and purchase something from that company, I will receive a small portion of the sale at no extra cost to you. I use the money earned from these sales to help maintain my blog. I so appreciate you visiting and, if you do choose to use one of my affiliate links, thank you so much for your support!
Copyright © 2026 ·Brunch Pro Theme · Genesis Framework by StudioPress · WordPress · Log in
Loading Comments...