• Skip to main content
  • Skip to primary sidebar
  • Skip to secondary sidebar

Sixth Street Sundries

Emily Midgett

  • Home
  • About Me
  • Contact
  • OLO Marker Color Swatch Chart
  • Shop

Wplus9

Elegant Christmas Cards in 20 Minutes or Less: Volume 4 with Wplus9!

December 18, 2020

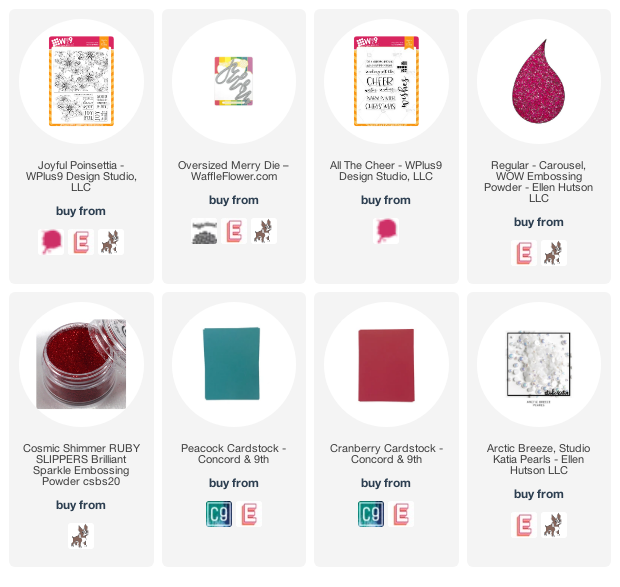
Hi there! I’m back again today with another project for my “Christmas Cards in 20 Minutes or Less” series, this time featuring a truly stunning stamp set from Wplus9’s latest release, called Joyful Poinsettia. I’ve paired this beautifully detailed background stamp with some vibrant teal cardstock and sparkling embossing powder.

Here’s the video:

Or you can watch in HD here.

One of my favorite ways to make quick, elegant cards is to add lots of bling, bold color, and sparkling glitter, and what better time of year to have a little extra sparkle than at Christmas? Combining a beautiful background stamp with lots of color and glitter makes for a perfectly festive base for your card, and in one fell swoop! Adding a large sentiment die cut in a vivid color makes a huge impact with minimal effort, as well.

I started by heat embossing the Joyful Poinsettia on some Peacock cardstock from Concord and 9th using sparkling red embossing powder. This combination results in a beautiful holiday toile that can almost stand alone as the card front in and of itself! Next, I die cut a bright red Merry using the Oversized Merry from Waffleflower and popped it up using foam adhesive. I also added a white embossed “Christmas” from the Wplus9 All the Cheer stamp set on a strip of some more cheery red cardstock. I added a few iridescent white pearls to tie in the white embossing and add a bit of extra shine and texture to the card front.

Well, that’s all for my “Christmas Cards in 20 Minutes or Less” project today. I hope these videos are giving you some useful tips for your last minute holiday cardmaking. We all are so busy this time of year that any little tricks to simplify things a bit helps! Thanks so much for stopping by today, and have a marvelous day!
Filed Under: Wplus9 Tagged With: christmas toile, easy christmas card, glitter, joyful poinsettia, oversized merry

Happy Independence Day!

July 4, 2019

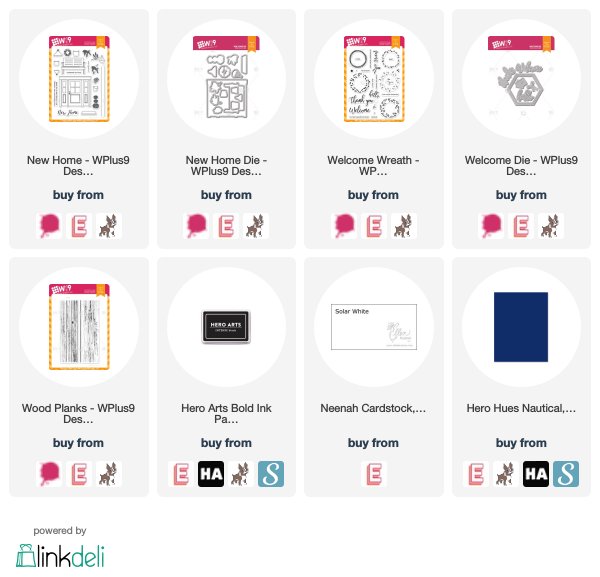
Hi there! Happy Independence Day! It’s ridiculously hot and humid here, so I spent today inside coloring while my hubby and kiddos went fishing amongst the bugs and sweat. 😉 I have been wanting to color up the gorgeous door from Wplus9’s New Home stamps, and creating a festive Red+White+Blue front porch seemed the perfect way to celebrate July 4th on my blog!

I started by stamping the images from New Home on some Neenah Solar White card stock using Copic-friendly black ink, then colored them using red, white, and blue Copic markers. (I love that red bench and want one for my own front porch, though my mustard-yellow house probably isn’t the best backdrop for it!) I used the coordinating dies to cut all of the images out.

After I’d finished stamping, coloring, and die cutting the images, I used the Wood Planks stamps to stamp a nice, neutral background on a 4.5×8″ panel of card stock. The New Home stamps are so generously sized that I wanted a comparably large background so that they wouldn’t look crowded on my card front!

For the greeting, I used the Welcome Wreath stamps and a “thanks” from the Welcome Die set cut from some navy blue card stock three times and stacked to create a dimensional die cut. I adhered the die cuts with a mixture of liquid and foam adhesives on my wood grain backdrop to create lots of dimension.

Well, thanks so much for stopping by today! I hope you are having a wonderful holiday with your family and friends, and if it’s just another Thursday for you, well I hope you’re having a marvelous day! Thanks so much for stopping by!

Filed Under: Wplus9 Tagged With: independence day, july 4th, new home, welcome die, welcome wreath

Wplus9 Guest Post and Sneak Peek!

December 12, 2018

Good morning! Happy Wednesday to you! I have some exciting news to share… I’m over on the Wplus9 blog today sharing a video on how I created this watercolored card! Eek!

You can also head to the YouTube channel to see the video in HD! 

I hope you’ll stop by and check it out! 🙂 Have a marvelous day, friends! 

Filed Under: video, watercolor, Wplus9 Tagged With: floral, guest post, holiday, video, watercolor

Wplus9 Holiday Release Playtime!

October 26, 2018

Good morning! Today, I have a few special projects using the new holiday release from Wplus9! Dawn was kind enough to let me play with the products a little in advance, and so I have two holiday cards and a tag to share with you today using some of the brand new goodies from this year’s holiday release. These images are so timeless… and perfect for making some sweet holiday cards. Let’s get started with the details!

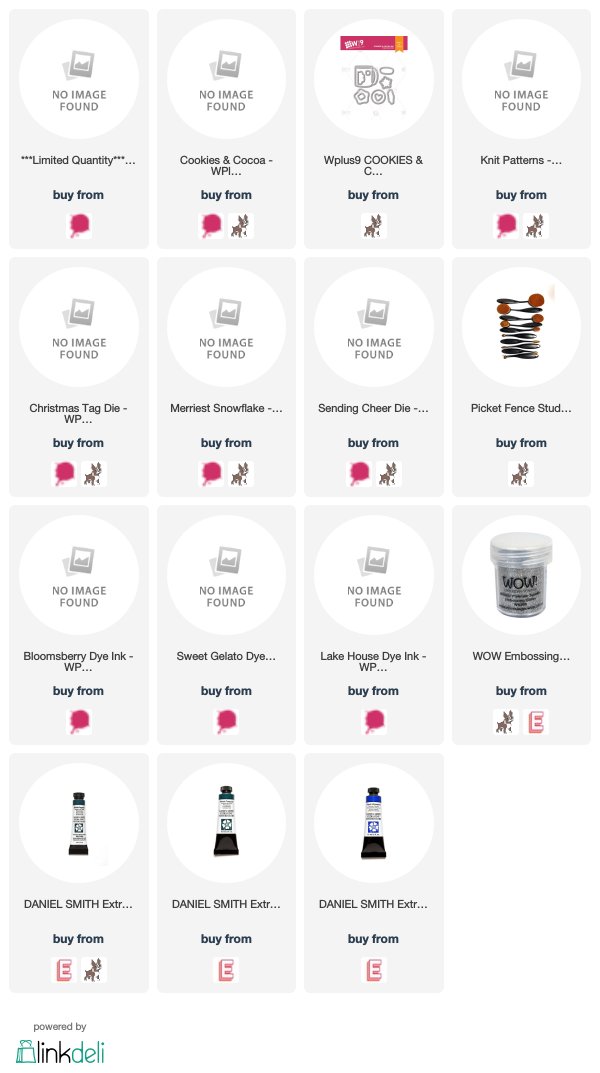
My first project today focuses on the darling new Cookies and Cocoa stamp and die (which you can also purchase in a discounted bundle for a limited time!). This set is super cute, not to mention versatile, because not only does it include the outline stamps for a lot of the images, it also includes the solid stamps, so if you’re in need of a quick card, you can do some lightning-fast stamping… or you can choose to do some leisurely coloring with the medium of your choice, as I chose to do for this project. I stamped the main mug outline onto some white, Copic-friendly card stock, then used my Copic markers to color the mug a vibrant, Christmas red. I also stamped and die cut some marshmallows that fit perfectly in the little slit at the top of the mug die cut (so clever!).

I wanted a simple, easily mailed holiday card, so for the backdrop for my mug, I used the new Picket Fence Studios blending brushes to blend a subtle gray halo towards the center of the white A2 card front. I adhered my mug using dimensional foam adhesive, then added a sentiment strip (with the sweet greeting also from Cookies and Cocoa) using dimensional adhesive. Quick, easy peasy, and perfect for mass-production, especially if you omitted the Copic coloring and used the solid stamp included in the stamp set!

For my second project, I whipped up a quick, colorful tag using the new Knit Patterns stamp set. You can create so many different patterns and textures using the stamps included in this set… tons of options! I created a background on an A2 panel of card stock lickety split using Wplus9’s Bloomsberry, Sweet Gelato, and Lake House inks. I die cut the tag using Wplus9’s Christmas Tag die, which is an older die set, but definitely a classic, and a lovely, generous size, too. I added a die cut greeting from the Christmas Tag die set cut from some purple card stock and added a twine loop. Done and dusted in about 20 minutes!

For my final project today, I wanted to focus on that beautiful snowflake included in the Merriest Snowflake stamp set, so I heat embossed it randomly across an A2 sheet of Arches Cold Press watercolor paper using Wow’s Platinum Sparkle embossing powder. I wanted to create an ethereal watercolored background, so I chose to drop in color using the wet-on-wet technique. I taped my embossed panel down to a cutting board, then thoroughly wet the panel and dropped in touches of Daniel Smith Ultramarine Blue and Phthalo Turquoise, swirling them around until I achieved the mottled, colorful background I was after. I also spritzed this already-super-sparkly watercolored panel with some shimmer spray… let me tell ya, these photos do not do this one justice. #sosparkly

While my panel was drying, I worked on the greeting. I used the new Sending Cheer die to create a dimensional die cut, twice from plain white card stock, once from blue shimmer card stock, and once more from some card stock that I’d embossed with the Platinum Sparkle embossing powder. (I hate when my metallics don’t match! Ack!). I layered all of the pieces together with liquid adhesive. I also stamped a greeting from Merriest Snowflake on a strip of minty card stock. I trimmed 1/8″ off of each edge of the snowflake panel and matted it on some more shimmery blue card stock, adhered my greeting pieces, and added a few gems for even more sparkle. (Because why not?)

Well, I hope you’ve enjoyed my projects today! Wplus9’s new release is just gorgeous, so if you haven’t looked already, I’d encourage you to go check it out! Thanks so much for stopping by today, and have a marvelous Friday!


Filed Under: christmas card, heat embossing, holiday card, watercolor, Wplus9 Tagged With: christmas, copic, holiday, tag

Birds and Butterflies…

September 1, 2018

Good morning! Happy Saturday. I was given the opportunity to play with the gorgeous new Wplus9 release (thanks, Dawn!), and I have a few cards to share with you today!

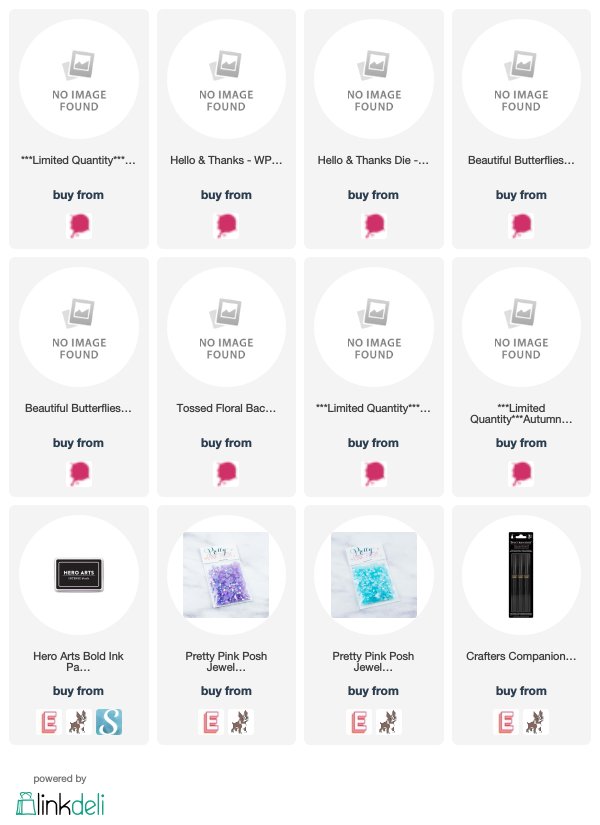
One of the new sets released yesterday is just lovely. It’s called Beautiful Butterflies and it’s a smaller set, with some pretty butterfly images and a fantastic sentiment. I began by die cutting a couple of the butterflies and stamping them with Copic-friendly ink, then coloring them with some cool pinks, purples, and blues. I also covered them liberally with some Spectrum Noir Shimmer pen to add lots of sparkle.

I stamped and die cut the greeting in black using the coordinating dies. For the background, I die cut one of the Tossed Floral Background Dies from some white card stock, then mounted it on a white card base to create subtle texture. I adhered the greeting strips and die cuts using foam adhesive, then adhered the sparkly butterflies, curving their wings up a bit for added dimension.

Copics used: RV17, 63; V05; B63, 66; T10

For my second project, I was still in a white-on-white kinda mood, so I used the absolutely gorgeous new Hello and Thanks stamps and dies  (which are on a sale in a bundle in limited quantities!) to add pops of pretty color on that bright white card front. I used an older cover plate die from Wplus9 called the Lattice Frame. This is one of my favorite standalone dies from Wplus9… It’s perfect to add just a bit of texture and interest to the background of your card front.

I die cut the Lattice Frame die from white card stock, then layered it on a white card front using foam tape to help enhance the texture created with the white-on-white die cuts. I then began work on the flowers and other little bits from the new Hello and Thanks set. I die cut the floral images, teacup, and some birds, then stamped them with Copic-friendly ink. I then colored them using purple, mauve, and blue Copics. I love that these flowers leave some of the details to your own personal interpretation. They’re not so intricate that you have to follow the guidelines of the artist when doing your shading; you can add your own personal style on how to best add depth to the images.

Copics used: BV02, 04, 13; V05, 06, 09, 12, 15, 17; BG09, 13, 32, 34, 49, 57; B63, 66, 69; T7

After coloring all of the images with Copic markers, I worked on my arrangement. I determined placement of all of the flowers, teacup, and the bird, then used some Press’n’Seal to pick them up while still in my carefully-arranged cluster. I added foam adhesive to the back while still attached to the Press’n’Seal, then adhered them to the card front.

I stamped and die cut a greeting from Hello and Thanks, then added it to the card front, finally adding a smattering of jewels to finish the card off and add some sparkle.

Well, that’s all for me today! I am in love with this new release from Wplus9…. I can’t wait to get watercoloring those Sunflowers and the new Butterfly Mandala set. There just aren’t enough hours in the day! Thanks so much for stopping by, and have a marvelous holiday weekend!


Filed Under: Wplus9 Tagged With: copic coloring, copics, new release

  • Page 1
  • Page 2
  • Page 3
  • Go to Next Page »

Primary Sidebar

  • Facebook
  • Instagram
  • Pinterest
  • YouTube

Favorite Shops

Secondary Sidebar

Subscribe

Enter your email address to subscribe to this blog and receive notifications of new posts by email.

Instagram
Something is wrong.
Instagram token error.
Follow
Load More

Archives

Tags

3D embossing folder alcohol markers better press birthday birthday card blog hop card kit christmas christmas card christmas tag colored pencil copic copic coloring Daniel Smith die cutting embossing folder embroidery felt giveaway holiday holiday card hot foil ink blending karin brushmarker pro layered stencil masculine my monthly hero new release no line coloring no line watercolor OLO marker olo markers original illustration pawsitively saturated rainbow shaker card slimline stamping stamptember stencil thank you thinking of you valentine's day video watercolor

Popular Posts

Simon Says Stamp October 2026 Card Kit of the Month: Homespun Gratitude!
Honey Bee Stamps Cheerful Love Blog Hop!
Altenew Craft A Flower: Poppy Blog Hop+Giveaway!
Autumn Legs with Colorado Craft Company and Catherine Pooler!
Simon Says Stamp Cozy & Bright Inspiration, Part Two!
February 2018 My Monthly Hero Blog Hop!
The Ton Anniversary Release- Day 2
Sunflower Home Decor with Simon Says Stamp!
Simon Says Stamp STAMPtember Surprise: Boo Bundle Halloween Card Kit!
Hero Arts Spring 2020 Catalog Release Blog Hop+Giveaway!

Disclosure

Some affiliate links are used in my posts. This means that, should you click on one of my links and purchase something from that company, I will receive a small portion of the sale at no extra cost to you. I use the money earned from these sales to help maintain my blog. I so appreciate you visiting and, if you do choose to use one of my affiliate links, thank you so much for your support!
Copyright © 2026 ·Brunch Pro Theme · Genesis Framework by StudioPress · WordPress · Log in
Loading Comments...