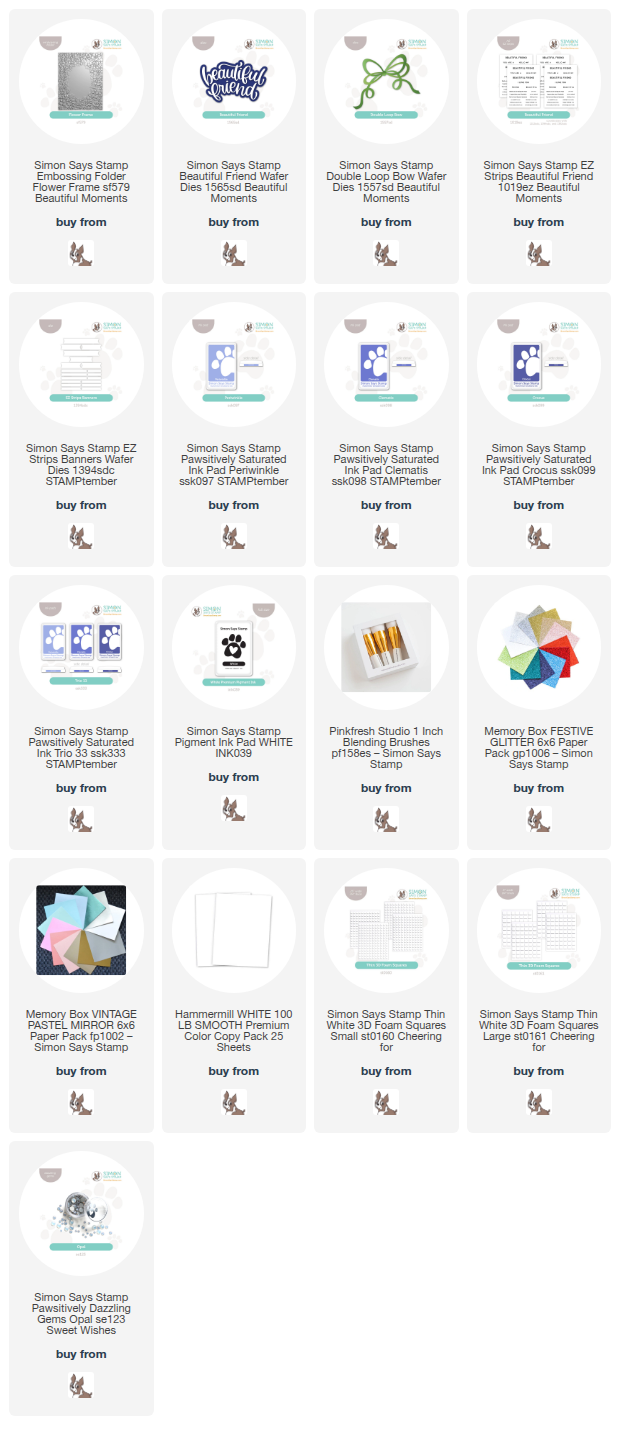
This post was sponsored by Simon Says Stamp. Thanks, Simon! *I have gathered links to all of the products used at the bottom of the post for your convenience, using affiliate links at no extra cost to you. Thank you for shopping with my links! I truly appreciate your support for my work!*
Hi friends! I am back with another new project featuring gorgeous products from the latest Simon Says Stamp release! (Check out the full Beautiful Moments release HERE!). The Beautiful Moments release is filled with extraordinarily lovely springtime products, from stamps and dies to stencils and embossing folders. Whenever I receive the new release, I always begin the creative process by pulling out products that are immediate favorites, and the new Flower Frame embossing folder was definitely in that first batch! My wedding flowers were blue hydrangeas and white roses, and this gorgeous floral frame absolutely reminded me of a lush bouquet of hydrangeas. Let’s get started with the details on my project!

To begin, I blended Pawsitively Saturated Ink Trio 33 (made up of Periwinkle, Clematis, and Crocus inks) in an ombré on a panel of white A2 cardstock. I blended first before embossing, because I wanted to ensure that the colors were smooth and evenly distributed throughout the entire panel, which would have been difficult if I had blended after embossing. The ink gets a bit more condensed in some areas on an embossed panel, so the order of blending and embossing is important! Once I had finished blending, I embossed the panel using the Flower Frame embossing folder, then placed my Simon Says Stamp White Pigment Ink Pad directly on the raised embossed areas and swiped, enhancing the beautifully detailed pattern of the embossed image.

After I had created the background, I did some die cutting. To further coordinate with the inked white blooms, I die cut the detail layer of the new Beautiful Friend die, as well as the Double Loop Bow, from some white specialty cardstock. When I have created a matte background like the blended and embossed floral frame, I like to make the die cut accents extra special with some shimmer and shine. I used white glitter cardstock for the sentiment die cut and iridescent white mirror cardstock for the pieces of the bow.

To enhance the generously-sized sentiment die cut, I used the EZ Strips Banners die to die cut one of the new Beautiful Friend EZ Strips sentiment panels, cutting a multitude of sentiments with one pass through my die cutting machine! I kept the card design relatively simple, popping up the die cut pieces on the embossed background with thin foam adhesive, finally adding some Opal Pawsitively Dazzling Gems for one last touch of sparkling white!
Well, that’s all for my project today. If you would like to see more inspiration using the Beautiful Moments release, Day 2 of the two-day blog hop is happening right now! Check out the Simon Says Stamp blog for all of the info. Not only is it filled with beautiful inspiration projects, there are prizes and freebies to be had, as well! You can check out my project from Day 1’s hop HERE. Thanks so much for stopping by today, and have a marvelous day!