• Skip to main content
  • Skip to primary sidebar
  • Skip to secondary sidebar

Sixth Street Sundries

Emily Midgett

  • Home
  • About Me
  • Contact
  • OLO Marker Color Swatch Chart
  • Shop

a2 arches

ILYSM for Mother’s Day with Simon Says Stamp + SALE!

May 10, 2026

This post was sponsored by Simon Says Stamp. Thanks, Simon! *I have gathered links to all of the products used at the bottom of the post for your convenience, using affiliate links at no extra cost to you. Thank you for shopping with my links! I truly appreciate your support for my work!*

Hi friends! I have one last project to share with you that was inspired by the CITI card that I helped teach at Simon Says Stamp CREATE last weekend! The beautiful striped backgrounds that I created for THIS post yielded three different projects. I used the first two striped panels as the background behind cover plate die cuts, but for today’s project, I thought I would allow the striped background and the gorgeous colors to be more prominently featured with the addition of a chunky sentiment and beautiful flora and foliage. Let’s get started with the details on my project!

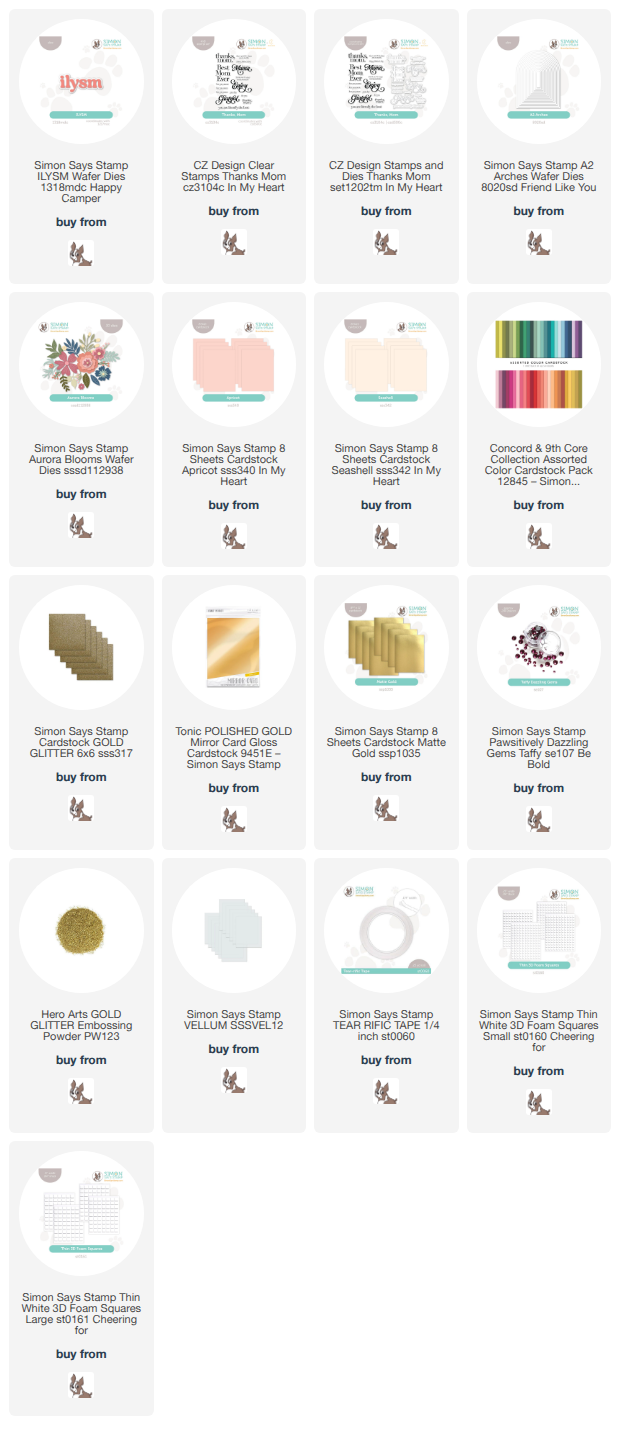
To begin, I used the same technique that I used to create the striped backgrounds from the post linked above: add vertical strips of double sided adhesive to my A2 panel, then create a pattern using horizontal strips of cardstock in a variety of widths all down the front of the panel. Once I had created the striped panel, I used one of the A2 Arches dies to die cut the panel, doing my best to make sure that the bottom was lined up straight with the cardstock strips! The sandwich was thick and impressed a bit of the pattern from the top cutting plate into the foil cardstock. Not perfect, but still so pretty!

After I had die cut the striped panel, I mounted it on a Seashell A2 card front using thin foam adhesive squares. I then die cut the ILYSM from gold glitter and vellum cardstocks, adhering the pieces together with liquid adhesive. I also heat embossed another sentiment from Thanks, Mom onto some deep raspberry cardstock using gold glitter embossing powder, then die cut the finished sentiment with it’s coordinating die. I popped the two sentiment pieces up on the striped panel with some more thin foam adhesive for a bit of extra dimension.

To add some pretty decorative elements to this bold and graphic card, I die cut several flowers, berries, and foliage from the Aurora Blooms die set using the same shades of cardstock used on the striped panel, as well as the addition of some shining gold foil cardstock. I added Taffy Pawsitively Dazzling Gems to the berry branches instead of the cardstock circle die cuts, adding additional sparkle and shine to this card. I just love the modern elements of this project paired with the pretty flowers and beautiful colors.

Well, that’s all for my project today! Now for some fun sale information:
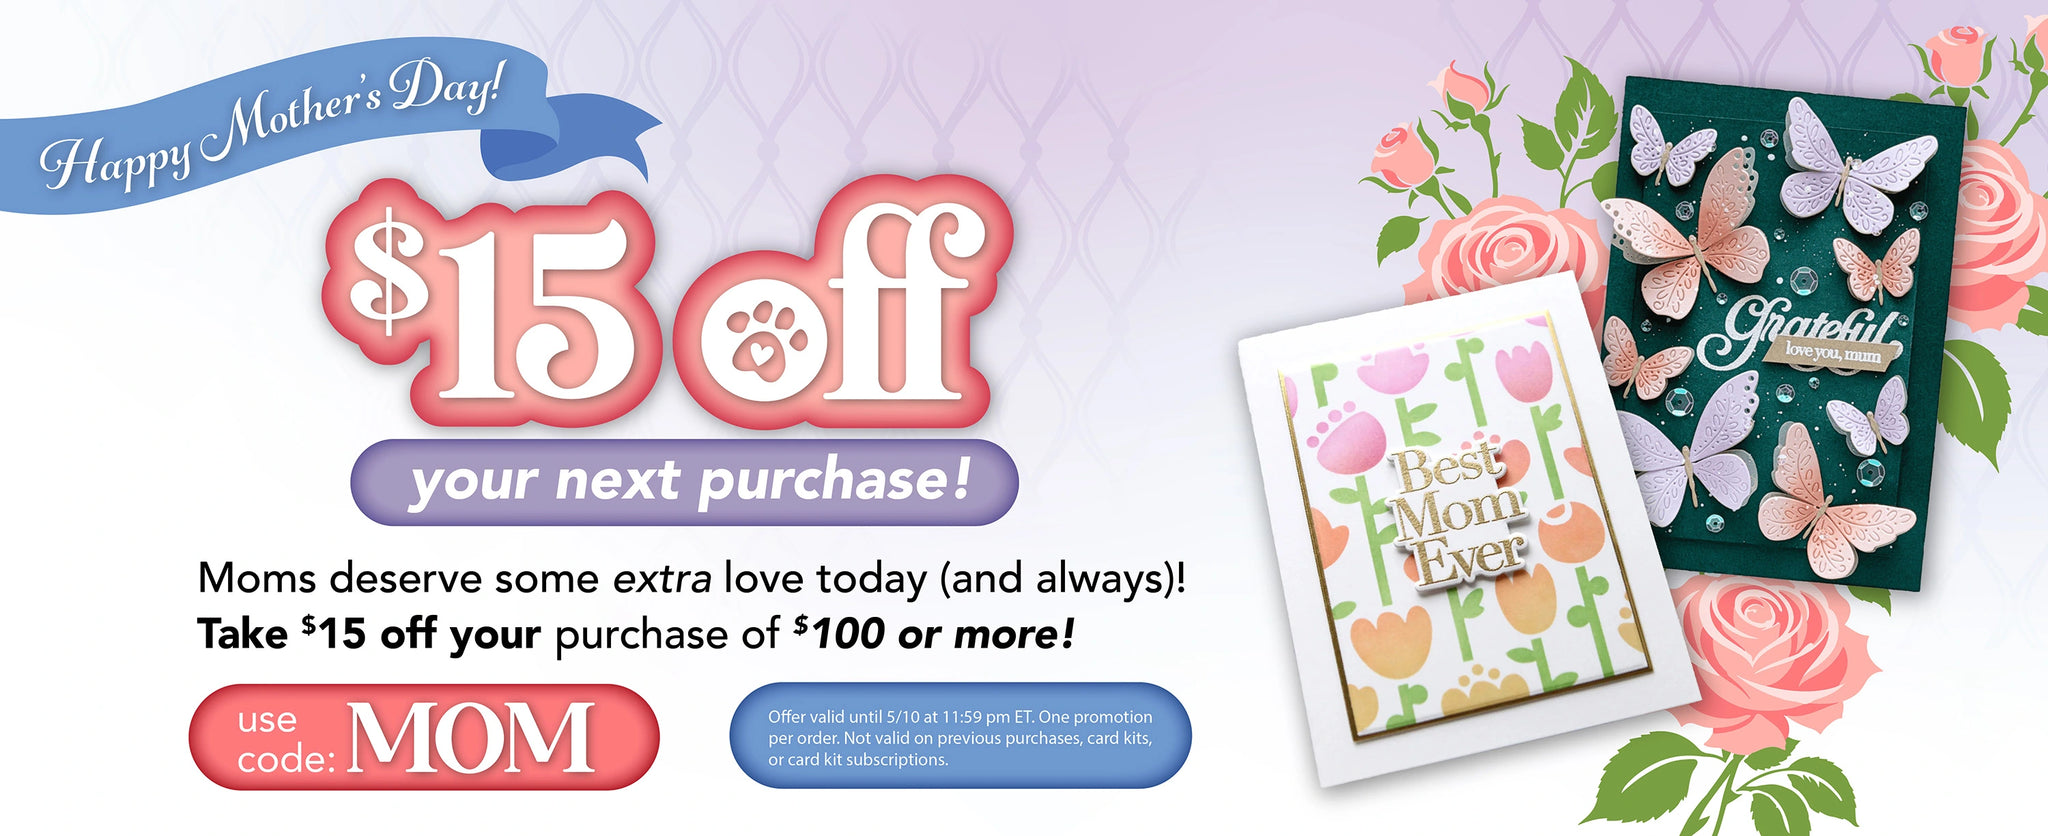
Simon Says Stamp is celebrating mothers for Mother’s Day with a sale through the end of the day! Simply fill your cart and add code MOM at checkout to receive $15 off your $100 purchase. Thanks, Simon!!

To those who are celebrating today, I hope you have a wonderful Mother’s Day with some rest, some yummy treats, and maybe a crafty gift or two. If this day is hard for you for any reason, I am sending lots of love and hugs.

Thanks so much for stopping by today, and have a marvelous day!
Filed Under: simon says stamp Tagged With: a2 arches, aurora blooms, cardstock stripes, die cutting, ilysm, thank you, thanks mom, you are the best

Simon Says Stamp Limited Edition Religious Card Kit-Now Available for Preorder!

October 23, 2025

This post was sponsored by Simon Says Stamp. Thanks, Simon!

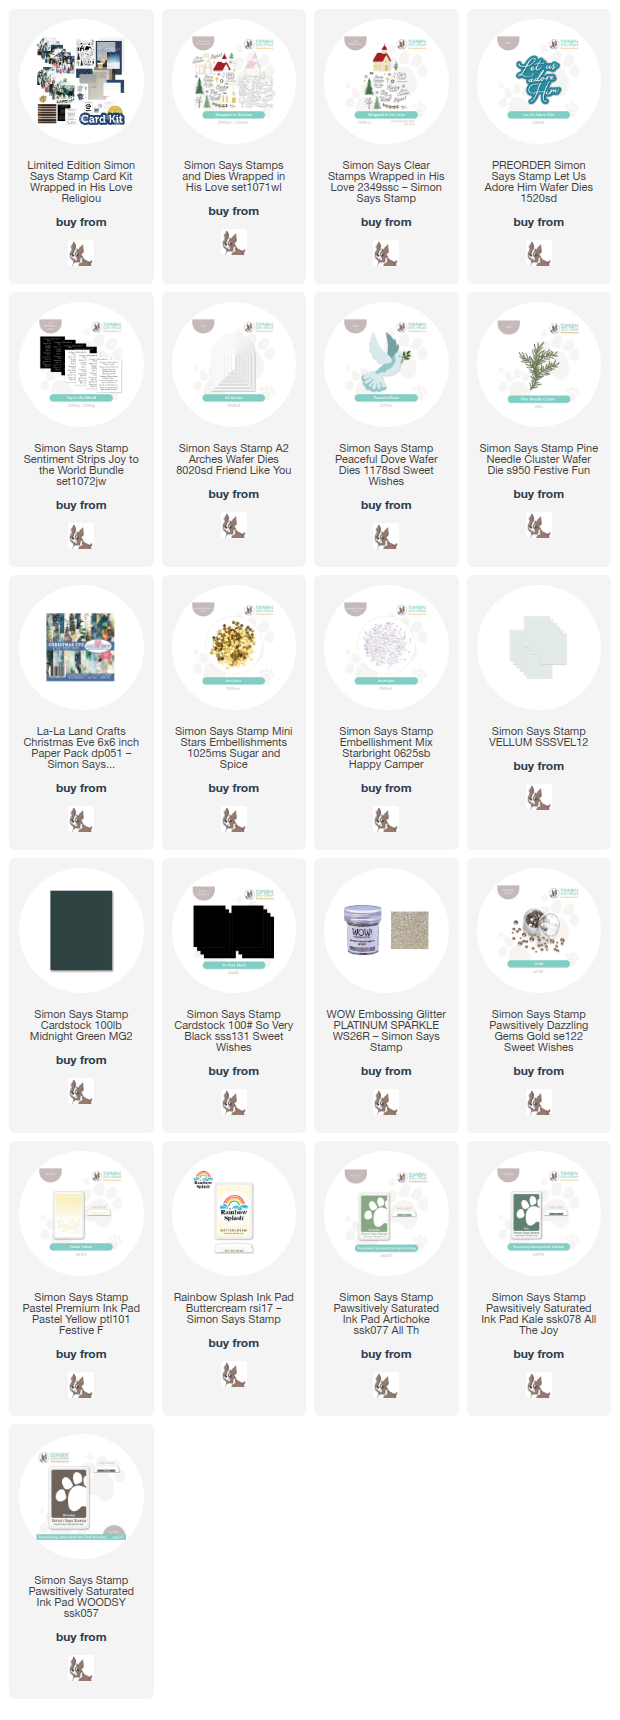
Hi friends! I have a special pair of projects to share with you tonight using the wonderful new limited edition religious card kit from Simon Says Stamp! The Wrapped In His Love kit is standalone from the Monthly Card Kits, while still featuring the same coordinated, beautifully curated array of products that work perfectly together and individually. The best part about these kits is the value; the kit is retailing for $59.99, but the individual products add up to a retail value of nearly $100! You can’t beat the fabulous value. I have created two projects using several elements of the Wrapped In His Love kit, paired with a few older products, so let’s get started with the details on my projects!

*I have gathered links to all of the products used at the bottom of the post for your convenience, using affiliate links. Thank you for shopping with my links! I truly appreciate your support for my work!*

The Wrapped In His Love kit features a large stamp set filled with beautiful holiday imagery, including a vintage-style, multi-step church image, as well as several poignant sentiments. Beyond the main stamp set, there are stencils, standalone dies, sequins embellishments, patterned papers, solid specialty cardstocks, even plain cardstock and envelopes! The value is truly remarkable, and the components of the kit can be used for so many cards beyond the consumable pieces.

The beautiful patterned papers in the Wrapped In His Love kit inspired my color palette for both of my cards, pairing stark black of a Christmas night with verdant greenery and metallic accents. I stamped the generously-sized church image and solid trees from Wrapped In His Love using Pastel Yellow Pigment Ink, Buttercream Rainbow Splash Ink, and Pawsitively Saturated Inks in shades of Artichoke, Kale, and Woodsy, coordinating the colors on the church with the vibrant patterned paper. I love how creamy the walls of church are paired with the soft glow of the Pastel Yellow Pigment Ink on the windows!

After I had stamped and cut out all of the images, I trimmed down the patterned paper so that it would nestle proportionally in the center of a black A7 card front, then matted it with a slightly larger panel of the champagne foil cardstock included with the kit. I arranged the scene on a strip of black cardstock that I flagged at the ends, making it slightly longer than the width of the card to add extra interest, onto which I also added a thin strip of the sparkling platinum glitter cardstock included with the kit. I heat embossed a greeting from Wrapped in His Love onto black cardstock with Platinum Sparkle embossing powder, then popped it up with some foam adhesive, finally finishing the card off with some Gold Pawsitively Dazzling Gems. I just love the visual heft of an A7 card, especially at Christmas! The larger area gives you lots of room to create beautiful scenes.

For my second card, I used a similar color palette, this time focusing my attention on the beautiful Let Us Adore Him die and another of the beautiful patterned papers in the kit. The ethereal starry night forest scenes in the patterned papers are simply divine! I trimmed one down to A2 size, then used an arch die from the A2 Arches set to die cut a window in a panel of black cardstock, backing the opening with a piece of the clear bag included with the kit, and creating a seamless line of foam adhesive around the back of the opening. I filled my shaker pouch with the shining Mini Stars Embellishment confetti, which comes in the kit, as well as some Starbright sequins from my stash.

To adorn the front of my shaker card, I die cut each layer of the Peaceful Dove from the Ivory cardstock included with the kit, layering the pieces together with liquid adhesive. I love the subtlety of the single cardstock color paired with the texture that each layer provides the dove; it’s intricate without overpowering the other elements of the card! I die cut the beautiful Let Us Adore Him sentiment die that is included with the kit, cutting the detail layer from the metallic platinum cardstock included with the kit as well as the shadow from some vellum from my stash. I also trimmed down a sentiment strip from the Joy to the World Reverse Sentiment Strip panel and layered all of these die cuts on the front of my shaker card. As a final touch of greenery, I added a few sprigs of foliage cut using Midnight Green cardstock and the Pine Needle Cluster die set, tucking them behind the die cut sentiment.

Well, that’s all for my projects today! As with most Simon Says Stamp Card Kits, the Wrapped In His Love kit kit and it’s fabulous value are only available for a limited time, so don’t wait to get your preorder in!! If you miss out on the kit itself, you can also purchase the individual items on their own. It’s so great to have options!! Thanks so much for stopping by today, and have a marvelous day!

Filed Under: simon says stamp, Uncategorized Tagged With: a2 arches, card kit, christmas card, die cutting, holiday card, joy to the world, peaceful dove, pine needle cluster, religious, shaker card, wrapped in his love

Stained Glass Dahlias with New Simon Says Stamp!

June 28, 2025

This post was sponsored by Simon Says Stamp. Thanks, Simon!

Hi friends! I have a fun project today that is perfect for people who maybe are still working on perfecting their coloring skills: stained glass! I used my new Dahlia Background illustration that was released with the new Friend Like You release to create this elegant and colorful card. When I created this background, I wanted to make something that was fun for people who enjoy coloring but also add enough details to allow it to stand alone as a subtle and elegant background. This project mixes those two concepts with some simple coloring and a vellum overlay. Let’s get started with the details on my project!

*I have gathered links to all of the products used at the bottom of the post for your convenience, using affiliate links. Thank you for shopping with my links! I truly appreciate your support for my work!*

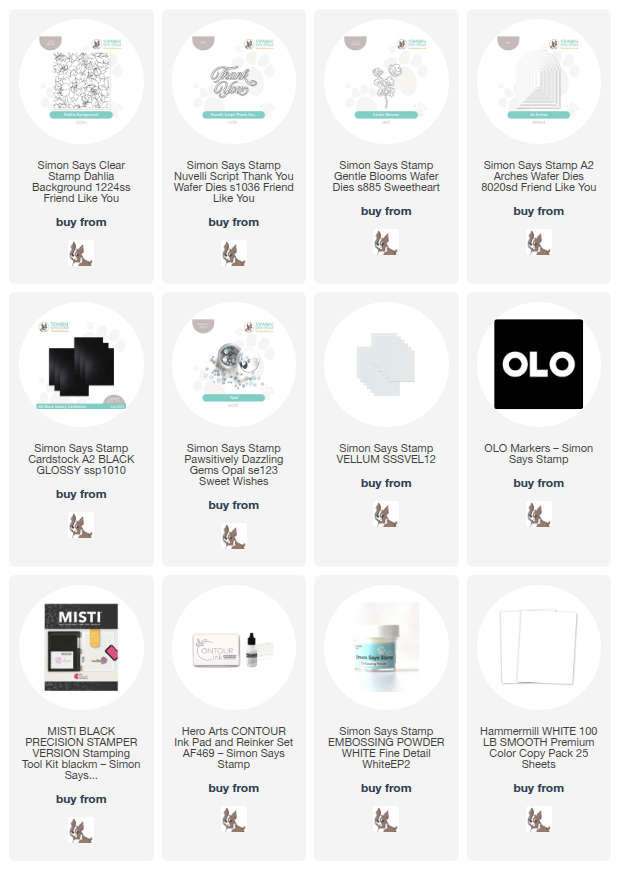
To begin, I used my MISTI to stamp the new Dahlia Background on two panels of cardstock: once on plain white cardstock with Contour Ink, then again on a panel of vellum cardstock with embossing ink, to which I added white embossing powder. I used a half sheet of both vellum and the white cardstock, making sure to place them in the corner of my MISTI so that I stamped the image on exactly the same spot on the cardstock.

After I had stamped and embossed both panels, I used my OLO Markers to do some (very) simple coloring on the stamped panel of white cardstock. I didn’t do anything fancy, as you can see in the photo above, using just one marker color on each individual image without trying to do any shading. I made sure to select colors that were super vibrant that would shine through the vellum overlay, selecting a bright fuchsia, coral, and lilac color palette, adding black in the background of the colorful floral images.

After I had finished coloring, I worked on the focal point die cuts before adhering the vellum overlay to the colorful background to make sure that I could cleanly adhere the vellum to the background. I die cut the new Nuvelli Script Thank You die from some black glitter cardstock, as well as some Gentle Blooms dies cut from some Simon Says Stamp Black Glossy Cardstock. I also die cut an arched frame using the new A2 Arches, nesting two of the dies together to create a delicate frame upon which I could build the focal point. I arranged the die cuts on the vellum panel, adhering them wiht a combination of liquid and foam adhesive. I flipped the vellum panel over and added dots of liquid adhesive to the areas behind the solid die cuts to hide the adhesive and keep the vellum clean, then lined up the embossed panel with the proper spot over the colored background!

After I had adhered the vellum to the colorful card front, I trimmed the edges of the panel down slightly and tucked some thin strips of Simon Says Stamp Black Glossy Cardstock on either side. For some added embellishment, I added a few Opal Pawsitively Dazzling Gems and a thin white silk bow, tucked beneath the dimensional die cut sentiment.

Well, that’s all for my project today! I hope this project shows you that even if coloring isn’t your thing, you can still create a vibrant, colorful background with some very simple coloring and a heat embossed vellum overlay.

Don’t forget to check out the Simon Says Stamp Friend Like You blog hop, happening now! I shared THIS watercolored project during yesterday’s hop for Day 1, and you can get linked up to Day 2 of the hop HERE. Lots of inspiration, prizes, and a freebie are up for grabs!!

Thanks so much for stopping by today, and have a marvelous day!

Filed Under: simon says stamp Tagged With: a2 arches, dahlia background, die cutting, gentle blooms, nuvelli script thank you, olo markers, original illustration, stained glass, vellum

Primary Sidebar

  • Facebook
  • Instagram
  • Pinterest
  • YouTube

Favorite Shops

Secondary Sidebar

Subscribe

Enter your email address to subscribe to this blog and receive notifications of new posts by email.

Instagram
Something is wrong.
Instagram token error.
Follow
Load More

Archives

Tags

3D embossing folder alcohol markers better press birthday birthday card blog hop card kit christmas christmas card christmas tag colored pencil copic copic coloring Daniel Smith die cutting embossing folder embroidery felt giveaway holiday holiday card hot foil ink blending karin brushmarker pro layered stencil masculine my monthly hero new release no line coloring no line watercolor OLO marker olo markers original illustration pawsitively saturated rainbow shaker card slimline stamping stamptember stencil thank you thinking of you valentine's day video watercolor

Popular Posts

Simon Says Stamp Sending Cheer Blog Hop- Day 2 + Freebie + Giveaway!
Joyful Snowman with New Simon Says Stamp Sending Cheer Release!
Simon Says Stamp Sending Cheer Release: Now Available!
Altenew October 2026 Release Blog Hop + Giveaway!
February 2018 My Monthly Hero Blog Hop!
Altenew March 2020 Release Blog Hop+Giveaway!
Special Release: Simon Says Stamp Limited Edition STAMPtember Christmas Card Kit!
Simon Says Stamp Cozy & Bright Inspiration, Part Two!
Waffleflower December Release Blog Hop!
Altenew Build A Flower Japanese Mum Blog Hop!

Disclosure

Some affiliate links are used in my posts. This means that, should you click on one of my links and purchase something from that company, I will receive a small portion of the sale at no extra cost to you. I use the money earned from these sales to help maintain my blog. I so appreciate you visiting and, if you do choose to use one of my affiliate links, thank you so much for your support!
Copyright © 2026 ·Brunch Pro Theme · Genesis Framework by StudioPress · WordPress · Log in
Loading Comments...