This post was sponsored by Simon Says Stamp. Thanks, Simon!

Hi friends! I am hopping along with my friends at Simon Says Stamp to celebrate not one, but two new releases! The December 2024 To Love release is the companion release to this month’s To Be Loved release, and we are celebrating with a massive blog hop! You should have arrived here from Barbara Tarayao, and your next stop is Amy Rysavy. You can also start back at the beginning at the Simon Says Stamp Blog! I have a project featuring products from both releases, including my newest stamp set called Anemone Wreath, so let’s get started with the details!
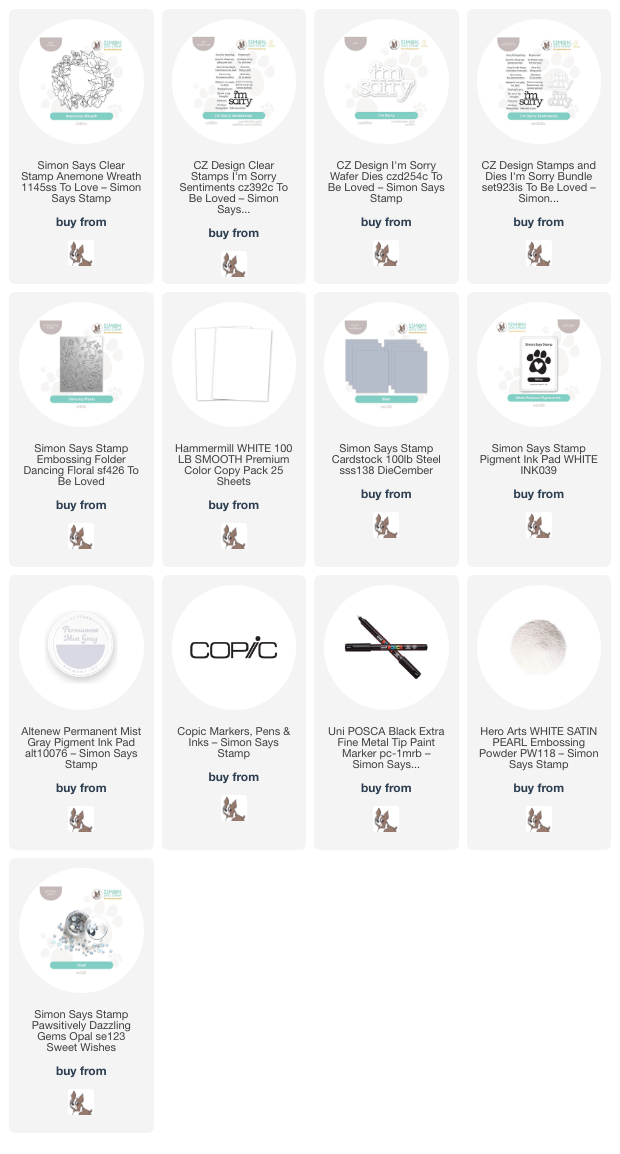
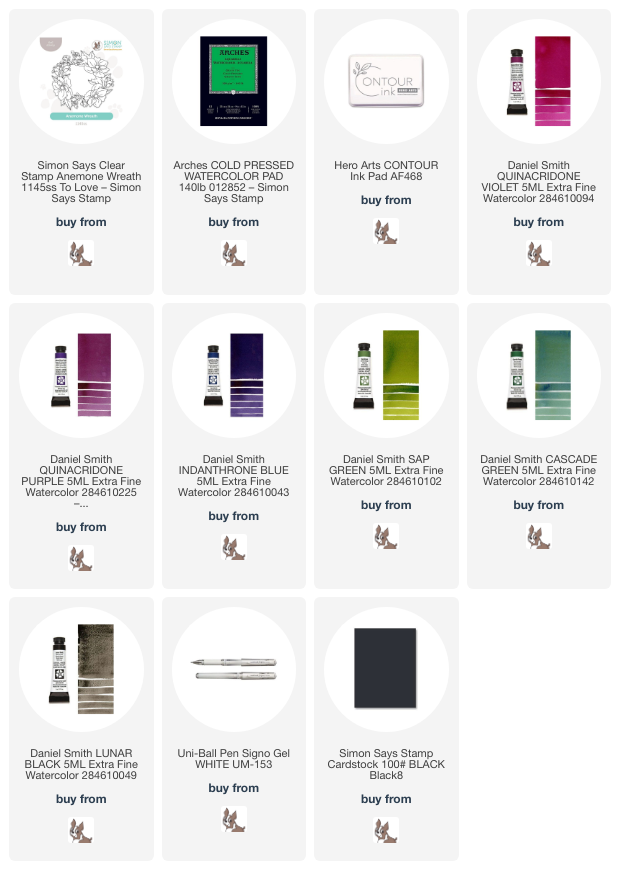
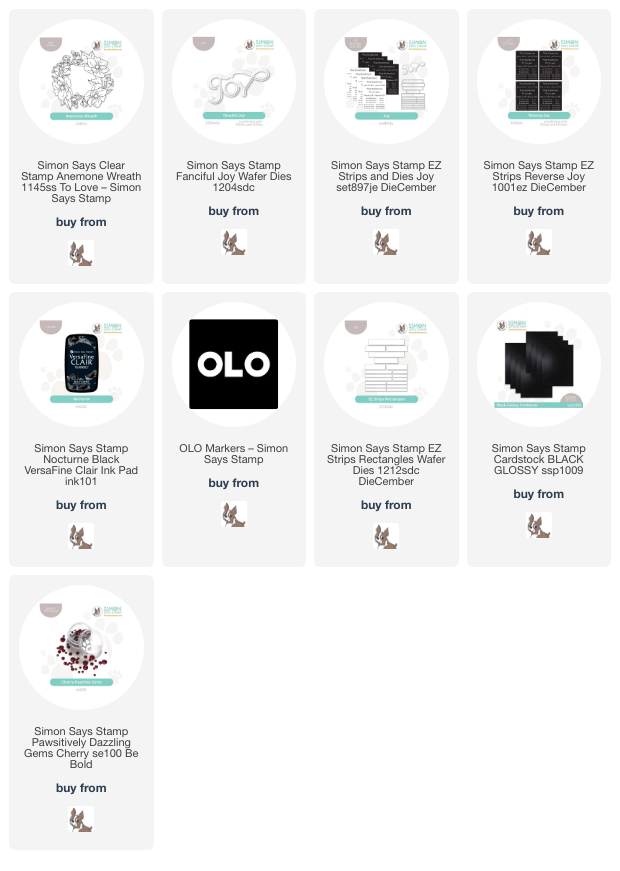
*I have gathered links to all of the products used at the bottom of the post for your convenience, using affiliate links. Thank you for shopping with my links! I truly appreciate your support for my work!*

To begin, I stamped my new Anemone Wreath stamp from the To Love release onto some white cardstock using Altenew’s Permanent Mist Gray ink, which is great for no-line coloring. I then used Copic markers in cheery shades of sunny yellow and jade green to do some no-line coloring, coloring only a couple of the blooms and foliage. I made sure to select blooms and foliage that were completely intact, not tucked behind another flower or leaf, so that I could do some fussy cutting and create a completely unique arrangement. Selectively using individual flowers is another great way to stretch this stamp set! After I had finished coloring the images, I used my sharp scissors to fussy cut the images, adding a pale gray border around the edges with a Copic marker that coordinated perfectly with the Simon Says Stamp Steel cardstock that I planned to use in the background.

For that background, I ran an A2 sized panel of the Steel cardstock through my die cutting machine using the new Dancing Floral Embossing Folder. The delicate floral pattern on this embossing folder was just neutral enough that it added beautiful texture behind my focal points without distracting from the vibrant yellow flowers!

For the greeting, I die cut the detail layer of the new I’m Sorry die from some more Steel cardstock as well as the shadow layer from some Simon Says Stamp Vellum cardstock, layering the two together with liquid adhesive. The vellum shadow helps the tone-on-tone sentiment stand out from the background a bit. I also stamped a greeting from the I’m Sorry Sentiments stamp set onto a small rectangle of Steel cardstock using Simon Says Stamp White Pigment Ink, then added some White Pearl Embossing Powder over the top of the sticky pigment ink to create a lovely and subtle pearlescent accompaniment to the chunky greeting die cut. I arranged the die cut, sentiment block, and vibrant blooms on the embossed card front, adhering them with some foam adhesive for added dimension. Finally, I added a smattering of Opal Pawsitively Dazzling Gems for a touch of shimmer. Pairing gray and yellow is such an unusual color palette for me, but I am always encouraged to use it more frequently whenever I do use it; it’s such a striking combination, perfect for these dreary gray January days!
Well, that’s all for my project today. Now for some fun giveaway information!
Simon Says Stamp is giving away a $25 coupon to every stop on the hop from your blog comment section. Winners will be selected and posted on the Simon Says Stamp blog on Wednesday the 15th of January. Winners can email the Simon team to claim his/her prize 🙂
To celebrate this release duo, Simon Says Stamp is also offering a fabulous freebie with purchase! Simply follow the instructions in the graphic at the top of the post to receive the Circle Hoops Embossing Folder for free with your order.
Your next stop is Amy Rysavy. Don’t forget to check back on the Simon Says Stamp Blog tomorrow for Day 2 of the hop for even more fabulous inspiration using these new products! Thanks so much for stopping by today, and happy hopping!