• Skip to main content
  • Skip to primary sidebar
  • Skip to secondary sidebar

Sixth Street Sundries

Emily Midgett

  • Home
  • About Me
  • Contact
  • OLO Marker Color Swatch Chart
  • Shop

artwork

Simon Says Stamp STAMPtember + Framed Floral Follies!

August 31, 2026

This post was sponsored by Simon Says Stamp. Thanks, Simon! *I have gathered links to all of the products used at the bottom of the post for your convenience, using affiliate links at no extra cost to you. Thank you for shopping with my links! I truly appreciate your support for my work!*

Hi friends! The happiest month of the crafting year is here… STAMPtember from Simon Says Stamp has finally arrived! STAMPtember is a month filled to the brim with creativity and fabulous new products. Some of the products released throughout the month are special, limited edition pieces that are only available for a short time, but tonight’s release is part of the Simon Says Stamp lineup and will be restocked if/when things sell out! Throughout STAMPtember® we will be celebrating every day posting exclusive collaborations, contests, prizes, special promotions, announcements, and more surprises on the Simon Says Stamp Blog! The full Simon Says Stamp STAMPtember release (click HERE!) is one giant extravaganza of creativity, but I am extra excited to share that I have a new illustration included with this fabulous release. The Floral Follies stamp set is a 6×6 background stamp that I have illustrated featuring some of my favorite blooms: dahlias, ranunculus, tulips, and even a little apple blossom peeking out from behind the tulips! To show you the full stamped image, I decided to create this pretty framed art piece using my watercolors and some embossing. Let’s get started with the details on my project!

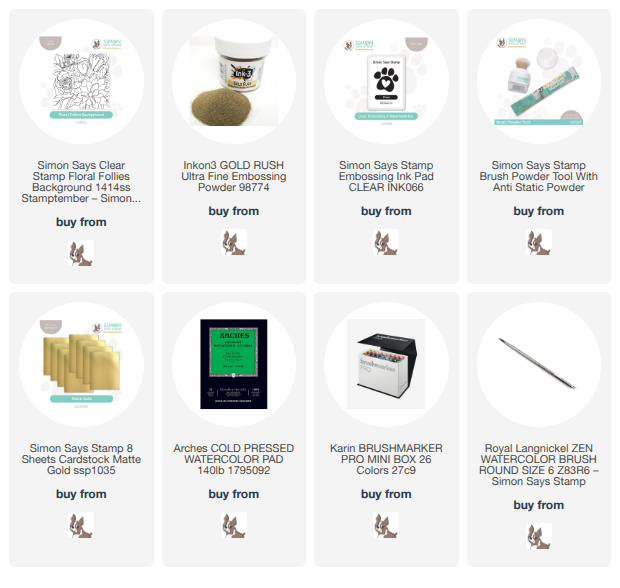
I started by stamping my new Floral Follies background on a panel of watercolor paper that was a bit larger than the stamp with embossing ink, then sprinkled gold embossing powder and heated it up. The gold adds such a luxurious touch to the image without overpowering it! Using colored embossing powder with watercoloring is a nice way to “cheat” (aka-simpler watercoloring) while still getting a softer look than if you were to use black ink and clear embossing powder. Both techniques have their place in the craft room, but I really love the metallic powders for projects like this!

After I had embossed the image, I taped the watercolor panel down to my watercolor board with painter’s tape to minimize warping, then used watercolor markers to add so much vibrant color to the panel. I chose to use my favorite “fiesta” color palette, with vibrant oranges and pinks, which I toned down a bit by adding a chocolatey-maroon background. When working with watercolor brush markers, I like to scribble the marker on a palette or glass mat, then pick up the color with my damp paintbrush, which gives me more control over the intensity of the color that is being added to my watercolored piece.

After I had finished my panel and allowed it to dry while still taped to my board, I trimmed down the panel so that the edges were nice and clean. I also cut some matte gold foil cardstock slightly larger than the stamped and watercolored image and mounted the watercolored piece in the center, creating a thin golden frame around the edge of the image. Once the piece was complete, I placed it in a square frame. I think something like this would make such a nice addition to an art room or office space or even as a gift!

Well, that’s all for my project today. If you’re looking for more STAMPtember inspiration, be sure to bookmark or subscribe to my blog, because inspiration and fabulous crafty products will be showcased here almost every day throughout the month! (I’m tired just typing that {lol}, but man oh man is this month such a blast!) Be extra sure to come back on 9/2/26 for the spectacular and enormous blog party, filled with inspiration and free gifts! Thanks so much for stopping by today, and happy STAMPtember!!!
Filed Under: simon says stamp Tagged With: artwork, floral follies, framed piece, karin brushmarker pro, karin watercolors, original illustration, stamptember, watercolor markers

STAMPtember Begins + New Illustration!

August 31, 2025

This post was sponsored by Simon Says Stamp. Thanks, Simon!

Hi friends! Simon Says Stamp’s month long STAMPtember celebration has officially begun, and we are kicking everything off with a massive release filled with tons of fabulous goodies. (You can check out the full release HERE.) I am especially excited to share this project, because it was created with my newest illustration: Sunflower Dreams. For my first project with it, I thought I would share a vibrant piece of artwork that I created using this new sunflower background. Let’s get started on the details!

*I have gathered links to all of the products used at the bottom of the post for your convenience, using affiliate links. Thank you for shopping with my links! I truly appreciate your support for my work!*

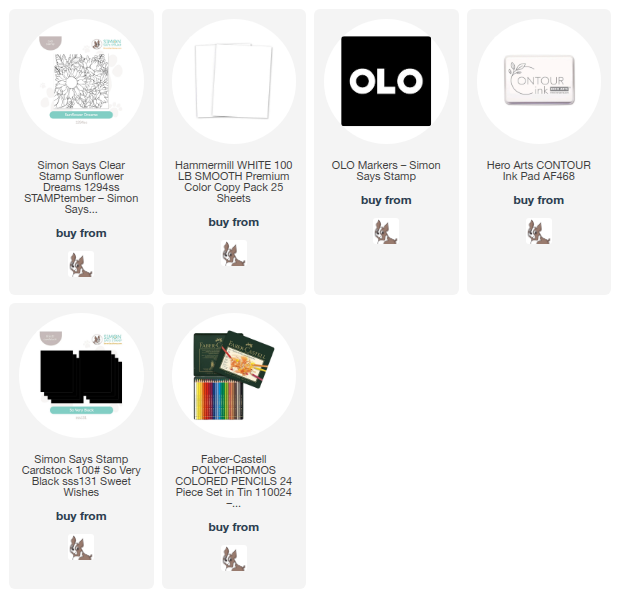
To begin, I stamped the entirety of the Sunflower Dreams image on a panel of white Hammermill cardstock using Contour Ink from Hero Arts. I love using Hammermill for alcohol marker coloring; its smooth surface works beautifully with alcohol markers! I then spent a few enjoyable hours coloring the images with vivid golden yellow, deep marigold, and emerald green OLO Markers. Coloring large, detailed images like this one is a time commitment, but I think it is so worth it.

Once I had finished coloring the entirety of the image with the alcohol markers, I used colored pencils to add some additional shading to the images, creating even more vibrancy and dimension. To keep the shading subtle, I make sure to keep the tip of my pencils extremely share and use a very light hand. I also use a white pencil to add some extra highlights and clean up the edges of the petals a bit to make each petal unique.

After I had completed the pencil coloring, I trimmed the panel down slightly to about 5.5″ square and matted it with a 6″ square panel of Simon Says Stamp’s So Very Black cardstock. I placed this finished piece in an 8″ square frame to create a piece of wall art that is sure to brighten up any wall!

Well, that’s all for my project today. I have *so much* inspiration to share with you using these exceptional new products… it’s going to be fabulous! And we’re not stopping there, because throughout this month, so many of your favorite crafty companies will be collaborating with Simon Says Stamp to release fantastic, limited edition stamp sets. You’re not going to want to miss out! Be sure to pop by on Tuesday, September 2, 2025 to take a peek at the Simon Says Stamp STAMPtember Blog Party. Fun freebies and fabulous inspiration abound! Thanks so much for stopping by today, and happy STAMPtember!!!

Filed Under: simon says stamp Tagged With: artwork, colored pencils, copic coloring, no line coloring, olo markers, original illustration, stamptember, sunflower dreams

April Showers Bring May Flowers with Simon Says Stamp: Mother’s Day Gift Suite with Thankful Magnolia!

May 2, 2024

This post was sponsored by Simon Says Stamp. Thanks, Simon!

Hi friends! It’s officially May… I’m a little bit in shock at how quickly the year is flying by! I am not sad to see the end of April 2024; we had quite a lot of stressful events taking place last month, of which the biggest was my son breaking his leg. He’s on the mend, now, and we are coming up on some fun events in May that I am really excited about. The crazy weather has also leveled out a little, with lots of April showers bringing an abundance of May flowers! I thought that I would honor the beautiful blooms in the outside world by creating my own card-gardens for a new series for the month of May, using some of the floral stamps I’ve illustrated for Simon Says Stamp over the last few years. Some of the sets have been (sadly) discontinued, but there are still several of them that are available. Over the course of the month of May, I will be sharing inspiration using these stamp sets for the April Showers Bring May Flowers series. First up: Thankful Magnolia!

I love creating coordinating gift suites, and the large floral illustration from Thankful Magnolia is so substantial and detailed that I decided to use it for some framed watercolor artwork, a coordinating Mother’s Day card (with no coloring on it at all), and to adorn the front of one of Simon Says Stamp’s new Black Bubble Mailer envelopes. Coordinating project suites for the win!

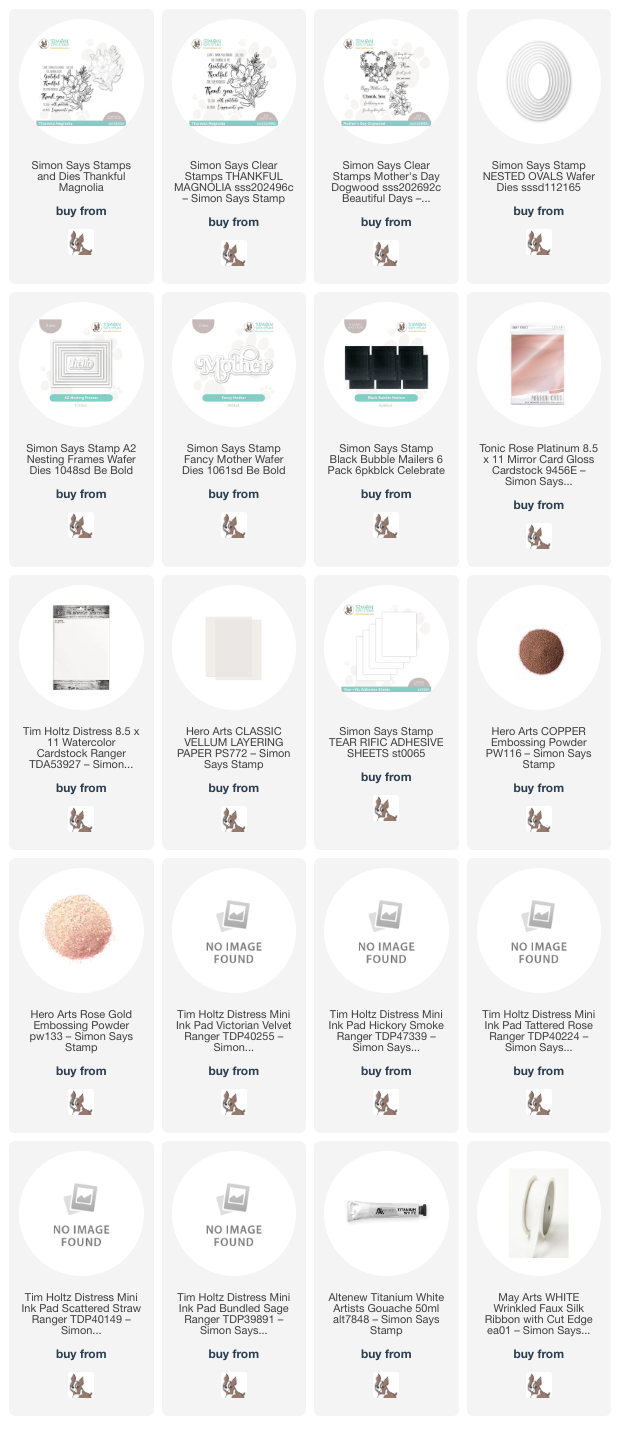
For the framed artwork, I heat embossed the large magnolia image from Thankful Magnolia onto a panel of 4″ x 6″ Distress Watercolor Cardstock using Copper embossing powder. I then used Distress Ink Mini cubes in shades of Scattered Straw, Tattered Rose, Victorian Velvet, Bundled Sage, Hickory Smoke to watercolor the image, tapping the cubes on my watercolor palette and picking the color up with my damp paintbrush to apply it to the heat embossed image. To create a very pale magnolia image, I used some visual reverse psychology, painting the area around the main image the dark Hickory Smoke and Victorian Velvet to increase the contrast between the light magnolia and the dark backdrop. (I demonstrate this technique in THIS video.) After I had completed the watercoloring, I splattered some Altenew Titanium White Artists’ Gouache around the image for a bit of artsy flair!

Once my watercoloring had been completed, I placed the painting in an inexpensive frame from the dollar store and embellished it with a pretty white May Arts faux silk ribbon bow! An inexpensive, but heartfelt, gift that any mom would love to receive. I know my mom always loves receiving my artwork!

For the coordinating card, I heat embossed the large image from Thankful Magnolia onto some Hero Arts Vellum using Copper embossing powder. I wanted to create a card that coordinated with, but was not as involved as, the painting and the super smooth embossing on the vellum highlights the details of the image beautifully, even without any extra coloring! I die cut the image using the coordinating die; I love how detailed this die is, cutting out even the interior spaces on the image. So much easier than fussy cutting it.

For the card base, I blended some Victorian Velvet Distress Ink on the bottom left corner of a pale pink A2 card front, then added a shiny frame cut using the A2 Nesting Frames dies from Tonic Rose Platinum foil cardstock, which coordinates beautifully with the copper embossed floral image. I also heat embossed a sentiment from my Mother’s Day Dogwood stamp set using Rose Gold embossing powder on some deep magenta cardstock from my stash, which enhanced the coordinating Fancy Mother die cut, cut from the same magenta cardstock. I adhered the sentiment pieces to the vellum image with some liquid adhesive, then flipped it over and added my foam adhesive behind those solid die cuts. The last step was a few shimmering gems for extra sparkle!

My mom lives a couple of hours from me, and so I know that I will need to mail her gift to her, so I decided to embellish one of the new Black Bubble Mailer envelopes to coordinate with my gift suite. I created my own sticky label by adding some Simon Says Stamp Tear-rific Adhesive Sheets to the back of some thin pink paper (lightweight paper=flush against the envelope and less chance of damage during mailing). I die cut my sticker label using the Nested Ovals dies, then stamped a tone-on-tone Thankful Magnolia image using Victorian Velvet Distress Ink. I used a black pen to add the address (these are not our actual addresses, just for privacy reasons), but I probably would use a thicker black pen or marker to add the address if I were truly going to mail it. An embellished envelope is the perfect way to let the recipient know that the contents are extra special!

Well, that’s all for my projects today! I’m so excited to have an excuse to play with some of my older floral illustrations. I hope you don’t mind indulging me! Thanks so much for stopping by today, and happy May!

Filed Under: simon says stamp Tagged With: A2 Nesting Frames dies, artwork, bubble mailer, fancy mother, mother's day card, mother's day dogwood, nested ovals, original illustration, thankful magnolia

Primary Sidebar

  • Facebook
  • Instagram
  • Pinterest
  • YouTube

Favorite Shops

Secondary Sidebar

Subscribe

Enter your email address to subscribe to this blog and receive notifications of new posts by email.

Instagram
Something is wrong.
Instagram token error.
Follow
Load More

Archives

Tags

3D embossing folder alcohol markers better press birthday birthday card blog hop card kit christmas christmas card christmas tag colored pencil copic copic coloring Daniel Smith die cutting embossing folder embroidery felt giveaway holiday holiday card hot foil ink blending karin brushmarker pro layered stencil masculine my monthly hero new release no line coloring no line watercolor OLO marker olo markers original illustration pawsitively saturated rainbow shaker card slimline stamping stamptember stencil thank you thinking of you valentine's day video watercolor

Popular Posts

Shaped Holiday Shaker Card with New Simon Says Stamp Jolly Season Card Kit of the Month!
Simon Says Stamp Card Kit November 2026: Jolly Season!
More Inspiration Using the Warm Hearts Christmas Card Kit for Simon Says Stamp!
Altenew Whimsical Wonder Stamps/Dies/Stencils/Embossing Folders Collection Release Blog Hop + Giveaway
Simon Says Stamp Sending Cheer Blog Hop- Day 2 + Freebie + Giveaway!
Altenew 9th Anniversary Blog Hop Day 1 + Giveaway (over $2,200 in Total Prizes)
Pinkfresh Studio Create & Connect: Holiday!
Altenew March 2020 Release Blog Hop+Giveaway!
Tonic Studios Garden Party Blog Hop!
Hero Arts My Monthly Hero May 2022 Blog Hop+Giveaway!

Disclosure

Some affiliate links are used in my posts. This means that, should you click on one of my links and purchase something from that company, I will receive a small portion of the sale at no extra cost to you. I use the money earned from these sales to help maintain my blog. I so appreciate you visiting and, if you do choose to use one of my affiliate links, thank you so much for your support!
Copyright © 2026 ·Brunch Pro Theme · Genesis Framework by StudioPress · WordPress · Log in
Loading Comments...