• Skip to main content
  • Skip to primary sidebar
  • Skip to secondary sidebar

Sixth Street Sundries

Emily Midgett

  • Home
  • About Me
  • Contact
  • OLO Marker Color Swatch Chart
  • Shop

aurora blooms

ILYSM for Mother’s Day with Simon Says Stamp + SALE!

May 10, 2026

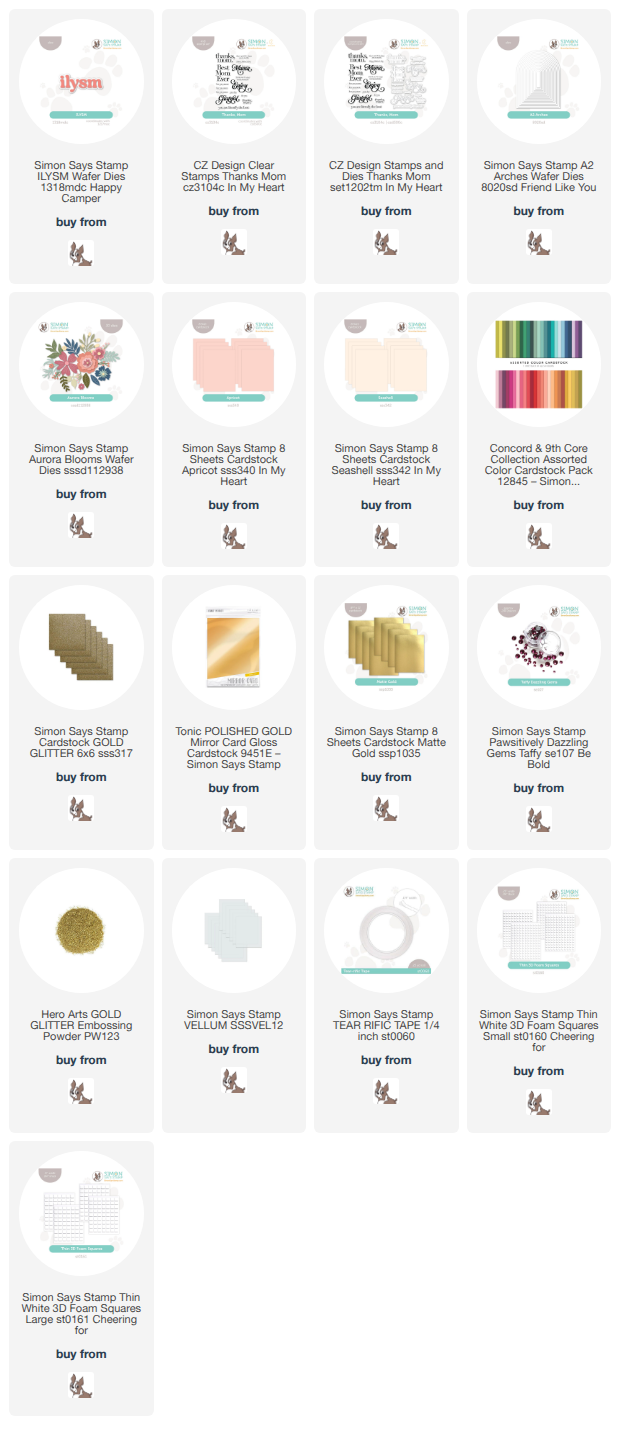
This post was sponsored by Simon Says Stamp. Thanks, Simon! *I have gathered links to all of the products used at the bottom of the post for your convenience, using affiliate links at no extra cost to you. Thank you for shopping with my links! I truly appreciate your support for my work!*

Hi friends! I have one last project to share with you that was inspired by the CITI card that I helped teach at Simon Says Stamp CREATE last weekend! The beautiful striped backgrounds that I created for THIS post yielded three different projects. I used the first two striped panels as the background behind cover plate die cuts, but for today’s project, I thought I would allow the striped background and the gorgeous colors to be more prominently featured with the addition of a chunky sentiment and beautiful flora and foliage. Let’s get started with the details on my project!

To begin, I used the same technique that I used to create the striped backgrounds from the post linked above: add vertical strips of double sided adhesive to my A2 panel, then create a pattern using horizontal strips of cardstock in a variety of widths all down the front of the panel. Once I had created the striped panel, I used one of the A2 Arches dies to die cut the panel, doing my best to make sure that the bottom was lined up straight with the cardstock strips! The sandwich was thick and impressed a bit of the pattern from the top cutting plate into the foil cardstock. Not perfect, but still so pretty!

After I had die cut the striped panel, I mounted it on a Seashell A2 card front using thin foam adhesive squares. I then die cut the ILYSM from gold glitter and vellum cardstocks, adhering the pieces together with liquid adhesive. I also heat embossed another sentiment from Thanks, Mom onto some deep raspberry cardstock using gold glitter embossing powder, then die cut the finished sentiment with it’s coordinating die. I popped the two sentiment pieces up on the striped panel with some more thin foam adhesive for a bit of extra dimension.

To add some pretty decorative elements to this bold and graphic card, I die cut several flowers, berries, and foliage from the Aurora Blooms die set using the same shades of cardstock used on the striped panel, as well as the addition of some shining gold foil cardstock. I added Taffy Pawsitively Dazzling Gems to the berry branches instead of the cardstock circle die cuts, adding additional sparkle and shine to this card. I just love the modern elements of this project paired with the pretty flowers and beautiful colors.

Well, that’s all for my project today! Now for some fun sale information:
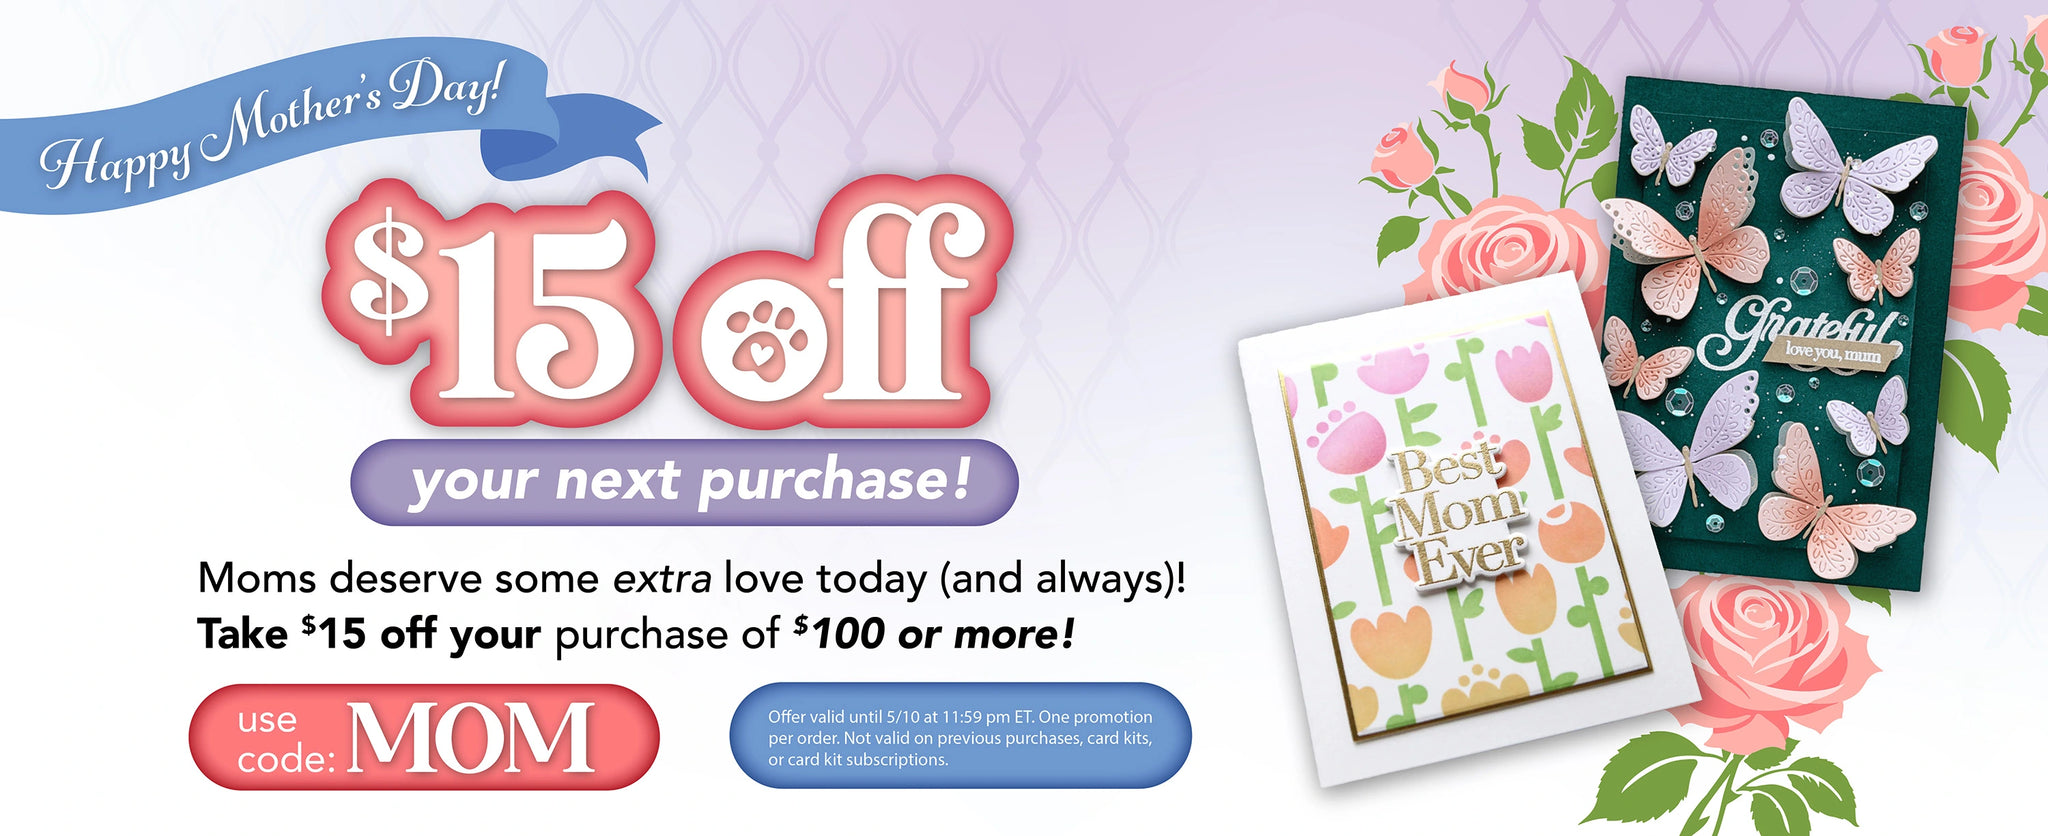
Simon Says Stamp is celebrating mothers for Mother’s Day with a sale through the end of the day! Simply fill your cart and add code MOM at checkout to receive $15 off your $100 purchase. Thanks, Simon!!

To those who are celebrating today, I hope you have a wonderful Mother’s Day with some rest, some yummy treats, and maybe a crafty gift or two. If this day is hard for you for any reason, I am sending lots of love and hugs.

Thanks so much for stopping by today, and have a marvelous day!
Filed Under: simon says stamp Tagged With: a2 arches, aurora blooms, cardstock stripes, die cutting, ilysm, thank you, thanks mom, you are the best

Fun with Felt-Gift Bag and Tag!

February 7, 2025

This post was sponsored by Simon Says Stamp. Thanks, Simon!

Hi friends! I am starting a new series here on my blog: Fun with Felt! Once a month, I am planning to share projects created using all of the gorgeous felt that I’ve acquired over the last few months. I have been practicing embroidery after long contemplation (the struggle is real on picking up new hobbies, friends. I seem to enjoy the supply-purchasing portion of the new hobby, but not actually implementing them!), and now my goal is to incorporate these new techniques and supplies into my stamping! I started out my crafting journey a long time ago as a general non-discriminatory crafter, creating everything from jewelry to home decor, then eventually found my way into cards, but after 11~ years of focusing on cardmaking, I am starting to get, well, bored. So to keep things interesting and fun, I am going to try new ways to integrate all of my hobbies and interests and hope that you won’t mind my sharing them here!

For Christmas, I received a large set of acrylic paint markers, and I’ve been itching to try them out. I have also been collecting small fabric items that I could customize with my stamping and felt supplies, including this canvas bag that I found while shopping, perfect for filling with treats or gifts. To customize the bag, I pulled some stamps and dies from my Simon Says Stamp bins that would work to create this little gift set, so let’s get started with the details!

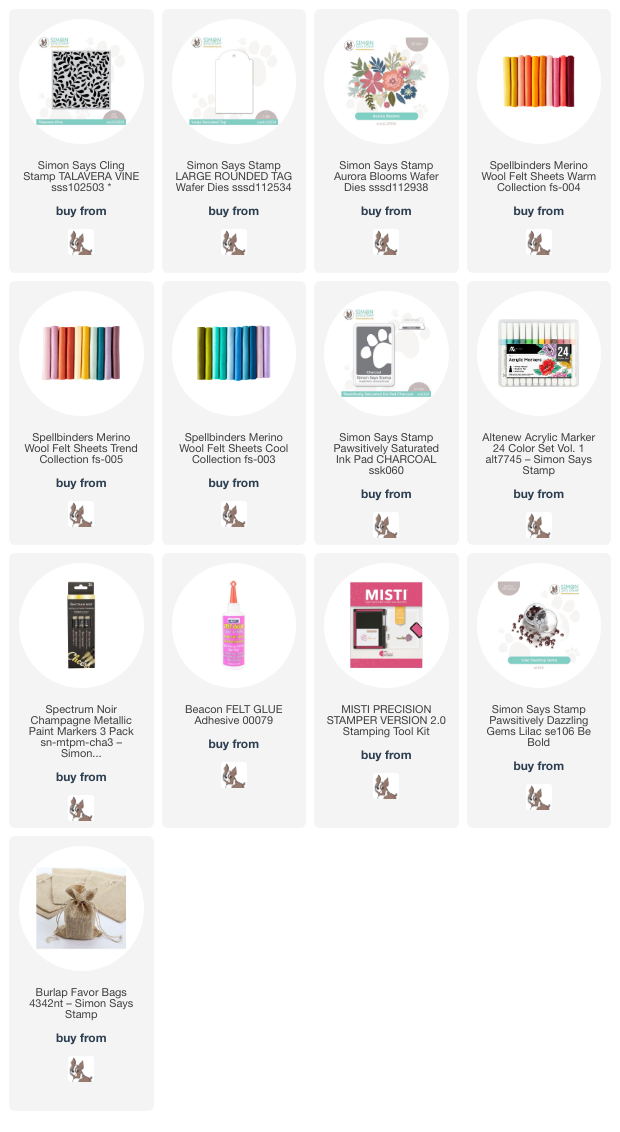
*I have gathered links to all of the products used at the bottom of the post for your convenience, using affiliate links. Thank you for shopping with my links! I truly appreciate your support for my work!*

I love to take solid stamped images and customize them, typically using white pigment ink or no-line coloring ink to stamp them, then using either watercolors or colored pencils to add lots of details and definition to these solid images. The Talvera Vine cling stamp is a lovely neutral pattern, excellent for use as a backdrop for detailed floral images or as a focal point, as I’ve done here.

To create the pretty pattern on the canvas bag, I stamped the Talvera Vine cling stamp onto the inexpensive canvas bag, keeping everything in place with my MISTI. As you can see in the photo, perfect stamping was not necessary for this project and not very attainable due to the texture on the canvas bag; the end goal was to make sure that there was more of a “guide” for my paint markers to create the pattern! The magnets on the MISTI were very helpful in holding the bag in place and to ensure that my pattern was straight.

After stamping the image on the bag, I used a single deep green acrylic paint marker (the Altenew Acrylic Paint Markers are excellent and I have hopes that they will release more colors to the collection soon!) to color over the stamped images. This deep green had excellent coverage over the Charcoal Pawsitively Saturated Ink image. After I had colored all of the leaves and outlined the vines themselves, I added a few swipes of a champagne paint marker to create the vines on the leaves, adding a touch more definition and shape to the images. I also dotted some berries on the bare spots, creating a pretty, simple patterned bag that is neutral enough to work with lots of different floral additions!

I’ve really been enjoying creating projects that have a bit more “longevity” to them than typical cards; I have fears that the cards on which I work for hours will simply get tossed in the trash without a care as to how meticulously they were crafted, so I have been enjoying adding felt to my repertoire of mediums over the last few months. I created this decorative “tag” to add to my painted gift bag that can be repurposed as a tag on a backpack, purse, or even as a bookmark if one left off the gems! Because the Talvera Vine stamp is such a neutral botanical background, I thought it would look lovely with some vibrant flowers. I die cut the Large Rounded Tag die from some ivory felt, then created a few mauve and maroon blooms using the Aurora Blooms dies. I arranged the blooms and some foliage on the felt tag die cut, adhering everything with felt glue, then added some champagne glitter felt centers and Lilac Pawsitively Dazzling Gems for sparkle!

Well, that’s all for my projects today. I am so enjoying stepping outside of my papercrafting zone and creating projects that are a bit more long-lasting. Thanks so much for stopping by today, and have a marvelous day!

Filed Under: simon says stamp Tagged With: altenew acrylic markers, aurora blooms, canvas bag, embroidery, felt, fun with felt, gift bag, large rounded tag, merino felt, painting, sewing, talavera vine

A Final Ode to Pumpkins with Simon Says Stamp!

October 31, 2024

This post was sponsored by Simon Says Stamp. Thanks, Simon!

Hi friends! I am back with my final post for the month of October, just in the nick of time, too! I will be helping my kiddos get their Halloween costumes on as soon as I’m done: Sally from Nightmare Before Christmas, Harry Potter, and two firemen! (If you’ve never checked out the Halloween costumes from Costco, they are legit! The firemen costumes are incredible and were very reasonably priced.) For my last project for the month, I thought I’d do one final “ode to a pumpkin.” I don’t do spooky, and I’m not great a cute, so pumpkins are basically my favorite imagery for autumn and Halloween. They can be fun and playful, or they can be elegant, especially when paired with foliage and florals. I have been collecting more felt and embroidery items, and so I was itching for a project on which to use them. This autumnal wall hanging was the perfect project to start my obsession! Let’s get started with the details.

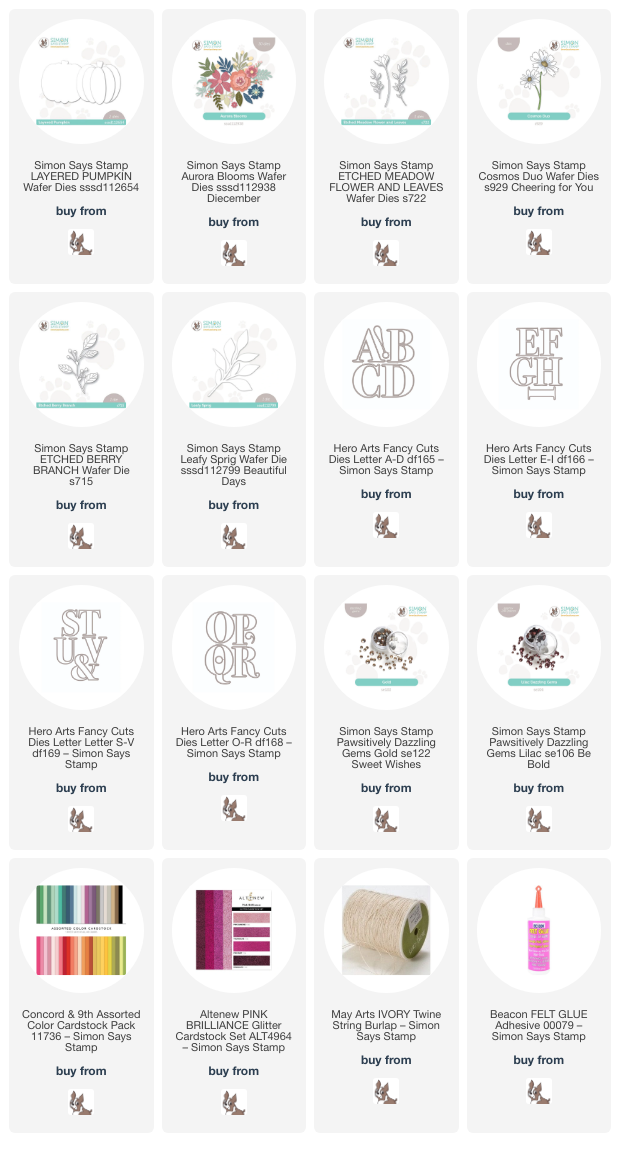
*I have linked all of the products used at the bottom of the post using affiliate links for your convenience. Thank you for shopping with my links! I truly appreciate your support for my work!*

For both of my projects, I paired the Aurora Blooms, Etched Meadow Flower & Leaves, Cosmos Duo, Etched Berry Branch, Layered Pumpkin, and Leafy Sprig dies. I wanted to create some decor with felt as well as with paper, so I scoured my local dollar stores and big box craft stores for some fun “blanks” that I could decorate. I found this canvas wall hanging and little chalkboard easel, and I think they both are just perfect for embellishing with die cuts!

For the wall hanging, I began by die cutting all of the images from the die sets listed above using high-quality colored felt. I used a somewhat non-traditional color palette, pulling some deep, somewhat muted oranges together with cranberry and autumn rose, with touches of lime green and hunter green. I used some needle and thread with sequins and seed beads to adorn the center of some of the flowers, adding a touch of sparkle and additional texture to the felt images. I also die cut the word “gather” using the large-scale Hero Arts Alphabet Dies. I adore these alphabet dies; they’re perfect for creating banners and home decor (I used them to create a banner for my office Christmas tree last year!) and are such a great size.

For the pumpkin, I used some fabric glue to assemble the individual pieces from the Layered Pumpkin die set, then used a coordinating shade of orange to do a (very) simple blanket stitch around the edges of each piece of rind. This additional stitching around the edges adds some texture as well as helping to differentiate one segment from the next, so that it doesn’t look too flat.

After I had die cut and assembled the different components, I began to create my arrangement. I used a piece of ribbon to line up my letters, adhering them to the banner with some fabric glue, then began arranging my pumpkin, flowers, and foliage in a swag beneath my letters. I stitched some more sequins and seed beads to create “berries” amongst my floral arrangement, helping to fill in any gaps in the flowers. After completing the arrangement on the bottom, I felt that the area above the letters was a bit too bare, so added another, simpler arrangement above the letters as well. I think it will look so pretty hanging from my front door for Thanksgiving!

Since I haven’t been working with felt for very long, I decided to make another home decor project using my more typical cardstock, using the same color palette! I die cut the same images from the Aurora Blooms, Etched Meadow Flower & Leaves, Cosmos Duo, Etched Berry Branch, Layered Pumpkin, and Leafy Sprig die sets. I used some sparkling cranberry glitter cardstock from Altenew to create the Etched Meadow Flower & Leaves blossoms. I think this color palette is so pretty; it is definitely autumnal, but not super orange-y!

I found this little easel chalkboard at my local dollar store! They have them in both black chalkboard and white dry erase board; this black backdrop was perfect for adorning with colorful die cuts. After I had adhered all of the die cuts in a little arrangement on the front of the easel, I used a double layer of twine, wrapping it around the top of the easel multiple times, then added a fluffy bow. I used some glue to hold the bow down and prevent it from being untied.

After I had finished arranging the die cuts and adding my twine bow, I added some Gold and Lilac Pawsitively Dazzling Gems to the berry stems and flower centers, adding a touch of sparkle and texture to this piece of decor. I think this would look so sweet on a desk at work or perhaps on a piano or mantelpiece at home!!

Well, that’s all for my projects today. I am having such fun branching out from my typical cardmaking, and I hope you’re enjoying it too. It’s fun to try new things, right? Thanks so much for stopping by today, and have a marvelous day!

Filed Under: simon says stamp Tagged With: alphabet dies, aurora blooms, banner, canvas, cosmos duo, die cutting, etched berry branch, etched meadow flower and leaves, felt, home decor, home deocr, layered pumpkin, leafy sprig, wall hanging

Simon Says Stamp STAMPtember Christmas Card Kit Surprise!

September 25, 2024

This post was sponsored by Simon Says Stamp. Thanks, Simon!

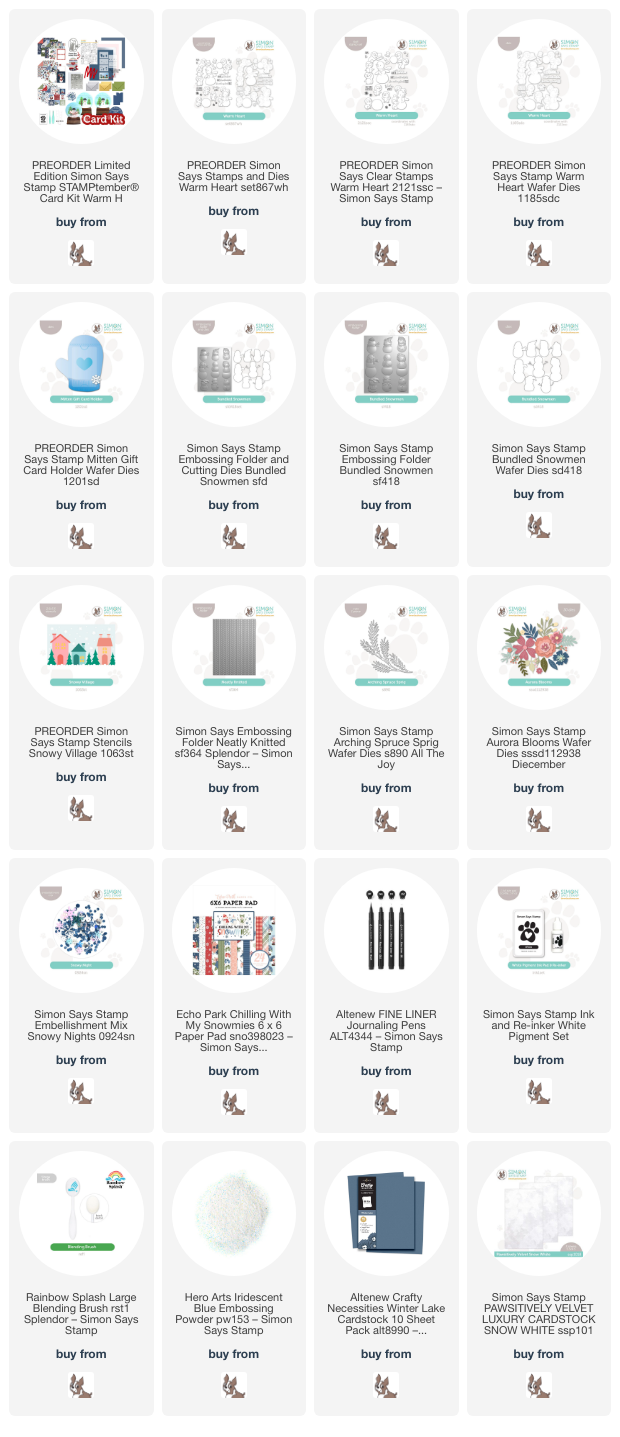
Hi friends! Boy do I have a fun surprise for you today…. Although Simon Says Stamp’s STAMPtember is winding down, we still have a few super fun surprises in store for you, including this jam-packed, Limited Edition Holiday Card Kit! The Simon kits are always a phenomenal value, with individual elements retailing for well over the purchase price, but this one… it blew me away. SO many fun and unique elements that you can use together, individually, or pair with products from your stash! Here’s a peek at the kit:

So many fabulous elements that you almost don’t know where to start first, right? This Holiday Card Kit includes the most darling large stamp set, interactive mitten die that you can use to create a focal point or a gift card holder, layering stencils, 3D embossing folder, gorgeous patterned papers, white pigment ink and blending brushes, and tons of individual consumable elements that coordinate so beautifully to create marvelous holiday goodies to make your gift giving extra special! The individual elements of the Holiday Card Kit are valued at well over $100, but you can purchase them in a bundle for only $69.99. I love that there are so many reusable elements included in the kit, not just consumables, making the value on this one truly incredible!

**note: this Holiday Card Kit is being sold as a preorder. It is anticipated to ship in mid-October.

Whenever I am working with a Holiday Card Kit like this, I like to take my color palette from the patterned papers, which usually have an underlying color scheme throughout, so that I can create a cohesive set of projects. The beautiful 6×6 patterned papers included in the kit feature lush blues and greens, with touches of red, coral, and pink. I used those colors and the deep navy cardstock (also included in the kit!) as my starting point for today’s projects. Let’s get started with the details!

*I have linked all of the products used at the bottom of the post for your convenience using affiliate links. Thank you for shopping with my links! I truly appreciate your support for my work!*

I absolutely love the look of snowmen in colored pencil on dark cardstock, and as soon as I saw that navy cardstock in the kit and the adorable snowman stamps in the Warm Heart set, I knew that would be my starting point. I stamped the smiling snowman and pile of penguins onto some of the deep navy cardstock using the White Pigment ink, handily included with the kit. When using colored pencils on stamped images with colored cardstock, I like to stamp with white pigment ink. The white pigment ink sits atop the cardstock without sinking in, making it easy to blend the lines into the colored pencil work!

After I had stamped the images, I used my favorite colored pencils to color the images. The trick with snowmen is to keep the white pencil work as clean as possible, adding only the gentlest of shadows to indicate shape. I always keep extra white pencils around to make sure that I can easily blend and add highlights. For the scarf, I used only a red and white pencil, as I didn’t have a pink that matched perfectly, instead creating my own pink by using a light hand with the red pencil and blending it out with the white! The penguins had the tiniest bit of shadow to make sure that their little tummies looked nice and round, and I used a fine tipped black pen to add details to the eyes and mouth on the snowman, as well. The little details make a big difference with colored pencil work, I think.

After I had finished the colored pencil work, I used a blending brush dedicated to white pigment ink with the white inkpad included in the kit to blend around the edges of the card front, creating a lovely frosted effect. I stamped snowflakes from the Warm Heart set directly over the top of both the blended area and the colored images, also adding snowflakes in various sizes with my white gel pen and some sparkle with Clear Pawsitively Dazzling Gems. Finally, I stamped a greeting from Warm Heart on some leftover navy cardstock using the white pigment ink, adding Iridescent Blue embossing powder over the top to create a gorgeous, shimmery sentiment that stands out on the dark cardstock beautifully. I used the coordinating die to cut the sentiment and popped it up with some thin foam squares, making this card almost completely flat and easy to mail!

For my second project, I used the fantastic Mitten Gift Card Holder die included with the Holiday Card Kit, along with some fo the beautiful patterned paper that reminds me so much of Rifle Paper Company patterns. I first die cut the blue cardstock mitten, cutting the entirety of the mitten from some Altenew Winter Lake cardstock, then running the panel through my die cutting machine with the Neatly Knitted embossing folder and lightly blending Dusk ink around the edges. I die cut the cuff of the mitten from some of Simon Says Stamp’s Pawsitively Velvet Snow cardstock to add luxurious texture to the mitten. Taking my color cues from the pretty patterned paper, I die cut some florals using the Aurora Blooms die set, adhering all of the individual die cut components to the blue textured die cut.

To create the card, I created a card to hold a gift card by doing some fancy die cutting. I die cut a folded A2 card using the mitten die, making sure that the die overlapped the crease, creating a shaped card base. I also die cut an interior mitten using some of the beautiful floral patterned paper, adding in the gift card holder die cut from the Mitten Gift Card Holder set and adhering this to the inside of the card. It’s super easy to slip a gift card in the slots, and this entire card fits perfectly inside a typical A2 envelope!

Well, that’s all for my projects today. I wouldn’t wait long on this jam-packed kit, because it’s sure to sell out quickly! But, the good news is that if you miss out on the kit, you can still purchase the individual elements, which I’ve linked below. And don’t forget your free shipping code!

Thanks so much for stopping by today, and have a marvelous day!

Filed Under: simon says stamp Tagged With: arching spruce sprig, aurora blooms, Bundled Snowmen embossing folder, card kit, christmas card, colored pencil, embossing folder, gift card, gift card holder, holiday card, limited edition, Mitten Gift Card Holder, neatly knitted, Warm Heart

April Showers Bring May Flowers: Die Cut Edition!

May 15, 2024

This post was sponsored by Simon Says Stamp. Thanks, Simon!

Hi friends! I am back today with another project for my April Showers Bring May Flowers series, during which I share inspiration using my favorite cardmaking subject: flowers! I never tire of using flowers, creating (hopefully) unique cards by switching up the layouts, color palettes, and textures. I have several lovely floral dresses in my closet that provide me with ample inspiration, and this card is the result! While I am normally a traditionalist, preferring to use colors found in nature, the coppery foliage on the dress in my closet was so inspirational that I knew I needed to recreate it with the gorgeous rosy copper foil in the new-to-me Floral Elegance foil paper pad that I ordered last week. Let’s get started with the details!

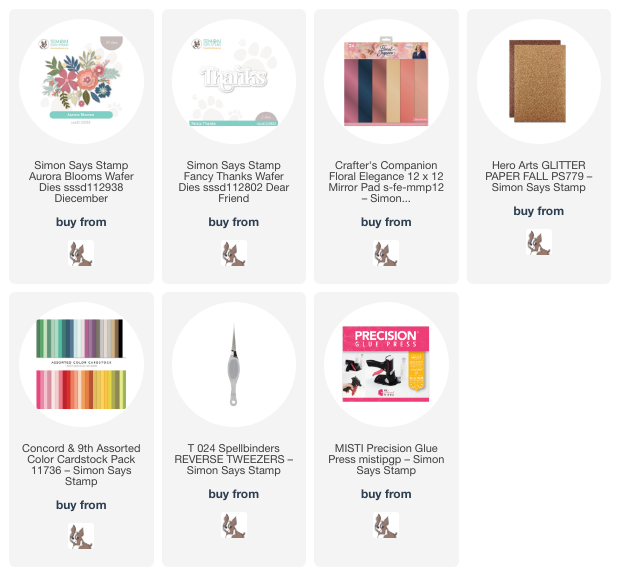
The gorgeous Aurora Blooms dies were released over the winter, I think perhaps in December of last year, and they absolutely floored me with their beauty. The simple and unique designs remind me of Rifle Paper Company, and with all of the different sprigs and foliage available, the combinations and possibilities for layouts are truly endless. I knew that they would work perfectly for my fashion-inspired project. I die cut the flowers themselves from a few different shades of pink, lavender, and purple cardstocks that I found in my stash, then die cut all of the foliage pieces from that gorgeous rosy copper brushed foil from the Floral Elegance foil paper pad.

Once I had die cut all of the different pieces, I began layering and assembling them. For detailed die cut assembly like this, I find two tools to be invaluable: needle-nose reverse tweezers for holding and placing the die cuts exactly where I want them, and the MISTI Precision Glue Press. (Both of these items are out of stock at the moment after the big in-person shopping event last weekend, but you can sign up to receive an email when they do come back in stock! I promise they’re worth the wait!) Sometimes my hands can be a little shaky, if I’ve waited a bit too long to eat or if I’ve, ahem, had a tad too much coffee, and these two items allow me to get precision placement with fiddly die cuts.

After I had assembled all of the different die cuts to create these vibrant layered flowers, I began arranging them on a pale lavender A2 card front, trying to keep in mind the “rule of three” for each individual color. I adhered the flowers with dimensional foam adhesive and the foliage with liquid adhesive, creating varied heights throughout the card front.

To keep things simple on this card made of only die cuts, I cut the detail layer of the Fancy Thanks die from some brown glitter cardstock. I popped it up amongst the florals with a double layer of foam tape to give it a little extra height. Finally, I added a few sparkly gems to the flower centers for a little extra shimmer!

I am so happy with how this card came out. I love building a pretty floral background, and it is such fun coming up with unique color combinations. Thanks so much for stopping by today, and have a marvelous day!

Filed Under: simon says stamp Tagged With: aurora blooms, die cutting, fancy thanks

  • Page 1
  • Page 2
  • Go to Next Page »

Primary Sidebar

  • Facebook
  • Instagram
  • Pinterest
  • YouTube

Favorite Shops

Secondary Sidebar

Subscribe

Enter your email address to subscribe to this blog and receive notifications of new posts by email.

Instagram
Something is wrong.
Instagram token error.
Follow
Load More

Archives

Tags

3D embossing folder alcohol markers better press birthday birthday card blog hop card kit christmas christmas card christmas tag colored pencil copic copic coloring Daniel Smith die cutting embossing folder embroidery felt giveaway holiday holiday card hot foil ink blending karin brushmarker pro layered stencil masculine my monthly hero new release no line coloring no line watercolor OLO marker olo markers original illustration pawsitively saturated rainbow shaker card slimline stamping stamptember stencil thank you thinking of you valentine's day video watercolor

Popular Posts

Simon Says Stamp October 2026 Card Kit of the Month: Homespun Gratitude!
February 2018 My Monthly Hero Blog Hop!
Altenew Craft A Flower: Poppy Blog Hop+Giveaway!
Felted Gourd Wall Hanging with Simon Says Stamp!
Sunflower Home Decor with Simon Says Stamp!
Craft Your Life Project Kit: Feathered Lilies Blog Hop+Giveaway!
Simon Says Stamp October 2025 Card Kit of the Month!
Altenew Standalone Die Blog Hop+Giveaway!
The Ton Anniversary Release- Day 2
Honey Bee Stamps Cheerful Love Blog Hop!

Disclosure

Some affiliate links are used in my posts. This means that, should you click on one of my links and purchase something from that company, I will receive a small portion of the sale at no extra cost to you. I use the money earned from these sales to help maintain my blog. I so appreciate you visiting and, if you do choose to use one of my affiliate links, thank you so much for your support!
Copyright © 2026 ·Brunch Pro Theme · Genesis Framework by StudioPress · WordPress · Log in
Loading Comments...