• Skip to main content
  • Skip to primary sidebar
  • Skip to secondary sidebar

Sixth Street Sundries

Emily Midgett

  • Home
  • About Me
  • Contact
  • OLO Marker Color Swatch Chart
  • Shop

baby gift

Fun with Felt: Floral Duckling Using New Simon Says Stamp!

April 9, 2026

This post was sponsored by Simon Says Stamp. Thanks, Simon! *I have gathered links to all of the products used at the bottom of the post for your convenience, using affiliate links at no extra cost to you. Thank you for shopping with my links! I truly appreciate your support for my work!*

Hi friends! I am back with another quintessentially springy project for you today using some super sweet dies from the new Simon Says Stamp In My Heart release! (Click HERE to see the entire new release!) I shared a similar project HERE using the darling little duckling die, but I thought I’d take this one a few steps further with some more florals, some beading, and a touch of embroidery. This is so perfect for a baby gift, I think! Let’s get started with the details!

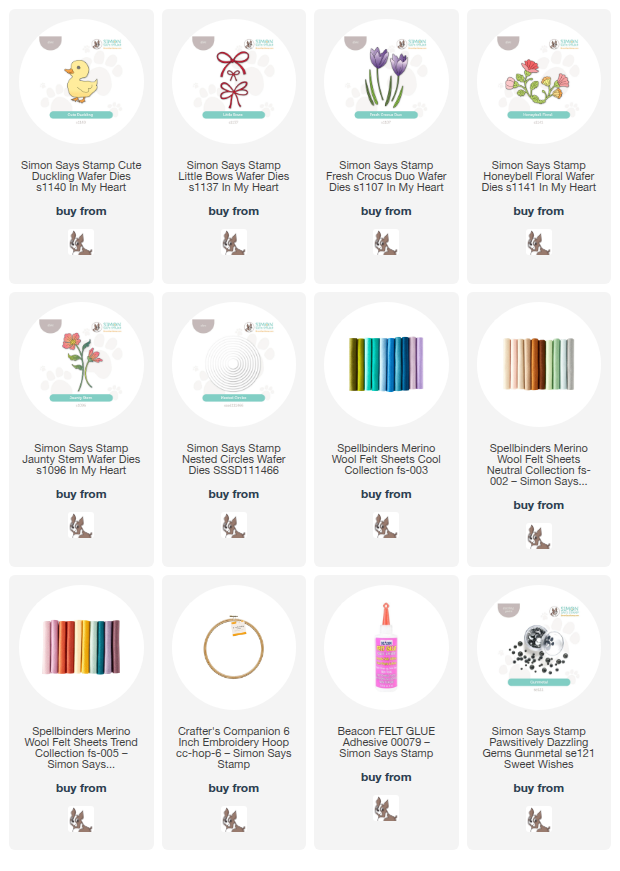
To start, I fitted an embroidery hoop with some lovely blue and white patterned fabric from my stash. I then die cut the different elements from the precious Cute Duckling die set. When I am working with delicate dies and felt, I try to make sure that I’m using 100% wool felt. The fibers in the 100% wool felt are a bit more tightly woven, and so hold their shape more easily than felt blends. The felt blends do work nicely for larger, solid shapes like the main body of the duckling. I adhered the pieces of the duckling together with liquid felt adhesive, adding a sweet little bowtie from the new Little Bows set. I also added a sparkling gem to his eye using a Pawsitively Dazzling Gems Gunmetal.

To embellish my duckling and make a little wreath for him to sit on, I created an arrangement using some new floral dies from the In My Heart release. I die cut the flowers from the Fresh Crocus Duo and the Jaunty Stem die sets, cutting white crocuses and a yellow blossom to start my wreath, then added foliage from the Fresh Crocus set as well as the Honeybell Floral. I adhered the die cut pieces with more felt glue, arranging them around my duckling.

To add a little shimmer to my arrangement, I used some metallic embroidery floss and beads to add some berry sprigs in my floral arrangement, as well as adding yellow beads to the stamens of the blooms. I cleaned up the back of the hoop by hot glueing the excess fabric on the back as well as a felt die cut circle, cut using the Simon Says Stamp Nested Circles dies and adhered with my hot glue gun. I think this turned out so cute and would make perfect nursery decor!

Well, that’s all for my project today! I love playing with felt and finding new ways to use my papercrafting dies. Thanks so much for stopping by today, and have a marvelous day!
Filed Under: simon says stamp Tagged With: baby gift, cute duckling, embroidery, felt, fresh crocus, honeybell floral, jaunty stem, little bows

Ducklings for Babies with New Simon Says Stamp!

March 20, 2026

This post was sponsored by Simon Says Stamp. Thanks, Simon! *I have gathered links to all of the products used at the bottom of the post for your convenience, using affiliate links at no extra cost to you. Thank you for shopping with my links! I truly appreciate your support for my work!*

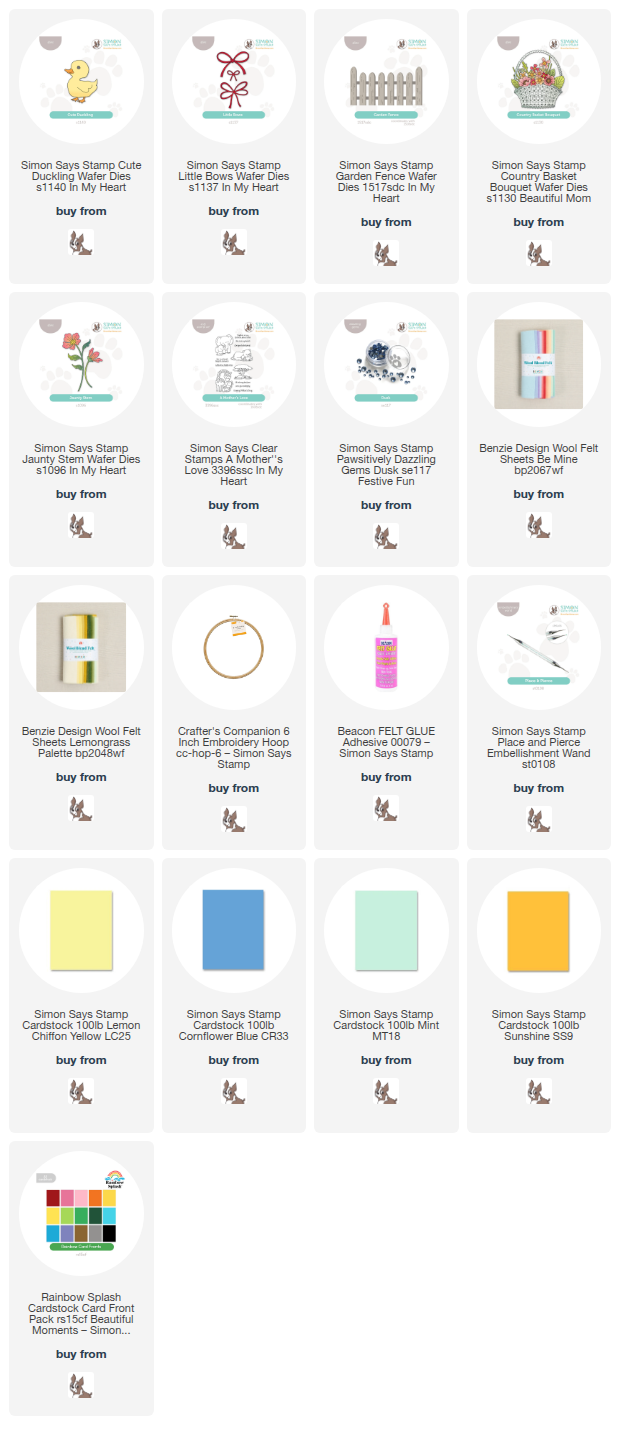
Hi friends! I am back with a pair of sweet baby projects featuring some darling new goodies from the  In My Heart release from Simon Says Stamp! (Click HERE to see the entire new release!) The release is filled with springtime imagery, including this absolutely precious Cute Duckling die set. I am a sucker for ducklings; their fuzzy feathers and delicate little “peeps” are so sweet! My baby shower for my big twins was duckling-themed, with “Make Way for Ducklings” as the inspiration. We even had all of the guests sign the book as a keepsake for us! I decided that I would create a sweet baby shower gift with this darling new die set: a felted embroidery hoop piece for some nursery decor and a matching card. Let’s get started with the details on my projects!

The Cute Duckling die set is only three pieces, which makes it incredibly simple to use. I thought it would be absolutely perfect to create a customized twin baby card! As someone with two sets of twins, I know firsthand how difficult it can be to find twin-themed gifts, so I knew that this die set would make the perfect twin card and coordinating gift.

To begin my card, I die cut the Cute Duckling set twice for each component, using buttery yellow and vibrant orange cardstock. I wanted to create a dark eye, and the piece for top of the head/beak helpfully provides a depression where the eye will eventually be adhered, so I used a dark gray alcohol marker to add some quick color to that spot on my orange cardstock. The assembly for this die set is super simple… score! I die cut two blue bows from the new Little Bows set and added them on my duckies’ necks. It would be super easy to customize this for whatever gender you need!!

Behind my little duckies, I added the new Garden Fence, cutting the full fence die and the detail pieces both from white cardstock. I layered them together lickety split with liquid adhesive, then popped the finished die cut up on the center of my horizontal A2 card front using foam adhesive squares. I added some pretty French country blue blooms with minty green foliage cut using dies from the Country Basket Bouquet, adhering them with both liquid and foam adhesive. I used a double layer of foam adhesive to add my duckies, finally finishing the project with a simple “congratulations” sentiment from the new A Mother’s Love stamp set, which I stamped using dark silver ink and fussy cut with my sharp scissors. Isn’t this card just darling? It could be easily customized to fit any number of babies and color palettes, too!!

For my coordinating gift, I again die cut the Cute Duckling die set, this time using felt. I also die cut several floral accents from the same shade of French Country Blue felt, as well as minty green foliage using the new Jaunty Stem die set and the Country Basket Bouquet. I filled my embroidery hoop with some lovely blue and white toile fabric and arranged the felt pieces on the fabric, creating a fluffy bow at the top with a double layer of felt bows from the Little Bows and adding a wreath of felt florals. I used felt glue and the Place and Pierce Tool from Simon Says Stamp to adhere all of the felt pieces, finally adding a touch of sparkle with a single Dusk Pawsitively Dazzling Gem for the duck’s eye!

Well, that’s all for my projects today! The new release is absolutely smashing, right? The Simon Says Stamp Blog is also hosting the first day of the two-day blog hop with tons of inspiration using this new release; check it out HERE. Don’t forget to come back here tomorrow to see more inspiration using these new products for day 2 of the hop!! Thanks so much for stopping by today, and have a marvelous day!

Filed Under: simon says stamp Tagged With: a mother's love, baby gift, baby shower, country basket bouquet, die cutting, embroidery hoop, felt, garden fence, gift, jaunty stem, little duckling, twin

You’re A Star, Baby!

June 3, 2024

This post was sponsored by Simon Says Stamp. Thanks, Simon!

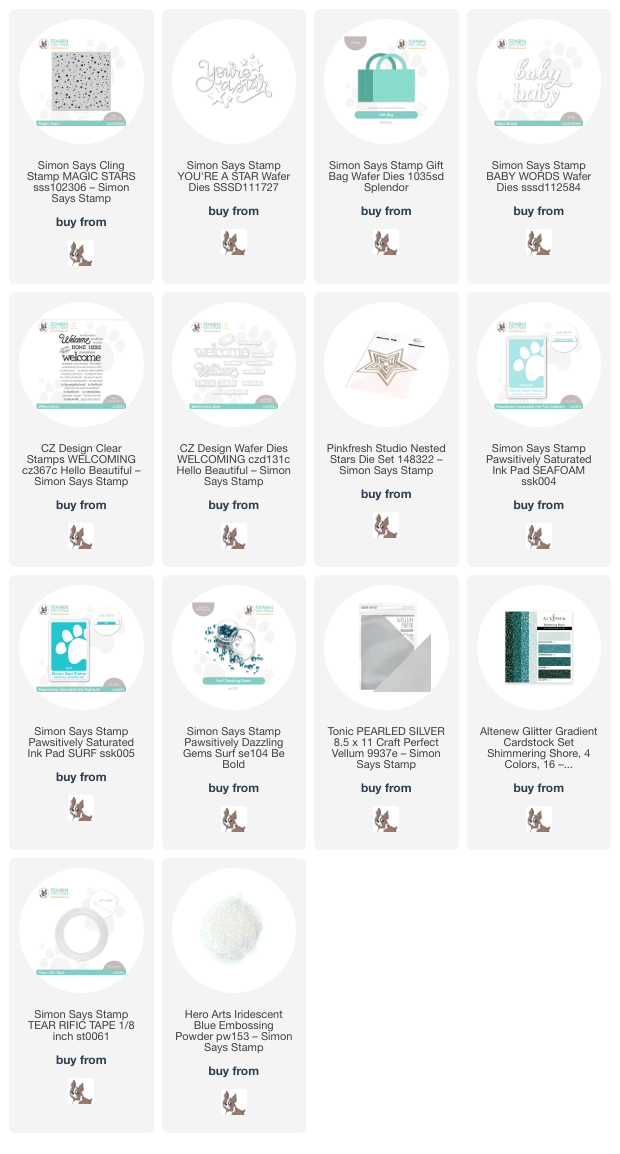
Hi friends! I have a gift bag and card set to share with you today that is perfect for a baby shower gift. I have been perusing my stash trying to use items that have been sadly ignored in my craft room, and I stumbled upon the beautiful script in the You’re A Star die set and thought how adorable it would be for a baby card! I pulled out some other products that I thought would coordinate nicely, then got to work creating a little gift bag and matching card. Let’s get started with the details!

Both of my projects features a beautiful pool color scheme using two different Pawsitively Saturated Ink shades: Seafoam and Surf. I have always loved any shade of turquoise, and so was delighted at the opportunity to create this little set featuring one of my favorite colors. I paired the beautiful inks with an overlay of Hero Arts Iridescent Blue embossing powder, which I think adds such an incredibly lovely shimmer to the aqua stars.

I started my first project by stamping the Magic Stars background stamp using Seafoam ink, then stamped directly over the top with embossing ink, then added some Hero Arts Iridescent Blue embossing powder to add beautiful iridescent shine to the star pattern. I also blended both Seafoam and Surf Pawsitively Saturated Inks in the center of the panel, taking advantage of the resistant quality of the embossed images. I trimmed the panel down slightly and mounted it on a coordinating A2 turquoise card base.

For the greeting, I die cut the beautiful scripty You’re A Star die set from some glittering turquoise cardstock from the Altenew Shimmering Shore glitter cardstock set. I also die cut a silver pearl vellum star using a simple star die, creating a spot to ground my sentiment on the starry background. I adhered the glittering sentiment and vellum star to the card front using liquid adhesive, then added the extra glitter stars and some Surf Pawsitively Dazzling Gems to create a sparkly card.

To complete the baby gift set, I used the same technique with the Magic Stars stamp, ink, and embossing powder, to decorate the front of a gift bag. I die cut the Gift Bag Die from some more turquoise cardstock and assembled it using Tear-rific Tape. I trimmed down the star panel to fit the front of the gift bag, then blended Seafoam ink around the edges using a blending brush. I die cut a glittery “baby” using one of the greetings from the Baby Words die set, then stamped, embossed, and die cut the “welcome” from the Welcoming stamp set and coordinating dies. I adhered a few glittery stars cut using the You’re A Star die set and added some tissue paper to create an adorable mini gift bag, perfect for a gift card at a baby shower!

Well, that’s all for my projects today. I am having such fun searching through my stash for products that need a little extra love. I encourage you to do the same! Thanks so much for stopping by today, and have a marvelous day!

Filed Under: simon says stamp Tagged With: baby gift, baby words, gift bag dies, magic stars, star, welcome baby, welcoming, you're a star

Primary Sidebar

  • Facebook
  • Instagram
  • Pinterest
  • YouTube

Favorite Shops

Secondary Sidebar

Subscribe

Enter your email address to subscribe to this blog and receive notifications of new posts by email.

Instagram
Something is wrong.
Instagram token error.
Follow
Load More

Archives

Tags

3D embossing folder alcohol markers better press birthday birthday card blog hop card kit christmas christmas card christmas tag colored pencil copic copic coloring Daniel Smith die cutting embossing folder embroidery felt giveaway holiday holiday card hot foil ink blending karin brushmarker pro layered stencil masculine my monthly hero new release no line coloring no line watercolor OLO marker olo markers original illustration pawsitively saturated rainbow shaker card slimline stamping stamptember stencil thank you thinking of you valentine's day video watercolor

Popular Posts

Simon Says Stamp Sending Cheer Release: Now Available!
Joyful Snowman with New Simon Says Stamp Sending Cheer Release!
Autumn Legs with Colorado Craft Company and Catherine Pooler!
February 2018 My Monthly Hero Blog Hop!
Altenew Paint A Flower: Carnation Blog Hop+Giveaway!
Altenew March 2020 Release Blog Hop+Giveaway!
Special Release: Simon Says Stamp Limited Edition STAMPtember Christmas Card Kit!
Pinkfresh Studio 5th Birthday!
Pinkfresh Studios June Washi and Stamp Release Blog Hop!
Studio Katia September Release Blog Hop!

Disclosure

Some affiliate links are used in my posts. This means that, should you click on one of my links and purchase something from that company, I will receive a small portion of the sale at no extra cost to you. I use the money earned from these sales to help maintain my blog. I so appreciate you visiting and, if you do choose to use one of my affiliate links, thank you so much for your support!
Copyright © 2026 ·Brunch Pro Theme · Genesis Framework by StudioPress · WordPress · Log in
Loading Comments...