• Skip to main content
  • Skip to primary sidebar
  • Skip to secondary sidebar

Sixth Street Sundries

Emily Midgett

  • Home
  • About Me
  • Contact
  • OLO Marker Color Swatch Chart
  • Shop

be patient

A Double Leftovers Card Set with New Simon Says Stamp Stencils and Dies!

April 17, 2026

This post was sponsored by Simon Says Stamp. Thanks, Simon! *I have gathered links to all of the products used at the bottom of the post for your convenience, using affiliate links at no extra cost to you. Thank you for shopping with my links! I truly appreciate your support for my work!*

Hi friends! I am back with another post for my Use Your Leftovers focus week! (My husband very generously shared some stomach flu germs with me, so it feels like ages since I’ve posted, but I guess it’s only been two days? Ha-time moves slower than molasses in January when you’re sick to your stomach!) The beautiful new Friendly Blossoms stencil and die duo are such a unique concept: stencils that create a complete A2 patterned panel, customizable to your own color preferences of course, and coordinating dies that also add fabulous debossed texture to the die cuts! I stenciled three complete panels in order to create this two-fer with tons of dimension and shaky bits. Let’s get started with the details on my projects!

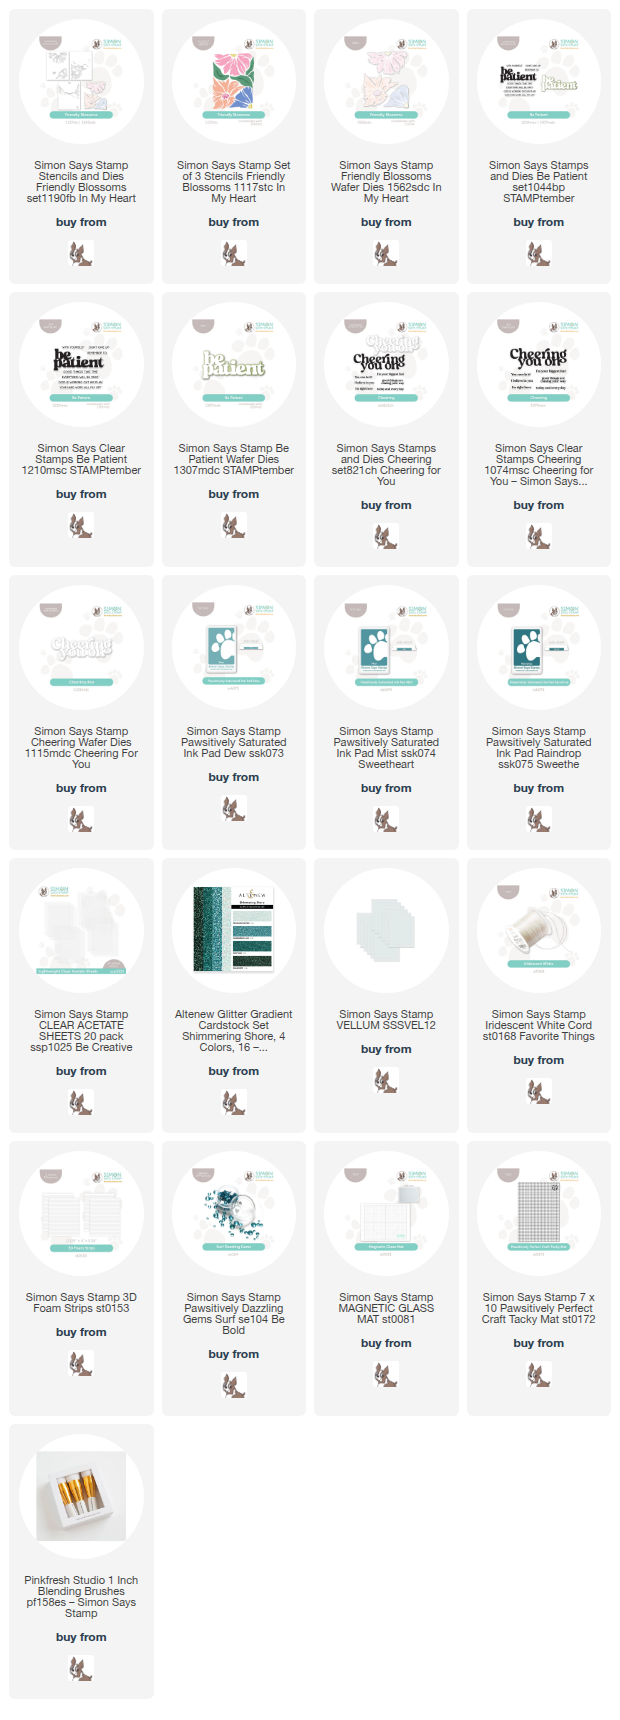
For both projects, the main ingredient is the Friendly Blossoms stencil and die set, as well as the gorgeous and serene Pawsitively Saturated Inks trio in Dew, Mist, and Raindrop. These bold, graphic blooms work perfectly with this non-traditional color palette. I kept the colors simple, because the techniques and die cutting were going to be the star of these cards. As I mentioned, I created three separate, full sized A2 panels from these layered stencils, blending the images with soft strokes to keep the color palette tranquil. I used my “stencil station” to create these lickety split; the Craft Tacky Mat keeps things in place so perfectly while I do my stenciling!

For my first project, I wanted to create a shaker card out of the negative space left from die cutting the blooms from the Friendly Blossoms stencil images. Using low-tack tape to hold my dies in place, I carefully die cut the stenciled images from one of the stenciled panels, reserving the actual die cuts themselves for the next project. I backed the resulting window panel with clear acetate, then carefully added a continuous thin strip of foam adhesive around the edges of the openings to be able to create my shaker windows. I flipped the resulting panel over and filled the openings with Mist Sequins Mix before adhering one of the remaining stenciled panels to the back, making sure that the flowers were lined up to their coordinating openings as closely as possible.

After I had finished creating and filling my shaker background, I selected a larger scale sentiment set to create a bold sentiment. I die cut the detail layer of the Be Patient die set using coordinating teal glitter cardstock, backing it with a vellum shadow layer. I also stamped a coordinating greeting from the Be Patient stamp set using Raindrop ink on a thin strip of white cardstock. I popped up both of the sentiment pieces with thin foam adhesive squares, then added an Iridescent White Cord bow for a touch more texture! Such a fun shaker card, I think.

My second card uses the leftovers from the die cut windows! I added foam adhesive to these die cut and debossed images, then placed them in their appropriate spot on the final finished A2 stenciled panel. I love how that little bit of debossing and tiny pop of foam adhesive really makes such an impact on the card front! Can’t let such pretty leftovers go to waste, right?

For the greeting, I die cut the detail layer of the “Cheering you on” die set from some more teal glitter cardstock, backing it with a vellum shadow layer. I stamped a greeting from the CheeringĀ stamp set, again with Raindrop ink, and popped both pieces up on the panel using foam adhesive, creating a double layer for the strip and single layer for the die cut sentiment so that they would pop beautifully from the floral background. Finally, I added a trio of Surf Pawsitively Dazzling Gems for another pop of sparkle!

Well, that’s all for my projects today! These “use your leftovers” cards are so fun and definitely kindling my creativity. I hope you’re enjoying them! Thanks so much for stopping by today, and have a marvelous day!
Filed Under: simon says stamp, Uncategorized Tagged With: be patient, cheering, cheering for you, die cutting, encouragement, friendly blossoms, ink blending, layered stencil, leftovers, shaker card, stencil station, stenciling

Patient Sunflowers with New Simon Says Stamp!

September 15, 2025

This post was sponsored by Simon Says Stamp. Thanks, Simon!

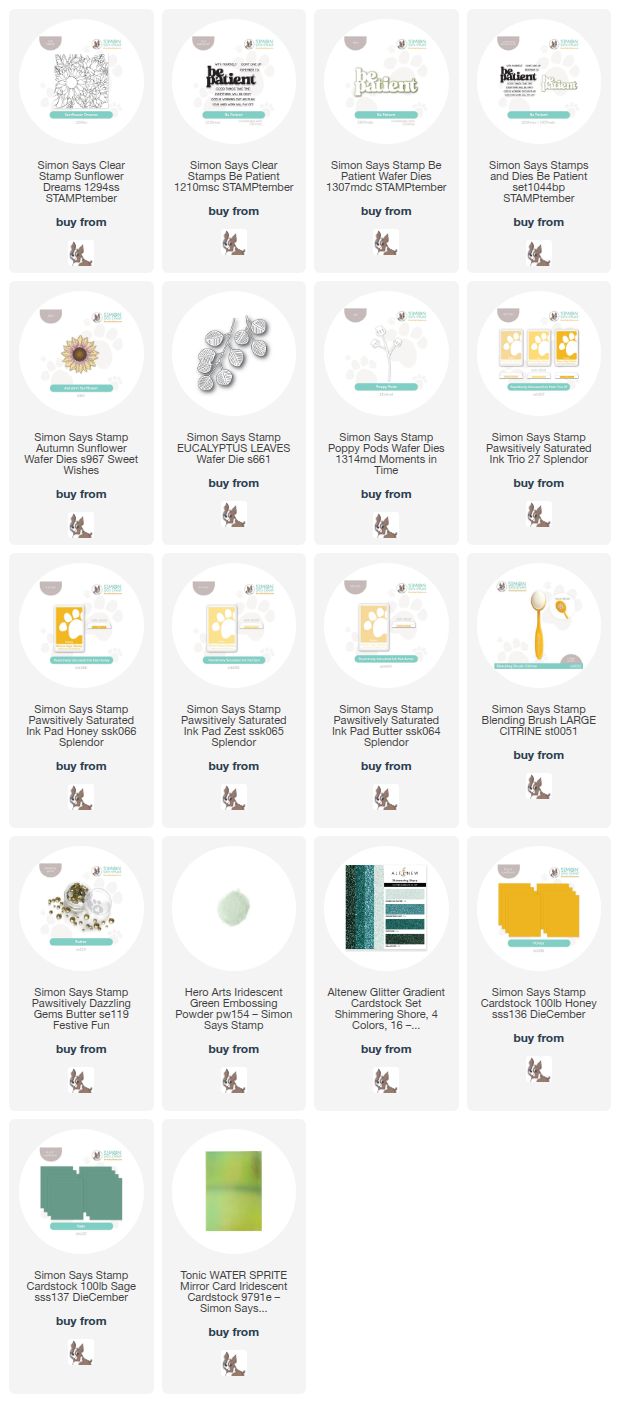
Hi friends! I have a sunny project to share with you today pairing my new Sunflower Dreams background stamp with some new and old goodies from Simon Says Stamp. (The stamp is currently sold out-yay that you guys like it!-but you can sign up to be notified by email for when it comes back in stock!) When I was creating the Sunflower Dreams stamp, I wanted something that was large enough that it would be super enjoyable to color, but also something detailed enough that it could be used as a background without coloring. For today’s project, I did some emboss-resist with iridescent embossing powder and sunny yellow ink blending to create a bright canvas behind my die cut autumn floral bouquet. Let’s get started with the details on my card!

*I have gathered links to all of the products used at the bottom of the post for your convenience, using affiliate links. Thank you for shopping with my links! I truly appreciate your support for my work!*

To begin, I used Hero Arts Iridescent Green Embossing Powder to emboss the Sunflower Dreams stamp on a panel of white cardstock. I trimmed the panel down in order to be able to frame it with a contrasting colored cardstock, then blended Pawsitively Saturated Inks in shades of Honey, Zest, Butter in an ombrƩ on the panel, allowing the details of the stamp to shine through more visibly with the vibrant blended background and shimmering green embossing. I adhered the panel to the center of a full-sized A2 Sage card front, creating a contrasting frame.

To adorn the embossed background, I die cut the makings of an autumnal bouquet using the Autumn Sunflower, Eucalyptus Leaves, and Poppy Pods dies, cutting them each using colored cardstock. I used a blending brush to blend the edges of the sunflower petals before adhering the different layers together with foam adhesive squares. I also used some deep green glittery cardstock to die cut the Poppy Pods, as well as some iridescent green foil cardstock for a couple of the Eucalyptus Leaves, adding more texture and shimmer to the bouquet. In order to create a lush, full bouquet, I did some selective trimming with my scissors on the Poppy Pods and Eucalyptus Leaves, so that I could tuck the foliage around the sunflower and fill in any blank spots!

Before assembly, I die cut the detailed layer of the new Be Patient stamp and die set from more of the deep green glitter cardstock, then added the vellum shadow layer behind it. I also heat embossed a greeting from the coordinating stamp set on a strip of Sage cardstock. Once I had all of the die cuts complete, I began assembling my bouquet, tucking the sentiment components in the curve of the swag, adhering everything with both liquid and foam adhesive for lots of dimension. Finally, I added a few Butter Pawsitively Dazzling Gems for a touch of sparkle!

Well, that’s all for my project today! I am so thrilled that people seem to be enjoying Sunflower Dreams; it’s always a thrill to see my illustrations come to life, and even more of a thrill when people actually like them! Thanks so much for stopping by today, and have a marvelous day!

Filed Under: simon says stamp, Uncategorized Tagged With: autumn, autumn sunflower, be patient, die cutting, eucalyptus leaves, heat embossing, ink blending, pawsitively saturated, poppy pods, sunflower, sunflower dreams

Primary Sidebar

  • Facebook
  • Instagram
  • Pinterest
  • YouTube

Favorite Shops

Secondary Sidebar

Subscribe

Enter your email address to subscribe to this blog and receive notifications of new posts by email.

Instagram
Something is wrong.
Instagram token error.
Follow
Load More

Archives

Tags

3D embossing folder alcohol markers better press birthday birthday card blog hop card kit christmas christmas card christmas tag colored pencil copic copic coloring Daniel Smith die cutting embossing folder embroidery felt giveaway holiday holiday card hot foil ink blending karin brushmarker pro layered stencil masculine my monthly hero new release no line coloring no line watercolor OLO marker olo markers original illustration pawsitively saturated rainbow shaker card slimline stamping stamptember stencil thank you thinking of you valentine's day video watercolor

Popular Posts

Simon Says Stamp Sending Cheer Release: Now Available!
Joyful Snowman with New Simon Says Stamp Sending Cheer Release!
Autumn Legs with Colorado Craft Company and Catherine Pooler!
February 2018 My Monthly Hero Blog Hop!
Altenew Paint A Flower: Carnation Blog Hop+Giveaway!
Special Release: Simon Says Stamp Limited Edition STAMPtember Christmas Card Kit!
Altenew March 2020 Release Blog Hop+Giveaway!
Pinkfresh Studio 5th Birthday!
Pinkfresh Studios June Washi and Stamp Release Blog Hop!
Studio Katia September Release Blog Hop!

Disclosure

Some affiliate links are used in my posts. This means that, should you click on one of my links and purchase something from that company, I will receive a small portion of the sale at no extra cost to you. I use the money earned from these sales to help maintain my blog. I so appreciate you visiting and, if you do choose to use one of my affiliate links, thank you so much for your support!
Copyright © 2026 ·Brunch Pro Theme · Genesis Framework by StudioPress · WordPress · Log in
Loading Comments...