My friends at Altenew have a new release, and it’s a stunner, filled with gorgeous, Better Press plates, magnificent die designs, cardstocks, inks, and so much more! You can check out the full release HERE. We are hopping along today to share tons of inspiration with you using these marvelous new products. You should have arrived here from Agnieszka, and your next stop is Jaycee. You can also start the hop over on the Altenew Blog! I have a trio of projects using several of the new products, so let’s get started with the details!
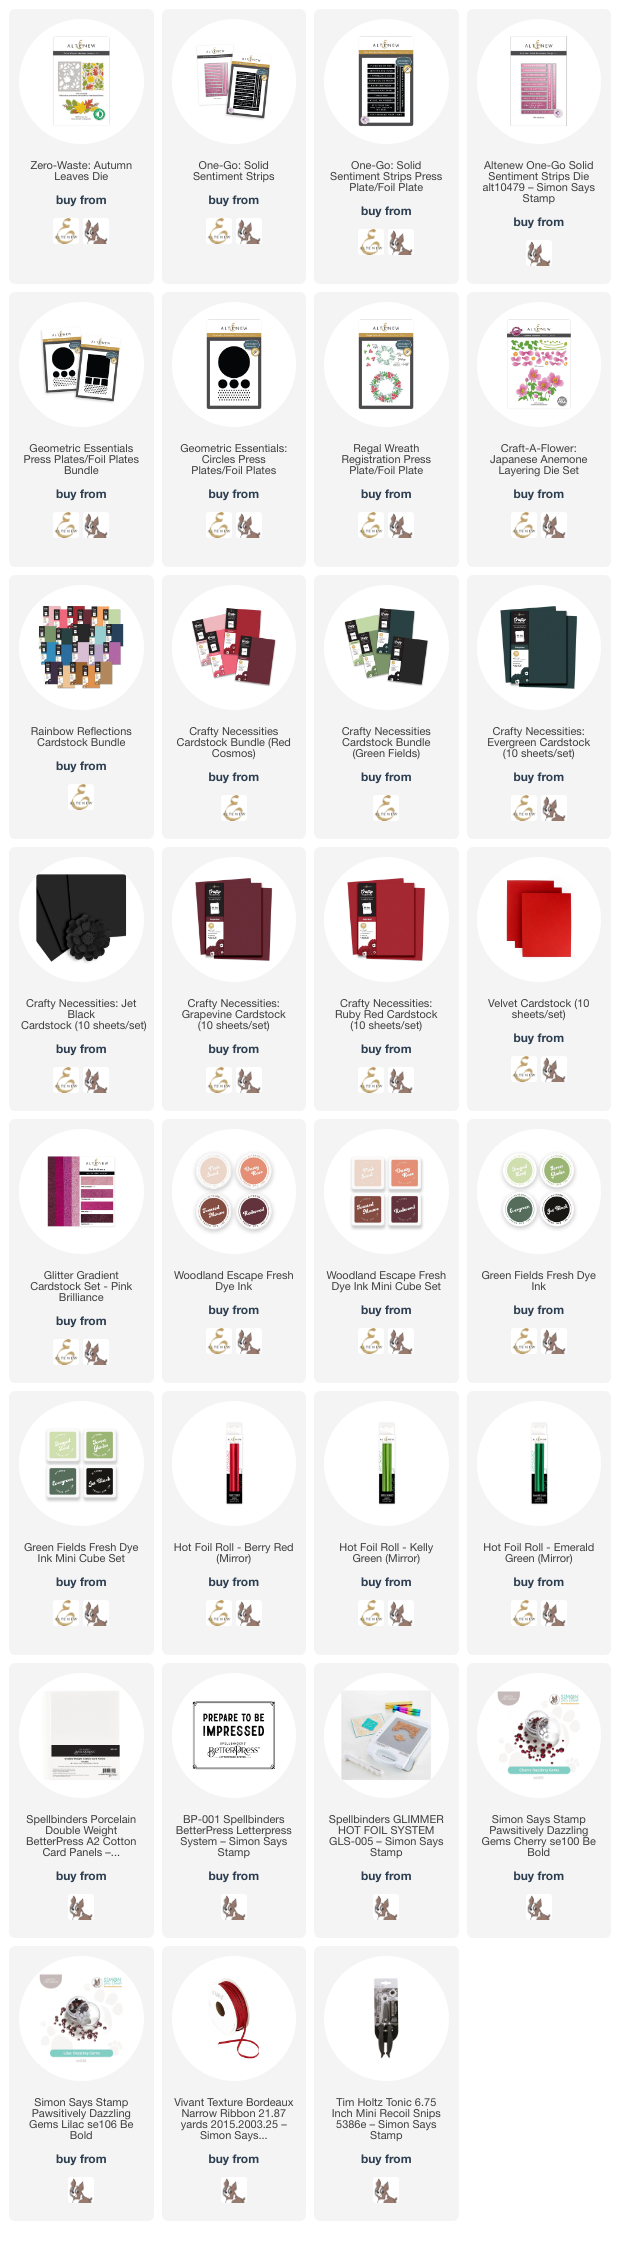
*I have linked all of the products used at the bottom of the post for your convenience using affiliate links. Thank you for shopping with my links! I truly appreciate your support for my work!*

I am unabashedly in holiday cardmaking mode right now, and so I have used some of the wonderful new cardstocks with a few of somewhat older products to create some intense, vibrant holiday cards, as well as some of the new dies and Press Plates to create a monochromatic autumnal card. So much color saturation and vibrancy in these cards!

For my first project, I used the recently released Regal Wreath Press Plate set to create this incredibly festive and shiny hot foiled card. While this press plate set is meant to be used with the registration guides to create multi-layered letterpress cards, I decided to hot foil each of the layers separately onto Evergreen and Ruby Red cardstock using the new Berry Red, Emerald Green, and Kelly Green mirror foil rolls. Press plates hot foil absolutely beautifully, with nearly perfect results every single time, and the new Crafty Necessities cardstocks are so very smooth, making them a perfect canvas for hot foiling!

After hot foiling each individual layer with different colors of foil, I used very sharp scissors to fussy cut the flowers and extra holly leaves, which I then layered on the larger hot foiled wreath panel using foam adhesive. I also hot foiled a greeting from the Regal Wreath set, using Berry Mirror Hot Foil on Evergreen cardstock, creating a classic red-and-green sentiment, which I also fussy cut. I trimmed the hot foiled panel down 1/8″ on each side, then matted it in the center of some glittery red cardstock. I added some ruby gems to the centers of my flowers and topped everything off with a pretty bow! What’s a wreath without a bow, right?

For my second project, I elected to do some vibrant red color drenching to create a monochromatic holiday card using the new Geometric Essentials: Circles Press Plate as a hot foil plate to “ground” my vibrant red anemones. A friend of mine had such incredibly brilliant red anemones with black centers as her flowers for her Christmas wedding long ago, and that image of those gorgeous red anemones has stuck with me since! I thought a shiny red foil circle would be the perfect grounding backdrop for some red anemones, so I began this project by hot foiling the new Geometric Essentials: Circles Press Plate onto some Velvet cardstock using the Berry Red foil. The shiny, candy apple red foil shows up so nicely on the vibrant, deep red cardstock even though the colors are so similar. That shiny texture adds so much interest to the background!

To adorn my shiny circle ground, I die cut several blooms from the Craft-A-Flower: Japanese Anemone set from Jet Black, Evergreen, and Ruby Red cardstock. I used small blending brushes to blend Redwood and Evergreen Fresh Dye Ink on the flowers and foliage before assembling with liquid adhesive. I arranged the die cuts in a bouquet around my foiled circle, tucking a hot foiled sentiment and bow amongst the flowers. Finally, I finished everything off with another vibrant red bow. I am loving the additional texture that bows add to finished cards lately!

For my final card, I used the absolutely gorgeous new Zero Waste Autumn Leaves die with some dramatic, deep maroon solid and glitter cardstock. I started by creating another circular letter press image to “ground” my foliage die cuts by pressing the new Geometric Essentials: Circles Press Plate onto some white letterpress cardstock with Redwood Fresh Dye Ink. I love that the Fresh Dye Inks are compatible with the press plates… makes everything so much more versatile! I also pressed the new One Go Solid Sentiments Strips Press Plate + die set with the same Redwood ink, then used the coordinating die to die cut the sentiment strips. I love the simplicity of this process: press once, die cut once, and you have a bunch of sentiments ready for a rainy day!

I die cut the fabulous new Zero Waste Autumn Leaves die set from both Grapevine cardstock and Rhodolite cardstock from the Pink Brilliance Glitter cardstock set. I adhered the sentiment strip to the letterpress background with some foam adhesive, then arranged the foliage die cuts around the sentiment in a swag, mixing the solid colored cardstock with the glittery cardstock fairly evenly to create a fairly even mixture. Finally, I finished the project off with a few shimmering gems for added sparkle!
Well, that’s all for my projects today! Now for some fun giveaway information:

$300 in total prizes! To celebrate this release, Altenew is giving away a $100 gift certificate to 1 lucky winner and a $50 gift certificate to 4 winners! Please leave a comment on the Altenew Card Blog and/or each designer’s blog post on the blog hop list below by October 10th for a chance to win. Altenew will draw 5 random winners from the comments left on each stop of this blog hop and announce the winners on the Altenew Winners Page on October 12th, 2024.
The winner of the $100 gift certificate will be chosen from comments left on the Altenew blog.
Here’s the full hop list in case you get lost:
Thanks so much for stopping by today, and happy hopping!