Hi friends! Exciting STAMPtember news hot off the presses: the perennially amazing Tim Holtz has partnered with Simon Says Stamp to not only release exceptional STAMPtember collaboration goodies, but they are part of the kit that will be used in an exclusive Tim Holtz STAMPtember workshop! Click HERE to see all of the details!
If you are new to STAMPtember from Simon Says Stamp, throughout the month of September, Simon Says Stamp will have exclusive collaborations with some of our favorite stamping companies, releasing a limited edition stamp set designed in collaboration with a different company nearly every day! (Click HERE to see the Collaboration Sets page, and be sure to bookmark it!)
I have created several projects using these gorgeous new Festive Holidays products, so let’s get started with a quick rundown on each!

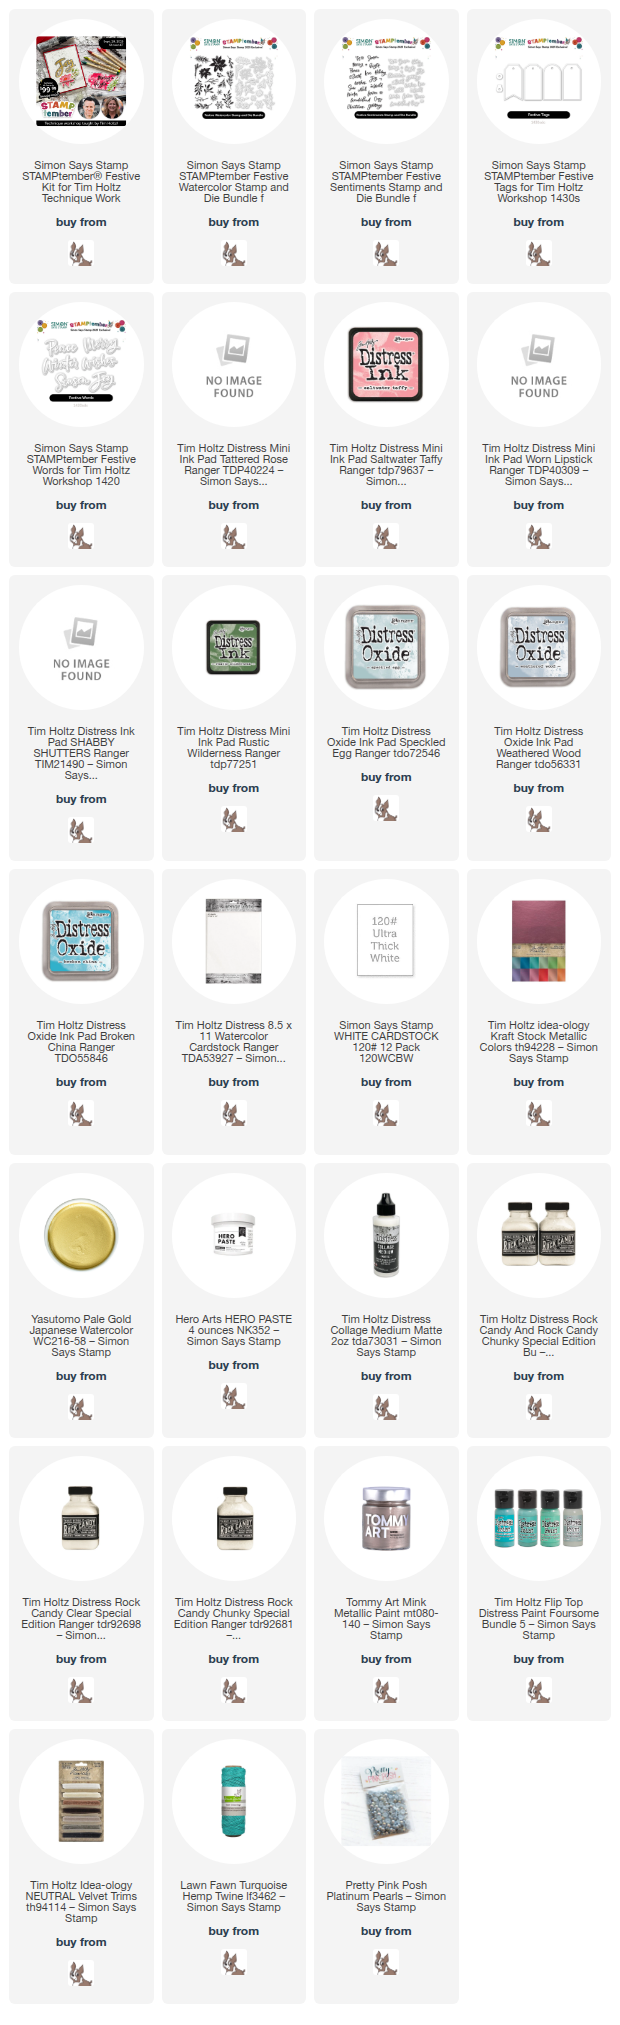
For my first projects, I decided to create a watercolored card and coordinating tag set using the new Festive Watercolor images, Festive Tags, Festive Words, and Festive Sentiments from the kit with some of my favorite Distress Ink pinks: Tattered Rose, Saltwater Taffy, and Worn Lipstick.

I stamped the floral images from Festive Watercolor onto some Tim Holtz Distress Watercolor Paper using Distress Tattered Rose. I then tapped Tattered Rose, Saltwater Taffy, and Worn Lipstick out onto my glass craft mat and picked up the color with my damp paintbrush, taking advantage of the water-based inks to create several beautiful watercolored blooms. I also stamped the greenery with Shabby Shutters, enhancing the images with some shadows painted on with Rustic Wildnerness Distress Ink. After I had finished painting, I die cut each image with it’s coordinating die.

I created a background with one of my new favorite techniques: ink swiping! I simply swiped the same pink Distress Inks on a panel of white cardstock, using a circular motion to blend the colors seamlessly. I splattered the background with gold shimmer watercolors as a nod to the mixed media king himself, then arranged all of the die cuts in a bouquet with foam adhesive, adding a gold and vellum die cut “Joy” greeting from the new Festive Words dies. I added some shimmering gems and topped everything off with a coordinating blush twine bow!

Using Tattered Rose Distress Ink as my main color, I created a coordinating gift tag, this time using gold embossing powder to add some truly luxurious gold shimmer to the project. I die cut a Festive Tags die from some Simon Says Stamp 120 lb Ultra Thick Card Stock, then swiped my Tattered Rose ink pad directly on the die cut tag, enhancing the gorgeous debossed lines around the edges of the die cut with a gold paint pen to create an elegant gilded frame around the edges. I splattered some more gold glitter watercolors on the delicate pink tag.

To adorn the pretty pink tag, I stamped some flowers and foliage using embossing ink, then added some gold embossing powder. Once I had melted the embossing powder, I die cut the finished images, and to add a little color, I swiped the Tattered Rose ink directly on the die cuts. Due to the resistant nature of the embossing, the color adhered to the white edges of the die cuts, creating solid, colorful images. I repeated the process with a couple of the sentiment stamps from the Festive Words, swiping Saltwater Taffy over the finished die cut. A glittery die cut hole reinforcer and some beautiful pink twine finished the tag off!

I couldn’t resist some gorgeous decor with the large scale images and Festive Words, so I die cut the gorgeous Peace word die from some Tim Holtz Metallic Kraft Stock, backing it with the die cut shadow cut from some pearlescent vellum. To create some fabulous, icy inspiration, I used Speckled Egg, Weathered Wood, and Broken China Distress Oxide Inks (so vibrant, but also so soft and velvety stamped on white cardstock!) to create a gorgeous floral background.

I also stamped some individual images from Festive Watercolor using the same ink colors, die cutting the images with their coordinating dies. I splattered the background with some sparkling watercolors (more hat tip to Tim the Mixed Media Master!), then arranged the die cuts on the 4×6 panel. I adhered the 4×6 panel to an inexpensive little easel frame that I purchased at the dollar store. Such a great way to create some pretty home decor using lots of the supplies that you already have! Finally, I added a few coordinating pearls, as well as twine and velvet bows.

One last project using the Festive Watercolor set! I customized this tiny wooden birdhouse that I found at my local dollar store, first by painting the entire birdhouse with some crisp white chalk paint. To make it pretty, I used some metallic pigment ink to stamp the images all over the birdhouse; the pigment ink stamps beautifully on the chalk paint. Stamping isn’t just for paper!!

I used some acrylic paints to enhance the stamped Festive Watercolor images, painting directly over the floral stamped images with metallic rose gold acrylic paint and some muted sage green for the foliage. I am obsessed with how beautifully this turned out!

Once my painted birdhouse had completely dried, I used a palette knife to add some chunky texture paste “snow drifts”, sprinkling the new Tim Holtz Chunky Rock Candy Glitter on the wet texture paste. I also applied some Collage Medium around the edges of the texture paste, adding some of the Fine Rock Candy Glitter, creating icy snow drifts and encrusting this pretty bird house with sparkling, icy glitter.
If you haven’t seen the LIVE, (click HERE to see!) Tim Holtz has shared a ton of different pieces of inspiration using the images that I used above. There is an unbelievable kit available filled with every single stamp and die set, as well as tons of other goodies, that is going to be used during the upcoming Technique Class on 9/28/25, shared on YouTube. The stamps and dies are going to also be available individually if you would prefer one or the other, and I’ll have them linked below, but the value of the kit (priced at $99.99) is more than two times than the purchase price. Incredible, incredible value!!!
However, just like all STAMPtember collaboration sets…. it’s limited edition. Don’t wait. Seriously… don’t wait. This is going to sell out ASAP.
Thanks so much for stopping by today, and happy STAMPtember!!