• Skip to main content
  • Skip to primary sidebar
  • Skip to secondary sidebar

Sixth Street Sundries

Emily Midgett

  • Home
  • About Me
  • Contact
  • OLO Marker Color Swatch Chart
  • Shop

birthday basics

More Darling Duckies with Simon Says Stamp + Memorial Day SALE!

May 21, 2026

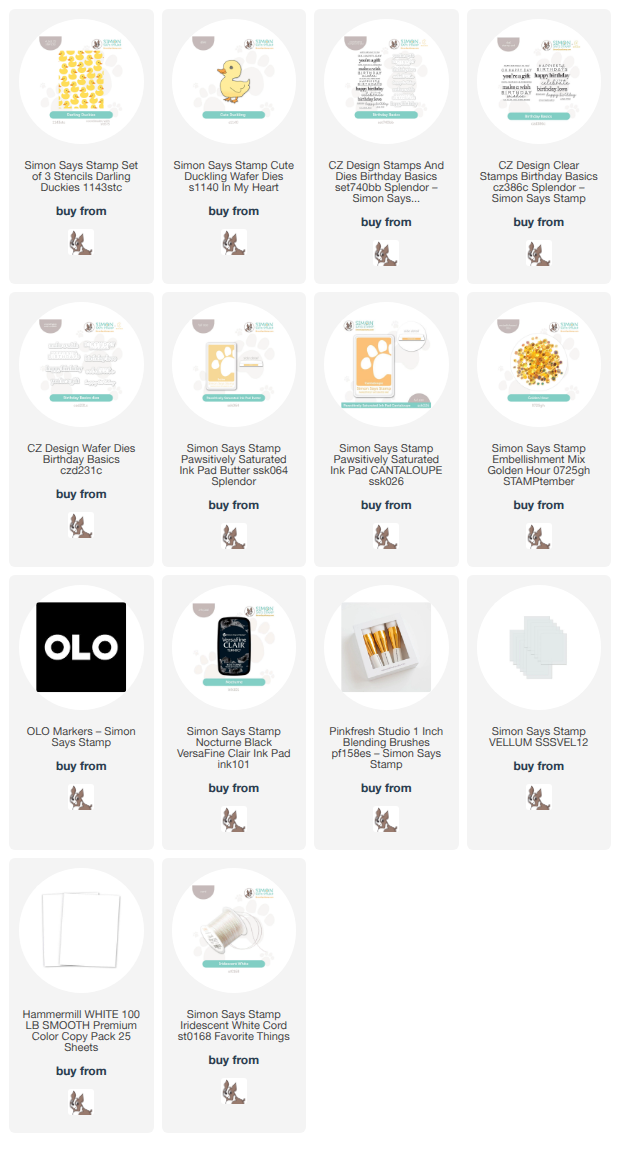
This post was sponsored by Simon Says Stamp. Thanks, Simon! *I have gathered links to all of the products used at the bottom of the post for your convenience, using affiliate links at no extra cost to you. Thank you for shopping with my links! I truly appreciate your support for my work!*

Hi friends! I am back with another Darling Duckies card, this time featuring only the stencils and a few other fun products that I used to create this sweet shaker card, perfect for a birthday for a little one! Make Way for Ducklings has always been one of my favorite books from childhood, and creating bunches of fluffy little yellow ducklings with the fun duckie products from Simon Says Stamp is super fun. Yesterday’s project (click HERE to see it!) was perfect for a baby card (boy or girl as ducks are fairly gender-neutral imagery!), so today I thought I’d create a birthday card for a little one. And what kiddo could resist a shaker card?? Let’s get started with the details on my project!

To begin, I used blending brushes to blend Butter and Cantaloupe Pawsitively Saturated Ink over the the Darling Duckies Stencils on a panel of 3.75″ x 5″ white cardstock. I used my Stencil Station to make for super quick and easy stenciling! After I had finished blending all of the layers, I used some leftover stamp packaging to construct a clear pocket to create my shaker card. I filled the shaker pouch with gorgeous Golden Hour Embellishment Mix and placed it in the center of a full sized A2 card base, leaving a white frame around the exterior edge.

I had a mild love affair with the adorable Cute Duckling die set when it was released, and to my delight, it matched beautifully with the Darling Duckies Stencils! I die cut one of the Cute Duckling dies from white cardstock, then used my OLO Markers to add shadows and shape to the flat die cut. I think it looks so darn cute!! I also stamped and die cut a couple of greetings from Birthday Basics, stamping the sentiments using Nocturne pigment ink, then adding clear embossing powder over the top to make the lines super crisp and vibrant, then die cut them with their coordinating dies.

After I had created all of the components for the card, I trimmed a rectangle of vellum down to fit just across the stenciled shaker panel, then layered my duckie and sentiment die cuts over the top of the vellum. This semi-opaque cardstock creates a bit of a visual barrier from the busy background without adding more visual weight to the card. I adhered the die cuts with thin foam adhesive squares, then flipped the vellum piece over and added more thin foam adhesive behind the solid die cuts so that they were hidden behind the die cuts and didn’t show through the vellum. I placed the vellum piece on the card front, then added an Iridescent White Cord bow beneath the die cuts to add a bit more texture and whimsy!

Well, that’s all for my project today! Isn’t it just darling? How sweet would it be for a first or second birthday party?

To celebrate Memorial Day, Simon Says Stamp is offering 25% off of ALL Simon Says Stamp-branded products!! Click HERE to see everything!
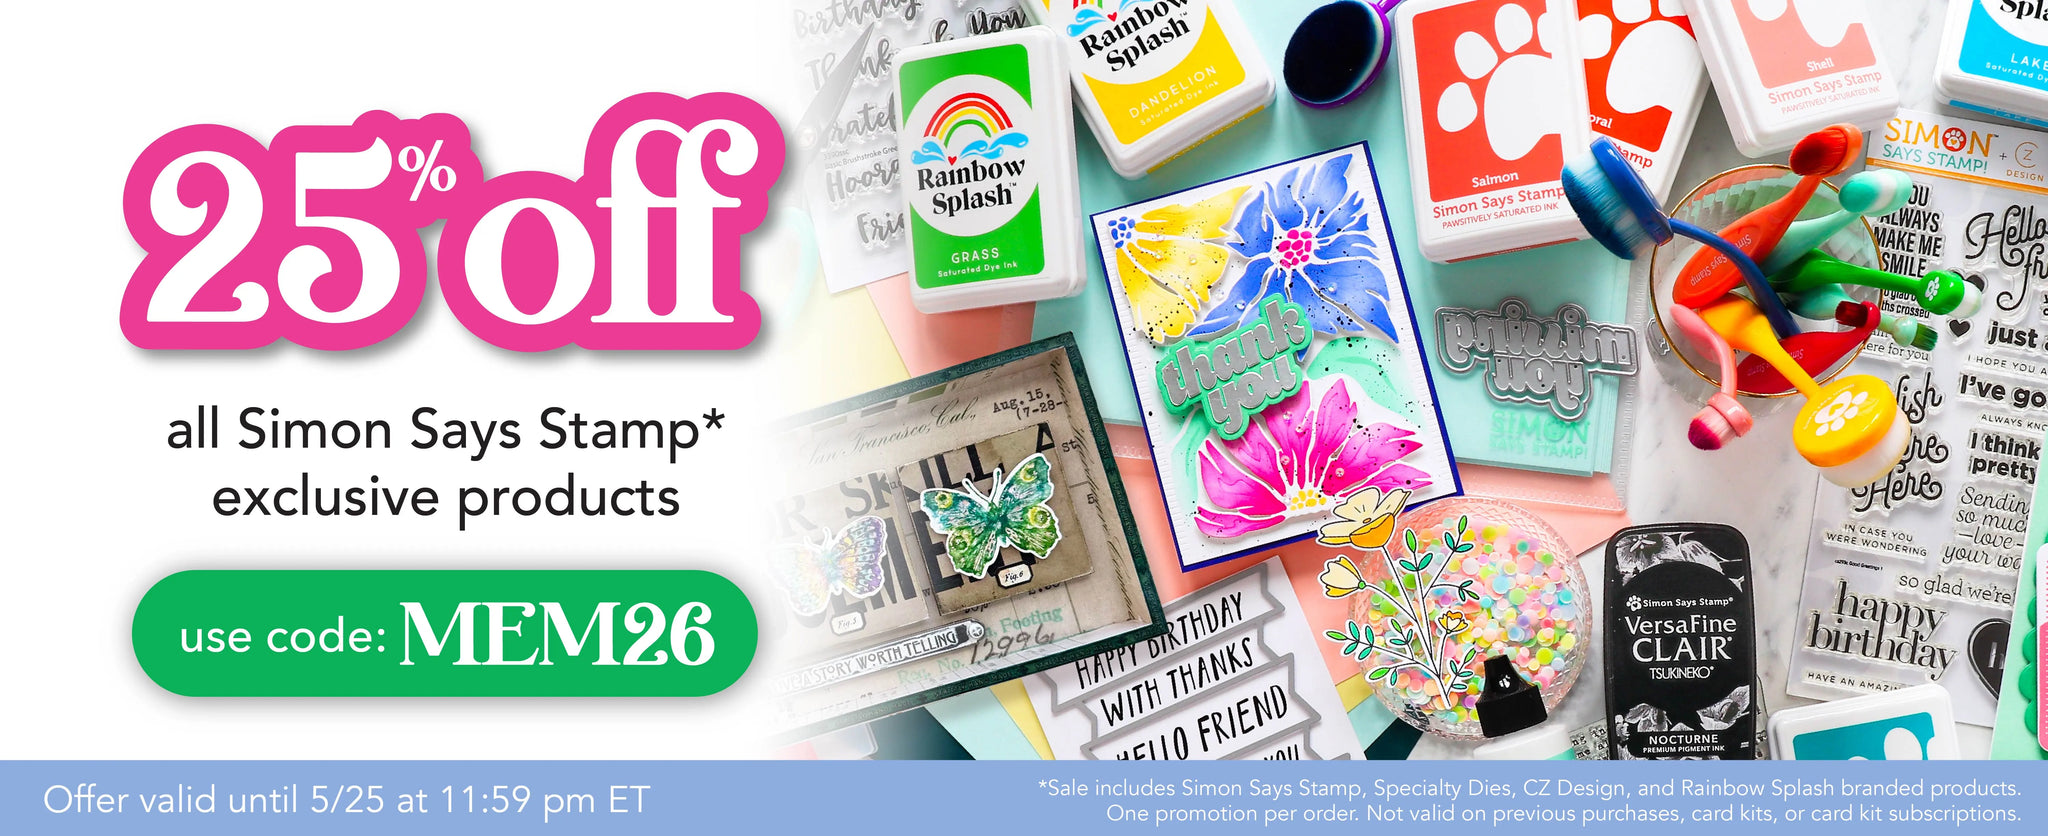
Fill your cart with Simon merch and add code MEM26 at checkout to receive 25% off through the end of Monday, May 25, 2026. Score, right?!

Thanks so much for stopping by today, and have a marvelous day!
Filed Under: simon says stamp Tagged With: birthday basics, birthday card, cute duckling, CZ design, darling duckies, die cutting, ink blending, layered stencil, no line coloring, olo markers, stencil, stencil station

Make A Wish with Stenciling on Kraft Cardstock!

January 26, 2025

This post was sponsored by Simon Says Stamp. Thanks, Simon!

Hi friends! I have a celebratory shaped birthday card to share with you today using a fun layering stencil and die set from Simon Says Stamp! The Big Birthday Cake product suite features a fabulous layered stencil set that creates a beautifully detailed layer cake, complete with candles and sprinkles! I took the project a couple of steps further by adding in some kraft cardstock and white pigment ink, as well as creating a shaped card to make things super special. Let’s get started with the details!

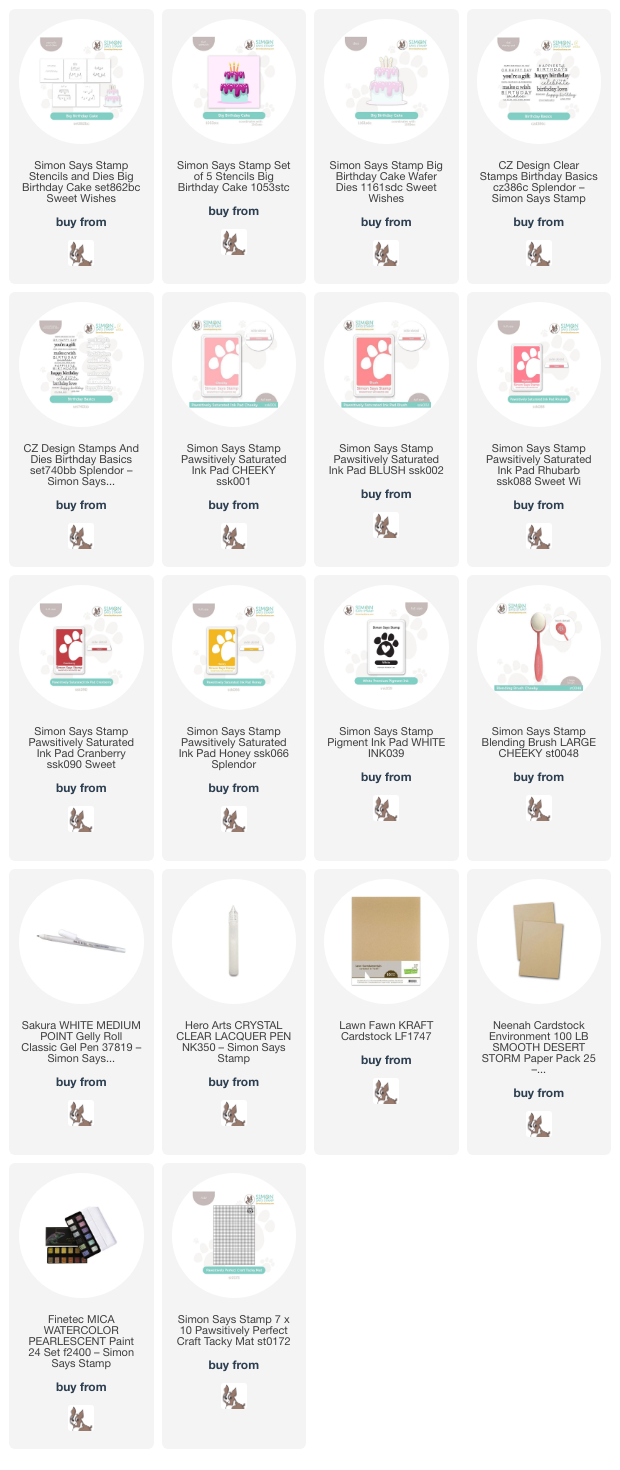
*I have gathered links to all of the products used at the bottom of the post for your convenience, using affiliate links. Thank you for shopping with my links! I truly appreciate your support for my work!*

To begin, I die cut the generously-sized birthday cake image from the Big Birthday Cake product suite using Neenah Desert Storm cardstock, which is a lighter Kraft cardstock and makes even the brightest blended colors more subtle and muted. I made sure to die cut the image first so that I had a better idea of where to line up the stencils. To make sure that my die cut stayed perfectly in place, I used the Pawsitively Perfect Craft Tacky Mat to hold down the die cut and the negative so that I could perfectly line up the stencils over the die cut opening. The Craft Tacky Mats come in a variety of sizes and are incredibly useful for lots of different projects and techniques. Totally worth the investment!

For the stenciling, I first blended Simon Says Stamp White Pigment Ink on the first, largest layer to create a bit of a barrier between the tan cardstock and the colorful inks. I then used Pawsitively Saturated Ink in shades of Cheeky, Blush, Rhubarb, Cranberry, and Honey to add each layer, sometimes using multiple colors on each layer, sometimes creating extra dimension by slackening the pressure on some of the layers to create a more subtle colored layer. After I had finished blending each layer, I used some sparkling metallic watercolors to add extra shimmer to the sprinkles and the candles, then covered them with some Hero Arts Lacquer Pen accents, keeping the sparkles in place as well as providing extra texture and shine. I also added a few white gel pen accents, adding another element of white to go along with the white embossed Birthday Basics sentiment!

To make the card extra special and to take advantage of the generous size of the main image, I decided to create a shaped card. I simply created a basic side-fold A2 card base, then used the large birthday cake die from the Big Birthday Cake product suite to die cut the card base, making sure to overlap the folded edge of the card base with the edge of the die so that the fold remained intact. I adhered the finished blended card front on the shaped base and added a quick “happy birthday” message inside!

Well, that’s all for my project today! I love using colored cardstocks to do some different and unique techniques, like ink blending on the tan cardstock. It takes your typical crafting and adds a special twist to it! Thanks so much for stopping by today, and have a marvelous day!

Filed Under: simon says stamp Tagged With: big birthday cake, birthday basics, birthday card, kraft cardstock, shaped card, white pigment ink

Soft Serve for Summertime with Simon Says Stamp + SALE!

June 1, 2024

This post was sponsored by Simon Says Stamp. Thanks, Simon!

Hi friends! It’s June 1, my kiddos are all out of school, and the pool is calling our name! My kiddos love to go to the pool on Fridays (their treat for giving me time to work during the week), and when we are there we almost invariably take a swim break for an ice cream cone from the concession stand. I was inspired by these snack breaks to create a summery card using an older-but-still-fabulous die set that I had not yet used: Soft Serve Cone. It is a layering die set, and I am a huge fan of using multiples of the same image to create a focal point on my card front, particularly if the finished image is not terribly large and leaves quite a bit of space around it. I pulled out some sunset cardstock colors from my stash, matched them with some Pawsitively Saturated Inks, and went to town to create this super fun birthday shaker card! Let’s get started with the details.

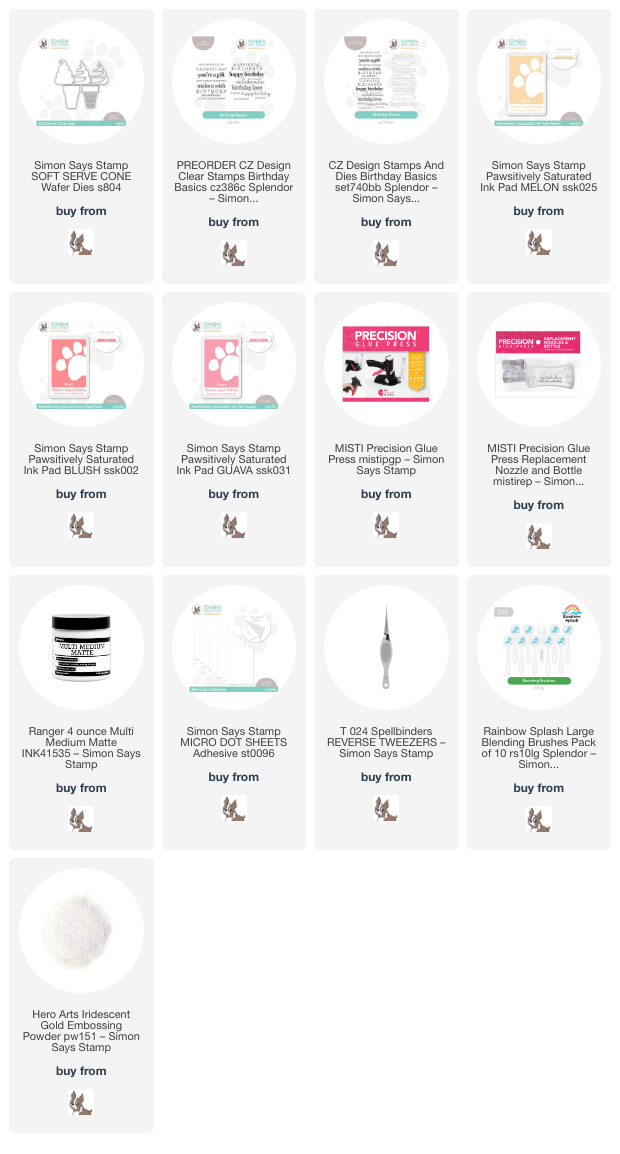
To start, I selected my cardstock colors, working in a sunset-inspired gradient for my main images, as well as selecting three strengths of the each shade to create the shadows and highlights for my images. I adhered all of the different layers for three cones from the Soft Serve Cone die set together using the MISTI Precision Glue Press, the bottle of which I filled with Multi-Medium Matte. The needle nose point on these glue bottles offers the ability to glue incredibly fine die cuts while the Multi-Medium Matte glue dries clear and matte, so almost invisible. Even better is that the lid of these bottles comes with the needle attached to it, so that I never have to worry about clogging! The Precision Glue Press is out of stock at the moment (you can always sign up for emails to be notified when it’s restocked), but the replacement bottles are available and they are a total game changer. I have multiple bottles containing multiple types of glue, which I employ for a variety of uses.

While we are on the subject of adhesive, I also find the Micro Dot Adhesive Sheets from Simon Says Stamp to be so useful when adhering super delicate die cuts, like the cross hatch die cuts on the base of the ice cream cones. You don’t have to worry about globs of glue spilling out, because no matter how fine a point your glue bottle has, you can’t avoid glue globs when dealing with die cuts this delicate!

After I had finished assembling my rainbow of ice cream cones, I used blending brushes to blend Pawsitively Saturated Inks in shades of Melon, Blush, Guava on my slightly-smaller-than-A2 white background. I wanted to create a tone-on-tone halo around my ice cream cones, and so selected ink colors that perfectly matched my cardstock colors. After I had finished blending, I splattered the background with some super sparkly glitter watercolors, then used some leftover stamp packaging to create a flat shaker card. I filled the pocket with a sequins mix that I’ve had in my stash for a very long time just waiting for the perfect project!

For the greeting, I stamped the simple “happy birthday” sentiment from Birthday Basics using Blush ink, then stamped directly over the top with embossing ink, then added some Iridescent Gold embossing powder to add beautiful shimmer to my sentiment. I die cut the greeting with it’s coordinating die, then arranged the ice cream cones on top of my shaker card front, adhering them with foam adhesive squares. I added the sentiment over the top with another layer of foam squares for even more height and dimension.

Well, that’s all for my project today! To kick off summertime, Simon Says Stamp is offering a fabulous sale:

Simply add code CRFTXL at checkout to take 15% off of your total order, now through 6/2 at 11:59 pm. Click HERE to shop all things new at Simon!

Thanks so much for stopping by today, and have a marvelous day!

Filed Under: simon says stamp Tagged With: birthday basics, birthday card, flat shaker, pawsitively saturated inks, shaker card, soft serve cone

Tropical Ink Swiped Embossing Folders with Simon Says Stamp!

May 24, 2024

This post was sponsored by Simon Says Stamp. Thanks, Simon!

Hi friends! I am back with some more inspiration using some fabulous floral embossing folders from Simon Says Stamp (which just so happen to be on sale and in stock!), this time using a tropical, neon color scheme. I tend to shy away from neon as a general rule, which I have previously theorized is an overcorrection from the wardrobe of my youth in the early 1990’s, but I was inspired by a Hawaiian shirt that I saw in a sale ad this week and thought how fun it would be to apply the same color palette with the embossing folder + ink swiping craze that has taken over the crafting world! I pulled out my favorite “neon” inks from Simon Says Stamp: Rainbow Splash Canary, Lime, and Princess ink, as well as the vivid turquoise of the Pawsitively Saturated Ink Ocean. Let’s get started with the details!

In case you somehow are unfamiliar with the ink swiped embossing folder craze, here’s a brief rundown: emboss your cardstock with your embossing folder as normal, then flip the cardstock over so that the image is pressed down rather than raised up (debossed rather than embossed). Then, using blending brushes, add varying colors to the individual images to add interest to the debossed areas. The trend began by swiping a black pigment ink pad over the raised solid areas, but I found that the intense colors and squishy foam pad from the Pawsitively Saturated Ink line work splendidly! The trick is to select a swiping color that is dark enough to cover your ink blending in case some blending spilled over the edges of the images.

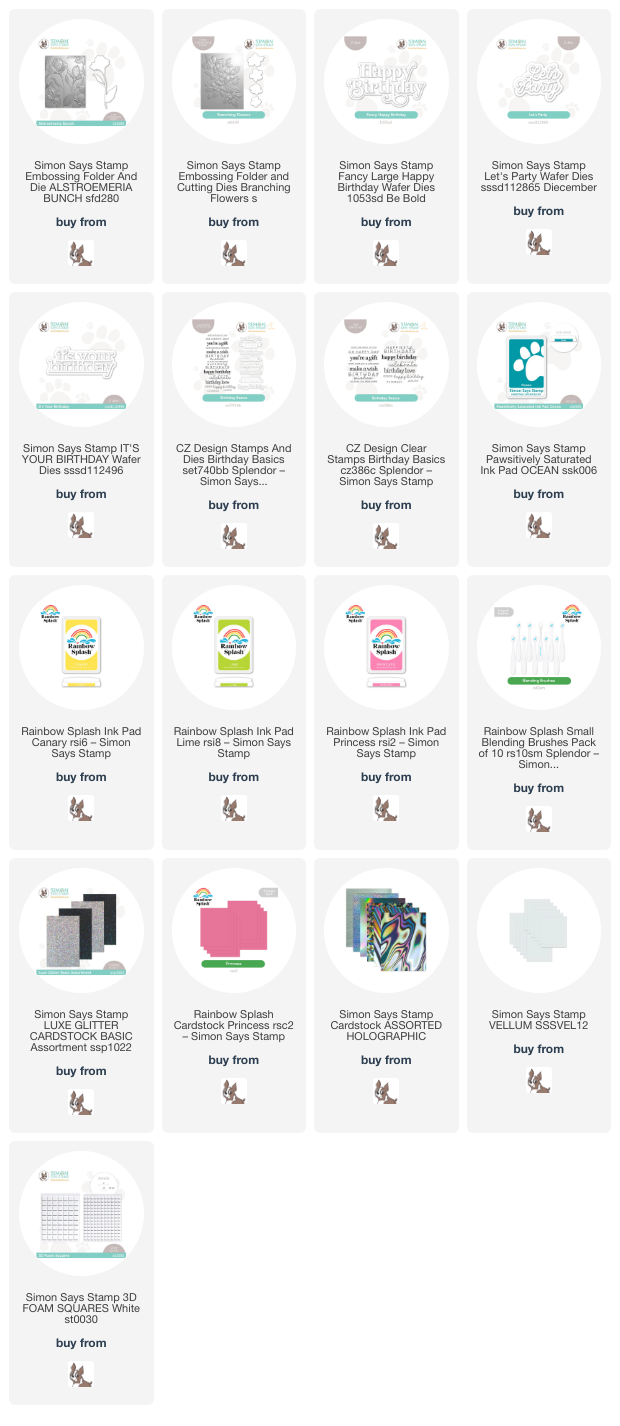
For my first project, I used the sadly-neglected Alstromeria Bunch embossing folder with coordinating die. I didn’t use the coordinating die for this project, but the details that you can achieve with the die and embossing folder combination is just spectacular! I used small blending brushes to blend Rainbow Splash Canary, Lime, and Princess ink over these tropical lily flowers. Once I had blended the colors on the flowers, I swiped the Pawsitively Saturated Ink Ocean over the raised areas.

Full disclosure: I did not have quite enough pressure on my embossing folder in my die cut machine, so the 3D embossed image did not end up as crisp as I would have liked. I am in the process of replacing my machine, which will hopefully rectify that issue. But, because the impression was not as deep, it caused my ink swiping to get in spots that I didn’t want it to, so rather than throw the entire panel away, I chose to add some extra steps to make it look a little more “artistic”… at least that’s what I’m calling it. I trimmed the panel down, added some Ocean ink blending around the edges, splattered the entire panel with some iridescent blue glitter watercolors, added some glittery fuchsia and lime watercolor accents to the individual images to help cover up some of the unwanted teal ink. It’s all about making it work to your advantage!

After I had finished “fixing” my embossed background, I mounted it on a slightly larger panel of holographic Luxe Glitter Cardstock from Simon Says Stamp. The iridescence of the glitter cardstock coordinated beautifully with the iridescent glitter watercolor splatters! I mounted that on a full-size A2 panel of Rainbow Splash Princess cardstock, creating a pretty, coordinating pink frame around the edges of my colorful debossed background. To help further camouflage some of my background, I die cut the detailed layer of the large Fancy Happy Birthday die from some holographic silver mirror cardstock and added it to a vellum die cut shadow layer. I popped up the die cut sentiment with foam squares, then added a white-on-pink embossed greeting from Birthday Basics.

For my second card, I used the same neon-ish color palette, this time pairing it with the beautiful Branching Flowers embossing folder, which I think looks very similar to a hibiscus or even a plumeria! I used the same technique described above, using small blending brushes to blend Rainbow Splash Canary, Lime, and Princess ink over these tropical lily flowers. Once I had blended the colors on the flowers, I swiped the Pawsitively Saturated Ink Ocean over the raised areas. This debossed panel had better definition than the first, so the deep teal ink did not get into the blended debossed areas nearly as much. I did add some more ink blending around the edges and some metallic glitter watercolor splatters and accents as I did with the first project, just because I think they’re so pretty! I added a very thin strip of the holographic silver mirror cardstock to the bottom of the panel, then added a thicker strip of Rainbow Splash Princess cardstock to the bottom so that it was peeking out from behind the debossed panel.

For the greeting, I die cut the It’s Your Birthday die from some more holographic silver mirror cardstock and the Let’s Party die from some more Rainbow Splash Princess cardstock. I popped both die cuts up on the card front with thin strips of foam adhesive, then added a few sparkling yellow gems for added textural interest and shine!

Well, that’s all for my projects today. I am having such fun playing with embossing folders lately; embossing folders and stencils definitely are some of the unsung heroes of the craft room, packing so much punch with so little effort and bonus: they’re super cost effective! Just a quick reminder that the Simon Says Stamp brand Embossing Folders are on sale until Monday, May 27 at 11:59 Eastern. Add code EFLDR at checkout to take 25% off of your embossing folder purchase! Simply click HERE to see all of the embossing folders. Thanks so much for stopping by today, and have a marvelous day!

Filed Under: simon says stamp Tagged With: alstroemeria bunch, birthday basics, embossing folder, fancy large happy birthday, it's your birthday, let's party, pawsitively saturated, rainbow splash

Shades of Blue with Simon Says Stamp!

March 14, 2024

This post was sponsored by Simon Says Stamp. Thanks, Simon!

Hi friends! I am back today with a pair of cards with some unconventional blue peonies. I have been in a blue mood lately; this transition time between winter and spring always seems to bring out my love for different shades of blue, as it can be both icy and cold for winter or fresh and crisp for springtime. I never tire of monochromatic projects, so I pulled out lots of different blue cardstock, my Peony Background, the gorgeous Half Spring Floral Mandala, and some other goodies and got to work creating this coordinating card set!

Navy blue is one of those colors that works well as a neutral nearly all the time. It pairs beautifully with so many different colors, and while I normally would pair this deep blue with magenta or coral, I thought it would unique to have some pale, icy blue peonies!

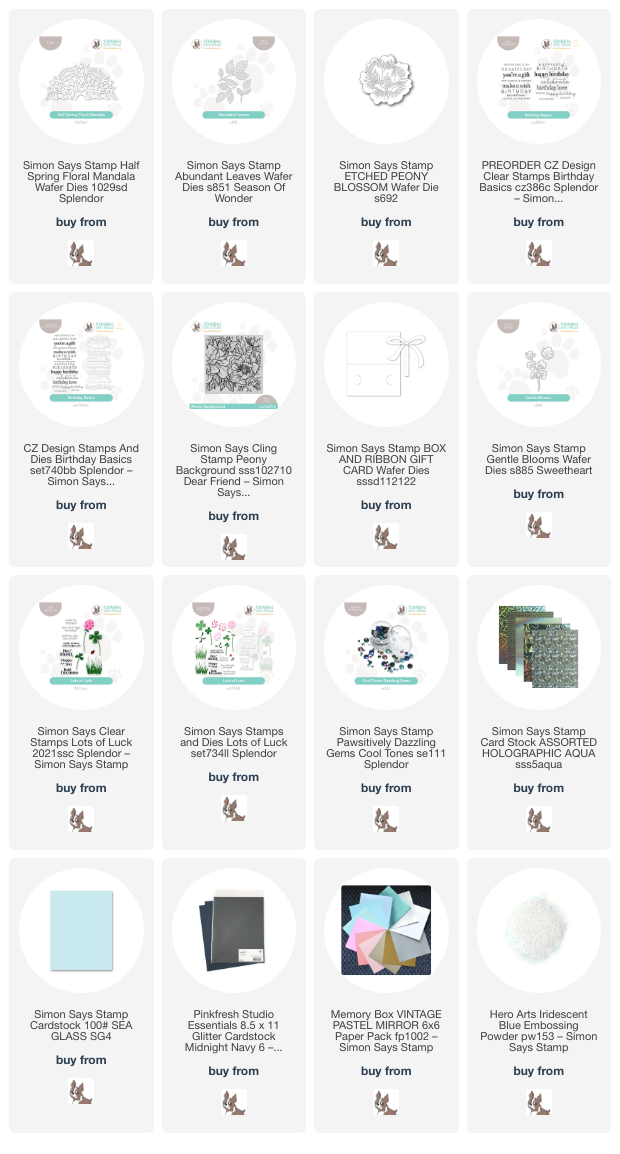
For my first project, I die cut the totally gorgeous new Half Spring Floral Mandala from Simon Says Stamp’s Holographic Aqua cardstock. This super thick iridescent mirror cardstock die cut this intricate die beautifully. The die cuts a delicately-patterned half circle, so I mounted it on my navy blue A2 card base using liquid glue, then added a thin strip of Midnight Navy Glitter Cardstock, nestling it right along the edge of the intricate die cut. This tone-on-tone glitter cardstock helps to create a visual buffer between the edge of the die cut and the solid blue background so that it’s not just floating in midair.

To embellish my lacy background and frame the greeting, I die cut the Etched Peony Blossom from Sea Glass cardstock and some foliage using the Abundant Leaves dies and some iridescent white foil cardstock. I arranged the flowers and foliage over the seam of the glitter paper strip and the die cut, popping them up with foam adhesive. For the greeting, I white embossed a sentiment from the new Birthday Basics on some cornflower blue cardstock, then die cut the larger sentiment with the coordinating die and popped them up with a double layer of foam adhesive to make them extra visible. Finally, I added a few Pawsitively Dazzling Gems Cool Tones for a bit extra sparkle and shine!

For my second project, I wanted to put the Box & Ribbon Gift Card die to use. I have always loved creating extra special gift packaging, but rarely find the time to dedicate to a specific gift, so I thought it might be a good idea to have some on hand the next time I need something! I wanted to create fancy “wrapping paper,” so I heat embossed my Peony Background illustration on some navy blue cardstock using Hero Arts Iridescent Blue embossing powder, masking off the back part of the gift card holder with some Post-It Notes to keep it nice and clean. This Iridescent Blue embossing powder creates the most beautiful tone-on-tone shimmer on colorful cardstock. Depending on the angle, it can take on a more aqua hue or, when angled the opposite way, can look almost purple. So unique and beautiful! I love that the details from the Peony Background are not lost in the slightest, even with this tone-on-tone project.

To embellish my “gift” gift card holder, I die cut the layered bow included in the Box & Ribbon Gift Card die set from some Midnight Navy Glitter Cardstock. I assembled the bow off to the side of the box, popping the top part up with some foam adhesive squares. (If you assemble the bow in the center of the card, it will fit into an A2 envelope when complete. This one won’t quite fit into an A2 envelope, but fits nicely into an A7!) I die cut some Gentle Blooms dies from Sea Glass cardstock and tucked them beneath the bow and greeting from Lots of Luck. Finally, I added a few coordinating aqua Pawsitively Dazzling Gems Cool Tones for extra sparkle!

Well, that’s all for my projects today! I am so in love with this pair of navy blue projects. Monochromatic blue cards are always a winner in my book! Thanks so much for stopping by today, and have a marvelous day!
Filed Under: simon says stamp Tagged With: abundant leaves, birthday basics, box and ribbon gift card, etched peony blossom, gentle blooms, gift card holder, lots of luck, original illustration, peony background, spring floral mandala

Primary Sidebar

  • Facebook
  • Instagram
  • Pinterest
  • YouTube

Favorite Shops

Secondary Sidebar

Subscribe

Enter your email address to subscribe to this blog and receive notifications of new posts by email.

Instagram
Something is wrong.
Instagram token error.
Follow
Load More

Archives

Tags

3D embossing folder alcohol markers better press birthday birthday card blog hop card kit christmas christmas card christmas tag colored pencil copic copic coloring Daniel Smith die cutting embossing folder embroidery felt giveaway holiday holiday card hot foil ink blending karin brushmarker pro layered stencil masculine my monthly hero new release no line coloring no line watercolor OLO marker olo markers original illustration pawsitively saturated rainbow shaker card slimline stamping stamptember stencil thank you thinking of you valentine's day video watercolor

Popular Posts

Simon Says Stamp October 2026 Card Kit of the Month: Homespun Gratitude!
February 2018 My Monthly Hero Blog Hop!
Altenew Craft A Flower: Poppy Blog Hop+Giveaway!
Felted Gourd Wall Hanging with Simon Says Stamp!
Sunflower Home Decor with Simon Says Stamp!
Craft Your Life Project Kit: Feathered Lilies Blog Hop+Giveaway!
Simon Says Stamp October 2025 Card Kit of the Month!
Altenew Standalone Die Blog Hop+Giveaway!
The Ton Anniversary Release- Day 2
Altenew Build A Flower Japanese Mum Blog Hop!

Disclosure

Some affiliate links are used in my posts. This means that, should you click on one of my links and purchase something from that company, I will receive a small portion of the sale at no extra cost to you. I use the money earned from these sales to help maintain my blog. I so appreciate you visiting and, if you do choose to use one of my affiliate links, thank you so much for your support!
Copyright © 2026 ·Brunch Pro Theme · Genesis Framework by StudioPress · WordPress · Log in
Loading Comments...