• Skip to main content
  • Skip to primary sidebar
  • Skip to secondary sidebar

Sixth Street Sundries

Emily Midgett

  • Home
  • About Me
  • Contact
  • OLO Marker Color Swatch Chart
  • Shop

birthday card

More Darling Duckies with Simon Says Stamp + Memorial Day SALE!

May 21, 2026

This post was sponsored by Simon Says Stamp. Thanks, Simon! *I have gathered links to all of the products used at the bottom of the post for your convenience, using affiliate links at no extra cost to you. Thank you for shopping with my links! I truly appreciate your support for my work!*

Hi friends! I am back with another Darling Duckies card, this time featuring only the stencils and a few other fun products that I used to create this sweet shaker card, perfect for a birthday for a little one! Make Way for Ducklings has always been one of my favorite books from childhood, and creating bunches of fluffy little yellow ducklings with the fun duckie products from Simon Says Stamp is super fun. Yesterday’s project (click HERE to see it!) was perfect for a baby card (boy or girl as ducks are fairly gender-neutral imagery!), so today I thought I’d create a birthday card for a little one. And what kiddo could resist a shaker card?? Let’s get started with the details on my project!

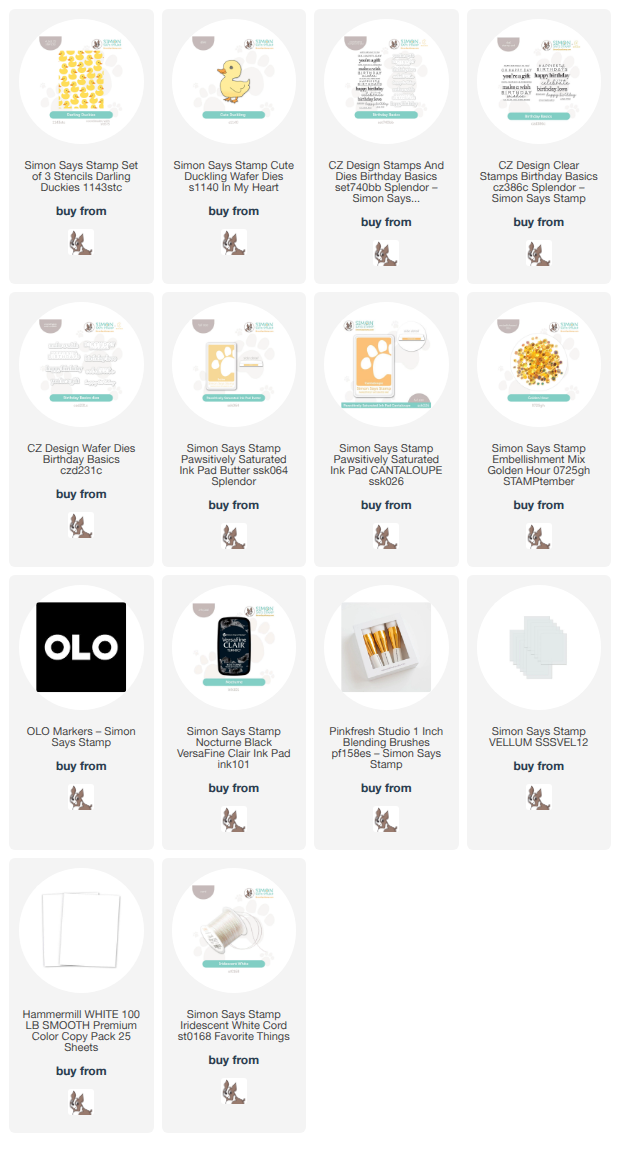
To begin, I used blending brushes to blend Butter and Cantaloupe Pawsitively Saturated Ink over the the Darling Duckies Stencils on a panel of 3.75″ x 5″ white cardstock. I used my Stencil Station to make for super quick and easy stenciling! After I had finished blending all of the layers, I used some leftover stamp packaging to construct a clear pocket to create my shaker card. I filled the shaker pouch with gorgeous Golden Hour Embellishment Mix and placed it in the center of a full sized A2 card base, leaving a white frame around the exterior edge.

I had a mild love affair with the adorable Cute Duckling die set when it was released, and to my delight, it matched beautifully with the Darling Duckies Stencils! I die cut one of the Cute Duckling dies from white cardstock, then used my OLO Markers to add shadows and shape to the flat die cut. I think it looks so darn cute!! I also stamped and die cut a couple of greetings from Birthday Basics, stamping the sentiments using Nocturne pigment ink, then adding clear embossing powder over the top to make the lines super crisp and vibrant, then die cut them with their coordinating dies.

After I had created all of the components for the card, I trimmed a rectangle of vellum down to fit just across the stenciled shaker panel, then layered my duckie and sentiment die cuts over the top of the vellum. This semi-opaque cardstock creates a bit of a visual barrier from the busy background without adding more visual weight to the card. I adhered the die cuts with thin foam adhesive squares, then flipped the vellum piece over and added more thin foam adhesive behind the solid die cuts so that they were hidden behind the die cuts and didn’t show through the vellum. I placed the vellum piece on the card front, then added an Iridescent White Cord bow beneath the die cuts to add a bit more texture and whimsy!

Well, that’s all for my project today! Isn’t it just darling? How sweet would it be for a first or second birthday party?

To celebrate Memorial Day, Simon Says Stamp is offering 25% off of ALL Simon Says Stamp-branded products!! Click HERE to see everything!
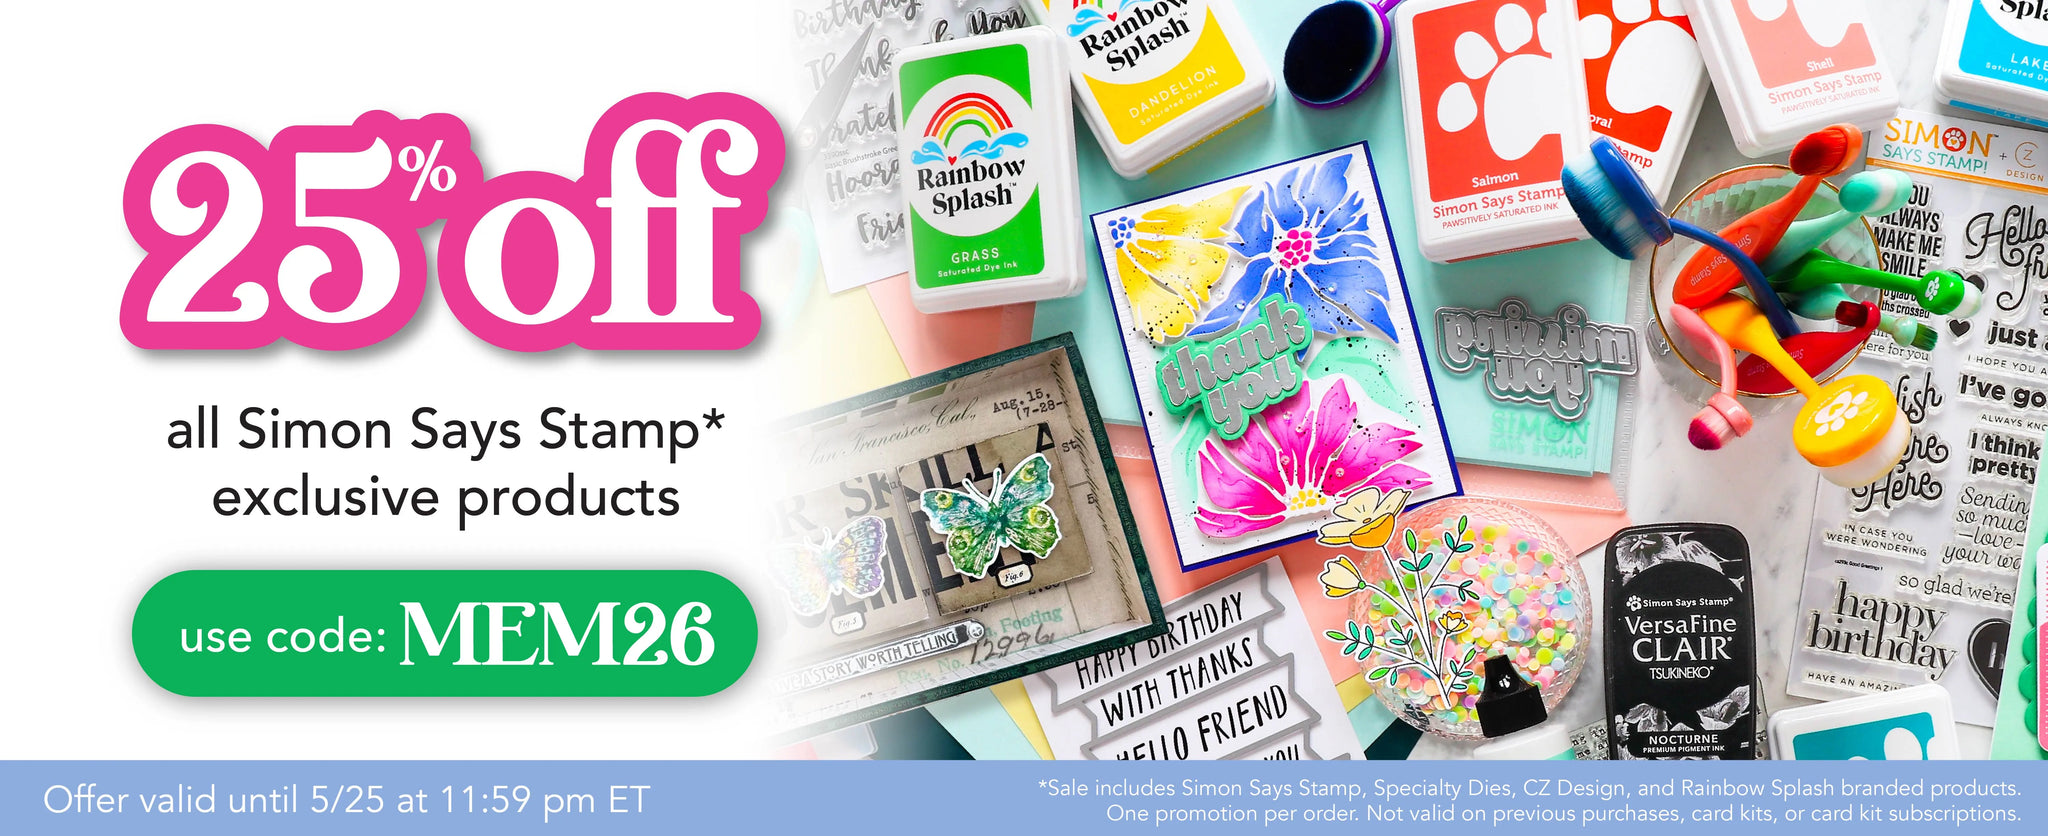
Fill your cart with Simon merch and add code MEM26 at checkout to receive 25% off through the end of Monday, May 25, 2026. Score, right?!

Thanks so much for stopping by today, and have a marvelous day!
Filed Under: simon says stamp Tagged With: birthday basics, birthday card, cute duckling, CZ design, darling duckies, die cutting, ink blending, layered stencil, no line coloring, olo markers, stencil, stencil station

Man Card Monday: Stripes and Cupcakes with Simon Says Stamp!

February 2, 2026


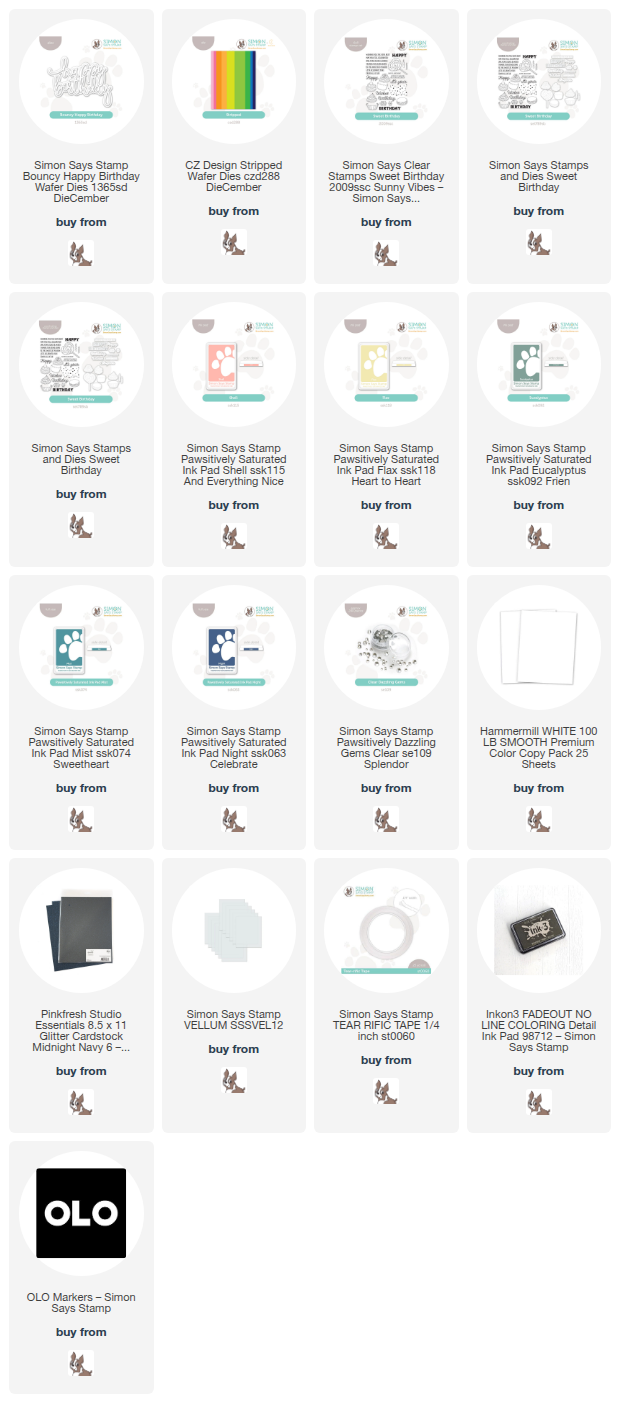
This post was sponsored by Simon Says Stamp. Thanks, Simon! *I have gathered links to all of the products used at the bottom of the post for your convenience, using affiliate links at no extra cost to you. Thank you for shopping with my links! I truly appreciate your support for my work!*

Hi friends! It’s been a bit for a Man Card Monday project, so I thought I’d start February off with something a bit different from the ordinary hearts-and-flowers-and-lace themes that are typical in this Valentine’s month! I love the idea of the newer Stripped die set from Simon Says Stamp; creating striped card fronts that are perfectly proportioned and measured (anybody else with a left brain measuring deficiency like me?), making it super easy to create a spectacular background for your A2 card fronts. And what’s more appropriate for a masculine card than stripes?! Let’s get started with the details on my project!

To begin, I die cut the Stripped cover plate die from plain white cardstock. Now, you could use colored cardstock and cut yourself a multitude of stripes to easily create a multitude of colorful striped card fronts, but I wanted to use specific colors and didn’t have time to create a ton of cards. Solution? Ink swiping! I selected Pawsitively Saturated Inks in shades of Shell, Flax, Eucalyptus, Mist, and Night and swiped the ink pads directly atop the plain white stripes, creating a muted (masculine?) rainbow with ease. If that pale peach isn’t masculine enough for you, you could easily swap it out with a deep maroon or even gray. I added lots of strong, double-sided adhesive tape to my A2 card front, then adhered the stripes to the card front super quickly. This was such an easy way to make a colorful background in exactly the colors I had in my head!

To adorn my card front, I stamped a cupcake and candle from the older Sweet Birthday stamp set using no-line coloring ink. I then used OLO Markers to add coordinating mint and navy coloring to the cupcake, focusing on the more masculine colors in the muted striped background. I used the coordinating dies to cut the finished images out, then stamped a simple “let’s celebrate you” strip from the same stamp set using Night ink. This sentiment strip became the perfect “stand” for my cupcake!

To add a bit more visual weight to my card front, I created a sentiment with the newer Bouncy Happy Birthday, cutting the detail layer from navy blue glitter cardstock and the shadow from vellum. I popped all of the die cuts up on the striped card front with dimensional adhesive, then added a few Clear Pawsitively Dazzling Gems. I know, it’s for a guy, but I can’t resist adding a little shine to my cards!!

Well, that’s all for the first Man Card Monday for 2026! I am very glad that January is over. It always feels like the longest month in existence, doesn’t it? Thanks so much for stopping by today, and have a marvelous day!

Filed Under: simon says stamp, Uncategorized Tagged With: birthday card, bouncy happy birthday, die cutting, ink swiping, no line coloring, olo markers, stripes, stripped, sweet birthday

Concord and 9th Guest Design Post #1- Stitching Dies!

November 22, 2025

Hi friends! It is always an honor and a thrill to be asked to guest design for some of my favorite companies, and Concord and 9th is one of my most favorite companies and has been basically since they first arrived on the crafty block! Their November Release (check it out HERE) is filled with all of the things you expect from a Concord and 9th curated collection: graphic and clean, with a touch of elegance, whimsy, and modern aesthetic! I created many cards using their new collection that I want to share here on my blog (and have already shared over on Instagram- I’m @eamidgett if you haven’t seen me there!) but I wanted to focus today on the new stitching dies that were released in the November Release.

Because there are so many projects in this post, I will link the products used in a list after each project, so keep scrolling until the bottom to see all of the projects that I’ve got to share today!

*I have gathered links to all of the products used at the bottom of the post for your convenience, using affiliate links at no extra cost to you. Thank you for shopping with my links! I truly appreciate your support for my work!*

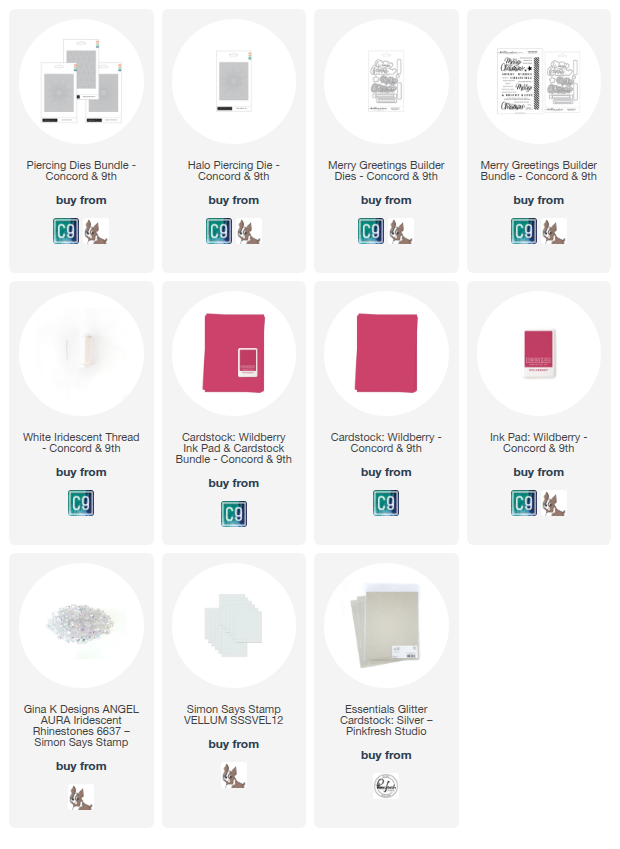
My first project was a favorite of mine for this release, putting the Halo Piercing Die to use to create this bold holiday card! I began by impressing the stitching pattern onto a panel of Wildberry Cardstock. These stitching dies don’t actually cut any shapes out; they impress small pinpoints into the cardstock so that you can easily push your needle and thread through the cardstock, creating this beautiful starburst pattern! Before I began stitching, though, I used a blending brush to blend coordinating Wildberry Ink around the edges of the card, creating even more of a halo and drawing the eye to the center of the card. I then used the silver thread from Concord and 9th to stitch the halo pattern into the cardstock.

Once I had finished stitching, I created the sentiment using the beautifully scripty “Merry” from the Merry Greetings Builder product suite, cutting the detail layer from silver glitter cardstock and the shadow layer from vellum. I also heat embossed a coordinating sentiment strip using silver embossing powder on the same Wildberry cardstock, then die cut it with a coordinating flag strip die. I popped the sentiment pieces up with foam adhesive, then finished this festive card off with some super sparkly Angel Aura Rhinestones, creating this super glam and striking holiday card filled with handmade touches!

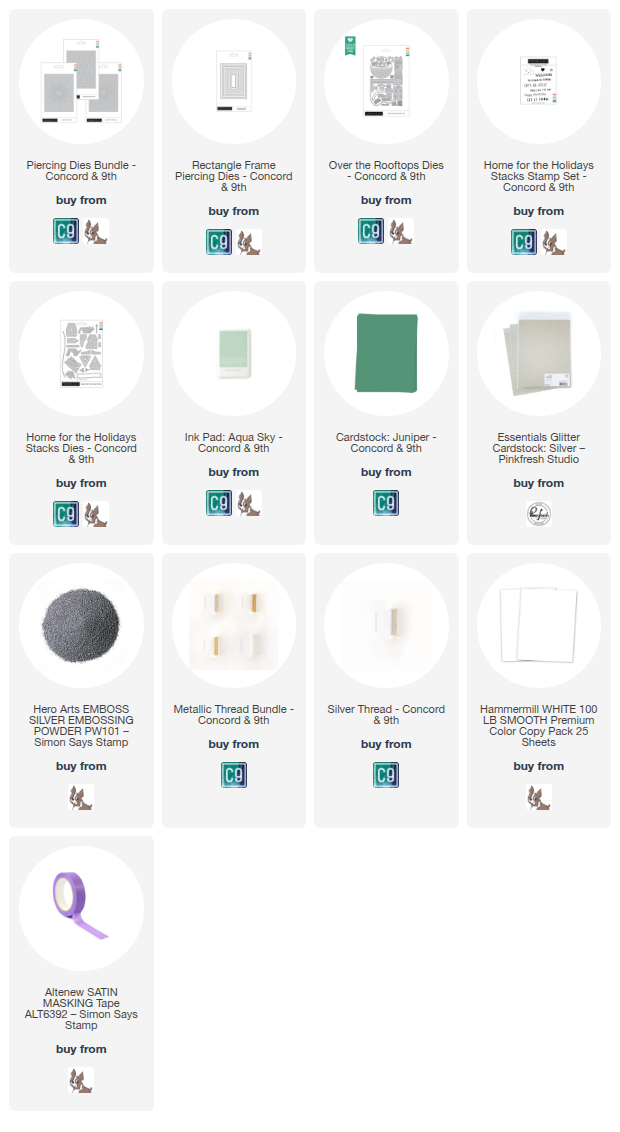
My second card is another holiday card, this time featuring the Rectangle Piercing Dies to create a frame around my wintry city scene! To begin, I impressed one of the nested Rectangle Piercing Dies into a panel of A2 white cardstock. This die set features many sizes of pierced rectangles nested together so that you can choose exactly the right size for your project! Before I began stitching, I masked around the edges of the framed area and used a blending brush to blend Aqua Sky ink towards the top of the rectangle area, creating a subtle sky for my neighborhood. I again used the silver thread from Concord and 9th to add the stitching details around the edge of the blended frame.

To create my focal point, I used plain white cardstock to die cut each element of the houses from the Over the Rooftops die set, adding some holiday details with silver glitter cardstock and Juniper cardstock. I adhered all of the components together with liquid adhesive, then popped them up in a row, similar to the row houses in older cities on the East Coast. For the greeting, I silver embossed a sentiment on a simple banner from the Home for the Holidays product suite, popping it up beneath my row homes with some more foam adhesive squares.

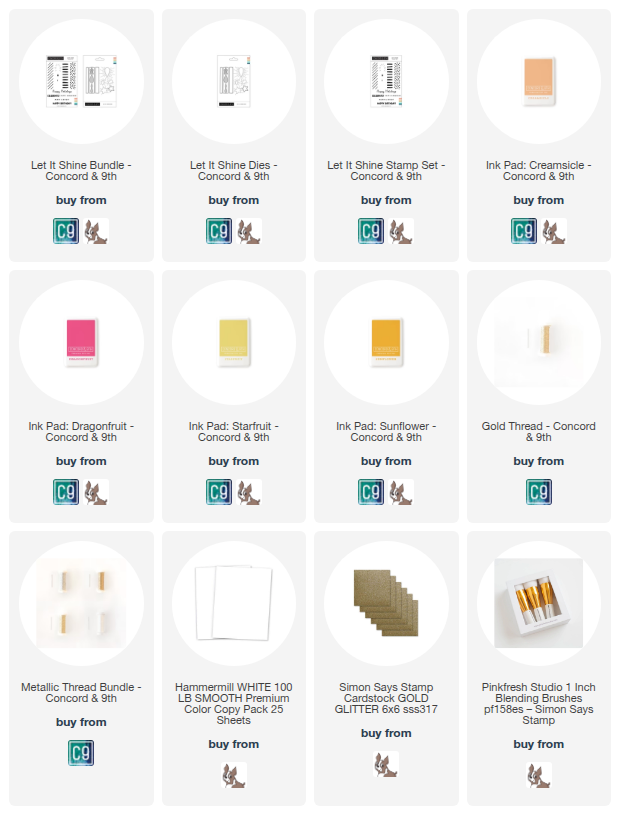
My next card is a fun birthday card using the new Let It Shine product suite! This product suite features regular cutting dies, as well as some additional stitching dies that you can use to help enhance the glow of your candles! I began my project by stamping the candle patterns from the Let It Shine product suite using Creamsicle, Dragonfruit, and Starfruit, then used the coordinating dies to cut each candle. After I had die cut the candles, I used small blending brushes to blend the same shades of ink on the edges of the candles, creating a highlight in the center to help indicate the cylindrical shape of the candles. I also used colored cardstock to die cut the flames for the candles, as well, layering two different shades of yellow for the largest candle in the center.

Before adhering the candles to my card front, I used the stitching dies included with the Let It Shine dies to impress those stitching lines creating a halo around each flame. Before I began stitching, however, I used a blending brush to blend Sunflower ink on each flame, enhancing that candle glow even more! I used gold thread from Concord and 9th to add the stitching details, then popped up the candles and flames with foam adhesive. For the greeting, I heat embossed a Happy Birthday sentiment from the Let It Shine set, trimming it down with my trimmer and adding a slightly larger gold glitter strip behind, adding a touch of sparkle to the card!

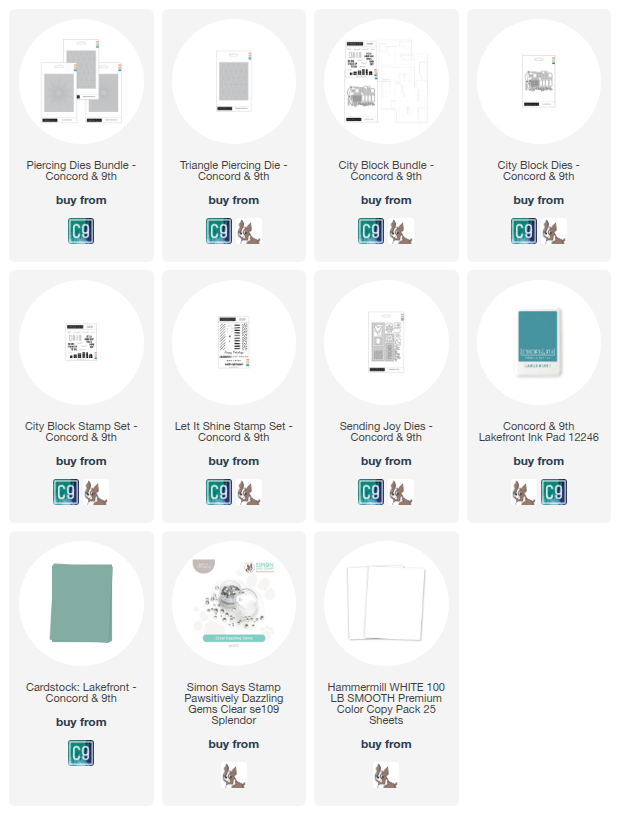
For my final project today, I decided to create a little encapsulated scene using the stamps and dies from the new City Block stamps + dies set. The product suite comes with some fabulous stencils that you can use to create an entire city block that you can embellish with windows, doors, railings, plants, and all kinds of other urban accoutrements. I chose to use just the stamps and dies to create a little front porch scene for a birthday card, adding some texture behind the scene with the Triangle Piercing Die-no stitching required! I began by stamping and die cutting the windows, door, railing, and plants, using Lakefront Ink on plain white cardstock. I die cut a long rectangle of Lakefront cardstock, mounted it on a white postage stamp die cut from the Sending Joy die set, then arranged the windows and door on the blue background, adding some plants to the stairs and a happy birthday banner at the top!

Behind the front porch scene, I used the Triangle Piercing Die to add some extra texture to the A2 Lakefront card panel. Because the die impresses a pattern into the card front, I could use this die to add some simple textured debossing behind the main focal point! I did cover up the pinpoints with some clear gems for additional sparkle. For the greeting beyond the wee happy birthday banner on the front porch, I silver embossed a sentiment from the Let It Shine stamp set and popped it up beneath my front porch with some foam adhesive.

Well, that’s all for my projects today! I have several more projects using the Concord and 9th November Release (check it out HERE), so be sure to stop back by tomorrow! Thanks so much for stopping by today, and have a marvelous day!

Filed Under: Concord and 9th, Uncategorized Tagged With: birthday card, christmas card, city block, die cutting, holiday card, home for the holidays, ink blending, let it shine, merry greetings, over the rooftops, piercing die, rectangle piercing dies, sending joy, triangle piercing die

Tiger Party with New Simon Says Stamp!

September 25, 2025

This post was sponsored by Simon Says Stamp. Thanks, Simon!

Hi friends! I am back today with a sweet little birthday card in perfect colors for a little guy in your life! While I have three boys of my own, I frequently find it difficult to come up with “masculine” cards for kiddos, but intentional color selections and cute critters like the ones in the new Wild Birthday stamp set from the STAMPtember release (check it out HERE) can make that difficult creative moment super simple! Let’s get started on the details for my project!

*I have gathered links to all of the products used at the bottom of the post for your convenience, using affiliate links. Thank you for shopping with my links! I truly appreciate your support for my work!*

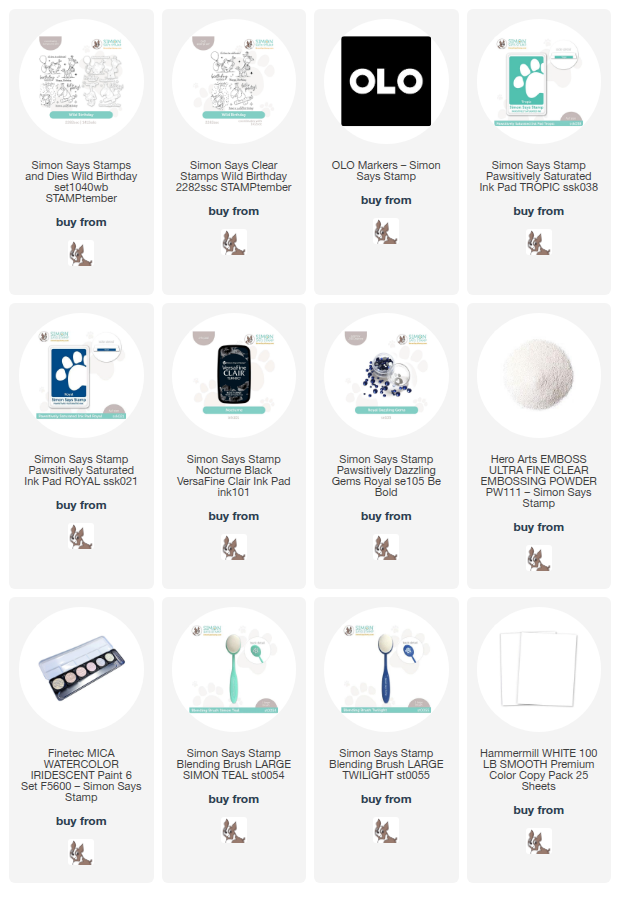
To begin, I stamped the darling tiger with his balloon from Wild Birthday onto some white cardstock using Nocturne pigment ink, then added clear embossing powder over the top to make the black lines super crisp and bold. I used OLO Markers to add deep, vibrant orange to the tiger, then selected vibrant royal blues and intense, deep turquoise for the birthday accoutrements. These colors could easily be switched out for pink and orange or pastel shades to better fit the recipient; I needed something more masculine, and so royal blue and turquoise were perfect!

To create a simple background that tied the colors together even further, I blended Royal & Tropic Pawsitively Saturated Ink in the center of my A2 card front, then used shimmering iridescent watercolors to splatter some added texture on the colorful background. These sparkling little droplets add the perfect amount of texture and festive shimmer!

After I had completed the background, I popped up the festive tiger on the blended background using thin foam adhesive squares. I heat embossed two sentiment from Wild Birthday using the same Nocturne and clear embossing powder combination, then die cut them and placed them on the card front with more thin foam adhesive squares. Finally, I added some Royal Pawsitively Dazzling Gems for one last, simple embellishment!

Well, that’s all for my project today! My birthday is coming up on Monday, so I am preparing to go on an adults-only weekend trip with my redhead. I am excited to eat some yummy treats and meander around some fun stores with no time limit and no sighing from those (children) accompanying me, ha! Thanks so much for stopping by today, and have a marvelous day!

Filed Under: simon says stamp Tagged With: alcohol markers, birthday card, ink blending, masculine, olo markers, wild birthday

Happy Birthday Shaker with New Simon Says Stamp STAMPtember!

September 8, 2025

This post was sponsored by Simon Says Stamp. Thanks, Simon!

Hi friends! Today, I have a project featuring tons of new goodies from the Simon Says Stamp STAMPtember mega-release that kicked off our month-long STAMPtember celebration! (Check it out HERE!) We’re celebrating all things stamping, so throughout the month of September, Simon Says Stamp will have exclusive collaborations with some of our favorite stamping companies, releasing a limited edition stamp set designed in collaboration with a different company nearly every day! (Click HERE to see the Collaboration Sets page, and be sure to bookmark it so that you don’t miss out on any of the amazing limited edition sets!!) Today’s project, however, uses products that are not limited edition, but will be added to Simon Says Stamp’s regular lineup of products until further notice! I have a vibrant and super fun birthday shaker to share with you today, so let’s get started with the details!

*I have gathered links to all of the products used at the bottom of the post for your convenience, using affiliate links. Thank you for shopping with my links! I truly appreciate your support for my work!*

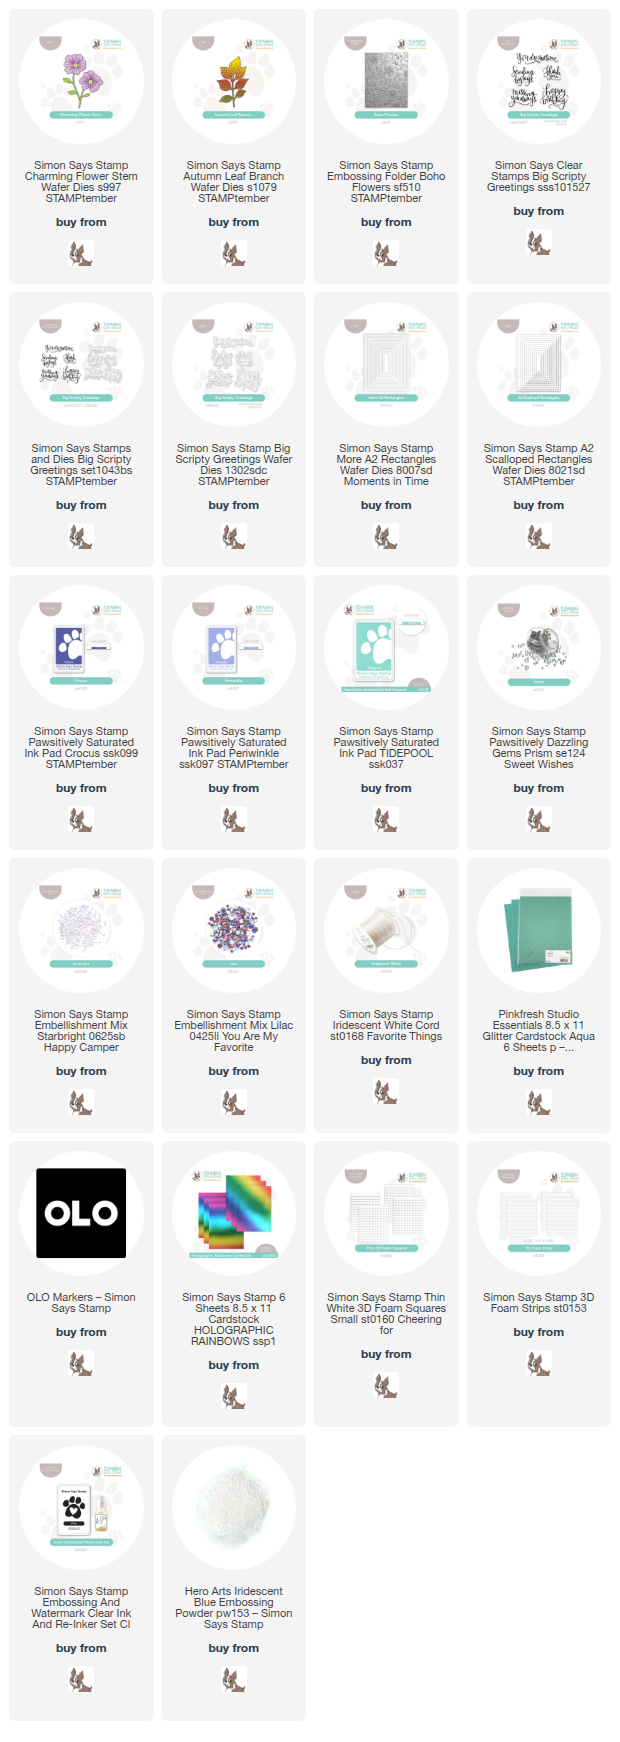
To begin, I cut down a panel of the Simon Says Stamp Rainbow Holographic 8.5 x 11 cardstock into four A2 card fronts, then ran the purple-to-teal blended panel through my die cutting machine using the new Boho Flowers 3D embossing folder. Pairing detailed 3D embossing folders with metallic or coated cardstock creates an absolutely magical effect; if you haven’t tried it yet, I encourage you to do so! It’s totally worth it! To perfectly match the vivid cool colors on the embossed foil panel, I used plain white cardstock to die cut the new Autumn Leaf Branch and Charming Flower Stem dies from the STAMPtember release, then used OLO Markers to color them in the coordinating colors. I assembled the flowers with thin foam adhesive for extra dimension.

To create the shaker portion of the card, I die cut a new A2 Scalloped Rectangles from some coordinating aqua glitter cardstock, then used a More A2 Rectangles die to cut out the center, creating a sweet scalloped frame! I used the same size A2 Scalloped Rectangles to die cut a panel of clear acetate and backed the frame with this clear panel, creating a window through which my shaker bits could be seen. I added foam adhesive strips around the back of the frame, then filled the shaker with Simon Says Stamp Starbright Embellishments and Simon Says Stamp Lilac Embellishments, which slide beautifully over the coated embossed cardstock!

For the greeting, I used my MISTI to create an ombré sentiment using the previously-released-but-now-has-coordinating-dies Big Scripty Greetings set! I stamped the top part of the greeting using Periwinkle, using a microfiber cloth to soften the sharp ink line, then stamped the bottom portion with Crocus, again softening the middle with a microfiber cloth, finally stamping once more over the entire greeting with embossing ink. I added some Iridescent Blue Embossing Powder over the top for some extra shimmer, then die cut the image and blended Tidepool ink over the top to make the sentiment coordinate completely with the color palette on the card. I arranged all of the die cuts around and on the shaker window using liquid and foam adhesive, then added some Prism Pawsitively Dazzling Gems and tucked a bow tied with Simon Says Stamp Iridescent White Cord for additional texture. A busy, colorful card, but so festive and perfect for a birthday!!

Well, that’s all for my project today! Thanks so much for stopping by today, and have a marvelous day!
Filed Under: simon says stamp Tagged With: A2 scalloped rectangles, autumn leaf branch, big scripty greetings, birthday card, boho flowers, charming flower stem, embossing folder, more A2 rectangles, olo markers, shaker card, stamptember

  • « Go to Previous Page
  • Page 1
  • Page 2
  • Page 3
  • Page 4
  • Interim pages omitted …
  • Page 12
  • Go to Next Page »

Primary Sidebar

  • Facebook
  • Instagram
  • Pinterest
  • YouTube

Favorite Shops

Secondary Sidebar

Subscribe

Enter your email address to subscribe to this blog and receive notifications of new posts by email.

Instagram
Something is wrong.
Instagram token error.
Follow
Load More

Archives

Tags

3D embossing folder alcohol markers better press birthday birthday card blog hop card kit christmas christmas card christmas tag colored pencil copic copic coloring Daniel Smith die cutting embossing folder embroidery felt giveaway holiday holiday card hot foil ink blending karin brushmarker pro layered stencil masculine my monthly hero new release no line coloring no line watercolor OLO marker olo markers original illustration pawsitively saturated rainbow shaker card slimline stamping stamptember stencil thank you thinking of you valentine's day video watercolor

Popular Posts

Simon Says Stamp Sending Cheer Blog Hop- Day 2 + Freebie + Giveaway!
Altenew October 2026 Release Blog Hop + Giveaway!
Rustic Monochromatic Stars for Christmas with Rainbow Splash!
March 2020 Essentials By Ellen Blog Hop+Giveaway!
December 2018 My Monthly Hero Blog Hop + Giveaway!
The Ton Stamps Summer Release: Day 1
Waffleflower July Release Blog Hop!
Hero Arts Partners Blog Hop: Lawn Fawn!
Simon Says Stamp STAMPtember Tim Holtz Collaboration: Festive Holidays!
Simon Says Stamp August 2026 Card Kit of the Month: Made to Flourish!

Disclosure

Some affiliate links are used in my posts. This means that, should you click on one of my links and purchase something from that company, I will receive a small portion of the sale at no extra cost to you. I use the money earned from these sales to help maintain my blog. I so appreciate you visiting and, if you do choose to use one of my affiliate links, thank you so much for your support!
Copyright © 2026 ·Brunch Pro Theme · Genesis Framework by StudioPress · WordPress · Log in
Loading Comments...