• Skip to main content
  • Skip to primary sidebar
  • Skip to secondary sidebar

Sixth Street Sundries

Emily Midgett

  • Home
  • About Me
  • Contact
  • OLO Marker Color Swatch Chart
  • Shop

bright christmas

More Simon Says Stamp Bright Christmas Card Kit!

November 15, 2025

This post was sponsored by Simon Says Stamp. Thanks, Simon!

Hi friends! I am back with some more inspiration using the beautiful new Bright Christmas Card Kit of the Month from Simon Says Stamp! (Click HERE to see the full kit!) These kits always come filled with supplies to create tons of projects, from patterned papers, stamps and dies, cardstock, and embellishments! I love creating coordinating gift sets, and who doesn’t love a coordinating card and tag gift set at Christmas? Giving something handmade that the recipient can put to good use is such a fulfilling way to use our supplies! Let’s get started with the details on my projects.

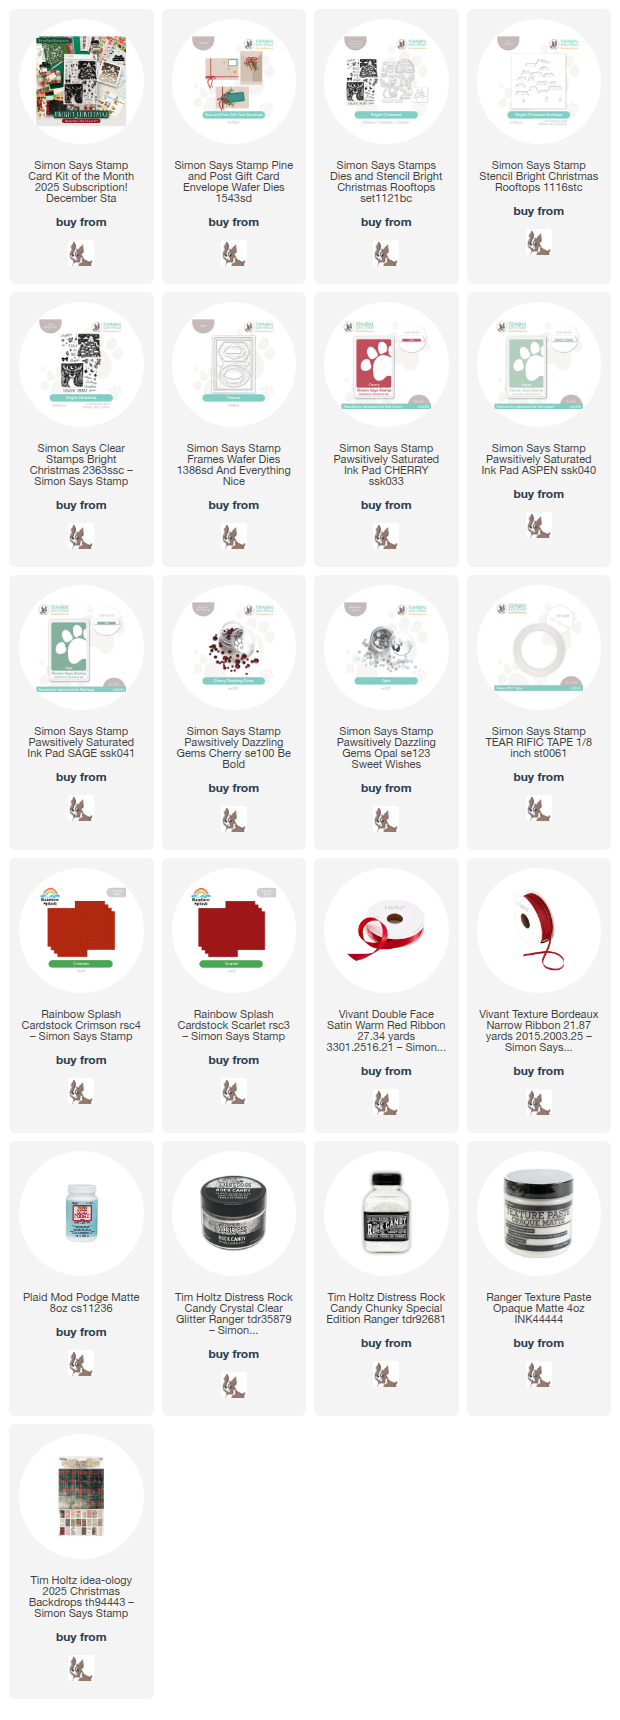
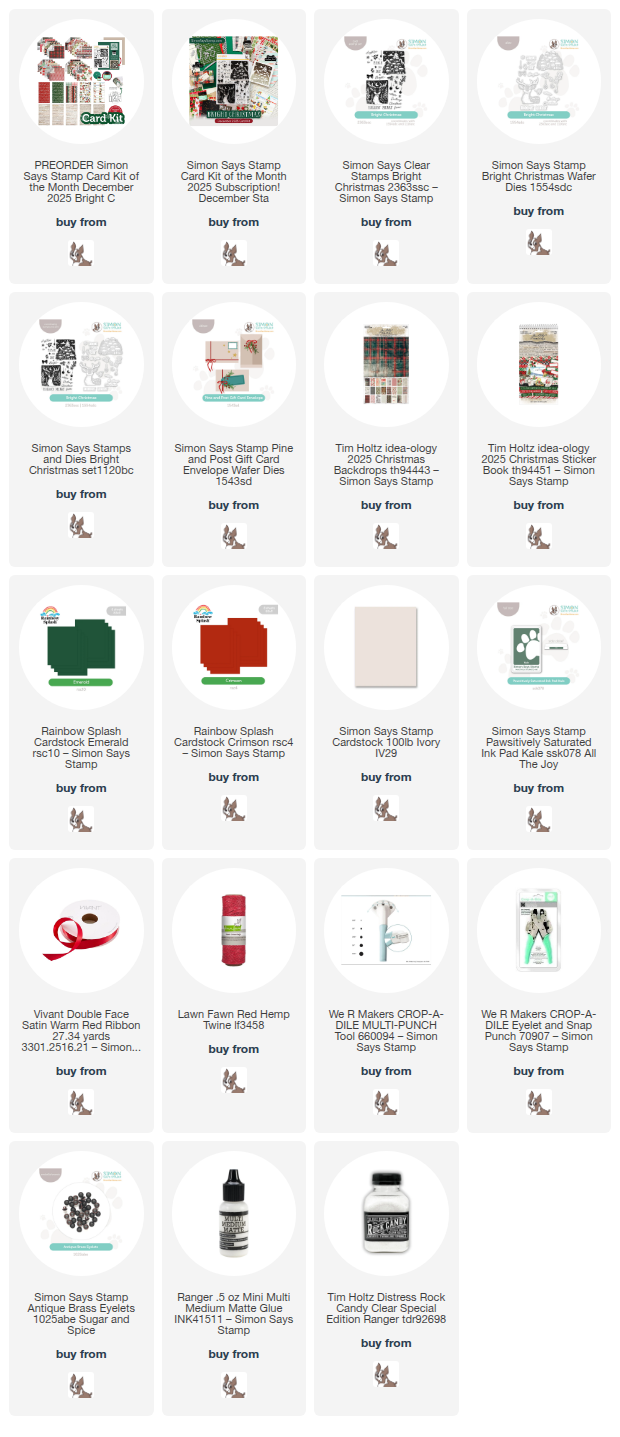
*I have gathered links to all of the products used at the bottom of the post for your convenience, using affiliate links at no extra cost to you. Thank you for shopping with my links! I truly appreciate your support for my work!*

For today’s project suite, I filled a glassine bag with a group of gift tags, a gift card envelope, and a simple-but-elegant coordinating A2 card, embellishing the bag with some vibrant red cardstock and the beautiful linocut illustrations in the card kit!

To create my cigar band for the gift bag, I used a strip of red 12×12 cardstock, folding it over the folded bag and connecting the ends with one of the linocut images, stamped on Simon Says Stamp Ivory Cardstock with Kale Pawsitively Saturated Ink. To make this cigar band a touch more festive, I added some Distress Medium Matte and Rock Candy Glitter to the tops of the trees and the roofs of the houses, then adhered a red satin bow with my glue gun!

For the coordinating card, I stamped the gorgeous deer image from the Bright Christmas set again using Kale ink, trimming the edges down and mounting it on a slightly larger panel of red cardstock, creating a crisp red mat. I also stamped some of the individual sentiments on a separate strip of Ivory cardstock, trimming them down and mounting them on another, slightly larger strip of red cardstock. I popped both of these red framed stamped images up on my A2 Ivory card base, then added a touch of whimsy and texture with a red hemp twine bow on the deer’s neck! A simple, elegant card that was super simple to make and simple to mail!

For the hang tags, I used my trimmer to trim down the Emerald cardstock to 3″ x 6″ strips, folding them in half to create square tags. I used my hole punch to add some small holes in the corner, then threaded some loops of red twine through. I used the included cardstock stickers and patterned papers to add simple embellishments to the front of the tags! These simple tags add just a touch of handmade affection to your gifts without taking up a ton of your time! It makes my heart hurt a bit to see tags upon which I’ve worked painstakingly tossed in the trash, so it makes me feel better to make such quick work of these tags with the help of the patterned papers and cardstock stickers!

Finally, I used the marvelous new Pine and Post Gift Card Envelope die set included in the kit with some patterned paper, twine, an eyelet, and a cardstock sticker to create a fun coordinating gift card holder! I die cut the envelope from some green plaid patterned paper, then assembled the envelope and adhered the flaps with strong double sided tape. I added one of the cardstock stickers that reminds me of vintage gift tags as the perfect spot for the gift-giver to write their to/from information!

To keep the gift card safely tucked inside the envelope, I used one of Simon Says Stamp’s newer Antique Brass Eyelets to add some red twine, which I wrapped around the envelope twice before tying in a pretty bow!

Well, that’s all for my projects today! I loved this month’s Card Kit so much that I created two different suites of coordinating projects, perfect for gift-giving! It’s such a joy to give handmade gifts, and these card kits make it super easy to create coordinating gifts, tags, and cards with the gorgeous goodies included in the kit.

The Simon Says Stamp Card Kits are such an incredible value; the value of the individual elements of each kit equals far more than the $44.99 price tag, so you’re getting incredible bang for your buck. If you are consistently interested in the Simon Says Stamp Card Kit of the Month, you can sign up HERE to become a subscriber for an even bigger discount on these carefully curated products. As always, Simon also makes each individual element of the kits available a la carte, so that you can pick and choose what you would like to purchase if buying the entire kit isn’t really your thing. Who can say no to such incredible value though, right?

Thanks so much for stopping by today, and have a marvelous day!
Filed Under: simon says stamp Tagged With: bright christmas, card kit of the month, christmas, christmas card, christmas tag, eyelet, gift card, gift set, glitter, holiday card, ideaology, pine and post, rocky candy, tim holtz

Simon Says Stamp Bright Christmas December 2025 Card Kit of the Month- Now Available for Preorder!

November 14, 2025

This post was sponsored by Simon Says Stamp. Thanks, Simon!

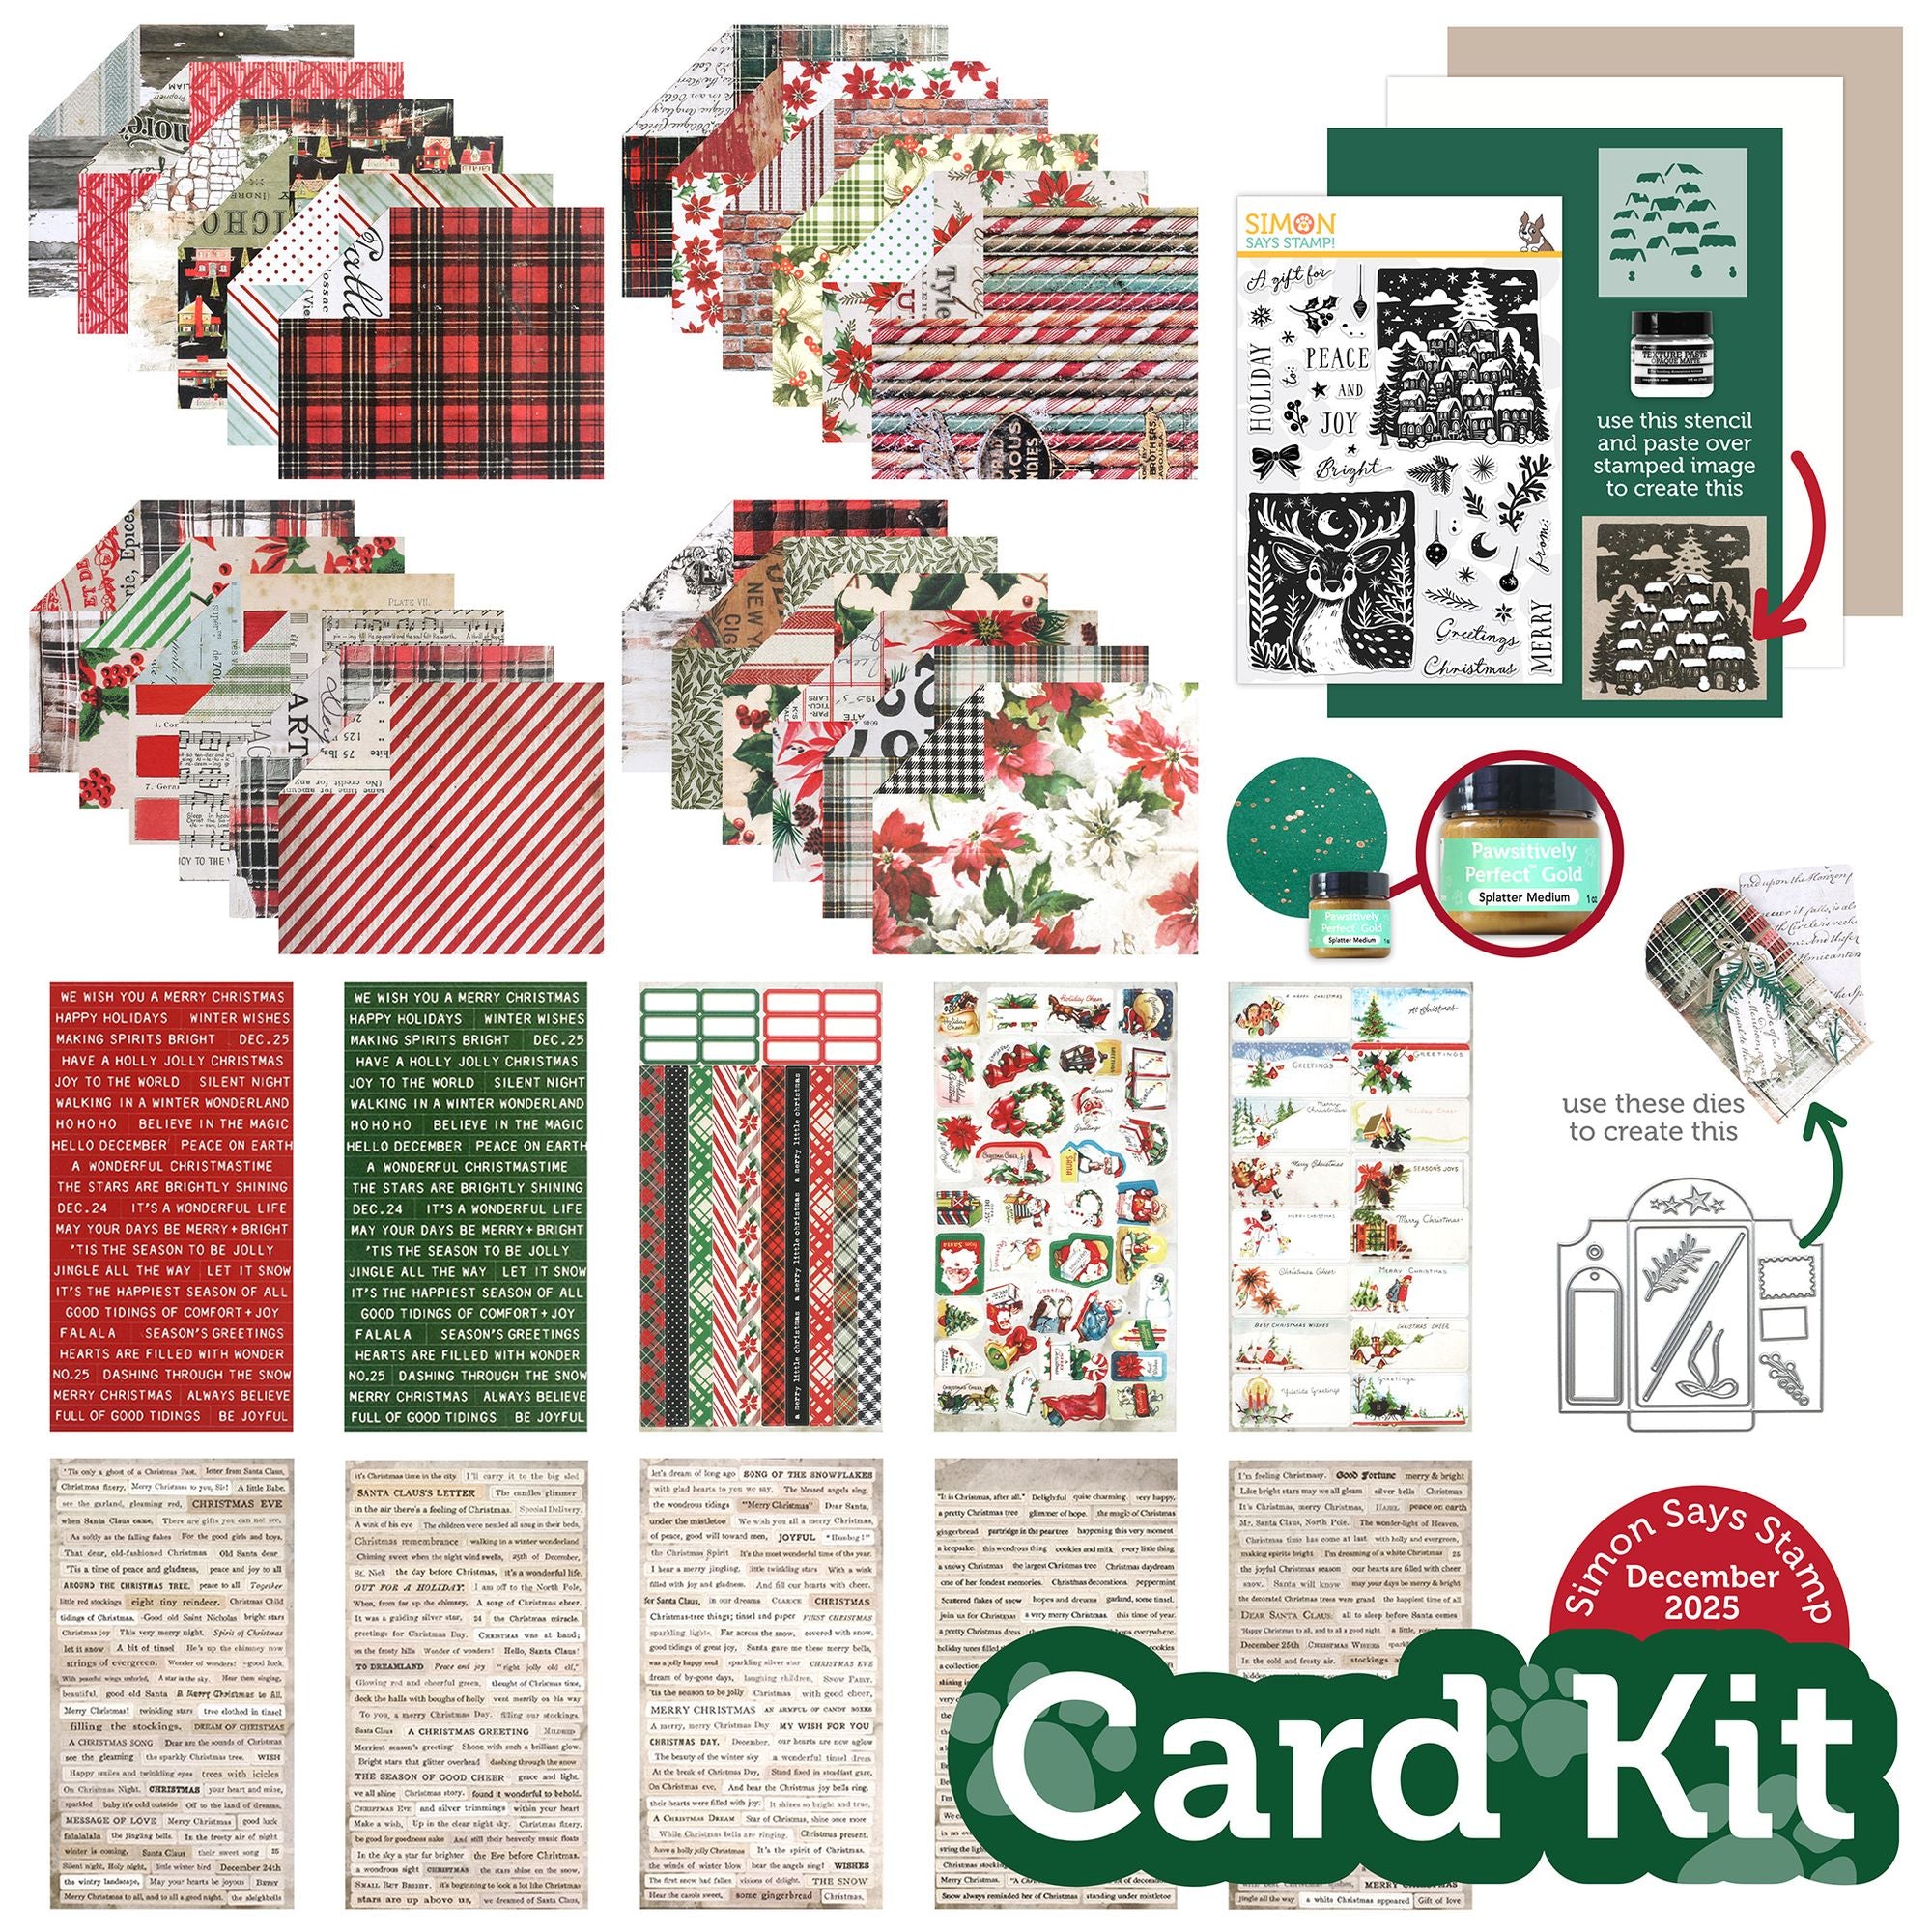
Hi friends! Simon Says Stamp is back again this month with another spectacular Card Kit of the Month, called Bright Christmas! (Click HERE to see the product page for the kit!) This kit is filled with stunning patterned papers and stickers in a gorgeous vintage style, as well as a stamp set that creates the most beautifully detailed vintage-inspired imagery in a reverse image technique, similar to linocut illustrations from mid-20th century, as well as a fabulous little gift card envelope die that is filled with accessories to dress it up! Check out the contents in the photo below:

The individual contents of this kit retail for nearly $85, but you can purchase the entire kit for only $44.99 (or less if you choose to become a kit subscriber HERE). I have created two different suites of goodies using the contents of this kit, so let’s get started with the details for today’s projects!

*I have gathered links to all of the products used at the bottom of the post for your convenience, using affiliate links at no extra cost to you. Thank you for shopping with my links! I truly appreciate your support for my work!*

I always enjoy the inspiration provided to me by the patterned papers included in these Card Kits of the Month! The beautiful vintage papers with their unique vintage color palettes were so striking, particularly the mint and red palette on one of the striped sheets, so I used that piece of patterned paper as the inspiration for my entire suite of projects for today with a vibrant cherry red, mint, and crisp white color palette.

Putting that patterned paper to use was super easy with the new Pine and Post Gift Card die set. I simply die cut the one-piece envelope die from the patterned paper, folded it up, and used Tear-Rific double sided tape to adhere the sides together. I then used coordinating red and mint cardstock to die cut the little extra bits and bobs included with the die set to make it extra special, finishing it off with a tag die cut that I embellished with some foliage stamps using the stamp set in the kit! I just love how this came out, and it was super quick to put together too; great for mass-producing!

My card came together equally quickly, keeping the color palette the same minty green and vibrant red. I began by stamping the detailed linocut snowy neighborhood image from Bright Christmas using Sage Pawsitively Saturated Ink. I wanted to add a pretty holiday swag above using the individual berry and leaf stamps in the Bright Christmas set, so I centered the square main focal point in the center of the card, leaving room at top and bottom for embellishment! The Bright Christmas Card Kit also includes a coordinating stencil specifically to add some fun details to the snowy rooftops, so I used that with the included Distress Texture Paste and some Rock Candy Glitter to add extra texture and sparkle to the card! To help draw the eye to the center of the card, I used the new Frames die set to die cut some bright red cardstock frames, adhering them around the edges of the main focal point. I just love how delicate and yet festive these frames are with the main image!

Once I had created the main card front, I used Cherry, Sage, and Juniper Pawsitively Saturated Inks to stamp individual foliage, berries, and that darling bow image, then used my sharp scissors to cut everything out. (There are coordinating dies available to purchase separately, which would make that step so much simpler!) I arranged the swag at the top of the card front, adhering all of the components with a mixture of foam and liquid adhesive. I also stamped a greeting using three individual stamps from Bright Christmas, trimming the strip down with my trimmer and popping it up at the bottom of my card front. Finally, I added a few touches of sparkle with some Opal Pawsitively Dazzling Gems!

For my final project, I used a technique that I haven’t used in literal years: decoupage! While scrolling on Pinterest the other day, I saw someone use pretty printed napkins with Mod Podge to create pretty holiday plates and thought how fun it would be to combine stamping with that same technique! I got my hands on some plain ceramic ornaments, then pulled out some tissue paper and Mod Podge. To start, I painted the ceramic ornament a crisp white with simple acrylic paint, then stamped the wreath using the individual foliage and berry images and same Pawsitively Saturated Inks on plain white tissue paper. I also stamped the beautiful deer image from Bright Christmas on another piece of plain tissue paper and allowed them to dry completely.

Next, I used a foam brush to add some Mod Podge to the painted ornament, smoothed the stamped tissue paper over the still-wet Mod Podge, and allowed it to dry for several minutes. Once the initial layer of Mod Podge had dried, I applied another layer of Mod Podge directly over the top of the tissue paper and covered the wet glue with Rock Candy Glitter, creating the most elegant and sparkly ornament! I used some red ribbons from my stash to add a loop and a bow on each side. I just love how this one came out and am excited to experiment more with this technique!

Well, that’s all for my projects today! I have another suite of projects to share with you using this marvelous kit, so be on the lookout for that post!

The Simon Says Stamp Card Kits are such an incredible value; the value of the individual elements of each kit equals far more than the $44.99 price tag, so you’re getting incredible bang for your buck. If you are consistently interested in the Simon Says Stamp Card Kit of the Month, you can sign up HERE to become a subscriber for an even bigger discount on these carefully curated products. As always, Simon also makes each individual element of the kits available a la carte, so that you can pick and choose what you would like to purchase if buying the entire kit isn’t really your thing. Options galore! Who can say no to such incredible value though, right?

Thanks so much for stopping by today, and have a marvelous day!
Filed Under: simon says stamp Tagged With: bright christmas, card kit, card kit of the month, christmas, christmas card, decoupage, die cutting, frames dies, holiday card, ornament, rock candy

Primary Sidebar

  • Facebook
  • Instagram
  • Pinterest
  • YouTube

Favorite Shops

Secondary Sidebar

Subscribe

Enter your email address to subscribe to this blog and receive notifications of new posts by email.

Instagram
Something is wrong.
Instagram token error.
Follow
Load More

Archives

Tags

3D embossing folder alcohol markers better press birthday birthday card blog hop card kit christmas christmas card christmas tag colored pencil copic copic coloring Daniel Smith die cutting embossing folder embroidery felt giveaway holiday holiday card hot foil ink blending karin brushmarker pro layered stencil masculine my monthly hero new release no line coloring no line watercolor OLO marker olo markers original illustration pawsitively saturated rainbow shaker card slimline stamping stamptember stencil thank you thinking of you valentine's day video watercolor

Popular Posts

Simon Says Stamp October 2026 Card Kit of the Month: Homespun Gratitude!
Honey Bee Stamps Cheerful Love Blog Hop!
Altenew Craft A Flower: Poppy Blog Hop+Giveaway!
Autumn Legs with Colorado Craft Company and Catherine Pooler!
Simon Says Stamp Cozy & Bright Inspiration, Part Two!
February 2018 My Monthly Hero Blog Hop!
The Ton Anniversary Release- Day 2
Sunflower Home Decor with Simon Says Stamp!
Simon Says Stamp STAMPtember Surprise: Boo Bundle Halloween Card Kit!
Hero Arts Spring 2020 Catalog Release Blog Hop+Giveaway!

Disclosure

Some affiliate links are used in my posts. This means that, should you click on one of my links and purchase something from that company, I will receive a small portion of the sale at no extra cost to you. I use the money earned from these sales to help maintain my blog. I so appreciate you visiting and, if you do choose to use one of my affiliate links, thank you so much for your support!
Copyright © 2026 ·Brunch Pro Theme · Genesis Framework by StudioPress · WordPress · Log in
Loading Comments...