• Skip to main content
  • Skip to primary sidebar
  • Skip to secondary sidebar

Sixth Street Sundries

Emily Midgett

  • Home
  • About Me
  • Contact
  • OLO Marker Color Swatch Chart
  • Shop

butterflies

Love and Butterflies With Simon Says Stamp!

August 28, 2026

This post was sponsored by Simon Says Stamp. Thanks, Simon! *I have gathered links to all of the products used at the bottom of the post for your convenience, using affiliate links at no extra cost to you. Thank you for shopping with my links! I truly appreciate your support for my work!*

Hi friends! I am back with a soft, ethereal, and utterly feminine project to share with you today using up a few leftovers and some little “extras” from a Simon Says Stamp sentiment set that I chose to use as the imagery for an entire card! I love this soft color palette, with it’s pale minty green and shimmering vellum butterflies lending just a touch the subtlest rainbow shimmer. Let’s get started with the details on my project!

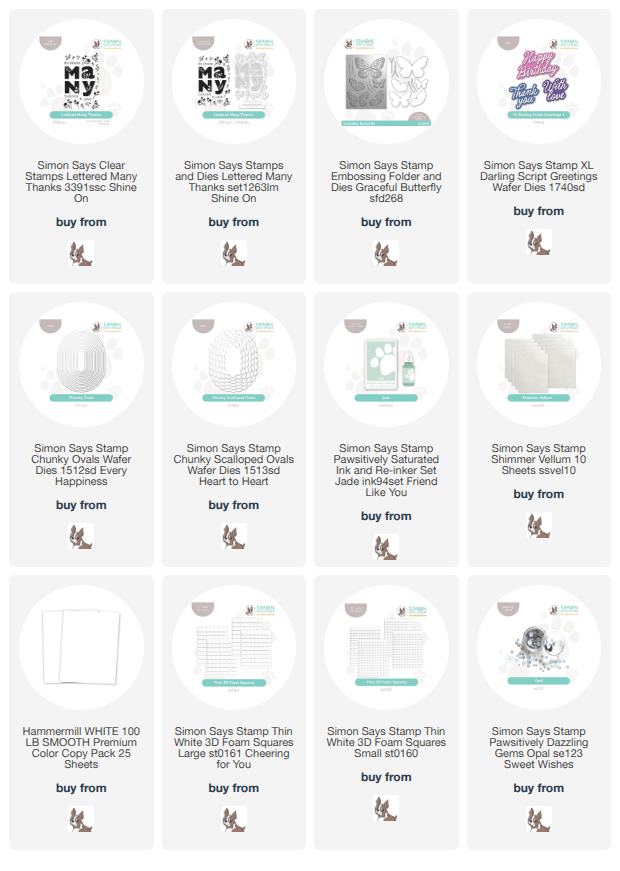
This card started out very differently than it ended up, but I am absolutely okay with it! I intended to use the large-scale sentiment from the Lettered Many Thanks, but I ended up using only the floral sprigs, stamped on the edges of a white A2 card front using Jade Pawsitively Saturated Ink. When building patterns like this, I like to start with the largest image, rotating both the stamp and the cardstock with each subsequent stamp so that I can make the pattern look as professional and continuous as possible. After stamping the largest images, I stamp the next largest, again rotating the stamp and cardstock, repeating the process down to the smallest stamp to fill in any holes left in the pattern. After I had stamped my background pattern, I also stamped lots of little sprigs on a separate piece of cardstock and used the coordinating dies to cut them out.

To cover the empty center of my stamped card front, I die cut two different ovals using the new Chunky Ovals and Chunky Scalloped Ovals. I love the unique shape of these ovals; they are slightly elongated, with straight sides, making them really eye-catching and unusual! They layer so beautifully, with the scallopes from the Chunky Scalloped Ovals just peeking out from behind the solid oval and creating a soft, feminine ground for our focal point. I placed the solid oval in the center of the scalloped oval and adhered it using thin foam adhesive squares, then placed it in the center of my stamped card front and adhered it with liquid adhesive.

Once I had adhered the ovals to the card front, I pulled out some leftover shimmer vellum butterflies from the Graceful Butterfly Embossing Folder Set and die cut the “with love” from XL Darling Script Greetings three times: once from minty green shimmer cardstock and twice from scrap white cardstock. I adhered all of the sentiment die cuts together to create extra dimension and placed it in the center of the solid oval with liquid adhesive. I arranged the butterflies and minty sprig die cuts around the sentiment, creating a visual cascade from the top right to the bottom left of my card. Finally, I added some Opal Pawsitively Dazzling Gems for a touch of added sparkle!

Well, that’s all for my project today. My über-feminine inner girlypop is in love with the softness and delicacy of this card. Those vellum butterflies look like they could just fly off of the card!! Thanks so much for stopping by today, and have a marvelous day!
Filed Under: simon says stamp Tagged With: butterflies, chunky ovals, chunky scalloped ovals, darling script greetings, encouragement card, Lettered Many Thanks, sympathy card, thinking of you, xl darling script greetings

Sending Love and Butterflies with New Simon Says Stamp!

March 24, 2026

This post was sponsored by Simon Says Stamp. Thanks, Simon! *I have gathered links to all of the products used at the bottom of the post for your convenience, using affiliate links at no extra cost to you. Thank you for shopping with my links! I truly appreciate your support for my work!*

Hi friends! I have another card to share with you today that features lots of beautiful new goodies from the Simon Says Stamp n My Heart release! (Click HERE to see the entire new release!) The new pastel cardstock included with the release is absolutely stunning, and truly perfect for pairing with so many different techniques. I love pairing colorful cardstock with embossing folders and iridescent accents, creating ethereal projects with a touch of whimsy. Let’s get started with the details on my project!!

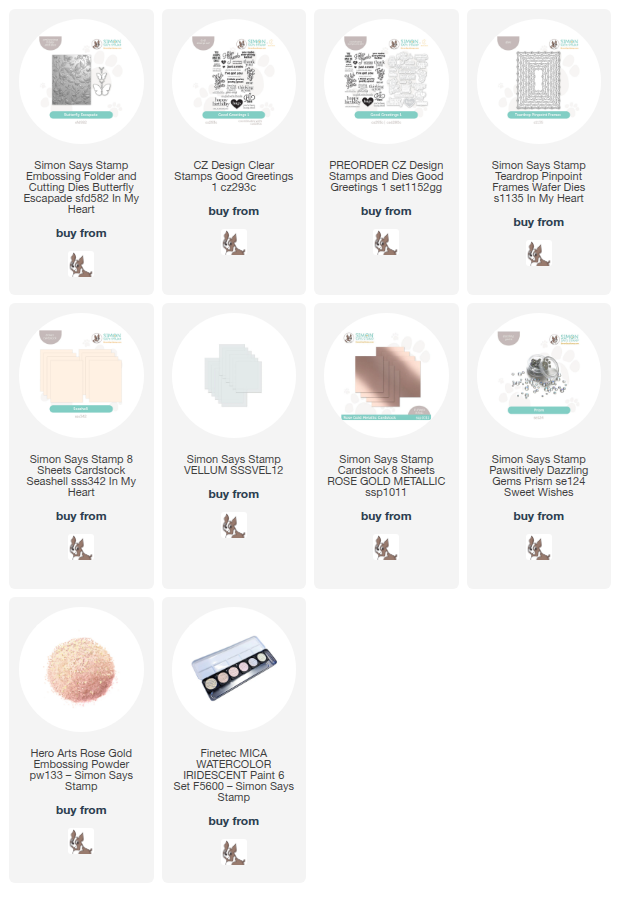
I began my project today by embossing a panel of the new Seashell cardstock with the new Butterfly Escapade embossing folder. This embossing folder comes equipped with coordinating dies so that you can cut and emboss individual, beautifully detailed butterflies! I die cut a pair of butterflies from the same Seashell cardstock and placed them in their appropriate spot in the embossing folder. After I had finished embossing and die cutting, I used some beautiful iridescent glitter watercolors to add some gorgeous shimmer to the butterflies on both the embossed panel and the individual die cuts, as well as splattering the background with more shimmery watercolors. You can see the shimmer really well in the photo below!

While the butterflies dried, I created the sentiment for the card, heat embossing a lovely greeting from Good Greetings 1 onto some more Seashell cardstock using Rose Gold embossing powder. I used the coordinating die to cut it out, then die cut a small vellum rectangle using the new Teardrop Pinpoint Frames, which come with a large array of sizes all nested together to give you tons of options! The vellum rectangle helps provide some visual stillness behind the greeting so that it pops from the busy textured background!

To assemble the card, I trimmed off the top and bottom 3/4″ from the embossed panel, then placed it in the center of another full size A2 panel of Seashell cardstock. To help create a visual barrier, I found some iridescent blush cardstock from my stash (it’s super old, and I’m unsure of the brand, but I’ve linked a pretty rose gold mirror cardstock that would work nicely!) and cut two thin strips, adhering them at the top and bottom of the embossed panel. I placed the die cut and embossed sentiment in the center of my vellum rectangle using foam adhesive, then flipped the vellum piece over and added more thin foam adhesive behind the solid die cut to keep the vellum clean. I placed that in the center of the embossed panel, then adhered the individual butterfly die cuts around the greeting using more foam adhesive. Finally, I added some sparkling Prism Pawsitively Dazzling Gems for one final sparkling accent!

Well, that’s all for my project today! I just love how whimsical, yet elegant, this project came out. The colored cardstock does a lot of the work for you; all you need to do is add the shimmering accents and some simple die cuts to create this pretty card! Thanks so much for stopping by today, and have a marvelous day!

Filed Under: simon says stamp Tagged With: butterflies, butterfly escapade, die cutting, embossing folder, good greetings 1, iridescent watercolor, teardrop pinpoint frames

Golden Butterflies on Black with Simon Says Stamp!

April 18, 2025

This post was sponsored by Simon Says Stamp. Thanks, Simon!

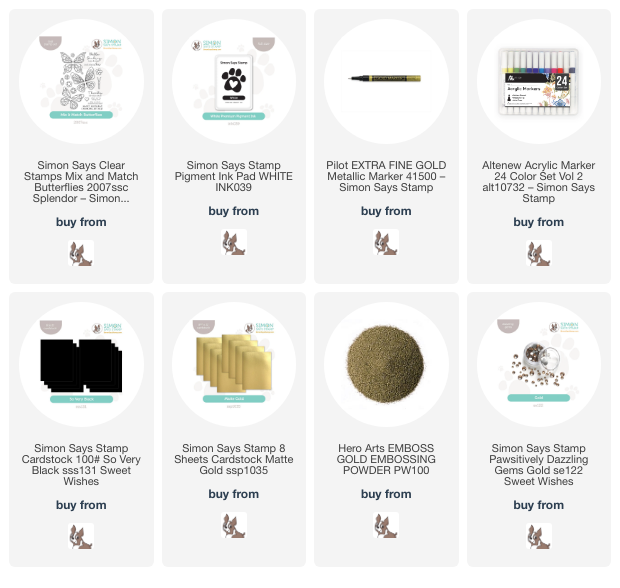
Hi friends! I have a pair of bold butterfly beauties to share with you today. I received some fabulous Acrylic Markers from Altenew a few weeks ago, and I couldn’t wait to try them out on a black background with a bold image. I looked through my stash for some simple and bold images and locked onto the gorgeous Mix and Match Butterflies. This set has a wide variety of images, including butterflies and leaves, perfect for building scenes or for use with a single bold stamp. I used a combination of both of these styles to create a decorated canvas bag and coordinating greeting card. Let’s get started with the details!

*I have gathered links to all of the products used at the bottom of the post for your convenience, using affiliate links. Thank you for shopping with my links! I truly appreciate your support for my work!*

To begin, I used Simon Says Stamp’s White Pigment Ink to stamp images from Mix and Match Butterflies onto a black zippered canvas bag and in the center of a black A2 card front. The white pigment ink stands out beautifully on the black background and provides great contrast to begin my coloring.

I used the Altenew Acrylic Markers to add some color to targeted areas inside the butterfly images, keeping the colors consistent throughout each stamped butterfly. After I had colored all of the images, I used a gold paint pen to outline the painted images and add some luxurious gold shimmer. Such a fun way to customize a plain canvas pencil bag! Simpler images work better for this technique, creating almost a stained glass effect.

For the card, I kept things to a similar color palette, painting the butterfly sections with a single color of acrylic paint pent and adding shining gold details. The Simon Says Stamp So Very Black cardstock is super smooth and a perfect black, so the gold paint pen glides over the stamped lines beautifully and create such a luminous shine. It looks so luxurious to me!

After I had finished painting the butterfly, I used my trimmer to trim the edges of the black A2 card front and matted it in the center of an A2 gold foil card front, adding a shimmering gold frame around my butterfly. I heat embossed a greeting from the Mix and Match Butterflies set onto some more black cardstock using gold embossing powder, then die cut it with the coordinating die and popped it up beneath the colorful butterfly. Finally, I added a few sparkling Gold Pawsitively Dazzling Gems for added shine!

Well, that’s all for my projects today. I love creating coordinating gift sets like this, creating a unique gift and a matching card customized especially for the recipient. It’s fun to apply our papercrafting goodies to all types of projects! Thanks so much for stopping by today, and have a marvelous day!

Filed Under: simon says stamp Tagged With: acrylic markers, altenew acrylic marker, butterflies, canvas bag, coin purse, mix and match butterflies, zippered bag

Pinkfresh Studio “Good Times” Release Blog Hop

April 15, 2025

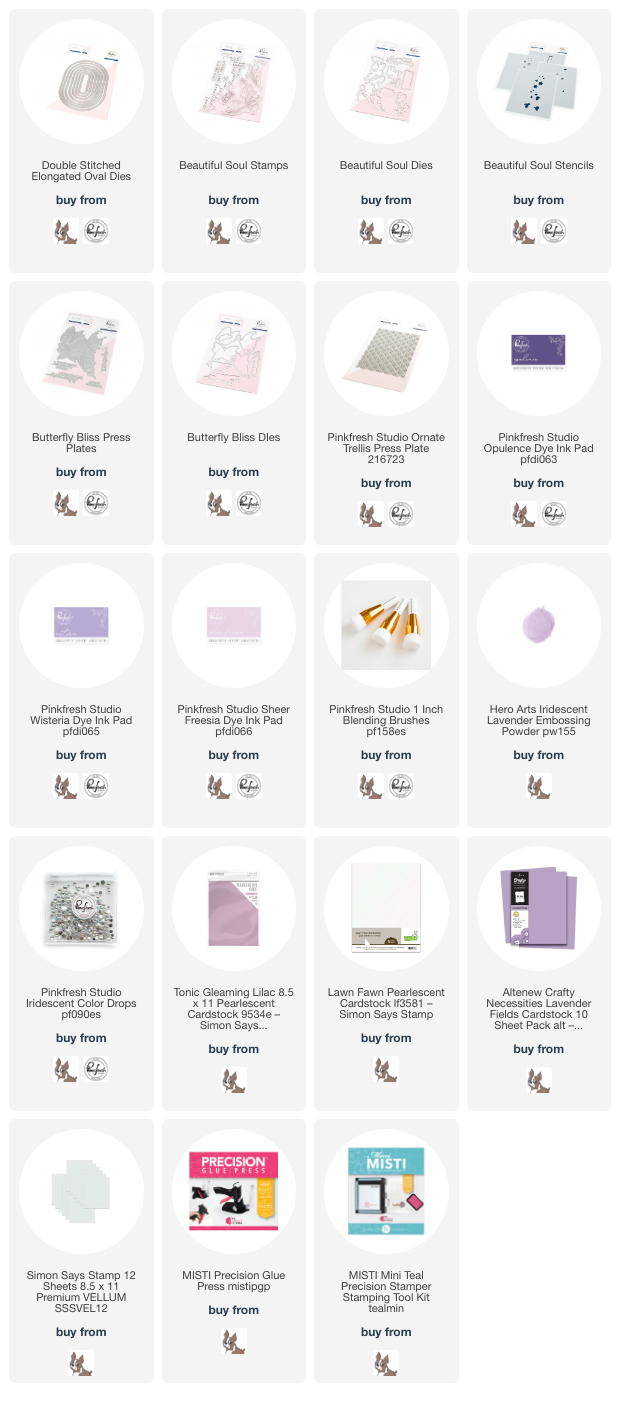
Hi friends! I am hopping along with my friends at Pinkfresh Studio to share some inspiration using their marvelous new Good Times release! I never tire of the beautiful images that Pinkfresh share with us each month, and this month features gorgeous new floral arrangements, Essentials dies, and some spectacular butterflies-and nearly all of these fabulous images feature both stamps and press plates, which can be used for letterpress and hot foiling! So much bang for your buck, right? I have a pretty-in-purple project to share with you today, so let’s get started with the details!

Every time I reorganize my office, I find something fun that I had forgotten that I’d purchased (whoops!). Today’s idée fixe is press plates paired with pearlescent cardstock, of which I found a whole stash in fun colors, including a lovely lavender and crisp, pearly white! I decided to use these two colors as the palette for my project today, envisioning a springy card with ethereal, fluttering butterflies and graceful blooms.

*I have gathered links to all of the products used at the bottom of the post for your convenience, using affiliate links. Thank you for shopping with my links! I truly appreciate your support for my work!*

To begin, I stamped the gorgeous images from the new Beautiful Soul Stamp set twice on gorgeous lavender cardstock using white pigment ink, then again with embossing ink, then sprinkled Iridescent Lavender embossing powder over the top to create a subtle, shimmering shine on my stamped images. I then used the coordinating Beautiful Soul Stencils with Opulence, Wisteria, and Sheer Freesia inks to add some monochromatic color to each of the images, creating a touch of contrast with the individual leaves and flowers while still allowing the lavender haze to be the central visual for my color palette. I die cut the finished images with their coordinating Beautiful Soul Dies.

After I had created the floral images, I used some of that gorgeous pearlescent white cardstock with the new Butterfly Bliss Press Plate and dies. This cardstock is approximately the same weight as typical colored cardstock, so in order to use it with the press plates, I backed it with some inexpensive watercolor paper to create a bit more cushion and allow the plates to impress into the thinner cardstock, creating a crisp image. (Carissa Wiley is the genius that came up with this, and I just love it!) The fine details on the butterflies impress beautifully into the pearlescent cardstock, visible even without the addition of any ink. After impressing the butterfly images, I die cut the butterflies with their coordinating dies. I used this same technique to add some texture to the pearlescent lavender background with the Ornate Trellis Press Plate.

For the greeting, I heat embossed a sentiment from the Beautiful Soul stamp set, stamping first using Opulence ink, then again with embossing ink and adding the same Iridescent Lavender embossing powder over the top to create a marvelous sheen for my greeting. I also die cut a vellum oval using the new Double Stitched Elongated Oval, adhering my sentiment in the center of the oval and arranging the flowers and butterflies around it. The vellum oval provides a soft grounding for my sentiment. Finally, I added a few Iridescent Clear Drops to fill in a few of the blank spots in my arrangement. Such a pretty springtime card!

Well, that’s all for my project today. Now for some fun giveaway information:

Pinkfresh Studio will give away the full release on the Pinkfresh blog and YouTube channel. 
Pinkfresh Studio will also give away TEN $50 gift cards along the hop. As usual with blog hops, the winners will be selected from the comments.
Winners will be selected and posted on April 23, 2025, on our GIVEAWAY PAGE. Winners must check that page and claim their prize within 2 weeks
.

Well, that’s all for me today! You can find the full hop list below. Thanks so much for stopping by today, and happy hopping!

You are invited to the Inlinkz link party!

Click here to enter

Filed Under: pinkfresh studio, Uncategorized Tagged With: beautiful soul, better press, butterflies, butterfly bliss, die cutting, double stitched elongated oval dies, ink blending, letterpress, ornate trellis

Bokeh + Butterflies = A Match Made In Heaven!!

August 4, 2023

This post was sponsored by Simon Says Stamp. Thanks, Simon!

Hi friends! I have a thing about bugs. I’m not a fan. (shocking, right?) Bugs give me the heebie jeebies… except butterflies. Butterflies and their beautiful colors, their delicate wings, the way they gracefully-but-a-little-awkwardly fly about, bobbing around without any real direction… they entrance me. Add in the fact that they are descended from chubby caterpillars, and I’m sold. When I picture butterflies, I picture them bobbing about in a garden surrounded by flowers, fairies, and shimmering fountains. It’s a fanciful mental picture, but butterflies are so ethereal that I think it works. I created an ethereal encouragement card today using the beautiful Graceful Butterfly embossing folder and die combo from Simon Says Stamp. Let’s get started with the details!

To create that ethereal background in my imagination, I pulled out the Bokeh Lights stencils. I have a love affair with bokeh; very little is quite as magical to me as a bokeh background. I first blended Orchid, Heather, Twilight inks at random on a white A2 background, then used the stencils to blend the same shades. I used the Orchid for the largest bubbles, the Heather for the medium, and the Twilight for the smallest. I didn’t want the dark blue of the Twilight to overpower the rest of the colors, so I saved that color for the smallest pattern. Once I had finished blending the stenciled pattern on the background, I blended some more Twilight ink lightly around the edges to give it a cohesive look and draw the eye to the center of the card. To add to the magic, I splattered some super shiny handmade glitter watercolors on the background, as well.

To create the fluttering butterflies, I die cut and embossed the Graceful Butterflies Embossing Folder + Dies using Lawn Fawn pearlescent vellum. This vellum is a bit thinner than my normal heavyweight vellum, but the pearlescent sheen is absolutely magical and embossed beautifully with the coordinating embossing folder! I also die cut the butterflies’ bodies with pearlescent white foil cardstock and adhered them to the embossed butterflies using liquid adhesive.

For the greeting, I die cut the Big Scripty Hugs once from some cobalt blue matte foil cardstock from my stash and twice more from white cardstock, layering them together to create a dimensional die cut. I also heat embossed a greeting from Butterfly Dreams onto some coordinating purple cardstock using silver embossing powder. I adhered all of the die cuts and sentiment pieces using clear foam adhesive, liquid adhesive, and regular foam adhesive, then tucked a few shimmering iridescent rhinestones on the background to add one more glint of sparkle!

Well, that’s all for my project today. I love the magically luminous feel of this card! It’s so sparkly and shimmery in real life. Thanks so much for stopping by today, and have a marvelous day!
Filed Under: simon says stamp Tagged With: big scripty hugs, bokeh, bokeh lights, butterflies, butterfly dreams, emboss and cut, embossing folder, graceful butterfly, layering stencils, pawsitively saturated, pearlescent vellum

  • Page 1
  • Page 2
  • Go to Next Page »

Primary Sidebar

  • Facebook
  • Instagram
  • Pinterest
  • YouTube

Favorite Shops

Secondary Sidebar

Subscribe

Enter your email address to subscribe to this blog and receive notifications of new posts by email.

Instagram
Something is wrong.
Instagram token error.
Follow
Load More

Archives

Tags

3D embossing folder alcohol markers better press birthday birthday card blog hop card kit christmas christmas card christmas tag colored pencil copic copic coloring Daniel Smith die cutting embossing folder embroidery felt giveaway holiday holiday card hot foil ink blending karin brushmarker pro layered stencil masculine my monthly hero new release no line coloring no line watercolor OLO marker olo markers original illustration pawsitively saturated rainbow shaker card slimline stamping stamptember stencil thank you thinking of you valentine's day video watercolor

Popular Posts

Simon Says Stamp Sending Cheer Blog Hop- Day 2 + Freebie + Giveaway!
Altenew October 2026 Release Blog Hop + Giveaway!
Altenew Build A Flower Sweet Violet+Giveaway!
Floral Follies on Canvas with New Simon Says Stamp STAMPtember!
Simon Says Stamp Card Kit November 2026: Jolly Season!
Simon Says Stamp STAMPtember Tim Holtz Collaboration: Festive Holidays!
Hero Arts Partners Blog Hop: Lawn Fawn!
Rustic Monochromatic Stars for Christmas with Rainbow Splash!
Altenew March 2020 Release Blog Hop+Giveaway!
Honey Bee Stamps Bee Bold Release Blog Hop!

Disclosure

Some affiliate links are used in my posts. This means that, should you click on one of my links and purchase something from that company, I will receive a small portion of the sale at no extra cost to you. I use the money earned from these sales to help maintain my blog. I so appreciate you visiting and, if you do choose to use one of my affiliate links, thank you so much for your support!
Copyright © 2026 ·Brunch Pro Theme · Genesis Framework by StudioPress · WordPress · Log in
Loading Comments...