• Skip to main content
  • Skip to primary sidebar
  • Skip to secondary sidebar

Sixth Street Sundries

Emily Midgett

  • Home
  • About Me
  • Contact
  • OLO Marker Color Swatch Chart
  • Shop

canvas

Floral Follies on Canvas with New Simon Says Stamp STAMPtember!

September 4, 2026

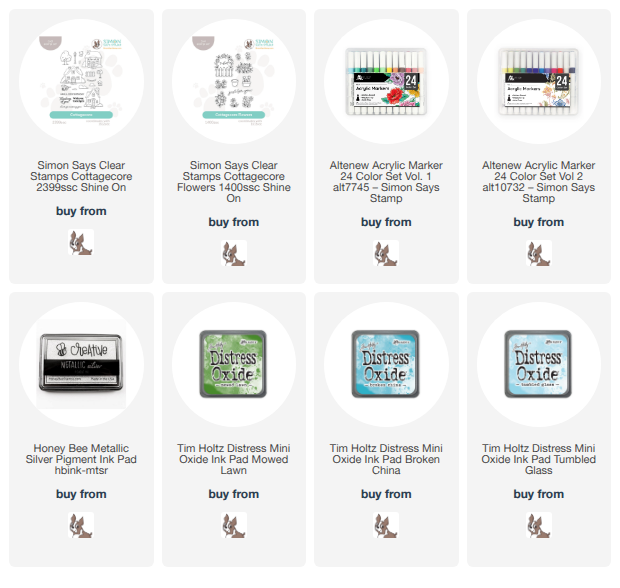
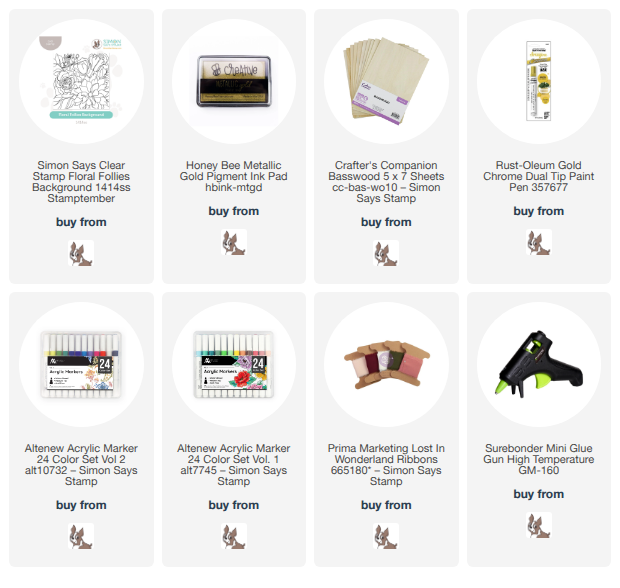
This post was sponsored by Simon Says Stamp. Thanks, Simon! *I have gathered links to all of the products used at the bottom of the post for your convenience, using affiliate links at no extra cost to you. Thank you for shopping with my links! I truly appreciate your support for my work!*

Hi friends! I have more inspiration using my newest illustration that was released during the Simon Says Stamp STAMPtember release (click HERE to see the whole release!), called Floral Follies. I used some of my favorite blooms for this background stamp, including a huge and fluffy dahlia, some pretty tulips, and a generous garden rose. I shared THIS embossed and watercolored artwork project last week, but I couldn’t resist playing with acrylic markers to create a sweet little canvas wall hanging with some no-line painting. Let’s get started with the details!

Whenever I am at the dollar store, I check to see if there are any fun little trinkets or plain crafty items that I can pair with my stamps for some fun creative projects. I found a 3 pack of these 4×6 hardback canvases and knew that I wanted to use it to create some fun artwork! We moved into our newly-renovated forever home a couple of weeks ago (boy am I glad that I don’t have to move anymore!), and so I’ve been brainstorming how to put my artwork to put on the walls in a unique and curated fashion. I knew that these pretty blooms from the Floral Follies set would work beautifully in my daughter’s bathroom!

I stamped the image on the canvas with some gold pigment ink, then because adding color with acrylic paint markers. If you don’t have access to these hardbacked canvases, you can use a basswood panel or even mixed media cardstock that you back with chipboard to create a similar effect! You just want a surface that is sturdy that will stay flat when hanging on the wall. When working with acrylic markers and mixing the colors, I like to blend the mixed colors with a dry paintbrush, creating a gradient and lots of pretty depth and shading without detracting from the intensity of the opaque paint. Such a fun new (to me) medium with which to experiment!

After I had finished coloring the images themselves, I used a gold paint pen to cover the area behind the blooms and add an element of luxury to the panel. The shimmer is so lovely, but so difficult to photograph! Finally, I used a glue gun to add a peachy chiffon ribbon “hanger” to make it easy to hang this painting on the wall. I just love how it turned out!

Well, that’s all for my project today! The Simon Says Stamp STAMPtember company collaboration celebrations are starting today at 12 p.m. Eastern/11 a.m. Central, and you won’t want to miss these limited edition sets. Be sure to bookmark my blog or become a subscriber so that you don’t miss anything fun! Thanks so much for stopping by today, and happy STAMPtember!!
Filed Under: simon says stamp Tagged With: acrylic paint, canvas, floral follies, no line coloring, original illustration, stamptember, wall art

Cottagecore Canvas with New Simon Says Stamp Shine On Release!

June 27, 2026

This post was sponsored by Simon Says Stamp. Thanks, Simon! *I have gathered links to all of the products used at the bottom of the post for your convenience, using affiliate links at no extra cost to you. Thank you for shopping with my links! I truly appreciate your support for my work!*

Hi friends! The beautiful new products from the new Shine On release are now available for purchase, (click HERE to see the full release!) and I am absolutely obsessed with the new Cottagecore stamps. The sweet little cottages in the set are just begging to be colored, and so I decided to take it a step further with a little painted canvas. Wouldn’t this be so cute as a housewarming gift created in the colors of the new home?

I used a combination of acrylic markers and watercolors on this project, so the canvas needed a bit of prep before I could begin my painting. I covered this gesso canvas with watercolor grounds that I purchased from an art supply store so that I could use my watercolors. Watercolors require a porous surface to work properly, so typical stretched canvas will not work with watercolors. The watercolor grounds allow you to add a porous coating on any non-porous surface, making it perfect for watercoloring! After painting at least two coats on my canvas, I set it aside to dry for a few days before beginning the fun part of my project. This technique does require a bit of prep work, but if you do several canvases at once, it can be done assembly line style and then you have a bunch of surfaces all prepped and ready to go for future projects!

Once I had completed the prep work on my canvas and allowed it to dry completely, I stamped a sweet little scene using the images from both the Cottagecore and Cottagecore Flowers stamp sets from the new Shine On release. I stamped the house and tree first, then added a little flowered bower and fence leading into the garden, as well as a mailbox and sweet puppy in the front yard! I also added some individual cloud images in the sky, creating one of those perfect summer skies with crisp white clouds in a blueberry sky. Because I planned on using acrylic paint markers to color the images, I used silver pigment ink to stamp the images, keeping the images light but easily covered with the opaque paint markers. I allowed the images to dry a bit before painting.

After my stamping was complete, I used acrylic paint markers to paint the images; the bold, solid color of the acrylic paints works perfectly with the simple lines of these illustrations, I think! I kept the color palette fairly simple with coral, blue, and almond, which I think fit perfectly with the “cottagecore” theme. Once I had finished adding the acrylic paint and given it a bit of time to dry (not much time, for they dry pretty quickly!) I used my watercolors to add blue to the sky and green to the grass! The acrylic paint resists the watercolors, so I was able to fluidly paint the sky and lawn without worrying about the detailed paint work being marred. If there was any watercolor pooling on the acrylic painted areas, I simply dabbed it away with my microfiber cloth. I think the combo of the acrylic paint with the haze of blue and green watercolor works beautifully together, and makes it so worth the extra prep time for the canvas!!

Well, that’s all for my project today! I encourage you to try your stamps out on unexpected canvases and mix your coloring media… you can create lasting gifts that the recipient will treasure!!

Also, don’t forget about the two-day blog hop happening right now! I shared my blog hop post yesterday (click HERE to check it out!) but you can see the list of all of the Day 2 participants over on the Simon Says Stamp blog by clicking HERE. So much inspiration, prizes, and a free gift are up for grabs!!

Thanks so much for stopping by today, and have a marvelous day!

Filed Under: simon says stamp, Uncategorized Tagged With: acrylic painting, canvas, cottagecore, gift, no line coloring, watercolor

Experiments with Sunflowers, Puff Paint, and Blending Foam with Simon Says Stamp!

January 26, 2026


This post was sponsored by Simon Says Stamp. Thanks, Simon! *I have gathered links to all of the products used at the bottom of the post for your convenience, using affiliate links at no extra cost to you. Thank you for shopping with my links! I truly appreciate your support for my work!*

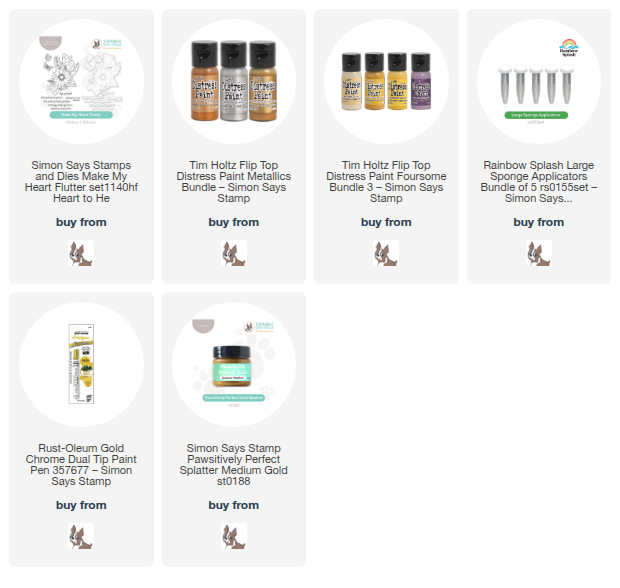
Hi friends! I am back with another project today using one of my newest illustrations for Simon Says Stamp: Make My Heart Flutter! This pretty sunflower swag features a fluttering butterfly preparing to take a rest on the bloom, as well as some lovely sentiments and individual butterfly stamps. I had lots of different ideas brewing for this set that I didn’t have time to create before the release, and this is one of them! This dimensional canvas features an unusual product for me: puff paint! Let’s get started with the details!

To begin my project, I stamped the large bouquet and several individual butterflies using the stamps from Make My Heart Flutter and some gold pigment ink. I allowed the pigment ink to dry a bit, then used white puffy paint to do a technique that I’ve seen on cookie decorating videos on Instagram! The technique, called brush embroidery, involves piping out a thin line of white icing, then using a dry paintbrush to pull the paint down, creating dimension and shadows on the image! It’s such an elegant finished look; it reminds me of antique toile prints. For this project, I used puff paint! Remember those little bottles of paint that you could use to make sweatshirts when you were a kid? I followed the lines of the stamped image and added puff paint over the entire stamped image, working section by section. Before the paint dried, I used a dry paintbrush to pull out out the edges of one side of the line of paint, feathering it out and adding shape, dimension, and interest to the image.

After my puff paint had dried completely, I began painting my 5 by7 inch canvas using a sunny yellow, a deeper gold, and some pearlescent gold acrylic paint. I painted the first layer with the sunny yellow paint, then added a touch of the deep gold paint to make it a bit darker. I used the Rainbow Splash Large Sponge Applicators, which have a nice round top made of super smooth foam, making them perfect for blending this vignette, darkening the edges in a smooth fade from one color to the next! I painted over the top of the puff paint intending to create a completely monochromatic, textured painting, which would allow the brush embroidery to stand out as textural interest, kind of like raised embossing from an embossing folder!

Rather than leaving the texture and background as one color, I decided to use a shimmering gold paint pen to enhance the details of the brush embroidery and add a luxurious, “gilded” feel. I ran over the highest raised part of the lines of the stamped image using that shining gold paint pen, kind of like swiping with a gold ink pad! Once the gilding had dried, I used the Simon Says Stamp Splatter Medium in Gold to add some shimmering gold splatters to the canvas. I think this technique is so fun. I am excited to play with it more!

Well, that’s all for my project today. Do you like doing altered canvas projects? I think it’s so enjoyable to step outside of my usual A2 canvas and try something unusual with different mediums. I encourage you to try it! Thanks so much for stopping by today, and have a marvelous day!

Filed Under: simon says stamp Tagged With: acrylic paint, brush embroidery, canvas, make my heart flutter

A Final Ode to Pumpkins with Simon Says Stamp!

October 31, 2024

This post was sponsored by Simon Says Stamp. Thanks, Simon!

Hi friends! I am back with my final post for the month of October, just in the nick of time, too! I will be helping my kiddos get their Halloween costumes on as soon as I’m done: Sally from Nightmare Before Christmas, Harry Potter, and two firemen! (If you’ve never checked out the Halloween costumes from Costco, they are legit! The firemen costumes are incredible and were very reasonably priced.) For my last project for the month, I thought I’d do one final “ode to a pumpkin.” I don’t do spooky, and I’m not great a cute, so pumpkins are basically my favorite imagery for autumn and Halloween. They can be fun and playful, or they can be elegant, especially when paired with foliage and florals. I have been collecting more felt and embroidery items, and so I was itching for a project on which to use them. This autumnal wall hanging was the perfect project to start my obsession! Let’s get started with the details.

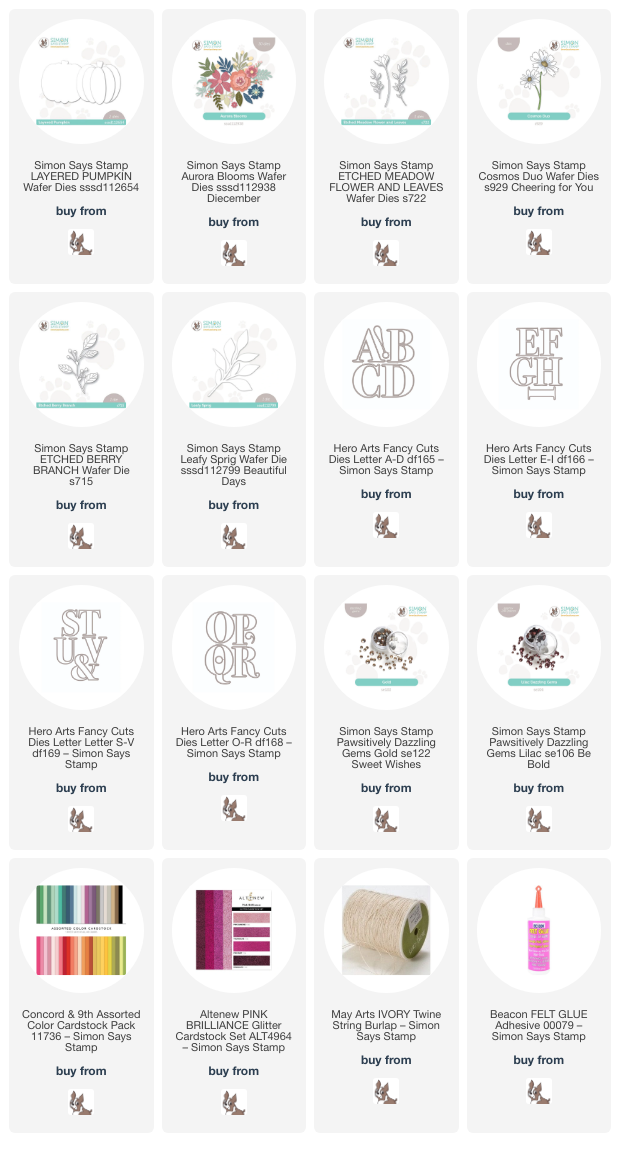
*I have linked all of the products used at the bottom of the post using affiliate links for your convenience. Thank you for shopping with my links! I truly appreciate your support for my work!*

For both of my projects, I paired the Aurora Blooms, Etched Meadow Flower & Leaves, Cosmos Duo, Etched Berry Branch, Layered Pumpkin, and Leafy Sprig dies. I wanted to create some decor with felt as well as with paper, so I scoured my local dollar stores and big box craft stores for some fun “blanks” that I could decorate. I found this canvas wall hanging and little chalkboard easel, and I think they both are just perfect for embellishing with die cuts!

For the wall hanging, I began by die cutting all of the images from the die sets listed above using high-quality colored felt. I used a somewhat non-traditional color palette, pulling some deep, somewhat muted oranges together with cranberry and autumn rose, with touches of lime green and hunter green. I used some needle and thread with sequins and seed beads to adorn the center of some of the flowers, adding a touch of sparkle and additional texture to the felt images. I also die cut the word “gather” using the large-scale Hero Arts Alphabet Dies. I adore these alphabet dies; they’re perfect for creating banners and home decor (I used them to create a banner for my office Christmas tree last year!) and are such a great size.

For the pumpkin, I used some fabric glue to assemble the individual pieces from the Layered Pumpkin die set, then used a coordinating shade of orange to do a (very) simple blanket stitch around the edges of each piece of rind. This additional stitching around the edges adds some texture as well as helping to differentiate one segment from the next, so that it doesn’t look too flat.

After I had die cut and assembled the different components, I began to create my arrangement. I used a piece of ribbon to line up my letters, adhering them to the banner with some fabric glue, then began arranging my pumpkin, flowers, and foliage in a swag beneath my letters. I stitched some more sequins and seed beads to create “berries” amongst my floral arrangement, helping to fill in any gaps in the flowers. After completing the arrangement on the bottom, I felt that the area above the letters was a bit too bare, so added another, simpler arrangement above the letters as well. I think it will look so pretty hanging from my front door for Thanksgiving!

Since I haven’t been working with felt for very long, I decided to make another home decor project using my more typical cardstock, using the same color palette! I die cut the same images from the Aurora Blooms, Etched Meadow Flower & Leaves, Cosmos Duo, Etched Berry Branch, Layered Pumpkin, and Leafy Sprig die sets. I used some sparkling cranberry glitter cardstock from Altenew to create the Etched Meadow Flower & Leaves blossoms. I think this color palette is so pretty; it is definitely autumnal, but not super orange-y!

I found this little easel chalkboard at my local dollar store! They have them in both black chalkboard and white dry erase board; this black backdrop was perfect for adorning with colorful die cuts. After I had adhered all of the die cuts in a little arrangement on the front of the easel, I used a double layer of twine, wrapping it around the top of the easel multiple times, then added a fluffy bow. I used some glue to hold the bow down and prevent it from being untied.

After I had finished arranging the die cuts and adding my twine bow, I added some Gold and Lilac Pawsitively Dazzling Gems to the berry stems and flower centers, adding a touch of sparkle and texture to this piece of decor. I think this would look so sweet on a desk at work or perhaps on a piano or mantelpiece at home!!

Well, that’s all for my projects today. I am having such fun branching out from my typical cardmaking, and I hope you’re enjoying it too. It’s fun to try new things, right? Thanks so much for stopping by today, and have a marvelous day!

Filed Under: simon says stamp Tagged With: alphabet dies, aurora blooms, banner, canvas, cosmos duo, die cutting, etched berry branch, etched meadow flower and leaves, felt, home decor, home deocr, layered pumpkin, leafy sprig, wall hanging

Primary Sidebar

  • Facebook
  • Instagram
  • Pinterest
  • YouTube

Favorite Shops

Secondary Sidebar

Subscribe

Enter your email address to subscribe to this blog and receive notifications of new posts by email.

Instagram
Something is wrong.
Instagram token error.
Follow
Load More

Archives

Tags

3D embossing folder alcohol markers better press birthday birthday card blog hop card kit christmas christmas card christmas tag colored pencil copic copic coloring Daniel Smith die cutting embossing folder embroidery felt giveaway holiday holiday card hot foil ink blending karin brushmarker pro layered stencil masculine my monthly hero new release no line coloring no line watercolor OLO marker olo markers original illustration pawsitively saturated rainbow shaker card slimline stamping stamptember stencil thank you thinking of you valentine's day video watercolor

Popular Posts

Simon Says Stamp Sending Cheer Blog Hop- Day 2 + Freebie + Giveaway!
Altenew October 2026 Release Blog Hop + Giveaway!
Rustic Monochromatic Stars for Christmas with Rainbow Splash!
Hero Arts Partners Blog Hop: Lawn Fawn!
Waffleflower July Release Blog Hop!
December 2018 My Monthly Hero Blog Hop + Giveaway!
March 2020 Essentials By Ellen Blog Hop+Giveaway!
The Ton Anniversary Release: Day 1!
The Ton Stamps Summer Release: Day 1
Autumn Legs with Colorado Craft Company and Catherine Pooler!

Disclosure

Some affiliate links are used in my posts. This means that, should you click on one of my links and purchase something from that company, I will receive a small portion of the sale at no extra cost to you. I use the money earned from these sales to help maintain my blog. I so appreciate you visiting and, if you do choose to use one of my affiliate links, thank you so much for your support!
Copyright © 2026 ·Brunch Pro Theme · Genesis Framework by StudioPress · WordPress · Log in
Loading Comments...