• Skip to main content
  • Skip to primary sidebar
  • Skip to secondary sidebar

Sixth Street Sundries

Emily Midgett

  • Home
  • About Me
  • Contact
  • OLO Marker Color Swatch Chart
  • Shop

christmas tag

Monochromatic Winter Scenes with New DieCember from Simon Says Stamp!

December 4, 2024

This post was sponsored by Simon Says Stamp. Thanks, Simon!

Hi friends! I am back with another project using some goodies from the ultra-fabulous DieCember release from Simon Says Stamp. If you’ve visited my blog very much, you’ll know that bold color palettes and vibrant, color-saturated projects are my bread and butter. But, I also hold monochromatic white-on-white projects very closely to my heart. White-on-white is just so ethereal, so utterly elegant, so crisp and clean… it’s such fun to try to achieve as much dimension as possible with different levels of height, different textures, different elements of shimmer and shine. For my projects today, I wanted to use the marvelous new Woodland Treescape die set, which uses three different oval-shaped apertures layered atop one another to create exquisite depth and dimension of this wintry holiday scene. I used the layered oval dies as well as the individual accessory dies to create two different, sparkling projects. Let’s get started with the details!

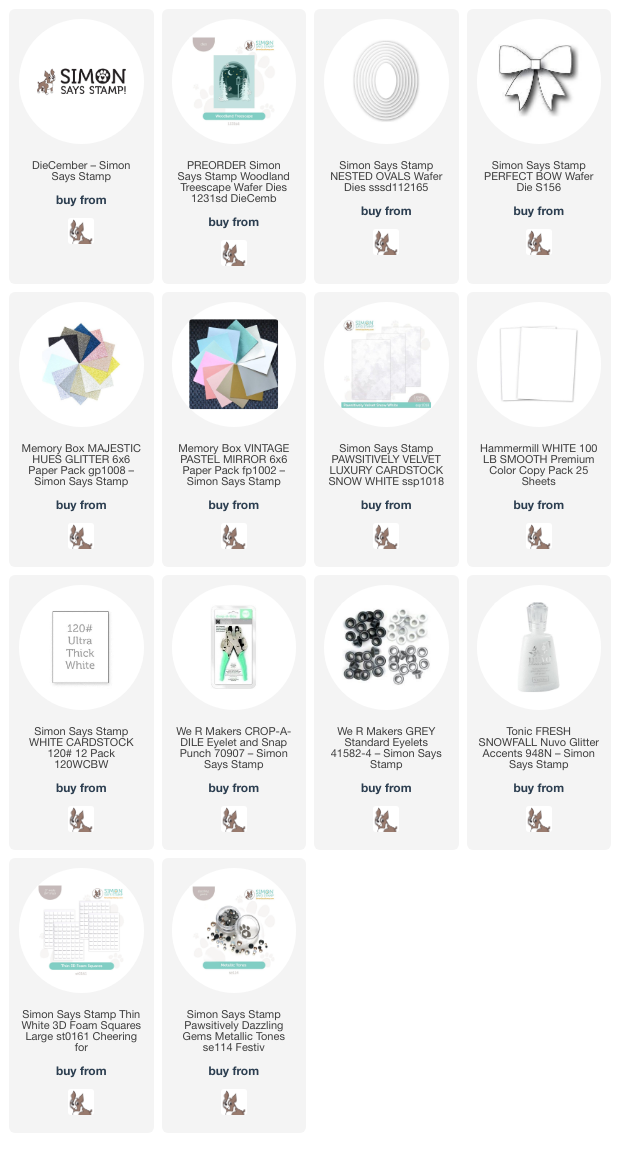
*I have gathered links to all of the products used at the bottom of the post for your convenience, using affiliate links. Thank you for shopping with my links! I truly appreciate your support for my work!*

The Woodland Treescape die set features three different oval aperture scenes that are intended to fit perfectly within an A2 card front, as well as individual image dies that work beautifully to enhance the winter scene! I wanted to take full advantage of all of the dies by creating a super detailed framed scene as well as a gift tag that can be turned into an ornament!

To create tons of dimension for both of my projects today, I put into practice my typical monochromatic techniques: texture, texture, and more texture! I love to use multiple types of “coated” cardstock to create dimension and add some distinction between the layers in addition to lots of foam adhesive. For these projects, I combined my typical white cardstock with white glitter cardstock, white pearlescent cardstock, and white velvet cardstock to create lots of different textures and tons of sparkle and shine!

For the tag/ornament, I began by die cutting two medium-sized ovals from the Nested Ovals die set using Simon Says Stamp White 120 lb Heavy Cardstock, layering them together with the scratched sides touching so that not only was the base of the ornament super sturdy, but the back of the ornament was nice and clean. I also die cut a frame using the same die plus the smaller nested die nestled inside it using white glitter cardstock to create a little framed vignette. Using the Woodland Treescape die set, I cut the individual tree dies from white pearl and white glitter cardstock, as well as the lamp post and snowflakes. I popped up the white glitter frame on the edge of the heavy tag stock oval base, then arranged the tree die and lamp die cuts within the frame using liquid and foam adhesive. To make sure that the tag/ornament would withstand being on a present before being added to the tree, I used my eyelet punch and a white eyelet on the punched hole. (I knew I kept that tool around for a reason! Everything comes back in fashion!) I added the snowflakes and Opal Pawsitively Dazzling Gems around the blank areas and some glittering snow using Nuvo Glitter Accents. Finally, I topped the entire thing off with an adorable Perfect Bow die cut from Pawsitively Velvet Snow Velvet cardstock.

How pretty would this be to put on a Christmas tree? I love when handmade tags serve a dual purpose, more than just decorations to be thrown away!

To create my framed scene, I reused the same basic techniques from the tag/ornament: multiple types of white texture, this time within a 5″ x 7″ canvas and lots and lots of foam adhesive! I die cut the elements of the Woodland Treescape die set using the same white glitter, pearlescent, and plain cardstock, cutting each layer from an A7 panel of cardstock. The oval aperture dies can be adapted to fit more than just an A2-sized card! I removed the glass from an inexpensive frame from my local dollar store and backed my A7 panel of white glitter cardstock with it, then arranged the oval die cuts atop it, laying down the first layer with only liquid adhesive, then the second layer with Thin Foam Adhesive Squares, finally adding the last layer with a double layer of Thin Foam Adhesive Squares to ensure many variations in height and distinction between the layers.

After I had layered the large die cuts, I used the same white glitter and pearl cardstock with the individual tree and snowflake dies to add some extra details and fill in some of the blank spots created by using the larger A7 size. I adhered all of the pieces with liquid and foam adhesive, then added some more Opal gems to create a snowy effect. Finally, I added some more white glitter “snow” with the Nuvo Glitter Accents, enhancing the snow drift layers and adding some snow to the tree branches. After the glitter glue was dried, I placed the glass-backed panel inside my frame, allowing the thick layers of foam adhesive to create tons of dimension and depth on my monochromatic winter scene. I am just so in love with this die set… it’s so incredibly elegant and can be used in so many different ways with all of the different components!!

Well, that’s all for my projects today! I know that this Woodland Treescape die set is currently being sold on preorder, so don’t be discouraged that it’s not currently in stock. It seems that I was not the only person who fell in love with this set from DieCember. When you preorder an item, you are guaranteed to be shipped one as soon as the restock arrives at the Simon warehouse. This die set would work beautifully for winter cards beyond Christmas, so don’t miss out on this one! Thanks so much for stopping by today, and happy DieCember!
Filed Under: simon says stamp Tagged With: christmas card, christmas ornament, christmas tag, die cutting, diecember, eyelet, framed scene, holiday card, monochromatic, nested ovals, perfect bow, picture frame, snow, tag, white, woodland treescape

Snowflake Shaker Card with New Simon Says Stamp DieCember Goodies + FREE Gift With Purchase!

December 2, 2024

This post was sponsored by Simon Says Stamp. Thanks, Simon!

Hi friends! I am back with another project featuring some of the fabulous goodies from the new Simon Says Stamp DieCember release. I love a good shaker card; there’s something so festive and just plain fun about receiving a card that is filled with fantastic shaker bits and sequins. A shaker card always puts a smile on the recipient’s face, right? So it only makes sense to send Christmas Cheer with a super fun shaker card created with some creative die cutting and sparkling sequins. Let’s get started with the details!

*I have gathered links to all of the products used at the bottom of the post for your convenience, using affiliate links. Thank you for shopping with my links! I truly appreciate your support for my work!*

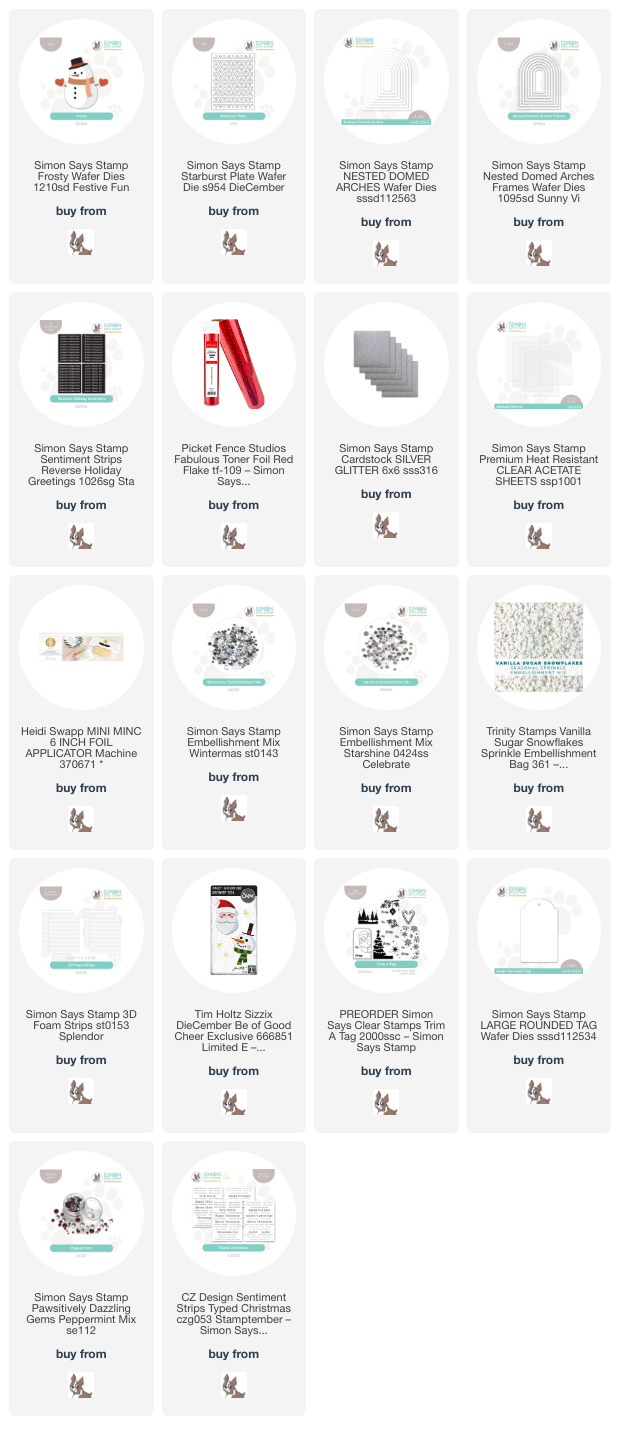
I absolutely adore cover plates; they create such an enormous impact with one piece of cardstock and one pass through your die cutting machine. The new Starburst Plate is so beautifully intricate that I wanted to stretch that easily-created die cut even further by creating a die cut window with the negative space and a second card with the positive space! (More about that in a future post.) I began my project today by die cutting an A2 panel of white cardstock using the Starburst Plate, then placing the one of the Nested Domed Arches in the center of the die cut and running it through my die cutting machine again. I made sure to reserve the patterned, arched die cut for a future project, and backed the remaining negative piece with an A2 piece of acetate, creating a large, plain window to start my shaker card! I added an appropriately-sized Nested Domed Arches Frame die cut, cut from some Simon Says Stamp Silver Glitter Cardstock, creating a border around my window opening.

After creating my background, I used the previously-released Frosty snowman die with some colored cardstock to create the focal point for my project. The finished Frosty fits perfectly inside my arched window! I used the Simon Says Stamp 3D Foam Adhesive Strips around the edges of the back of my shaker front, then filled the entire shaker with some gorgeous and fun wintry sequins, adding a few plain red sequins to coordinate with the cheerful red scarf, mittens, and hat on my Frosty. I sealed up the shaker with a panel of plain white cardstock. I love how the sparkling sequins peek through the snowflake windows from the Starburst Plate die cut!!

For the greeting, I used my Minc Machine with Picket Fence Studios Red Flake foil to make the Reverse Holiday Greetings set look super shiny and festive. I trimmed the strip down and tucked it beneath my snowman with some more thin foam adhesive. Tucking the sentiment right beneath Frosty helps to ground him a bit so that he’s not floating in midair in my window!

Well, that’s all for my project today. Simon Says Stamp DieCember celebration is in full swing, and to make things even more special and fun, Simon Says Stamp is offering an exclusive freebie: Be of Good Cheer die set

You can receive this adorable Be of Good Cheer die set set from Tim Holtz with any $25 Tim Holtz purchase! Click HERE to check out all of the goodies eligible for the promotion!

I created a fairly quick tag using the sweet Santa die from Be of Good Cheer:

Some white embossed snowflakes on a cheerful red tag created the perfect backdrop for my happy Santa!

I added a few Peppermint Pawsitively Dazzling Gems, a cherry red bow, and a jingle bell to make things extra special.

Well, that’s all for me today. This fantastic freebie (valued at $16.99!) is only available while supplies last, so don’t wait! Thanks so much for stopping by today, and Happy DieCember!

Filed Under: simon says stamp Tagged With: christmas card, christmas tag, diecember, freebie, frosty, holiday card, hot foil, minc, nested domed arches, nested domed arches frames, pawsitively dazzling, reverse holiday greetings, santa, shaker card, starburst, tag, tim holtz, toner foil

More Gingerbread Inspiration with NEW Simon Says Stamp!

November 15, 2024

This post was sponsored by Simon Says Stamp. Thanks, Simon!

Hi friends! I am back today with more gingerbread inspiration using some new products from the Simon Says Stamp Festive Fun release! Simon definitely leaned into the gingerbread theme for this gorgeous release, with several super festive products that are as sweet as they are adorable! (pun intended, ha) I thought the sweet little Gingermas House stamp would create a perfect tag for a bag full of sweets. I always make lots of Christmas cookies and happily hand them out as gifts for friends and family, and I think these darling little gingerbread houses will make the perfect adornment for my packages. Let’s get started with the details!

*I have gathered links to all of the products used at the bottom of the post for your convenience, using affiliate links. Thank you for shopping with my links! I truly appreciate your support for my work!*

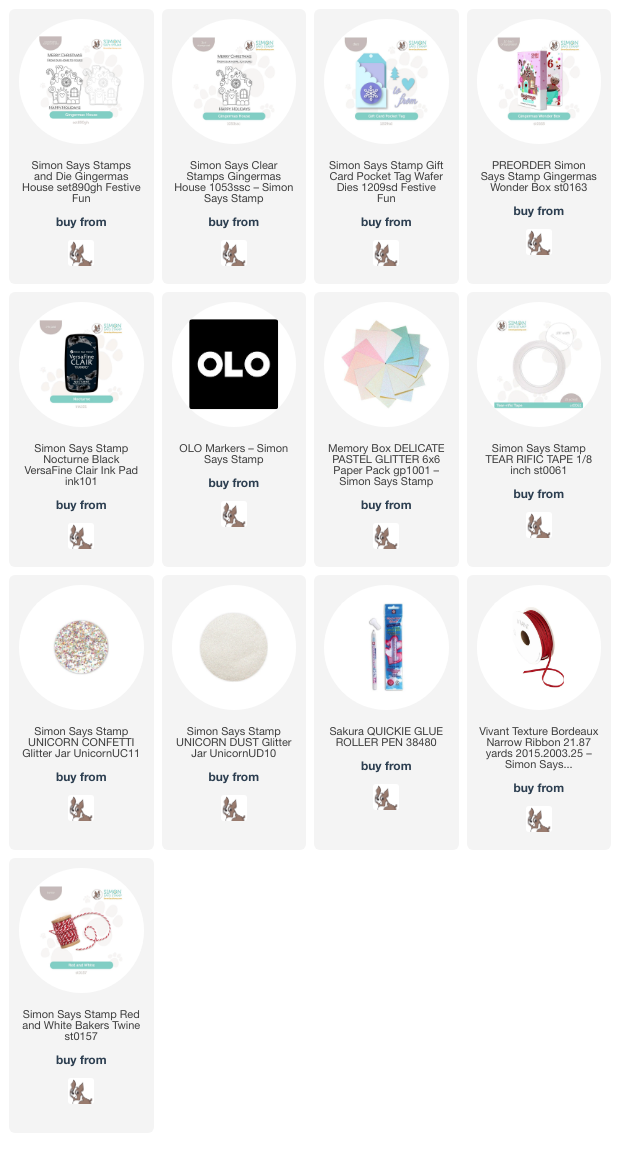
To begin, I stamped the outline of the Gingermas House onto some Hammermill cardstock using Simon Says Stamp Nocturne black ink and clear embossed it, then used my OLO Markers to add color to the image, creating a sweet brown, red, and pink color palette. I die cut the finished gingerbread house with the coordinating die and decided to add some sparkling, sugary “snow” with a Quickie Glue Pen and some glitter!

To create the tag, I die cut the main part of the Gift Card Pocket Tag from some more white cardstock, as well as several snowflakes included with the tag set from some sparkling white glitter paper. I also die cut the little circle included with the Gift Card Pocket Tag set (lots of little extras included with this die set, making it super versatile!) to create a “charm” to include with my sweet tag. I adhered the white glitter snowflakes to the tags, trimming the excess off and setting them aside to use them for the tag insert.

The Gift Card Pocket Tag die cuts the complete large tag front with a score line and scalloped diagonal edge which can be folded over to create a pocket for a gift card! I created a crisp edge by folding the pocket over on the score line, then running my bone folder over the fold to create a crisp fold. I added some Tear-rific Tape to the other two edges to quickly create my pocket. I decided to create a to/from insert using the “to” and “from” die cuts included with the Gift Card Pocket Tag set. (See? Lots of extras with this set!)

I added the scripty to/from die cuts to my tag insert, then decorated the edges with the remainders of the glittery snowflakes to add some extra special sparkle to my tag insert. After my tag had been completed, I filled a glassine bag with some peppermints (not nearly as special as homemade treats, but shelf-stable for display!) and folded down the top, using my Crop-A-Dile to punch some holes for my tag. I threaded some thin red ribbon through the punched holes and added my tag to it with some Red & White twine for a (literally) sweet little gift! You could easily fill this with some homemade treats and add a gift card to the pocket on the tag (as intended) for an extra special gift.

Well, that’s all for my project today! I am obsessed with fun packaging right now, and the new goodies from the Festive Fun release are perfect for dressing up your holiday gifts. Also, did you know that this little Gingermas House is part of the Simon Says Stamp Gingermas Wonder Box? There are still a very small amount of these boxes available, filled with gingery goodies that would make a perfect gift for a crafty friend. You can see the reveal of each day’s treat HERE. If you are interested in this crafty advent calendar, don’t wait too much longer, because once it’s gone, it’s gone!! Thanks so much for stopping by today, and have a marvelous day!

Filed Under: simon says stamp Tagged With: alcohol markers, christmas tag, gift card, gingerbread house, gingermas, gingermas wonder box, holiday card, olo markers

Simon Says Stamp Gingermas Wonder Box Projects!

November 11, 2024

This post was sponsored by Simon Says Stamp. Thanks, Simon!

Hi friends! I have some super fun and sweet (pun intended) inspiration to share with you using products found in the Simon Says Stamp Gingermas Wonder Box, which is a 12 day crafty advent calendar filled with the most delightful assortment of coordinated goodies. If you’re curious about all of the different products included in this super fun box (that makes for a great gift!), you can see each day revealed below, including Day 3 from me, myself, and I!

You can see the adorable little treat box that I created, embellished with several items from the Gingermas Wonder Box, including a darling tag created with products from Day 1 and Day 2 of the box, as well as the sweet vintage Santa mug from Day 3, which I embellished with some red velvet Tim Holtz trim and a loop of white silk ribbon, which can easily be removed from the box and added to your Christmas tree!

*I have gathered links to all of the products used at the bottom of the post for your convenience, using affiliate links. Thank you for shopping with my links! I truly appreciate your support for my work!*

Since my project above focused primarily on the items from days 1, 2, and 3, I decided to use a few more of the products in the Gingermas Wonder Box to create a pair of gingerbread-themed projects!

I have recently fallen down the stitching rabbit hole, and so I was super excited to see the adorable Gingerbread Man die included in the Gingermas Wonder Box! I knew that I needed to make some decor with my newfound felt and embroidery floss collection, and naturally I had to add a coordinating card.

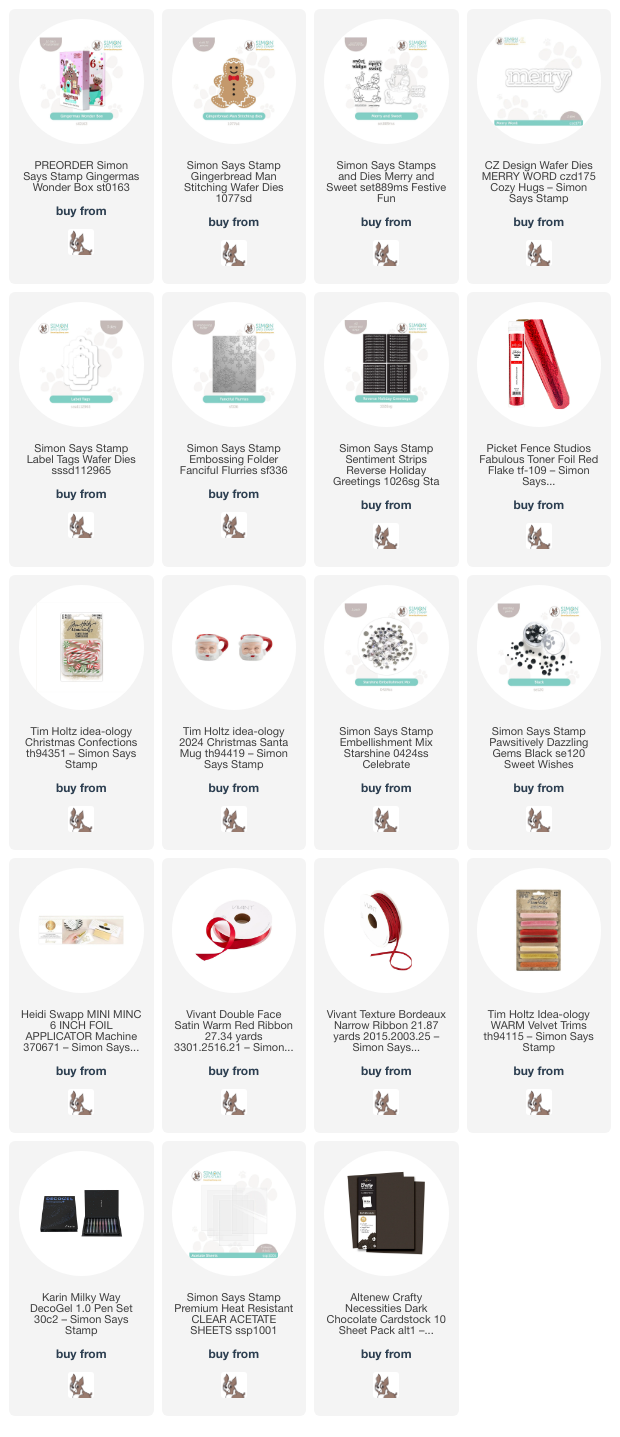
I have been slowly collecting items to use for embroidery, including small embroidery hoops and plain cloth that is easily stitched! I created a blank canvas upon which I could add my sweet gingerbread man, which I die cut from some deep brown felt. (He almost looks a little burnt, but I was going for a chocolate brown, poppy red, and white color palette!) I used coordinating deep brown embroidery floss to stitch him onto the white fabric in my embroidery hoop, then added the frosting details, his buttons (made from Black Pawsitively Dazzling Gems), and bowtie with liquid fabric glue.

After I had finished my gingerbread man, I die cut the Merry Word die from some black felt and adhered it to the embroidery hoop with some more fabric glue. To further embellish, I mimicked Gingy’s little bow tie with some red and white polka dot ribbon from my stash, sewing the bow just beneath the “merry” sentiment. I had a mishap with some hot glue as I was trying to clean up the fabric sticking out around the edges on the back of the embroidery hoop, so I decided to embellish around the edges of my hoop with the little Tim Holtz Christmas Confections candies that came in the Gingermas Wonder Box to cover it up. Finally, I added a touch of sparkle with some Peppermint Pawsitively Dazzling Gems! Wouldn’t this be adorable placed on a mantle or with a loop of ribbon as a wall hanging? I just love it!

Of course, I had to show a card option with the Gingerbread Man die, because not everybody likes to stitch! I used the negative space to create a shaker card, first by die cutting Gingy from the center of a panel of coordinating deep brown cardstock, slightly smaller than A2 sized, then backing that window with some clear acetate. I die cut the frosting details from white glitter cardstock and his little bowtie from some leftover red felt scraps that I had from my felt wall hanging above. I adhered the details to the acetate window and allowed them to dry.

To create the shaker portion of the card, I used Simon’s 3D Foam Strips to create a seamless border around the back side of the window. I used a second panel of the same deep chocolate brown cardstock to back my shaker window. I filled the shaker with Simon’s Starshine Embellishment Mix and sealed the shaker up. I added a simple greeting from the Reverse Holiday Greetings that I had foiled using Red Flake Toner Foil and my Minc machine. These sentiment cards are a great way to add a simple and elegant greeting very quickly to your card! If you’re mass-producing anything, you should definitely take a look at them! Finally, I used a white gel pen to add some simple stitching details to the edge of the shaker window panel, to add one more little touch of white and break up the monochromatic background.

Well, that’s all for my projects today! If you are interest the Gingermas Wonder Box, don’t wait to purchase it, because it is almost sold out!! Luckily, Simon Says Stamp has each of the individual products included in the box in their store, so you can pick and choose what you would like to purchase if you don’t want the entire thing. Options are always a good idea, right? Thanks so much for stopping by today, and have a marvelous day!

Filed Under: simon says stamp Tagged With: christmas card, christmas confections, christmas santa mug, christmas tag, decor, fanciful flurries, felt, gingerbread, gingermas, holiday card, label tags, merry and sweet, minc, pawsitively dazzling, reverse holiday greetings, ribbon, tim holtz, toner foil

Pink and Purple Snowflakes with New Simon Says Stamp!

November 4, 2024

This post was sponsored by Simon Says Stamp. Thanks, Simon!

Hi friends! It is, somehow, the beginning of November, so I am going to be leaning in to the holiday posts as much as I possibly can while it’s “acceptable,” which I deem to be until Epiphany next year! I adore Christmas, I adore crafting, and I am absolutely tickled pink that it’s officially time to lean in to all things Christmas, sparkly, and cheerful. I think we all need some extra joy this year, and who doesn’t need a little more sparkle in their lives? I think that snowflakes are among the most beautiful and somewhat neutral imagery in the holiday arsenal; you can use them for simple winter cards or you can pair them with other imagery to make them specifically Christmas-themed. I have paired the gorgeous new Heartfelt Snowflakes stamps and dies from the Simon Says Stamp Sweet Wishes release with a vibrant fuchsia and plum color palette to create this trio of sparkling “winter” cards and tag, perfect for those who might not celebrate Christmas but still enjoy winter festivities. Let’s get started with the details!

*I have linked all of the products used at the bottom of the post using affiliate links for your convenience. Thank you for shopping with my links! I truly appreciate your support for my work!*

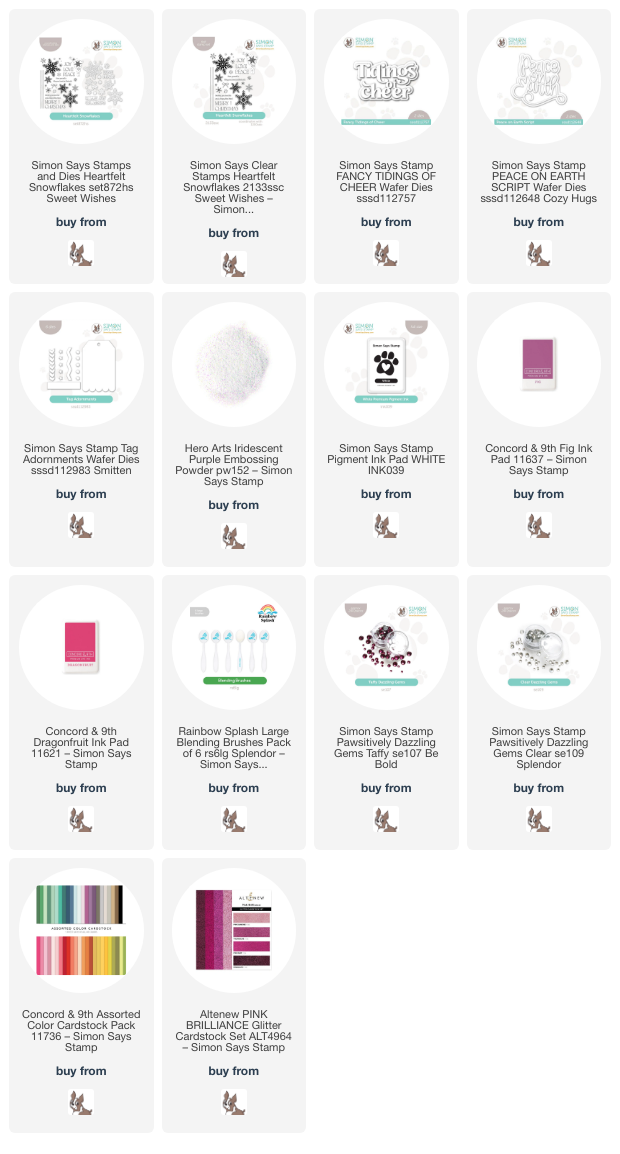
For my projects today, I wanted to select a unique color palette that didn’t necessarily fit the typical “Christmas” color palette, since we were working with the beautifully unique snowflakes of the Heartfelt Snowflakes stamp set. I selected Dragonfruit and Fig from Concord and 9th’s gorgeous color palette. I began by arranging several of the snowflake images on an A2 panel of Fig cardstock, stamping the images first with Simon Says Stamp white pigment ink and embossing them with Hero Arts Iridescent Purple embossing powder. Pairing the white pigment ink and iridescent embossing powder creates a most beautiful, shimmery combination on the vibrant purple cardstock! I repeated the process with a second panel of Fig cardstock, creating two full panels of embossed snowflake patterned paper.

After I had created two panels of snowflake paper, I used the coordinating dies from the Heartfelt Snowflakes product suite to die cut the images, dividing them to create multiple projects. I trimmed down the remaining intact snowflake panel, then used a blending brush to blend Dragonfruit and Fig inks around the edges of the panel, creating a vibrant glow on the embossed panel. I also splattered the background with some sparkling handmade watercolors to add further texture and shimmer.

For the greeting, I die cut the detail layer of the Fancy Tidings of Cheer from pink glitter cardstock and the shadow layer from vellum, adhering the two together using liquid adhesive. I adhered the blended snowflake panel in the center of an A2 Dragonfruit panel of cardstock, leaving a bright pink mat around the edges, then used foam adhesive to add the sentiment die cut and some individual snowflake die cuts. I added Taffy gems to the center of the snowflake die cuts, finishing the card off with a sparkling pink twine bow!

For my second card, I used some of the leftover Heartfelt Snowflakes embossed die cuts to adorn a vibrant shaker card. I used blending brushes to blend Fig and Dragonfruit ink down the diagonal on an A2 panel of Dragonfruit cardstock, splattering the entire panel with some more sparkling watercolors. I used some leftover packaging to create a “flat” shaker pocket, filling the shaker with a variety of color-coordinated sequins and gems.

For the greeting, I die cut the detail layer of the Peace On Earth Script die set using some brushed lavender foil cardstock, backing it with a vellum shadow layer. I arranged some of the leftover embossed snowflake die cuts around the sentiment die cut, adhering them with liquid adhesive, then hiding the dimensional foam squares behind the solid die cuts. I added some Taffy gems to the center of the individual snowflake die cuts, creating a vibrant shaker card that is so festive and fun!

I had one large Heartfelt Snowflakes embossed die cut left, so I decided to use it as a focal point on a smaller tag. I die cut the scalloped tag die from the Tag Adornments die set using some super sparkly pink glitter cardstock, then mounted the snowflake die cut in the center of the tag using foam adhesive. I added some extra sparkle to the details of the snowflake die cut with some Taffy and Clear Pawsitively Dazzling Gems, finally adding a coordinating pink ribbon loop from which I could hang my tag on a package!

Well, that’s all for my projects today! Can you believe that I was able to create all of these projects from just two panels of embossed snowflakes? I love a good two-fer! Or in this case, a three-fer, ha! Thanks so much for stopping by today, and have a marvelous day!

Filed Under: simon says stamp, Uncategorized Tagged With: christmas card, christmas tag, die cutting, embossing, heartfelt snowflakes, holiday card, ink blending, iridescent embossing powder, peace on earth script, shaker, snowflakes, tag adornments

  • « Go to Previous Page
  • Page 1
  • Page 2
  • Page 3
  • Page 4
  • Page 5
  • Interim pages omitted …
  • Page 7
  • Go to Next Page »

Primary Sidebar

  • Facebook
  • Instagram
  • Pinterest
  • YouTube

Favorite Shops

Secondary Sidebar

Subscribe

Enter your email address to subscribe to this blog and receive notifications of new posts by email.

Instagram
Something is wrong.
Instagram token error.
Follow
Load More

Archives

Tags

3D embossing folder alcohol markers better press birthday birthday card blog hop card kit christmas christmas card christmas tag colored pencil copic copic coloring Daniel Smith die cutting embossing folder embroidery felt giveaway holiday holiday card hot foil ink blending karin brushmarker pro layered stencil masculine my monthly hero new release no line coloring no line watercolor OLO marker olo markers original illustration pawsitively saturated rainbow shaker card slimline stamping stamptember stencil thank you thinking of you valentine's day video watercolor

Popular Posts

Simon Says Stamp Sending Cheer Blog Hop- Day 2 + Freebie + Giveaway!
Altenew October 2026 Release Blog Hop + Giveaway!
Rustic Monochromatic Stars for Christmas with Rainbow Splash!
March 2020 Essentials By Ellen Blog Hop+Giveaway!
December 2018 My Monthly Hero Blog Hop + Giveaway!
The Ton Stamps Summer Release: Day 1
Waffleflower July Release Blog Hop!
Hero Arts Partners Blog Hop: Lawn Fawn!
Simon Says Stamp STAMPtember Tim Holtz Collaboration: Festive Holidays!
Altenew Exotic Garden Stamps/Dies/Stencils/Embossing Folders Collection Release Blog Hop + Giveaway

Disclosure

Some affiliate links are used in my posts. This means that, should you click on one of my links and purchase something from that company, I will receive a small portion of the sale at no extra cost to you. I use the money earned from these sales to help maintain my blog. I so appreciate you visiting and, if you do choose to use one of my affiliate links, thank you so much for your support!
Copyright © 2026 ·Brunch Pro Theme · Genesis Framework by StudioPress · WordPress · Log in
Loading Comments...