• Skip to main content
  • Skip to primary sidebar
  • Skip to secondary sidebar

Sixth Street Sundries

Emily Midgett

  • Home
  • About Me
  • Contact
  • OLO Marker Color Swatch Chart
  • Shop

christmas tag

VIDEO: Using Cardmaking Dies and Inks for Easy Custom Tags with Pinkfresh Studio!

October 11, 2023

Hi friends! I am up on the Pinkfresh Studio YouTube channel today with some holiday tag inspiration using a ton of dies and the new Pinkfresh Studio Inks from the September 2023 release.

Watch the video below or HERE on YouTube.

Not everybody has the room or the budget to have an extensive stash of colorful cardstock, so being able to make custom colored cardstock using white cardstock, your inks, and blending brushes opens up a whole new host of possibilities! The new ink colors are exceptionally unique and beautiful, and I used some of them to create these festive tags that you won’t feel too guilty about tossing in the trash on Christmas morning. Let’s get started with the details!

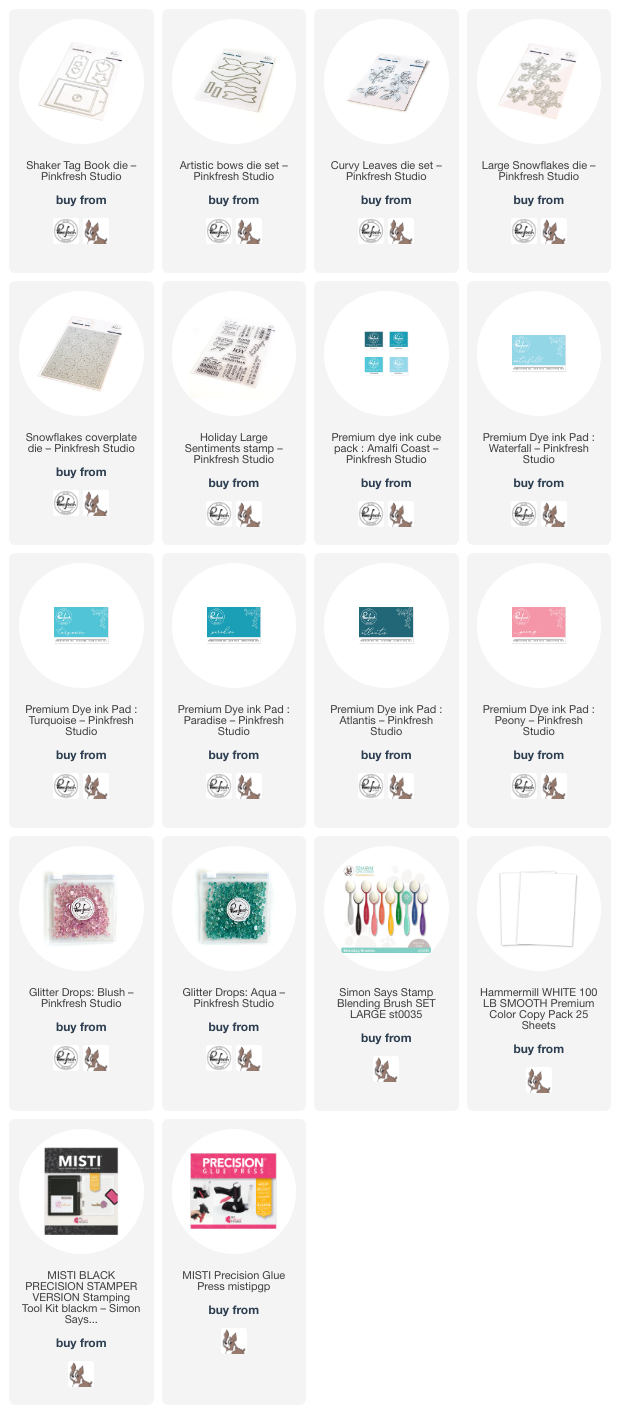
To start, I die cut 6 of the large tags from the Shaker Tag Book dies set. Two tags fit on one panel of A2 cardstock. I don’t know about you, but my die cutting plates are very well-used, which makes the back of my die cuts look a little rough. Cutting two tags and putting the scratched back sides against each other helps to keep your tags nice and clean on both sides!

This first tag features some light Waterfall ink blending around the edge of my top tag, which I die cut using the Snowflakes Cover Plate die . This die features both a stitching detail and cut outs to create this lovely, textured background pattern. I die cut some of the smaller snowflakes from white glitter cardstock using the Large Snowflakes dies and layered them directly over the die cut background tag. I stamped a sentiment from the Holiday Large Sentiments stamp set and sandwiched both the back and front together with liquid adhesive, adding a white paper twine loop and Aqua Glitter Drops for some more sparkle!

For my second tag, I used a blending brush to blend Paradise ink from the bottom up, fading away to white as the ink reach the top of the tag. I created some custom coordinating Curvy Leaves dies foliage using Paradise and Atlantis inks, as well as a pretty pink bow by blending Peony ink on some white cardstock and die cutting it with the Artistic Bows dies. I arranged all of the die cuts on my blended tag and added some Blush Glitter Drops for “berries” amongst my holiday foliage.

For my final tag, I blended Waterfall, Turquoise, and Paradise inks down the front of my blank tag die cut. I then die cut the large and medium sizes of the gorgeous Large Snowflakes dies from some more sparkling white glitter cardstock. I layered the two snowflakes together, adhering the smaller snowflake to the center of the larger snowflake with a small square of foam adhesive.

Each tag has a different greeting from the Holiday Large Sentiments stamp set stamped on the back in Atlantis ink. You could totally make this simpler by using your MISTI and one sentiment for all of your tags!! I am in love with the beautiful sentiments and fonts in the Holiday Large Sentiments stamp set.

Well, that’s all for my projects today! I encourage you to try making your own custom colored cardstock using your inks and blending tools. You can create such a huge rainbow of cardstocks with your inks and a little elbow grease! Thanks so much for stopping by today, and have a marvelous day!
Filed Under: pinkfresh studio Tagged With: amalfi coast, artistic bows, christmas tag, curvy leaves, holiday large senitments, holiday large sentiments, holiday tag, large snowflakes, misti, peony ink, shaker tag book die, snowflakes cover plate

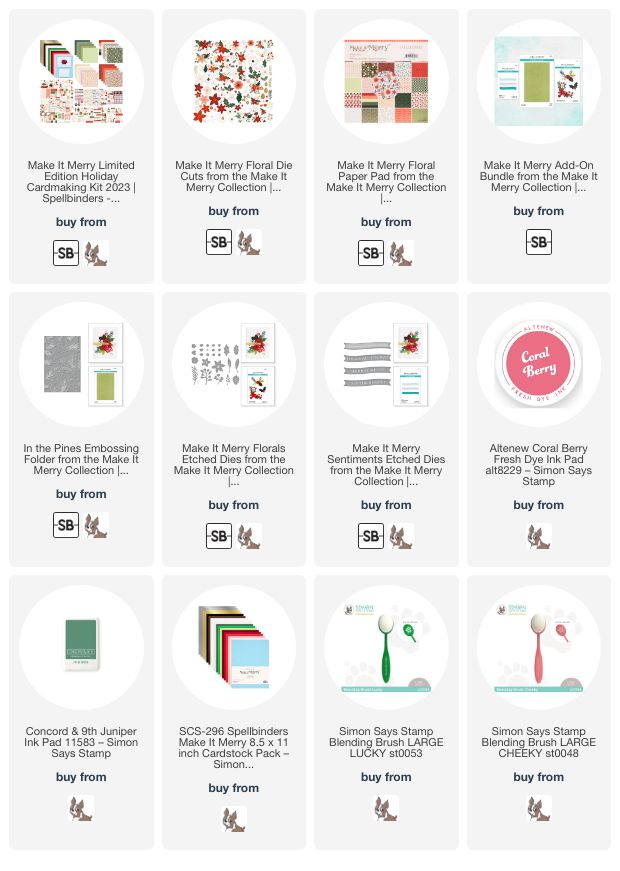
A Plethora of Projects Using Spellbinders Make It Merry Card Kit!

September 13, 2023

Hi friends! Some days, I am reminded of how much fun it is to just sit and play with paper, without even stamping or anything remotely “technique-y.” When my friends at Spellbinders asked me if I would be interested in working with the Make It Merry Card Kit, I knew that I would love playing with these darling images! The Spellbinders Card Kits make for such wonderfully quick cardmaking sessions, perfect for someone who has limited snippets of crafting time (ahem) or someone who needs/wants to make a ton of cards and tags in a short amount of time! I sort of feel like I cheated a little, because there was very little stamping or “technique” involved in making these projects, but I feel like at Christmas time, volume is more important than spending tons of time on each card.

All of the elements work beautifully together, with the most gorgeous color vintage palette and plenty of themes to make your holiday cardmaking super, super simple. The kit even includes foam adhesive, double sided tape, coordinating 8.5″ x 11″ panels of colored cardstock, and two different sizes of card bases and envelopes to give you basically everything that you need to start crafting! All you truly need is a trimmer and your creativity to create a huge variety of cards!

The folks at Spellbinders have also created some additional coordinating products to make your holiday crafting even easier and add more of these beautiful elements to your cardmaking! The Make It Merry Add-On Bundle features the In the Pines Embossing Folder and the Make It Merry Floral Die Cuts (both of which I used in the projects above), as well as the Make It Merry Sentiments Dies. You can also purchase the Make It Merry 6×6 Patterned Paper Pad which features a most beautiful array of 6″x 6″ patterned papers to complement the papers included in your kit!

The kit includes a multitude of printed die cuts in a variety of themes, in regular cardstock-both with foil and plain, chipboard, and puffy word die cuts. The sheer volume of available images means that you will have an abundance of images from which to make at least 25 cards. I made these six cards and two tags and barely made a dent in my kit! One tip that I wanted to share: take a few minute and go through your die cuts to get a feel for what themes and images there are, the sizes and color palettes, etc. I also separated mine into images with the white outline and images printed right up to the edge of the die cut, as I don’t like to mix the two on the same card.

I combined strips of some of the beautiful patterned paper Make It Merry 6×6 Patterned Paper Pad with the gold foil cardstock included in the kit to create this festive background, then added one of the large senitment die cuts and accented it with coordinating floral images from the Make It Merry Floral Die Cuts add-on. The pre-cut printed die cuts make crafting your holiday cards an absolute breeze!

For this project, I paired the precious little fawn included in the printed die cuts with the In the Pines Embossing Folder. I embossed a strip of the deep green cardstock included in the kit and mounted it on an A2 panel of green gingham printed paper, adding some strips of the gold foil on either side to break up the patterns. I added the darling little deer and coordinating sentiment strip, flanked by some colorful Christmas trees! I have a thing for deer on holiday cards, and this precious fawn was irresistible!

My next card is quite simple, but I think it looks like something you’d find at a boutique! I pulled out a few of the winter house die cuts to pair with one of the sentiment strips. The little houses remind me so much of the little ceramic Christmas villages! Before I adhered the houses to my pink card panel, I blended some Coral Berry ink from Altenew in the center of the panel and splattered some metallic gold ink to coordinate with the gold foil accents. I adhered the die cuts with both foam adhesive and double sided tape to add some extra interest and dimension.

This card pairs the beautiful floral die cuts from the Make It Merry Floral Die Cuts add-on with the In the Pines Embossing Folder. I simply embossed a white panel (so that the white outline on my die cuts would not bother me so much-does that bug anybody else as much as it bugs me?) using the In the Pines Embossing Folder, then arranged the floral pieces in a pretty bouquet, popping them up with foam tape. I added a foiled greeting banner from the main kit, popping it up with a double layer of foam tape to give it a little extra height from the bouquet. Finally, I added a touch of sparkle with some of the deep red gems included in the kit.

These pre-printed images included in the kit make for some beautiful, super quick and easy tags, too! I cut an A2 panel of the blush cardstock in half and used my corner rounder punch to round the edges of the rectangle. I adhered one of the star and peppermint die cuts to the top of each to help reinforce the hole through which the twine would be strung, then used my hole punch to punch a hole at the top of the tag. I added a few die cuts with some foam tape (how sweet is the little car and the snowglobe?) and a red twine loop and bow to make for quick addition to holiday gifts! This kit is totally worth it just for the super quick tags on their own!

My last project is an A7 card. I wanted to take full advantage of the size of the In the Pines Embossing Folder, which is generously sized at 8.5″ x 5.5.” I ran a panel of the minty green cardstock included in the Make It Merry Card Kit through my Platinum 6 using the embossing folder, then used a blending brush to blend Juniper ink from Concord & 9th around the edge of the embossed panel. I also splattered it with some more shimmering gold watercolors. I matted the panel on a wine-colored full size A7 card front, creating a festive frame around the edge.

For the greeting, I used one of the puffy gold foil sentiment stickers included in the kit along with a chipboard greeting strip, also included in the kit. I adhered them in the center of the blended, embossed panel, then used several colors of cardstock from the kit with the Make It Merry Florals dies, arranging them around the greeting with both liquid and foam adhesive. Finally, I added some sparkling red jewels from the kit to make this a super festive card!

Well, that’s all for my projects today! This Make It Merry Card Kit from Spellbinders is totally worth the money, especially if you have lots of Christmas cards and tags to make. Having everything so perfectly coordinated makes it so easy to whip up lots of beautiful and elegant projects in a short amount of time! And the Make It Merry Add-On Bundle and Make It Merry 6×6 Patterned Paper Pad just further enhances the potential for even more projects!

Thanks so much for stopping by today, and have a marvelous day!

Filed Under: spellbinders, Uncategorized Tagged With: card kit, christmas card, christmas tag, holiday card, make it merry, patterned paper

More Simon Says Stamp Holiday Sparkle!

November 17, 2022

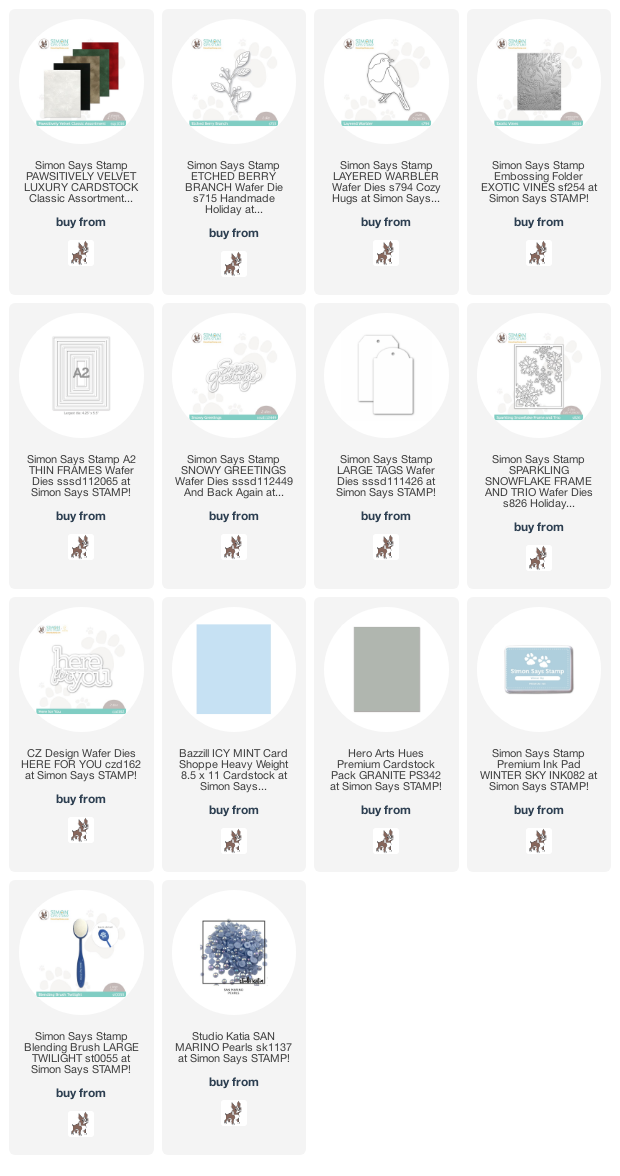
Hi there! Today, I have a couple more projects using the new Holiday Sparkle release from Simon Says Stamp, both featuring tons of texture and layers. I may have started as a stamper, but die cutting is one of my most favorite ways to create these days. Standalone dies just have so many ways to that you can customize them to make them truly unique from project to project! One of my favorite ways to make dies extra exciting is to add lots of texture using different types of fancy papers. The new Pawsitively Velvet cardstock from Simon Says Stamp is the perfect way to add some luxurious texture to your card front without adding a ton of extra bulk! I have two projects to share with you today using these new papers, so let’s get started with the details!

Both of my projects feature an icy color palette using some beautiful Bazzill Icy Mint cardstock as the starting point. I love super pale colored cardstock; it’s just a hair off of white cardstock, but adds that hint of color to a crisp card or tag project!

For my first project, I used the green Pawsitively Velvet cardstock to die cut the Etched Berry Branch die. Because this die cut is very delicate, I also die cut the same branch from some black cardstock and adhered it to the velvet die cut to add some stability while I determined the rest of my card front. I used the white Pawsitively Velvet cardstock to die cut the base layer for the Layered Warbler bird die, adding some details with Icy Mint and Granite cardstock.

For the background, I trimmed a panel of white cardstock down to A2 size, then ran it through my die cut machine using the Exotic Vines embossing folder. I love how classy and elegant this folder is. The vines and berries help to give it a bit of a botanical feel to work well with my bird and berries!

To ground my bird and branch, I die cut the A2 Thin Frames dies from some white glitter cardstock. (Tip: keep your rectangle dies together in order to have double the amount of frames from one pass through your die cut machine!) I selected a very thin frame and smaller, but thicker, frame, then saved the rest for another project. I backed the smaller frame with some vellum to soften the area behind it a bit. This provides a clean canvas for my bird, branch, and sentiment.

I die cut the detail layer of the Snowy Greetings die set from some more Granite cardstock. I also heat embossed a greeting from a set that seems to be retired (whoops!), just to flesh out the greeting a bit. I adhered the thin frame around the edge of the embossed panel, then arranged the remaining die cuts on the vellum rectangle. The final touch was to add a few coordinating blue pearls as “berries” for the foliage die cut.

My second project is a simple tag to adorn a holiday gift! I die cut one of the Large Tag Dies from some more Icy Mint cardstock , then lightly blended some Winter Sky ink around the edge using a blending brush. I splattered the blended tag using some pearlescent watercolors to create some wintry shimmer.

I die cut a few individual snowflakes from the new Sparkling Snowflake Frame and Trio die set using the white velvet from the Pawsitively Velvet cardstock pack. I arranged them on the blended tag, snipping off the overhanging edges. I love the texture that this creates on this simple tag! I added a “for you” greeting, customized by snipping off the “here” from the CZ Design Here For You die. I popped up the glittery greeting using some very thin strips of foam adheisve and added a simple white raffia loop to make for easy attachment to a gift!

Well, that’s all for my projects today! The Pawsitively Velvet cardstock adds such a luxurious textural element to your holiday projects, and so inexpensively. Love that! Thanks so much for stopping by today, and have a marvelous day!

Filed Under: simon says stamp Tagged With: christmas, christmas tag, etched berry branch, holiday, holiday tag, layered warbler, snowy greetings, sparkling snowflake frame and trio, warbler

Hero Arts November My Monthly Hero Blog Hop + Giveaway!

November 7, 2022

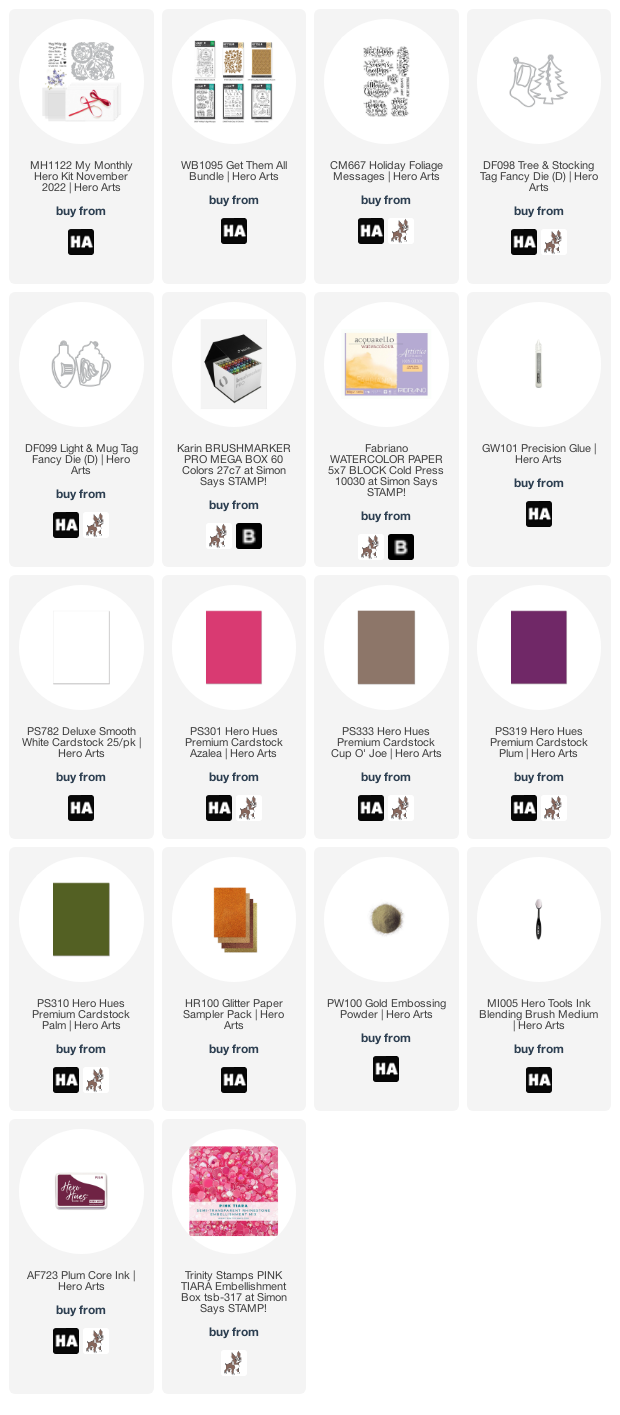
Hi there! The first Monday of the month means a brand new My Monthly Hero release from Hero Arts, and this month we have an absolutely scrumptious new die-centric kit that has so. many. options! You should have arrived here from Daniel and your next stop is Jessica! This month’s kit has such a marvelous array of dies to make your card- and tag-making super simple, and so many of these dies can be used beyond your holiday crafting! Here’s a peek at this month’s kit:

The November My Monthly Hero kit includes: 3″ x 4″ Clear Stamp Set, 31 Ornament-building Fancy Dies, 6 Sheets of Acetate Panels, 10 Sheets of Deluxe Smooth White Cardstock, 5.5″ x 8.5″, Scarlet Satin Ribbon, 1/4″ wide, 3 yds., Snowflake Sequins. The value for all of these items individually is $71, but the kit is yours for only $34.99! These kits frequently sell out quickly, so if you’re loving them as much as I do, you can always SUBSCRIBE to guarantee that you receive your kit each month. I have a card and tag duo today using the main kit, so let’s get started with the details!

My fellow Hero Arts Creative Team-mates totally have rocked the traditional holiday color schemes, so I thought I would throw a little twist into my projects with some hot pink!

My card project features several of the foliage die cuts from the main kit, but instead of using my beloved colored cardstock, I pulled out my Karin watercolor markers and added some watercolored goodness to the die cuts. I die cut all of the elements from some Fabriano Artistico Watercolor Paper, then used the Karin Brushmarker Pro markers and a damp paintbrush to add lots of vibrant color to the different images.

I heat embossed a greeting from the 3×4″ stamp set that is included in the main kit using gold embossing powder, then trimmed each piece out to create two different sentiment strips.

I adhered the main watercolored wreath portion to the Deluxe White card base using Precision Glue, then added the rest of the elements using foam adhesive for lots of dimension and texture. I added a few sparkly pink gems to add some festive holiday sparkle!

My second project using the November My Monthly Hero kit is a simple tag that I was able to throw together super quickly using several cardstock scraps that I found in my scrap box! I hate spending a ton of time on holiday tags, because they just get thrown away so quickly with the rest of the wrapping, so I was super excited at how quickly and prettily this came together! I cut the base from Hero Arts’s Azalea cardstock, then used a Blending Brush to lightly blend some Plum ink around the edge to give it a vintage feel and add some extra dimension. I added several of the same die cut elements from my holiday card, this time cut from colored cardstock! The combination of the Palm, Plum, Azalea, and Cup O’Joe creates such an unexpected but pretty color palette! This tag would surely stand out beautifully on a card front. I heat embossed a To: and From: from the main kit’s stamp set using white embossing powder, then added a simple white raffia loop to make a quick tag.

My next projects feature the beautiful new Holiday Foliage Messages stamp set paired with some of the new tag dies for some more quick and lovely tags to adorn your holiday gifts! I began by die cutting the new Stocking Fancy Die and the Light Fancy Die from some more watercolor paper. I then heat embossed greetings from the new Holiday Foliage Messages using gold embossing powder. I love how beautifully the details are picked up on the embossed greetings!

After I’d added the embossed greetings to the centers of my tags, I again used my Karin Brushmarker Pro markers and a damp paintbrush to add lots of vibrant pinky reds and plums to my tag die cuts. I die cut the topper for the holiday bulb from some gold glitter cardstock, then added it to my tag with some more liquid glue. I added simple white raffia loops to the top of each tag to make it easy to add them to gifts. I love how quickly these came together with the help of the beautiful, intricate greetings from the Holiday Foliage Messages!

Well, that’s all for these projects today! Now for some fun giveaway information:

Hero Arts is giving away a $50 gift card, drawn from the comments left across the hop. Enter by Sunday, November 13th at 11:59pm Pacific, and the winner will be announced on the Hero Arts blog the following week.

Your next stop is Jessica. You can check out the full hop list and more details about this month’s release on the Hero Arts Blog. Thanks so much for stopping by today, and happy hopping!

Filed Under: Hero Arts Tagged With: christmas, christmas card, christmas tag, holiday, karin brushmarker pro, my monthly hero, watercolor

My Monthly Hero November 2021 Release Blog Hop + Giveaway!

November 1, 2021

Hi there! Today, Hero Arts is celebrating their newest My Monthly Hero release with a blog hop! You should have arrived here from Debi Adams, and your next stop is Ilina Crouse. We have a darling new kit for you today, featuring some super fun standalone dies and some pattern stamps to make customizing tags and holiday cards even easier! Here’s a peek at the kit:

November is here and the holiday season is upon us! With our November My Monthly Hero kit, we have everything you need to create adorable handmade tags and/or gift toppers for all of your Christmas gift-giving. The dies in this kit are equally great for cards, scrapbook pages and even felt ornaments! We’ve included a stamp set with patterns to decorate the tag pieces, and plenty of holiday-themed messages, too. To round out the kit, we’ve included cardstock and glitter paper for die cutting your characters. White Puff Embossing Powder is fun for adding some dimensional texture, and our Lacquer Pen adds dimensional shine. And last but not least, there’s festive red & white twine for embellishing, or attaching your tags to gifts.

This month’s kit includes: 4″ x 6″ Clear Stamp Set, 13 Coordinating Fancy Dies, 10 Sheets of Snow Cardstock (5.5″ x 8.5″), 1 Sheet of White Glitter Paper (5.5″ x 8.5″), White Puff Embossing Powder (0.5 oz.), Lacquer Pen (0.5 oz.), Holiday Twine (1 yard). The contents of this kit are valued individually at $70, but the kit price is only $34.99!  If you love the Hero Arts My Monthly Hero kits, you can always  subscribe to ensure that you get your own kit every month. I have three projects to share with you today using both the kit and some of the add-ons, so let’s get started with the details!

My first two projects are made using the sweet dies from the main kit. These standalone dies are so iconic and graphic, and super simple to put together! I love that they even include the little tab at the top of the hats so that you can easily create gift tags or with a few snips of your scissors can create a sweet die cut for your holiday cards. I have used the dies to create a tag and a card, and I think they’re just darling!

For the card, I created a super graphic project using just the “details” of the Santa and Rudolph dies. I die cut the iconic beard, hat, and ears from colored and white cardstock, then used my Copic markers to add a few details (the red on Santa’s nose, some shading on Rudolph’s ears). I love that you don’t need to complete the face to know exactly who we’re representing with these characters!

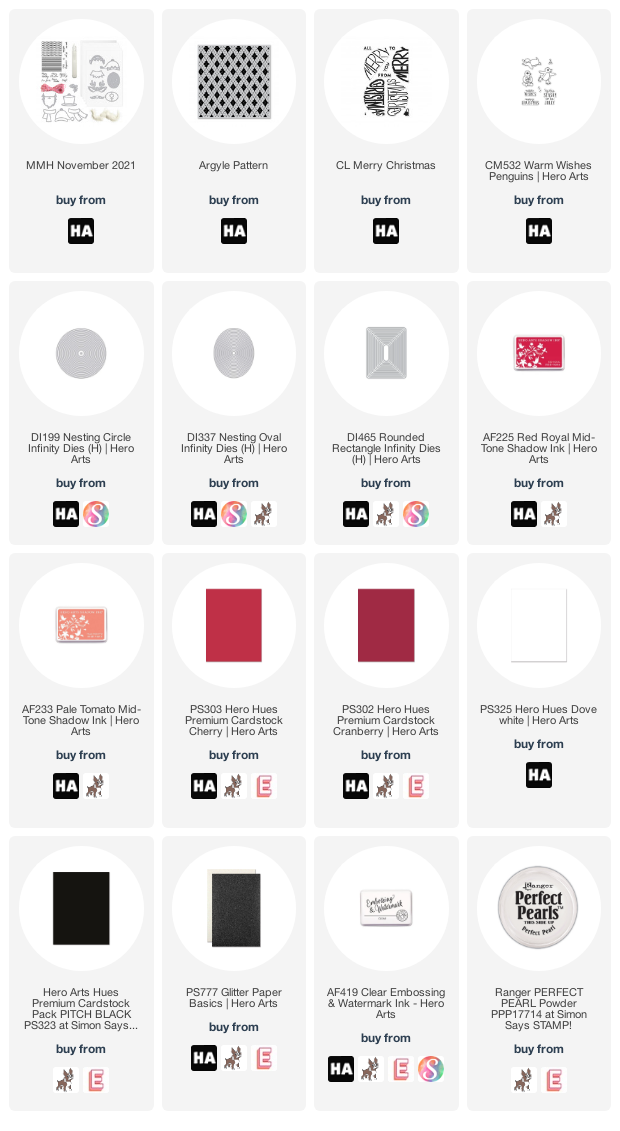
On the card base, I created a subtle, shimmery background so that my Santa and Rudolph would be the main focal points on the card. I stamped the new Argyle Pattern Bold Prints background stamp on some Arctic cardstockwith some Embossing Ink, then brushed Perfect Pearls over the sticky ink and spritzed it with water to set the shimmer powder and keep it from rubbing off. I love the super subtle, almost tone-on-tone effect that this has. Just adds a little bit of interest to the background and lets the die cuts stand out! I mounted the My Monthly Hero die cuts on the patterned card base using foam adhesive, then added a greeting from Warm Wishes Penguins that I heat embossed on some more Arctic cardstock using red embossing powder. Finally, I added a red iridescent gem for Rudolph’s nose! I love minimalistic holiday cards that have just enough detail to fancy them up a bit!

My second project uses the snowman dies from the My Monthly Hero kit to create this sweet gift tag! I die cut all of the components for the tag, including a glittery hat band, red scarf, and green holly to adorn the top hat, from some white and colored cardstock. I die cut two eyes from some black cardstock and adhered them to the snowman, rather than using the included die to cut the negative space and back the cardstock. Doing it this way allowed me to leave space for a carrot nose, cut from a sliver of orange cardstock and adhered to the center of the white oval! I also added a few flicks of Copic marker to the scarf to add some shadow and some red gems to the holly leaves on his hat. Frosty is very festive!

To create the tag portion of the project, I die cut a small oval using the Oval Infinity Dies, making sure that the top of my oval die was hanging over the edge of a folded piece of cardstock. This allowed me to create a perfectly shaped tag/tiny shaped card! I stamped the to/from (included in the stamp set in the My Monthly Hero kit), adhered the snowman die cuts to the front, and added a twine loop to easily hang it on the gift.

My second project features the new Color Layering Merry Christmas stamp set. This set is so much fun. The font is so quirky, but still classic, and the layers are super easy to line up. I began by stamping the layers using Pale Tomato and Red Royal inks, then die cutting the finished image using the Circle Infinity Dies.

In keeping with the graphic feel of the Merry Christmas sentiment, I used some strips of Cherry, Cranberry, and Dove White cardstock to create a striped background, which I then die cut using the Rounded Rectangle Infinity Dies. I adhered the die cut striped panel to a full A2 panel of white glitter paper from the Glitter Basics pack, then adhered the sentiment die cut using foam adhesive.

Well, that’s all for my projects today! To celebrate this release, Hero Arts is hosting a giveaway:
We will give away ALL OF THE NOVEMBER ADD-ON PRODUCTS, drawn from the comments left across the hop. Enter by Sunday, November 7th at 11:59pm Pacific, and the winner will be announced on the Hero Arts blog the following week.

Your next stop on the hop is Ilina Crouse. Thanks so much for stopping by today, and happy hopping!

Filed Under: Hero Arts Tagged With: christmas card, christmas tag, holiday card, my monthly hero

  • « Go to Previous Page
  • Page 1
  • Interim pages omitted …
  • Page 3
  • Page 4
  • Page 5
  • Page 6
  • Page 7
  • Go to Next Page »

Primary Sidebar

  • Facebook
  • Instagram
  • Pinterest
  • YouTube

Favorite Shops

Secondary Sidebar

Subscribe

Enter your email address to subscribe to this blog and receive notifications of new posts by email.

Instagram
Something is wrong.
Instagram token error.
Follow
Load More

Archives

Tags

3D embossing folder alcohol markers better press birthday birthday card blog hop card kit christmas christmas card christmas tag colored pencil copic copic coloring Daniel Smith die cutting embossing folder embroidery felt giveaway holiday holiday card hot foil ink blending karin brushmarker pro layered stencil masculine my monthly hero new release no line coloring no line watercolor OLO marker olo markers original illustration pawsitively saturated rainbow shaker card slimline stamping stamptember stencil thank you thinking of you valentine's day video watercolor

Popular Posts

More Frozen Fractals with Simon Says Stamp!
Pinkfresh Studio Inspiration Challenge-January 2023!
Simon Says Stamp Joy For You Release-Now Available!
Simon Says Stamp STAMPtember Blog Party!
Gorgeous Sunflowers from Simon Says Stamp Every Happiness Release!!
2018 Autism Awareness Hop!
Simon Says Stamp Joy For You Blog Hop- Day 1!
Pinkfresh Studio 5th Birthday!
Simon Says Stamp December 2026 Card Kit of the Month: Frosted Botanical!
Essentials By Ellen September Blog Hop!

Disclosure

Some affiliate links are used in my posts. This means that, should you click on one of my links and purchase something from that company, I will receive a small portion of the sale at no extra cost to you. I use the money earned from these sales to help maintain my blog. I so appreciate you visiting and, if you do choose to use one of my affiliate links, thank you so much for your support!
Copyright © 2026 ·Brunch Pro Theme · Genesis Framework by StudioPress · WordPress · Log in
Loading Comments...