• Skip to main content
  • Skip to primary sidebar
  • Skip to secondary sidebar

Sixth Street Sundries

Emily Midgett

  • Home
  • About Me
  • Contact
  • OLO Marker Color Swatch Chart
  • Shop

chunky a2 scallop rectangles

Here’s to What’s Next, Grad x2 with Simon Says Stamp!

June 12, 2026

Hi friends! Graduation season is starting to wind down here, and so I thought I’d share some fun options for graduation cards that are not only quick to create but easily customizable to fit your school’s colors! Our school colors are maroon, silver, and white, and so I pulled out several different options of colored and specialty cardstock from my stash to create this pair of projects perfect for a graduate. Let’s get started with the details!

The key component for both of these is the Grad Cover Plate, which is an older cover plate die but so classy and timeless that it works beautifully for guys and gals! I used this die as the focal point to create a simple flat shaker card as well as a more involved paper inlaid card with a little blending and lots of bling.

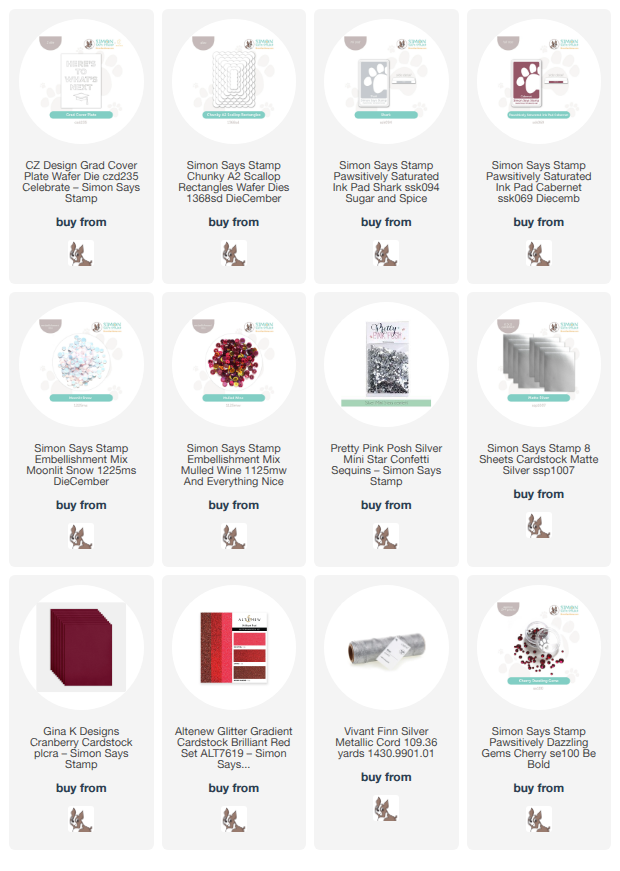
For the flat shaker, I began by die cutting the Grad Cover Plate from some brushed silver cardstock, reserving the inner pieces of the letter R, O, and A. I trimmed down a piece of maroon cardstock to A2 sized, then created a flat shaker pocket with some leftover stamp packaging and Tear-rifically Tacky Tape. I filled the shaker pouch with Moonlit Snow and Mulled Wine Embellishment Mixes, as well as some silver star sequins, creating a beautiful shaker mixture that coordinates perfectly with the colors of the card! Once I had sealed up the shaker pouch, I adhered the silver cover plate die cut to the front of the shaker with liquid adhesive and added the entire panel to an A2 card front. Super clean and perfectly festive for a graduating student, not to mention easy to customize to the proper school colors!

My second card is a bit more involved. I began by die cutting the main focal point cover plate from that same deep maroon cardstock. I cut down a panel of white cardstock to the same dimensions as the cover plate die cut, then used blending brushes to lightly blend Shark and Cabernet Pawsitively Saturated Ink at the top and bottom of the panel, allowing the blended sections to peek out behind the die cut letters when placed behind it! I also cut the graduation cap using some deep maroon glitter cardstock and inlaid these glittery pieces within the negative space of the main die cut, adding a tiny silver bow for a bit of extra texture. I adhered this panel to a silver Chunky A2 Scallop Rectangles die cut, creating a pretty frame around the main focal point. This was popped up on a full size A2 panel of the same maroon cardstock, adding one final layer of cardstock. The final touch was a ton of gorgeous and sparkling Cherry Pawsitively Dazzling Gems! This card has several more elements to it, and is quite a bit heavier than the previous card, so definitely one to deliver by hand, perhaps at a graduation party!

Well, that’s all for my projects today! It’s always smart to have a few graduation card ideas in your back pocket, right? Our kiddos aren’t at that age for graduation yet, but I foresee having lots of these on hand to give out in about 5 years! (I don’t even want to think about my big kids actually graduating yet, so in my head these are for their friends, ha!) Thanks so much for stopping by today, and have a marvelous day!
Filed Under: simon says stamp, Uncategorized Tagged With: chunky A2 scallop, chunky a2 scallop rectangles, die cutting, Grad Cover Plate, graduate, graduation, ink blending, shaker card

Holiday Fun with Felt-Day 3: Holly Berries!

December 10, 2025

This post was sponsored by Simon Says Stamp. Thanks, Simon!

Hi friends! I am back with another installment of my Holiday Fun With Felt series, this time finishing off my trio of pillow ornaments using several of the new stitching dies from the Simon Says Stamp DieCember release! (Check out the full DieCember releaseĀ HERE!) As soon as I saw the stitching dies, I knew that I wanted to create a little coordinating ornament suite, because as much as I love kitschy, eclectic Christmas trees, I also love a beautifully curated themed tree! (We actually have one of each-a family tree with colorful lights and popsicle stick ornaments, and one sparkling, crystalline white tree with pearls and white velvet!) Let’s get started on the details for the last of my stitching die ornaments!

*I have gathered links to all of the products used at the bottom of the post for your convenience, using affiliate links at no extra cost to you. Thank you for shopping with my links! I truly appreciate your support for my work!*

To begin, I die cut one of the smaller Chunky A2 Scallop Rectangles twice from some pale blue felt. These scalloped rectangle dies are not technically intended for felt crafts, but I have found that basically all of the dies that we use for papercrafting can be used for felt, as well! It makes for such versatility and can be such a lovely creative palate cleanser from paper to work with felt, thread, and needle.

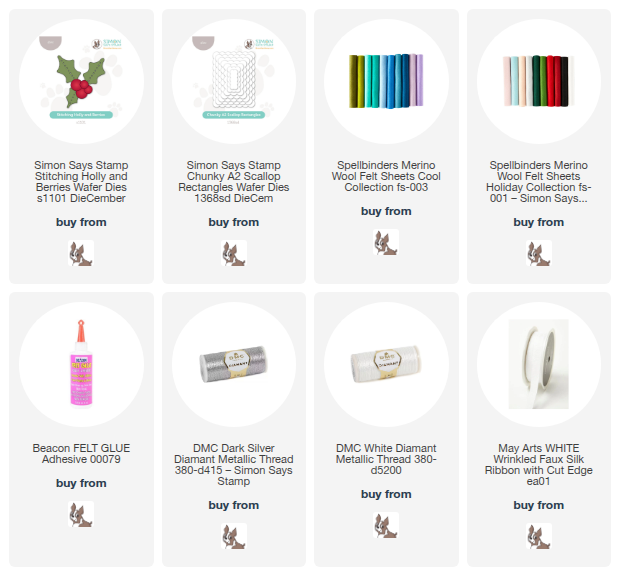
Before stitching the two scalloped rectangles together, I used felt glue and thread to add the new Stitching Holly & Berries die cuts to one of the rectangles, adding embellishments with seed beads and silver thread. I stitched up the scalloped rectangles with coordinating pale blue thread, adding some silky white ribbon to create the hanger for my ornament.

Here are all three of the ornaments together, and I just think they look so sweet as a group! I love creating coordinating, but not necessarily matching, decor. It’s super easy to create cohesive sets by keeping the color palette simple and consistent throughout each individual project. These can easily be customized to fit your own holiday color palette, as well!

Here they are on my super skinny craft room Christmas tree. Don’t they look so cute together?

Well, that’s all for my trio of felt ornaments! I have been felting up a storm, though, and have some more projects to share with you that combine tons of different companies. Those projects combine dies that are not created specifically for stitching, and I am so excited to share the versatility! Thanks so much for stopping by today, and have a marvelous day!

Filed Under: simon says stamp Tagged With: christmas, chunky a2 scallop rectangles, die cutting, diecember, felt, holiday, ornament, stitching, stitching holly and berries

Holiday Fun with Felt Week- Day 2: Snowman with Simon Says Stamp!

December 9, 2025

This post was sponsored by Simon Says Stamp. Thanks, Simon!

Hi friends! I am back again with another stitching project using some of the darling new stitching dies from Simon Says Stamp’s DieCember release (Check out the full DieCember releaseĀ HERE!) during my Holiday Fun with Felt Week! I love the ease of these stitching dies; the holes are punched for you, and the die sets come with everything you need to create the sweetest little snowman friends. I added another scalloped pillow ornament to my collection with today’s project, so let’s get started with the details!

*I have gathered links to all of the products used at the bottom of the post for your convenience, using affiliate links at no extra cost to you. Thank you for shopping with my links! I truly appreciate your support for my work!*

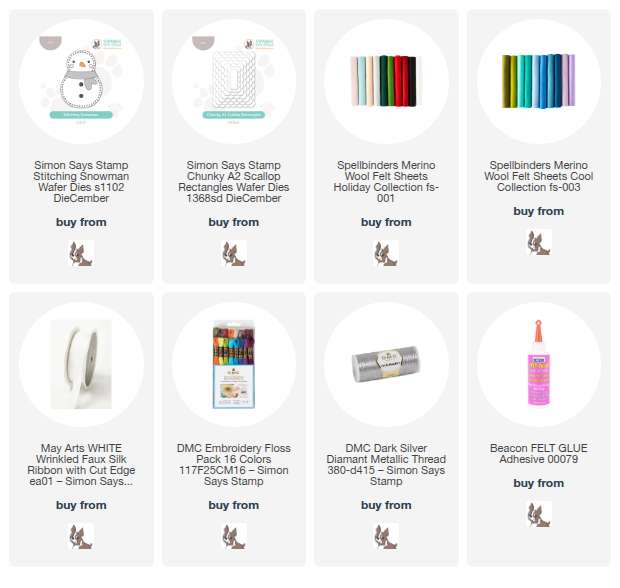
As I shared in THIS post, I die cut the new Chunky A2 Scallop Rectangles twice from some pale blue felt. Before stitching them together, however, I die cut one of the new Stitching Snowman dies from white felt and stitched him onto one of the scalloped rectangles with some iridescent white embroidery thread from my stash. I also used felt glue to adhere the scarf, coal eyes and buttons, and carrot nose, placing them beneath a heavy glass paperweight to dry.

After the felt glue had dried completely, I added some snowy details behind my snowman with seed beads and iridescent white embroidery thread, but silver would be super pretty too! I think those little extra details make it super special!

Once I had finished all of the details, I used the same shade of pale blue thread to stitch the two scalloped rectangles together, filling the pillow with some polyfill before sealing it up and adding some white ribbon for a hanger. It’s just so darn cute hanging on a tree, don’t you think?

Well, that’s all for my felt project for today! How sweet would this be to give as a gift set or to add as a little decoration on a gift bag? Love the ease of these stitching dies! Thanks so much for stopping by today, and have a marvelous day!

Filed Under: simon says stamp Tagged With: christmas, chunky a2 scallop rectangles, diecember, felt, holiday, ornament, sewing, stitching, stitching snowman

Holiday Fun with Felt Christmas Week- Day 1: Mittens with New Simon Says Stamp!

December 8, 2025

This post was sponsored by Simon Says Stamp. Thanks, Simon!

Hi friends! In between paper crafting and blogging, I have been up to my eyeballs in holiday felt projects. I discovered the joy that felt and embroidery brings me last year, and I haven’t looked back! There’s something so satisfying about creating something tangible with felt and beads and embroidery, something that will hopefully be cherished by the recipient for more than a few weeks. Today, I am starting off a week of Fun with Felt projects using one of the darling new stitching dies that Simon Says Stamp released for DieCember: the Stitching Mitten! (Check out the full DieCember release HERE!) I created a trio of coordinating fluffy pillow ornaments using the new stitching dies (which you can purchase individually or in a bundle-love having options!), and today we’re starting off Fun with Felt Week with the sweet mittens. Let’s get started with the details!

*I have gathered links to all of the products used at the bottom of the post for your convenience, using affiliate links at no extra cost to you. Thank you for shopping with my links! I truly appreciate your support for my work!*

I love blue for Christmas; my first tree after my husband and I got married was an homage to our wedding colors, with Delft blue and white with lots of sparkles. It was so elegant and put to good use the blue Christmas lights that we’d purchased for wedding decor, ha! (Waste not, want not, right?) Blue and white has always had a special place in my heart because of our wedding, so I am always happy to use my favorite color palette to create pretty holiday decor. I used the Stitching Mitten die both on it’s own and paired with the new Chunky A2 Scallop Rectangles to create a pretty pair of ornaments to bedeck our tree!

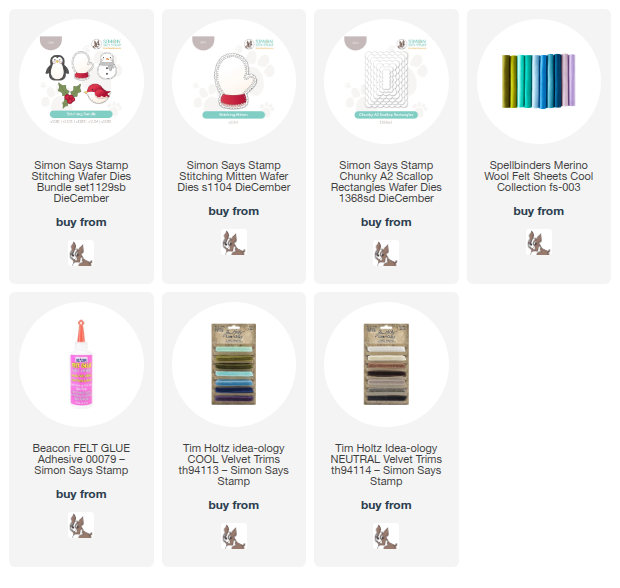
To begin my pillow ornament, I die cut two Chunky A2 Scallop Rectangles large enough to fit my mitten from pale blue felt. I also die cut each layer of the Stitching Mitten and assembled with needle and thread before doing some freehand embellishment. I love adding simple snowflakes with both sparkling embroidery floss as well as seed beads and bugle beads. The beads add the perfect amount of sparkle, I think, as well as additional texture and general elegance! Once I had finished embellishing my mitten, I used felt glue to adhere it to one layer of the A2 Scallop Rectangles and placed it under some heavy paperweights to ensure that it dried evenly and securely. Once it had dried completely, I used tone-on-tone blue thread to stitch around the edge of the scalloped rectangles and filled it with some polyfill to create a little pillow, stitching some ribbon at the top to create my hanger. It’s just so cute!!

My second ornament features the new Stitching Mitten die on it’s own, cutting two layers of each element and stitching them together to allow that lovely scalloped shadow to “frame” the blue mitten. I again encrusted the front of my mitten with some sweet and sparkling beaded snowflakes, which I think adds just a tiny touch of icy elegance!

Once I had finished embellishing the front of my mitten, it was time to put both sections together and fill with polyfill. I thought you might like to see the back of the ornament; the running stitch that I used to neatly connect each of the pierced holes on the front looks not quite as neat and tidy in the back, but not too bad! I added a Tim Holtz Velvet Trim bow and loop to the top of my finished mitten to make for easy hanging on the tree.

Here are the two mitten ornaments together on my craft room tree and I just love how homey and yet elegant they are! The new Stitching Dies from Simon Says Stamp make for such quick and easy felt gifts that are truly made with love and can be saved to use over and over again. Handmade memories that can be customized in so many fabulous ways!!!

Well, that is all for my projects today for my first installment of Fun With Felt: Christmas Week! I can’t get enough of working with felt, and if you haven’t tried it out yet, I highly encourage you to do so. You can use so many of your papercrafting dies to create fun felt projects. I can’t wait to share more of what I’ve created! Thanks so much for stopping by today, and have a marvelous day!

Filed Under: simon says stamp Tagged With: chunky a2 scallop rectangles, embroidery, felt, ornament, stitching dies

Primary Sidebar

  • Facebook
  • Instagram
  • Pinterest
  • YouTube

Favorite Shops

Secondary Sidebar

Subscribe

Enter your email address to subscribe to this blog and receive notifications of new posts by email.

Instagram
Something is wrong.
Instagram token error.
Follow
Load More

Archives

Tags

3D embossing folder alcohol markers better press birthday birthday card blog hop card kit christmas christmas card christmas tag colored pencil copic copic coloring Daniel Smith die cutting embossing folder embroidery felt giveaway holiday holiday card hot foil ink blending karin brushmarker pro layered stencil masculine my monthly hero new release no line coloring no line watercolor OLO marker olo markers original illustration pawsitively saturated rainbow shaker card slimline stamping stamptember stencil thank you thinking of you valentine's day video watercolor

Popular Posts

Simon Says Stamp Sending Cheer Blog Hop- Day 2 + Freebie + Giveaway!
Altenew October 2026 Release Blog Hop + Giveaway!
Rustic Monochromatic Stars for Christmas with Rainbow Splash!
December 2018 My Monthly Hero Blog Hop + Giveaway!
March 2020 Essentials By Ellen Blog Hop+Giveaway!
The Ton Stamps Summer Release: Day 1
Hero Arts Partners Blog Hop: Lawn Fawn!
Waffleflower July Release Blog Hop!
Simon Says Stamp STAMPtember Tim Holtz Collaboration: Festive Holidays!
Honey Bee Stamps Autumn Blessings Blog Hop-Day 2!

Disclosure

Some affiliate links are used in my posts. This means that, should you click on one of my links and purchase something from that company, I will receive a small portion of the sale at no extra cost to you. I use the money earned from these sales to help maintain my blog. I so appreciate you visiting and, if you do choose to use one of my affiliate links, thank you so much for your support!
Copyright © 2026 ·Brunch Pro Theme · Genesis Framework by StudioPress · WordPress · Log in
Loading Comments...