• Skip to main content
  • Skip to primary sidebar
  • Skip to secondary sidebar

Sixth Street Sundries

Emily Midgett

  • Home
  • About Me
  • Contact
  • OLO Marker Color Swatch Chart
  • Shop

chunky ovals

Love and Butterflies With Simon Says Stamp!

August 28, 2026

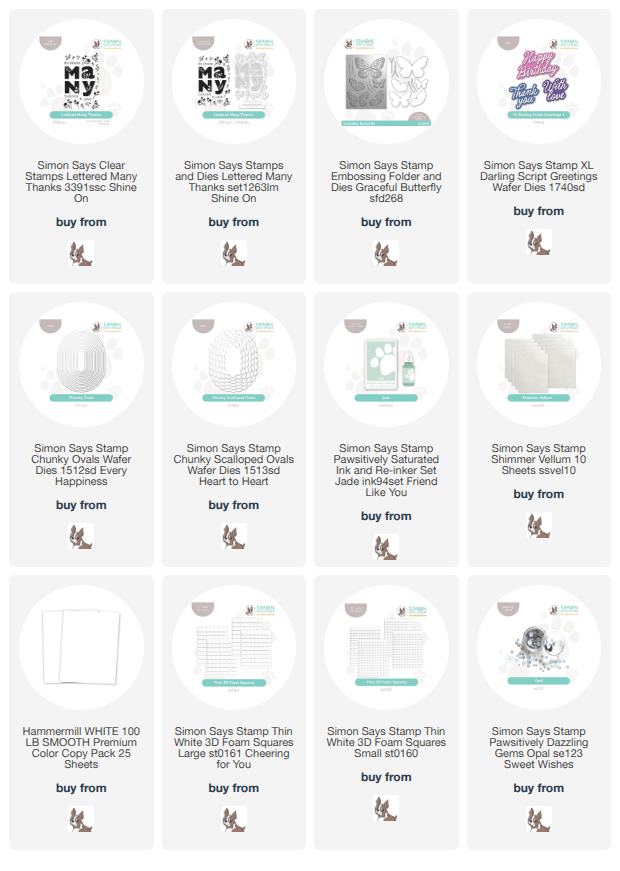
This post was sponsored by Simon Says Stamp. Thanks, Simon! *I have gathered links to all of the products used at the bottom of the post for your convenience, using affiliate links at no extra cost to you. Thank you for shopping with my links! I truly appreciate your support for my work!*

Hi friends! I am back with a soft, ethereal, and utterly feminine project to share with you today using up a few leftovers and some little “extras” from a Simon Says Stamp sentiment set that I chose to use as the imagery for an entire card! I love this soft color palette, with it’s pale minty green and shimmering vellum butterflies lending just a touch the subtlest rainbow shimmer. Let’s get started with the details on my project!

This card started out very differently than it ended up, but I am absolutely okay with it! I intended to use the large-scale sentiment from the Lettered Many Thanks, but I ended up using only the floral sprigs, stamped on the edges of a white A2 card front using Jade Pawsitively Saturated Ink. When building patterns like this, I like to start with the largest image, rotating both the stamp and the cardstock with each subsequent stamp so that I can make the pattern look as professional and continuous as possible. After stamping the largest images, I stamp the next largest, again rotating the stamp and cardstock, repeating the process down to the smallest stamp to fill in any holes left in the pattern. After I had stamped my background pattern, I also stamped lots of little sprigs on a separate piece of cardstock and used the coordinating dies to cut them out.

To cover the empty center of my stamped card front, I die cut two different ovals using the new Chunky Ovals and Chunky Scalloped Ovals. I love the unique shape of these ovals; they are slightly elongated, with straight sides, making them really eye-catching and unusual! They layer so beautifully, with the scallopes from the Chunky Scalloped Ovals just peeking out from behind the solid oval and creating a soft, feminine ground for our focal point. I placed the solid oval in the center of the scalloped oval and adhered it using thin foam adhesive squares, then placed it in the center of my stamped card front and adhered it with liquid adhesive.

Once I had adhered the ovals to the card front, I pulled out some leftover shimmer vellum butterflies from the Graceful Butterfly Embossing Folder Set and die cut the “with love” from XL Darling Script Greetings three times: once from minty green shimmer cardstock and twice from scrap white cardstock. I adhered all of the sentiment die cuts together to create extra dimension and placed it in the center of the solid oval with liquid adhesive. I arranged the butterflies and minty sprig die cuts around the sentiment, creating a visual cascade from the top right to the bottom left of my card. Finally, I added some Opal Pawsitively Dazzling Gems for a touch of added sparkle!

Well, that’s all for my project today. My über-feminine inner girlypop is in love with the softness and delicacy of this card. Those vellum butterflies look like they could just fly off of the card!! Thanks so much for stopping by today, and have a marvelous day!
Filed Under: simon says stamp Tagged With: butterflies, chunky ovals, chunky scalloped ovals, darling script greetings, encouragement card, Lettered Many Thanks, sympathy card, thinking of you, xl darling script greetings

Sunflower Swags with New Simon Says Stamp!

August 5, 2026

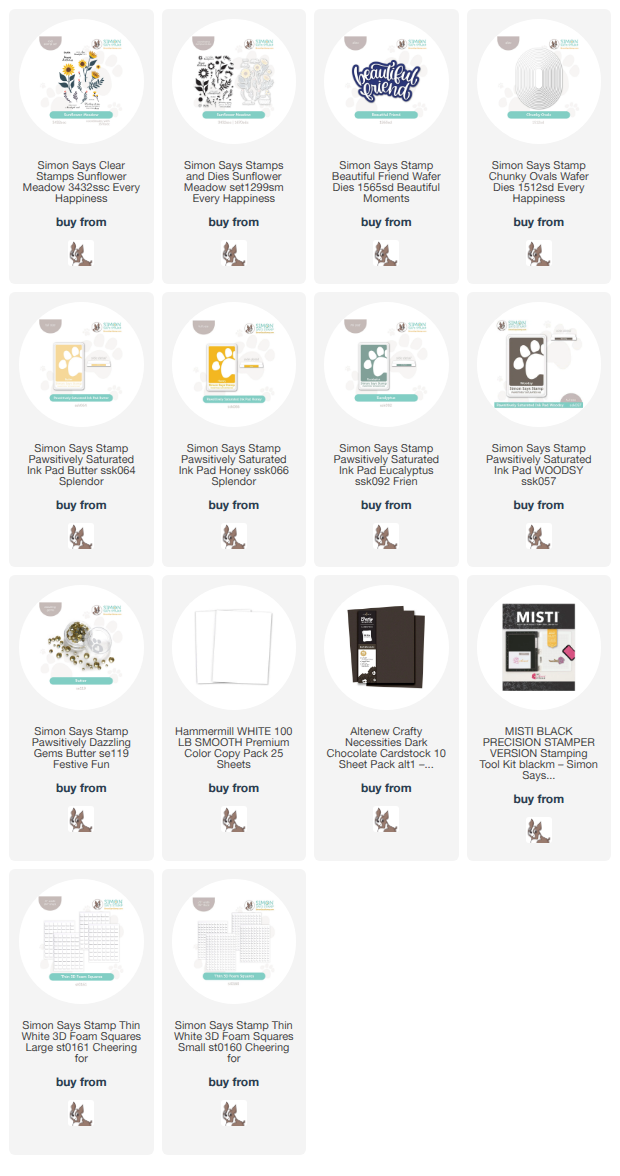
This post was sponsored by Simon Says Stamp. Thanks, Simon! *I have gathered links to all of the products used at the bottom of the post for your convenience, using affiliate links at no extra cost to you. Thank you for shopping with my links! I truly appreciate your support for my work!*

Hi friends! I am back with another sunflower project, this time using a brand new floral set from the Simon Says Stamp Every Happiness release! (click HERE to check out the entire release!) Solid stamped images sometimes are a little tricky for me, creatively, but the simplicity of these images works beautifully with a clean and simple style, and the abundance of individual flowers, foliage, and small bouquet arrangements made it super fun to create a gorgeous and unique card. I kept this project clean and crisp, with plenty of white space and pops of pretty yellow, topped off with a contrasting custom sentiment. Let’s get started with the details!

To begin, I die cut all of the images included with the Sunflower Meadow product suite. I find that die cutting *before* stamping pre-designed bouquets helps me to get the placement just right within my MISTI. To do this, I die cut all of the images from one panel of cardstock, then remove the positive die cuts and place that leftover negative piece inside my MISTI. I then place the stamps in their coordinating opening, which gives me an opportunity to have perfect placement in the center of each opening. I then replace the positive die cuts and stamp as normal!

For all of these images, I used Pawsitively Saturated Inks in shades of Butter, Honey, Eucalyptus, & Woodsy. I used the “stamping off” technique to achieve multiple levels of intensity with the Woodsy ink, using a piece of scrap paper to take off the first layer of ink before stamping on the actual die cut itself for the center of each flower. This allows me to use one shade of ink for two different stamps to achieve definition between the layers! After I had stamped all of the images, I set them aside to work on the greeting.

I used Woodsy ink at full intensity to stamp a greeting from Sunflower Meadow and die cut it with the coordinating die. I also die cut only the “friend” standalone die cut word from the Beautiful Friend die set, cutting it three times from some deep chocolate brown cardstock. I layered the die cuts together to create a dimensional die cut greeting, which paired beautifully with the message on the stamped sentiment. I arranged the flowers and sentiment on a large Chunky Ovals die cut, using the shape of the unique, elongated oval as a guide for my floral swag. I tucked the greeting amongst the blank space on the oval and then added a few leftover blooms and sprigs of greenery beneath it, adhering everythign with liquid and foam adhesive. Finally, I added several Butter Pawsitively Dazzling Gems for additional sparkle!

Well, that’s all for my project today! While not traditionally “clean and simple,” I think the clean white spaces and crisp stamped die cuts are so clean and elegant. I just love a well-designed, simple stamp set! Thanks so much for stopping by today, and have a marvelous day!

Filed Under: simon says stamp Tagged With: beautiful friend, chunky ovals, die cutting, misti, stamping, sunflower, sunflower meadow

Primary Sidebar

  • Facebook
  • Instagram
  • Pinterest
  • YouTube

Favorite Shops

Secondary Sidebar

Subscribe

Enter your email address to subscribe to this blog and receive notifications of new posts by email.

Instagram
Something is wrong.
Instagram token error.
Follow
Load More

Archives

Tags

3D embossing folder alcohol markers better press birthday birthday card blog hop card kit christmas christmas card christmas tag colored pencil copic copic coloring Daniel Smith die cutting embossing folder embroidery felt giveaway holiday holiday card hot foil ink blending karin brushmarker pro layered stencil masculine my monthly hero new release no line coloring no line watercolor OLO marker olo markers original illustration pawsitively saturated rainbow shaker card slimline stamping stamptember stencil thank you thinking of you valentine's day video watercolor

Popular Posts

Shaped Holiday Shaker Card with New Simon Says Stamp Jolly Season Card Kit of the Month!
Simon Says Stamp Card Kit November 2026: Jolly Season!
More Inspiration Using the Warm Hearts Christmas Card Kit for Simon Says Stamp!
Altenew Whimsical Wonder Stamps/Dies/Stencils/Embossing Folders Collection Release Blog Hop + Giveaway
Hero Arts Partners Blog Hop: Lawn Fawn!
Simon Says Stamp Sending Cheer Blog Hop- Day 2 + Freebie + Giveaway!
Altenew 9th Anniversary Blog Hop Day 1 + Giveaway (over $2,200 in Total Prizes)
Pinkfresh Studio Create & Connect: Holiday!
Altenew March 2020 Release Blog Hop+Giveaway!
Tonic Studios Garden Party Blog Hop!

Disclosure

Some affiliate links are used in my posts. This means that, should you click on one of my links and purchase something from that company, I will receive a small portion of the sale at no extra cost to you. I use the money earned from these sales to help maintain my blog. I so appreciate you visiting and, if you do choose to use one of my affiliate links, thank you so much for your support!
Copyright © 2026 ·Brunch Pro Theme · Genesis Framework by StudioPress · WordPress · Log in
Loading Comments...