• Skip to main content
  • Skip to primary sidebar
  • Skip to secondary sidebar

Sixth Street Sundries

Emily Midgett

  • Home
  • About Me
  • Contact
  • OLO Marker Color Swatch Chart
  • Shop

colored cardstock

Simon Says Stamp Exclusive STAMPtember Collaboration: Concord & 9th!

September 19, 2026

Hi friends! I am back today with another absolutely fantastic, highly-anticipated collaboration set reveal from crafty superstar Concord & 9th! Concord & 9th continues to wow the crafty community with each release, creating innovative and bold designs and exquisitely curated color products. This STAMPtember collaboration release (click HERE to check it out!) is a perfect representative of their bold style, allowing us tons of creative options. Here’s a sneak peek:

This exclusive, limited edition Incredibly Grateful collaboration stamp set and coordinating dies are gorgeously bold, with tons of options for customization. I chose to put that spectacular colored cardstock from Concord & 9th to good use and created a pair of coordinating-but-not-matching projects that are a colorful homage to the end of summer. Let’s get started with the details on my projects!

In order to create the vibrant stamped colors on both of these vividly colored cardstocks, I had to use a secret weapon: white pigment ink. I’ve shared projects of this nature before, and I am super stoked about how beautifully these came out. The theory is basically this: the white pigment ink stamped first creates a barrier between the colored dye ink sinking down into the cardstock. It goes back to the color mixing that you learned in grade school, in which red + green = brown, yellow + blue = green, blue + red = purple, etc. The same holds true for colored cardstock and ink. Stamping these colors, particularly the yellow and green, on these vibrant pinks would simply create mud or not be visible at all, but with that first layer of white pigment ink, you can create a barrier to prevent those transparent dye inks from sinking down into the cardstock and losing their vibrancy!

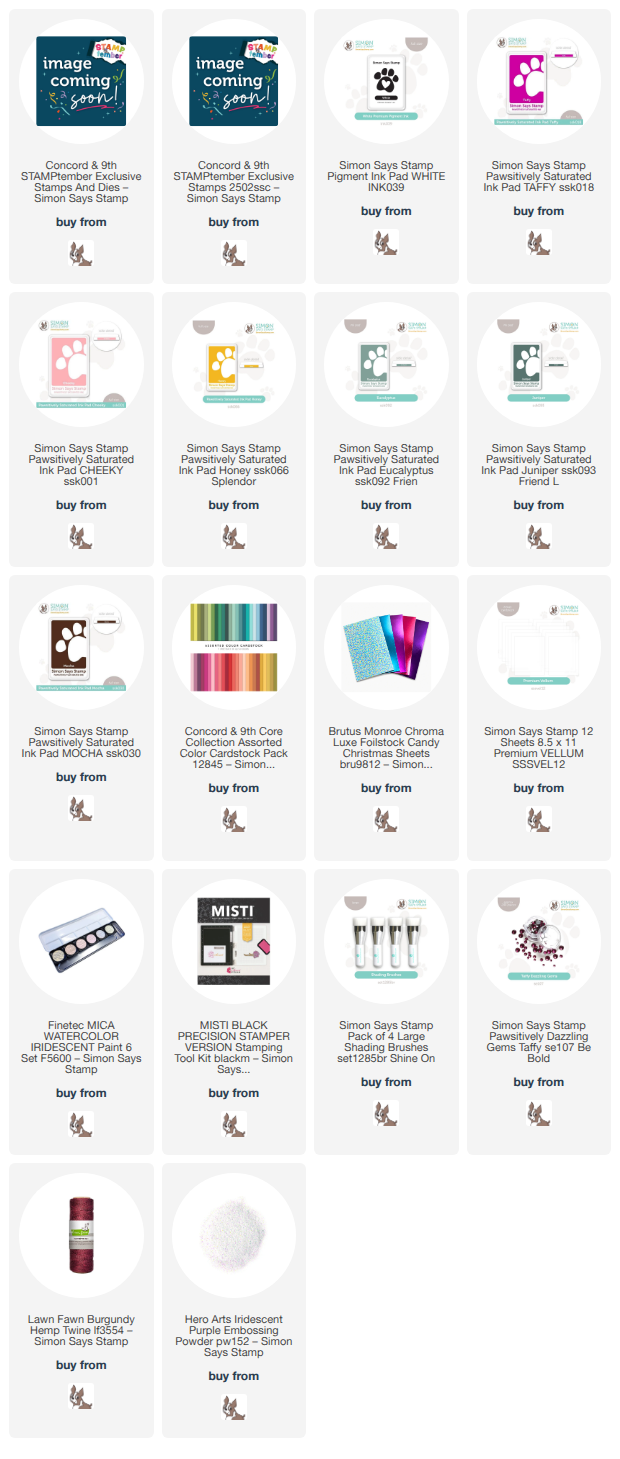
To begin my first card, I placed my A2 panel of vivid mid-pink cardstock in my MISTI and began stamping the scalloped rectangle background from Incredibly Grateful with Simon Says Stamp White Pigment Ink. The MISTI is very important for this technique, unless you are an excellent re-stamper! I then stamped the same image again directly over the top of the white rectangle with Mocha Pawsitively Saturated Ink. I repeated this process with each subsequent image, filling in all of the openings with their appropriate images and stamping each first with white pigment ink to create that barrier. I then used Pawsitively Saturated Inks in shades of Taffy, Cheeky, Honey, Eucalyptus, and Juniper to stamp all of the images. I think my favorite color on this bright medium pink cardstock is the sunny yellow! That particular color would simply have darkened the pink cardstock without that white barrier, but with it, it remains vivid.

After I had finished stamping the card front, I decided to also stamp an extra Taffy flower on a separate piece of the same mid-pink cardstock, again using the white pigment ink as the first layer. I used scissors to fussy cut the image. I used some vibrant magenta foil cardstock and vellum to die cut the pretty “thankful for you” sentiment die set. I love that there are so many additional options included with the coordinating dies… so much value in this stamp and die combo! I popped up the sentiment and the extra flower with some thin foam adhesive squares, then added some Taffy Pawsitively Dazzling Gems for a little sparkle and a deep maroon twine bow for texture!

My second card uses the individual flower and foliage images from Incredibly Grateful to create a little bouquet without the adorable scalloped frame. I love that there are so many creative options with this set. I used the same technique as above, stamping the white pigment barrier first and then stamping again directly over the top with the colorful dye inks. This time, I used a darker shade of pink cardstock, almost a magenta, and that really helped those lighter-colored dye inks to pop! After I had stamped all of the images, I used a blending brush to blend Taffy ink in the top corner of my stamped card, adding some sparkling splatters in the blended area. I think it looks like raindrops!

For the greeting, I used some more of the incredible dies to die cut embossed sentiments, creating a fabulous custom sentiment. You have tons of options for greetings with the Incredibly Grateful set!! I stamped both greetings with white pigment ink (an homage to white pigment ink today!) and added iridescent embossing powder over the top to make those crisp letters pop! A few Taffy Pawsitively Dazzling Gems and another maroon twine bow finishes everything off. Both of these cards would be fairly flat and easy to mail!

Well, that’s all for me today!

Important note: these fabulous and exclusive STAMPtember collaboration sets are limited edition, meaning that once they sell out, they won’t be restocked. Don’t wait on these! You won’t want to miss out! Click HERE to see all of the remaining STAMPtember collaboration sets, and if there’s a company coming up that is a favorite of yours, be sure to add your email to the “notify me” box so that you know as soon as it’s available!

Thanks so much for stopping by today, and happy STAMPtember!!
Filed Under: Concord and 9th, simon says stamp, Uncategorized Tagged With: colored cardstock, incredibly grateful, ink blending, stamptember, thank you card, white pigment

Ombré Groovy Flowers with New Simon Says Stamp!

August 5, 2025

This post was sponsored by Simon Says Stamp. Thanks, Simon!

Hi friends! I am back with another blue-tiful project today using goodies from the new Simon Says Stamp Happy Camper release! I was inspired by the colors that I used for THIS project to create a blue ombré floral cascade as a background for my project. I pulled out a bunch of blue cardstock, some gorgeous mirror foil cardstock, and some exquisite navy blue glitter cardstock to create this unique background. Let’s get started with the details on my project!

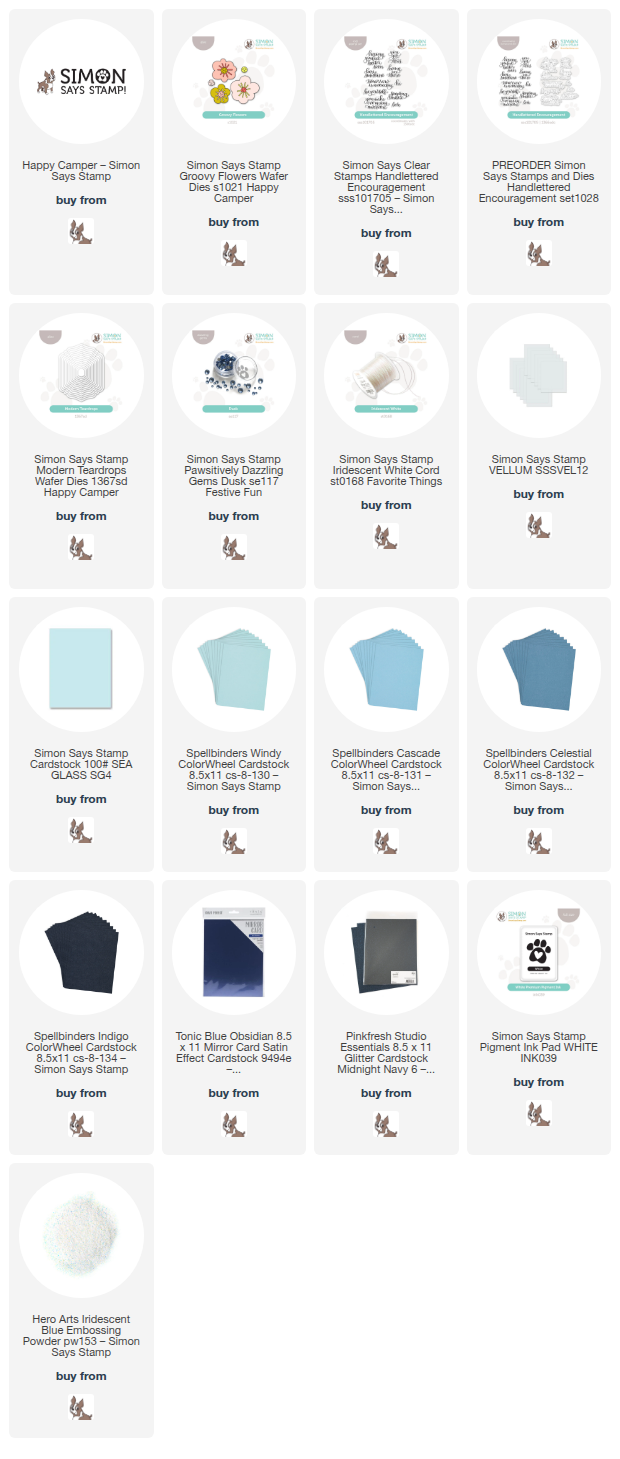
*I have gathered links to all of the products used at the bottom of the post for your convenience, using affiliate links. Thank you for shopping with my links! I truly appreciate your support for my work!*

I began my project by selecting 5 different shades of blue cardstock from my stash that worked beautifully together going from light to dark. I die cut the three sizes of florals from the Groovy Flowers die set twice from each color so that I would have plenty of flowers available to build my background. I also die cut the flower centers from navy blue foil and Pinkfresh Midnight Navy cardstock. I assembled each flower with liquid adhesive, then began arranging the flowers on my background, working in a diagonal ombré down the front of my A2 card panel in a sixth shade of blue! I just love how these blue shades pop so beautifully from that mid-blue background.

After I had assembled my flowers and determined placement on my card front, I used Simon Says Stamp Thin Adhesive Squares to adhere each flower to the card front, adding a touch of dimension without adding a ton of bulk to my card. I arranged them in a diagonal in an attempt to create a background that was a bit different from the typical horizontal ombré arrangement.

Once I had the background finished, I turned my attention to the sentiment. I stamped a lovely greeting from the newly-redesigned Handlettered Encouragement set onto some of the same mid-blue cardstock that I used for the background of my ombré florals. I stamped the sentiment using Simon Says Stamp White Pigment Ink, then added my favorite Iridescent Blue Embossing Powder over the top to lock the crisp white stamped sentiment in and add some gorgeous iridescent shimmer.

I die cut the finished greeting with it’s coordinating die, then die cut a Modern Teardrops die from some vellum. The vellum behind the sentiment helps keep the greeting from getting lost in the busy background without adding any additional color or bulk to the card! I popped up the sentiment die cut on the vellum with some more Thin Foam Adhesive, then trimmed off the excess vellum and added liquid adhesive behind the solid die cut to keep the vellum nice and clean. Finally, I added some Dusk Pawsitively Dazzling Gems and a pretty bow tied with some Simon Says Stamp Iridescent White Cord.

Well, that’s all for my project today! I love a good ombré moment, don’t you? I am always up for new ways to use my copious collection of colored cardstock! (Does anybody watch Paw Patrol with their kids? I sound like Cap’n Turbot with that alliteration! Ha!) I think that this card would look lovely in so many different colorways. Thanks for stopping by today, and have a marvelous day!

Filed Under: simon says stamp Tagged With: colored cardstock, die cutting, groovy flowers, handlettered encouragement, modern teardrops, ombré, vellum

VIDEO: Green Monochromatic Botanicals with Pinkfresh Studio!

February 27, 2025

Hi friends! I am up on the Pinkfresh Studio YouTube channel today with a new video featuring a fun letterpress technique using white ink on colored cardstock (yes, letterpress on colored cardstock!) as well as some beautiful monochromatic images that I’ve created using some selective stenciling. You can watch the video below or HERE on YouTube:

https://youtu.be/6ms5uWg7vJA

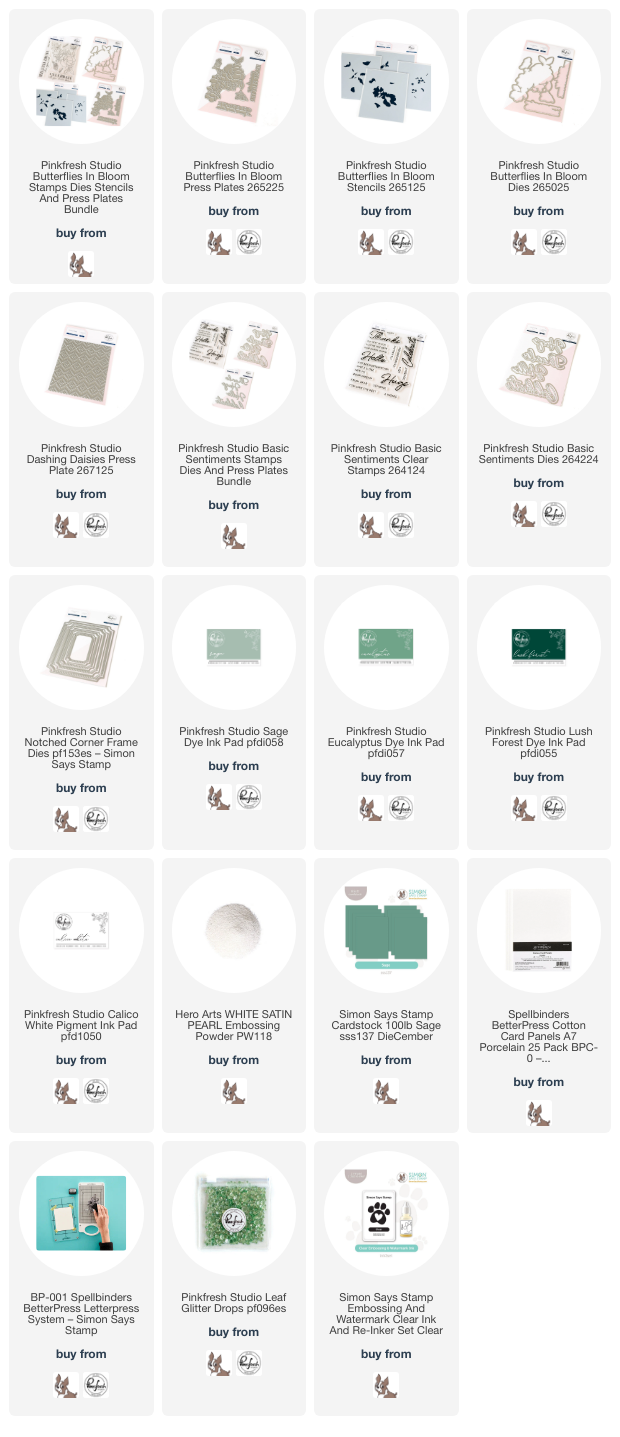
In case you can’t watch the video, I will give a quick explanation of my process. To start, I used Eucalyptus Ink from Pinkfresh Studio to impress the Butterflies in Bloom Press Plate onto some white letterpress paper. This letterpress suite impresses a gorgeous floral bouquet and some standalone butterflies that you can use to create a charming visual triangle on your card front! I used Sage, Eucalyptus, and Lush Forest ink with the Butterflies in Bloom Stencils. These stencils create a very graphic overall feel when used in their entirety, but for this card, I wanted to add some very subtle color, creating almost “white” blooms surrounded by dense, dramatic green foliage and no other colors accenting the main images, so I made sure to avoid the butterfly stencils and used a light hand with the Sage and Eucalyptus inks on the main flowers. After I had finished stenciling, I used the coordinating one-go die to die cut all of the images with one pass through my die cut machine!

For the background, I die cut a plain notched rectangle from Simon Says Stamp Sage Green cardstock using the Notched Corner Frames die set. Because colored cardstock is not quite thick enough to use with press plates on its own, I used a trick that I learned from the talented Carissa Wiley: use light-tack tape to adhere a piece of thick watercolor or letterpress cardstock behind your colored cardstock, then letterpress as you would normally. For this card, I wanted to keep the area behind the light flowers a consistent sage green, so I used the Dashing Daisies press plate with Calico White ink. The inks from Pinkfresh Studio work beautifully with the press plates; because the Calico White ink has a very soft foam pad, it is important to use a very light hand when adding ink to your plate so that you don’t get ink where you don’t want it. I inked up the plate with the white ink, then ran it through my Better Press system on the green Notched Corner Frame die cut.

For the greeting, I stamped two different images from the Basic Sentiments stamp set onto some more of the Sage cardstock using White Calico ink, then stamped again directly over the top with embossing ink and added some White Satin Pearl embossing powder. The embossing powder adds a lovely shimmer and enhances the white stamped image. I trimmed the “you’re the best” with a trimmer, die cut the large “thanks” with the coordinating die, then began arranging the die cuts on my card front. I adhered everything with different heights of foam adhesive squares to keep things interesting visually, then added a few sparkling Glitter Drops: Leaf on the card front for one last touch of shine!

Well, that’s all for my project today! If you’ve never tried doing letterpress on colored cardstock, I highly encourage you to give it a try. It’s so simple, and it opens up a whole new world of possibilities! Thanks so much for stopping by today, and have a marvelous day!

Filed Under: pinkfresh studio Tagged With: basic sentiments, betterpress, butterflies in bloom, colored cardstock, dashing daisies, die cutting, letterpress, notched corner frame, stencil, thank you card, thanks

Steel Cardstock Spotlight: Pink and Gray Floral Wreath!

January 27, 2025

This post was sponsored by Simon Says Stamp. Thanks, Simon!

Hi friends! For this week’s projects, I happened to use Simon Says Stamp’s Steel cardstock for each one unintentionally, but I thought they all worked nicely together to showcase how lovely using colored cardstock can make a card! I love my white cardstock and that crisp white as much as anyone, but there’s something so visually enticing about a vibrant, completely color saturated card that I thought I’d give you some inspiration with it. I think that the medium-intensity gray of the relatively new Simon Says Stamp Steel cardstock is an unsung hero; it pairs beautifully with so many different colors, working as a wonderfully complementary neutral. For my blog hop post for last month, I paired it with a vibrant yellow (you can check that out HERE if you missed it), and for today’s project, I thought I would pair it with some beautiful shades of pink and muted green. Let’s get started with the details!

*I have gathered links to all of the products used at the bottom of the post for your convenience, using affiliate links. Thank you for shopping with my links! I truly appreciate your support for my work!*

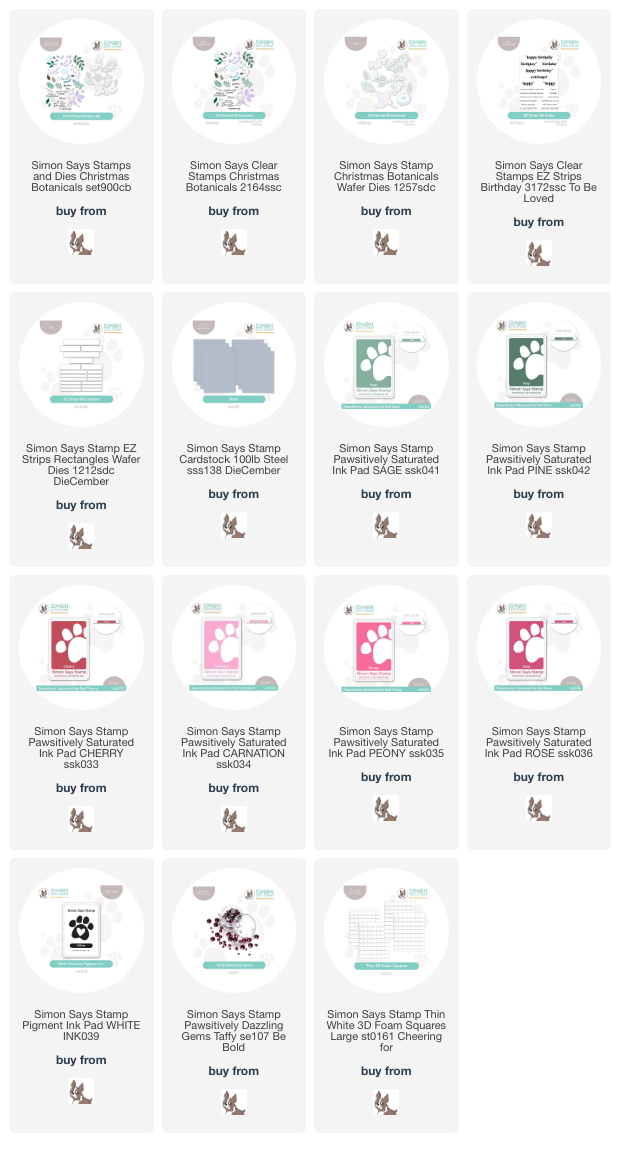
When working with colored cardstock and solid stamps, I like to keep the colors as vibrant as possible, so I used Simon Says Stamp’s White Pigment Ink as a base layer. The pigment ink creates a barrier between the porous cardstock and the colorful dye ink, which would typically sink into the cardstock and become quite muted. To create my card today, I stamped each image from Christmas Botanicals with the White Pigment Ink, waited a minute for it to dry a bit, then stamped the same image again directly over the top using Sage, Pine, Cherry, Carnation, Peony, and Rose Pawsitively Saturated Inks, creating an oval wreath shape. I also stamped a few spare individual flowers and foliage on another panel of Steel cardstock and die cut them with their coordinating dies. Even though this is technically a holiday set, I avoided the pine boughs and overtly Christmas-y imagery and was able to achieve a pretty floral project that works for lots of different occasions!

After I had finished stamping the florals, I used the new EZ Strips Birthday stamp set to white emboss several greetings at once on another panel of Steel cardstock. I used the coordinating EZ Strips Rectangles to die cut all of the sentiments at once, which is super handy and such a time saver! I arranged the die cuts on the stamped wreath background and adhered them with foam adhesive. Using the same colored cardstock on each layer allows the project to remain cohesive on each individual element.

After I had finished arranging the different die cut elements and adhered them to the card front, I tucked a sparkling pink twine bow next to the floral bouquet, then added a smattering of Taffy Pawsitively Dazzling Gems for additional sparkle. I just love how this card turned out; it reminds me of Rifle Paper Company!

Well, that’s all for my first project featuring Steel cardstock. This lovely medium gray is such an understated powerhouse. I have more inspiration to share, so be sure to stop back by later this week. Thanks so much for stopping by today, and have a marvelous day!

Filed Under: simon says stamp Tagged With: birthday card, christmas botanicals, colored cardstock, die cutting, EZ strips birthday, EZ strips rectangles, rifle paper co, steel cardstock, white pigment ink

A Sweet Holiday with Simon Says Stamp Gingerbread!

November 25, 2024

This post was sponsored by Simon Says Stamp. Thanks, Simon!

Hi friends! I wanted to pop in today with a pair of super sweet (ha, pun intended!) project using some of the adorable gingerbread-themed goodies from Simon Says Stamp. The Gingermas Wonder Box is absolutely chock full of gingerbread items, but Simon Says Stamp also has a huge variety of products perfect for fulfilling a sweet tooth without any calories. I paired some of the new gingerbread goodies with some older products to create this pair of projects with a spicy and sweet theme. Let’s get started with the details!

*I have gathered links to all of the products used at the bottom of the post for your convenience, using affiliate links. Thank you for shopping with my links! I truly appreciate your support for my work!*

I have recently started down the stitching rabbit hole, and so when I saw the adorable Gingerbread Man Stitching Dies, I knew that I wanted to make a sweet little ornament, which turned into this card and ornament set with a spicy sweet theme!

I used the felt and embroidery floss included in the Gingermas Wonder Box (which are shipping now!) to create this adorable little ornament. I die cut the gingbread man twice from the toasty brown felt and stitched him together using a whip stitch (I think that’s what it’s called; this is all new to me!), then used felt glue to adhere the frosting, buttons, bow tie, and face. I used some thick gold twine to add a loop for an ornament hanger, which would make this super easy to add to a holiday gift to make it extra special!

After I had created my gingerbread man ornament, I wanted to create a coordinating card, so I paired the new Christmas Sweets and Treats embossing folder with the older Sweet Tooth Bears stamp set. I started by embossing a panel of coordinating toasty brown cardstock using the Christmas Sweets and Treats, then swiped my Simon Says Stamp White Pigment ink pad directly over the raised areas to enhance the images and make them more visible; I then used a dedicated blending brush to blend white around the edges. I also splattered the entire panel with some diluted white gouache to add sprinkles or snow, whichever you prefer!

For the focal point, I stamped several of the little treats from the Sweet Tooth Bears with Simon Says Stamp White Pigment ink on some more toasty brown cardstock, then used my favorite Caran D’Ache colored pencils to do some no-line coloring, adding lots of detail and color to the images. After I had finished coloring the images, I used a white gel pen to add even more details, adding shine and pattern to the cup, sugar on the whipped cream, and sprinkles on the cookie. For the greeting, I stamped the sentiment from Sweet Tooth Bears with more White Pigment Ink on the same brown cardstock, then added white embossing powder to create a super crisp and visible sentiment. I die cut all of the images with their coordinating dies, which sadly are discontinued. I added a strip of Rich Red Metallic cardstock to ground my sweet scene, then adhered the die cuts with foam adhesive for lots of dimension. Finally, I added a smattering of Opal Pawsitively Dazzling Gems for added sparkle!

Well, that’s all for my projects today. Simon Says Stamp will be running fabulous sales and promotions all week long, and today’s promotion is a free gift with purchase!

You can receive one of the embossing folders in the graphic above by placing an order of $30 (which will grant you the Christmas Sweets and Treats embossing folder that I used on my project today!) or $60 to receive the Gingerbread Man folder + die! No code required-just shop and it will automatically be added to your cart! Don’t you just love Black Friday week?

Thanks so much for stopping by today, and have a marvelous day!

Filed Under: simon says stamp Tagged With: christmas card, christmas sweets and treats, colored cardstock, colored pencil, die cutting, embroidery, gingerbread, holiday card, no line coloring, ornament, ornamnet, stitching, sweet tooth bears

  • Page 1
  • Page 2
  • Go to Next Page »

Primary Sidebar

  • Facebook
  • Instagram
  • Pinterest
  • YouTube

Favorite Shops

Secondary Sidebar

Subscribe

Enter your email address to subscribe to this blog and receive notifications of new posts by email.

Instagram
Something is wrong.
Instagram token error.
Follow
Load More

Archives

Tags

3D embossing folder alcohol markers better press birthday birthday card blog hop card kit christmas christmas card christmas tag colored pencil copic copic coloring Daniel Smith die cutting embossing folder embroidery felt giveaway holiday holiday card hot foil ink blending karin brushmarker pro layered stencil masculine my monthly hero new release no line coloring no line watercolor OLO marker olo markers original illustration pawsitively saturated rainbow shaker card slimline stamping stamptember stencil thank you thinking of you valentine's day video watercolor

Popular Posts

Simon Says Stamp October 2026 Card Kit of the Month: Homespun Gratitude!
Altenew Craft A Flower: Poppy Blog Hop+Giveaway!
Honey Bee Stamps Cheerful Love Blog Hop!
Simon Says Stamp Cozy & Bright Inspiration, Part Two!
February 2018 My Monthly Hero Blog Hop!
Simon Says Stamp STAMPtember Surprise: Boo Bundle Halloween Card Kit!
The Ton Anniversary Release- Day 2
Hero Arts Spring 2020 Catalog Release Blog Hop+Giveaway!
Altenew Standalone Die Blog Hop+Giveaway!
Autumn Legs with Colorado Craft Company and Catherine Pooler!

Disclosure

Some affiliate links are used in my posts. This means that, should you click on one of my links and purchase something from that company, I will receive a small portion of the sale at no extra cost to you. I use the money earned from these sales to help maintain my blog. I so appreciate you visiting and, if you do choose to use one of my affiliate links, thank you so much for your support!
Copyright © 2026 ·Brunch Pro Theme · Genesis Framework by StudioPress · WordPress · Log in
Loading Comments...