• Skip to main content
  • Skip to primary sidebar
  • Skip to secondary sidebar

Sixth Street Sundries

Emily Midgett

  • Home
  • About Me
  • Contact
  • OLO Marker Color Swatch Chart
  • Shop

colored pencil

Thoughts of Lilacs with New Simon Says Stamp You Are My Favorite Release!

April 23, 2025

This post was sponsored by Simon Says Stamp. Thanks, Simon!

Hi friends! Tonight is the night: the new Simon Says Stamp You Are My Favorite Release is now available! This release is full of so many of my favorite things: exquisite florals, beautiful fonts, and sparkling embellishments. I have an ethereal card using the utterly gorgeous new Pristine Lilac 3D Embossing Folder with lots of ink blending, pencil details, and shimmering accents. Let’s get started on the details!

*I have gathered links to all of the products used at the bottom of the post for your convenience, using affiliate links. Thank you for shopping with my links! I truly appreciate your support for my work!*

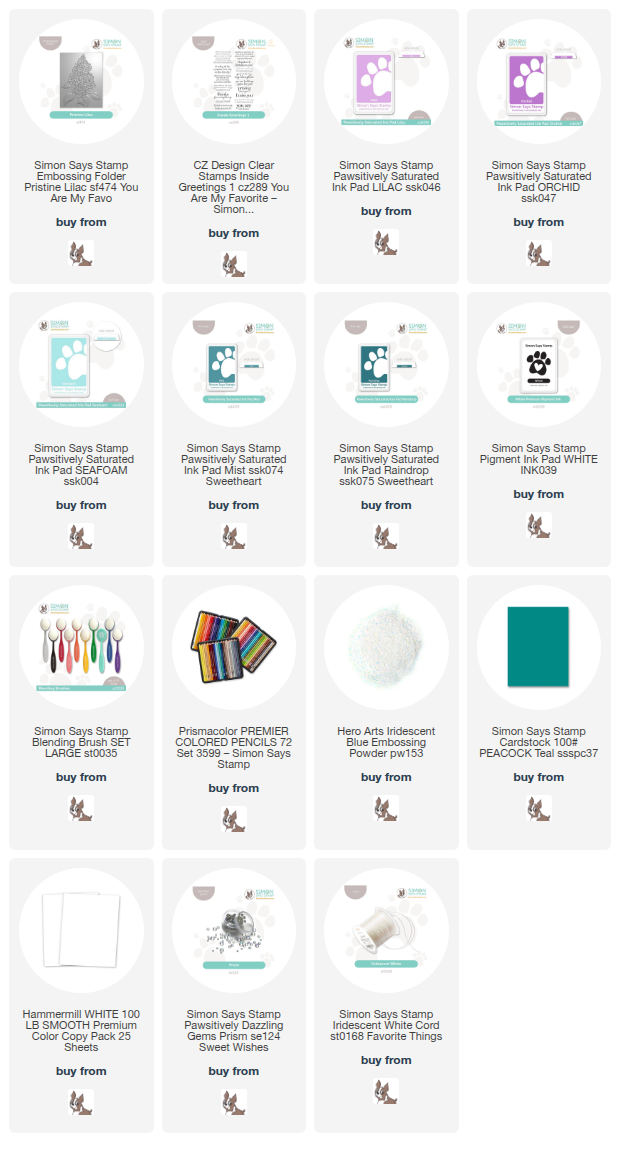
To begin, I ran the new Pristine Lilac Embossing Folder through my die cutting machine with a panel of plain white cardstock. As stunning as this embossing folder design is and as easily as it could stand on it’s own as gorgeous floral texture, I wanted to add vibrant, ethereal color to the image and the background. I used Simon Says Stamp’s Blending Brushes to add Lilac, Orchid, Seafoam, Mist, and Raindrop Pawsitively Saturated Inks to the image. I kept the blending simple and attempted to capture a misty glow around the lilac image, blending the two different shades of purple on the blooms and using the Seafoam and Mist inks on the foliage. I lightly blended the darker Raindrop around the edges of the card front to add a subtle vignette and help draw the eye to the beautiful bloom in the center of the card!

After I had finished blending, I swiped the Simon Says Stamp White Pigment Ink over the highest raised areas of the embossed image, helping to add some contrast on the petals that were closest in the foreground. I also used some colored pencils to add extra details to the background blooms and the foliage, paying special attention to the shadows on the leaves to help them stand out from the blended background. Once I had finished adding the extra details, I splattered around the blended edges with some iridescent glitter watercolors, adding to the dreamy, ethereal feel of the card!

For the greeting, I used Simon Says Stamp White Pigment Ink to stamp one of the sentiments from Inside Greetings 1 on some Peacock Teal cardstock and added some Hero Arts Iridescent Blue embossing powder over the top to add some special shimmer and shine to the sentiment, which also helps add more contrast than if I were to leave the sentiment stamped by itself. I used my sharp scissors to fussy cut the sentiment, then tied a bow around the entire card front using Simon Says Stamp Iridescent White Cord and popped the sentiment up with foam adhesive squares directly over the top of the bow, allowing the loops to peek out from behind. Finally, I added some super sparkly Prism Pawsitively Dazzling Gems, adding a touch more contrast and shine to the card!

Well, that’s all for my project today. You should absolutely go check out the new You Are My Favorite Release; so many utterly luscious floral embossing folders, fabulous stamps, and even some beautiful layered stencils! Springtime releases are always such fun with the variety of flowers and critters offered. Thanks so much for stopping by today, and don’t forget to come back later this week for the blog hop! Have a marvelous day!
Filed Under: simon says stamp, Uncategorized Tagged With: 3D embossing folder, colored pencil, embossing folder, ink blending, inside greetings 1, pristine lilac, thinking of you

Snowy Deer with Simon Says Stamp + Colored Pencils!

November 30, 2024

This post was sponsored by Simon Says Stamp. Thanks, Simon!

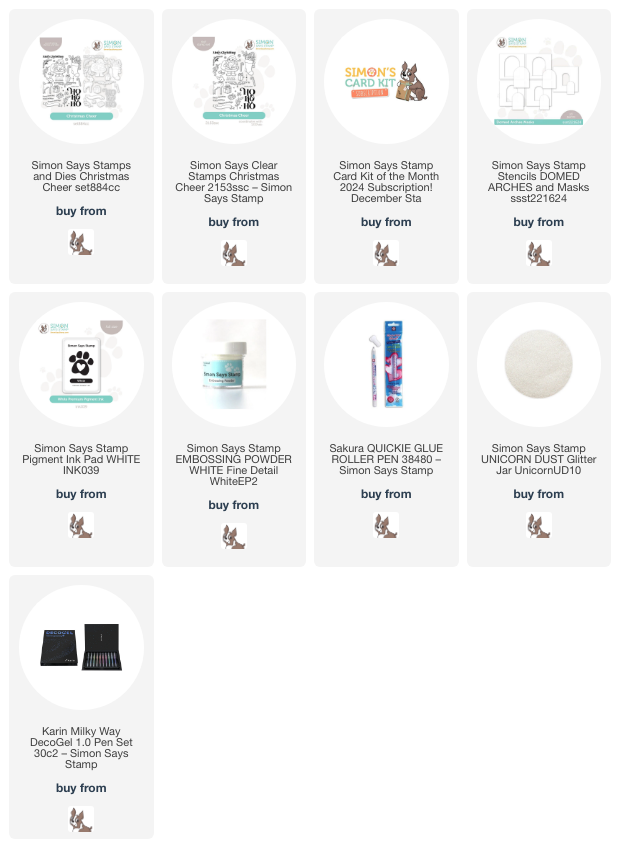
Hi friends! Today, I have a super sweet and feminine project to share with you using the beautiful new Holiday Cheer stamp set from the November 2024 Card Kit of the Month, which is sadly sold out as a kit, but the great thing about Simon Says Stamp kits is that you can almost always purchase the kit items individually! The kits are just a really excellent value, full of coordinating products that work beautifully together and separately, so it’s totally worth it to become a Subscriber. (Click HERE to read all of the details on how you can save money with a monthly subscription!) However, the precious Christmas Cheer stamp set is still available (and with coordinating dies as a set!) and I’ve used it to create this delicate and feminine holiday card. Let’s get started with the details on my project!

To begin, I stamped the deer, the holly sprigs, and the sweet bow images from the Christmas Cheer stamp set onto some pale gray cardstock using Simon Says Stamp White Pigment ink. I like to use white pigment ink when working with colored pencils on colored cardstock, as the white pigment ink lines seem to be absorbed into the colored pencil coloring beautifully so that the images pop from the colorful background! I used my favorite Caran D’Ache colored pencils to color the images in soft shades of warm gray, sweet carnation pink, and some vibrant green for the holly leaves. After I had finished coloring the main parts of the images, I used a white gel pen and a black pigment pen to add details to the deer’s eyes, nose, and spots. Mixing the mediums helps to make the deer look super polished and professional, as I can never get the tips of my colored pencils *quite* sharp enough to get perfect coverage on those teeny areas!

After I had finished the pencil coloring, I placed one of the stencils from the Domed Arches Stencils & Masks set onto the center of an A2 panel of the same light gray cardstock that I used for the images, then used a blending tool to blend Simon Says Stamp White Pigment ink on only the curved part of the stencil opening. It reminds me of a snow globe! After I had blended the snowy images, I used a white gel pen to add some tiny dots and snowflakes on just the blended area, enhancing the snow globe feel and creating an area upon which I could ground my little deer. I also used the White Pigment Ink to stamp a greeting from the Christmas Cheer set as well as the banner, adding some white embossing powder to make the sentiment look extra crisp. I used a pair of scissors to fussy cut all of the images, then adhered them to the card front with some foam adhesive squares, which helps the tone-on-tone images pop out from the background a bit!

After I had adhered the images, I decided to trim a thin strip off of the bottom of the A2 gray panel so that I could tie in some more of the color palette from the pencil colored images. I added a very thin strip of white glitter cardstock peeking out from the bottom of the gray card front, then backed it with a slightly thicker strip of pink cardstock to tie in the pink in the color palette. I also used a Quickie glue pen on the holly leaves to add some Simon Says Stamp Unicorn Dust fine glitter, adding just a tiny bit of sparkle to the card, which I think makes it extra festive and fun!

Well, that’s all for my project today. Don’t forget to come back tomorrow for the Simon Says Stamp DieCember 2024 blog party! It’s not a traditional blog hop, but there will be an absolute wealth of inspiration using the fabulous new release, as well as fun giveaways and promotions to celebrate DieCember! Thanks so much for stopping by today, and have a marvelous day!

Filed Under: simon says stamp Tagged With: caran d'ache, christmas card, colored pencil, deer, die cutting, domed arches stencils, glitter, holiday card, ink blending, no line coloring, snow globe, white pigment ink

A Sweet Holiday with Simon Says Stamp Gingerbread!

November 25, 2024

This post was sponsored by Simon Says Stamp. Thanks, Simon!

Hi friends! I wanted to pop in today with a pair of super sweet (ha, pun intended!) project using some of the adorable gingerbread-themed goodies from Simon Says Stamp. The Gingermas Wonder Box is absolutely chock full of gingerbread items, but Simon Says Stamp also has a huge variety of products perfect for fulfilling a sweet tooth without any calories. I paired some of the new gingerbread goodies with some older products to create this pair of projects with a spicy and sweet theme. Let’s get started with the details!

*I have gathered links to all of the products used at the bottom of the post for your convenience, using affiliate links. Thank you for shopping with my links! I truly appreciate your support for my work!*

I have recently started down the stitching rabbit hole, and so when I saw the adorable Gingerbread Man Stitching Dies, I knew that I wanted to make a sweet little ornament, which turned into this card and ornament set with a spicy sweet theme!

I used the felt and embroidery floss included in the Gingermas Wonder Box (which are shipping now!) to create this adorable little ornament. I die cut the gingbread man twice from the toasty brown felt and stitched him together using a whip stitch (I think that’s what it’s called; this is all new to me!), then used felt glue to adhere the frosting, buttons, bow tie, and face. I used some thick gold twine to add a loop for an ornament hanger, which would make this super easy to add to a holiday gift to make it extra special!

After I had created my gingerbread man ornament, I wanted to create a coordinating card, so I paired the new Christmas Sweets and Treats embossing folder with the older Sweet Tooth Bears stamp set. I started by embossing a panel of coordinating toasty brown cardstock using the Christmas Sweets and Treats, then swiped my Simon Says Stamp White Pigment ink pad directly over the raised areas to enhance the images and make them more visible; I then used a dedicated blending brush to blend white around the edges. I also splattered the entire panel with some diluted white gouache to add sprinkles or snow, whichever you prefer!

For the focal point, I stamped several of the little treats from the Sweet Tooth Bears with Simon Says Stamp White Pigment ink on some more toasty brown cardstock, then used my favorite Caran D’Ache colored pencils to do some no-line coloring, adding lots of detail and color to the images. After I had finished coloring the images, I used a white gel pen to add even more details, adding shine and pattern to the cup, sugar on the whipped cream, and sprinkles on the cookie. For the greeting, I stamped the sentiment from Sweet Tooth Bears with more White Pigment Ink on the same brown cardstock, then added white embossing powder to create a super crisp and visible sentiment. I die cut all of the images with their coordinating dies, which sadly are discontinued. I added a strip of Rich Red Metallic cardstock to ground my sweet scene, then adhered the die cuts with foam adhesive for lots of dimension. Finally, I added a smattering of Opal Pawsitively Dazzling Gems for added sparkle!

Well, that’s all for my projects today. Simon Says Stamp will be running fabulous sales and promotions all week long, and today’s promotion is a free gift with purchase!

You can receive one of the embossing folders in the graphic above by placing an order of $30 (which will grant you the Christmas Sweets and Treats embossing folder that I used on my project today!) or $60 to receive the Gingerbread Man folder + die! No code required-just shop and it will automatically be added to your cart! Don’t you just love Black Friday week?

Thanks so much for stopping by today, and have a marvelous day!

Filed Under: simon says stamp Tagged With: christmas card, christmas sweets and treats, colored cardstock, colored pencil, die cutting, embroidery, gingerbread, holiday card, no line coloring, ornament, ornamnet, stitching, sweet tooth bears

Merry Everything with New Simon Says Stamp + Final Hours of the Tricky SALE!

October 27, 2024

This post was sponsored by Simon Says Stamp. Thanks, Simon!

Hi friends! I am back today with a festive holiday card using some new and some old goodies from Simon Says Stamp. One of my favorite holiday memories from my childhood is the glow of colored Christmas lights on the Christmas tree; white lights are so elegant, but that vibrant glow from colored lights just can’t be beaten. Simon Says Stamp has several different holiday light-themed products, and I’ve paired a few of them to create this fun and colorful holiday card. Let’s get started with the details!

*I have linked all of the products used at the bottom of the post for your convenience using affiliate links. Thank you for shopping with my links! I truly appreciate your support for my work!*

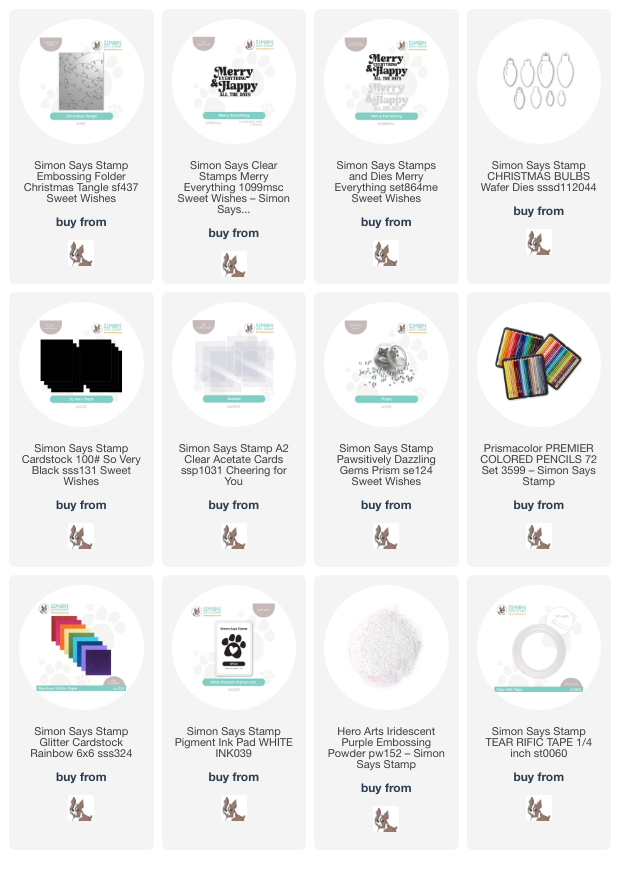
I love the vibrancy of colored pencils on dark cardstock, so I decided to pair them with the new Christmas Tangle embossing folder and some of Simon’s new So Very Black cardstock. I ran the Christmas Tangle embossing folder through my die cutting machine with a smaller panel of So Very Black cardstock. I then used colored pencils that were nice and sharp to add color to the tiny Christmas bulbs. When working with colored pencils on black cardstock, I occasionally will first lay down a layer of white pencil, then lay the colored pencil over the top. This initial layer of white helps to make the color pop a bit more from the dark background.

After I had finished coloring the colorful holiday lights, I cut a bunch of the older Christmas Bulbs from coordinating glitter cardstock. I also stamped the sentiment from the new Merry Everything stamp set onto some more black cardstock using Simon’s white pigment ink, then embossed it with Iridescent Lavender embossing powder from Hero Arts. I die cut this large scale sentiment with it’s coordinating die for a super quick and unique holiday card sentiment. I love the larger size of this sentiment, because it makes a nicely-sized focal point for your card lickety split. There are some fun techniques that you can do with it because of the chunky font, too!

After I had created all of the different elements for the card, I added the embossed pencil background to the center of one of Simon’s Clear A2 Card bases using Tear-rific Tape. I added the sentiment with some foam adhesive squares, then arranged the glittering Christmas lightbulbs around the sentiment so that they were peeking out from behind the iridescent greeting. Finally, I added a few of the new Prism Pawsitively Dazzling Gems, which have the most luxurious sparkle and iridescent rainbow coating, making them a perfect accompaniment for the rest of the colorful, sparkly card!

Well, that’s all for my project today!

Quick reminder that Simon Says Stamp is having their Halloween sale for a few more hours, through midnight eastern time!! You can save $15 on a $75 purchase by entering code TRICKY at checkout!

Thanks so much for stopping by today, and have a marvelous day!

Filed Under: simon says stamp Tagged With: christmas bulbs, christmas card, christmas tangle, clear card base, colored pencil, die cutting, embossing folder, holiday card, merry everything

Cheery Pencil Daisy with New Simon Says Stamp Sweet Wishes Release!

October 10, 2024

This post was sponsored by Simon Says Stamp. Thanks, Simon!

Hi friends! I have another project using some goodies from the new Simon Says Stamp Sweet Wishes release! The Sweet Wishes Release is filled with lots of transitional products, featuring lovely florals perfect for these warm, late summer/early autumn days, truly autumnal items, and then a smattering of holiday products to jumpstart your holiday creativity! Last night, I shared a pair of pumpkin projects featuring some new standalone dies (check it out HERE), and today I have another peachy project featuring the beautiful new Artsy Florals stamp and die set, which I paired with the new So Very Black cardstock and some colored pencils. Let’s get started on the details!

*I have linked all of the products used at the bottom of the post for your convenience using affiliate links. Thank you for shopping with my links! I truly appreciate your support for my work!*

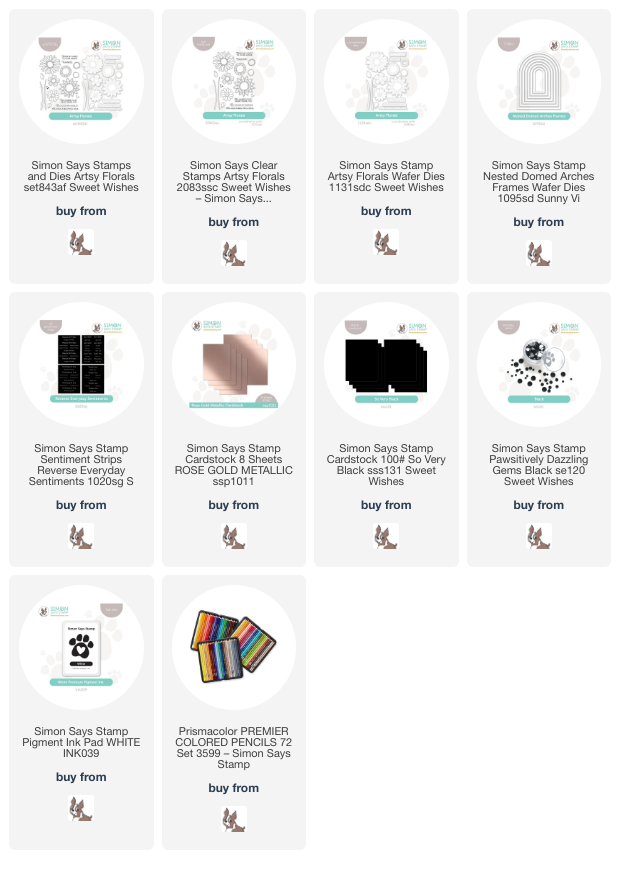
The whimsical nature of the new Artsy Florals makes it super easy to color using a traditional black outline, because it’s lack of hyper-realism means that your coloring doesn’t have to be hyper-realistic, either! However, I can’t seem to stop myself from trying to make anything I color at least somewhat realistic, so I decided to stamp the image using white ink on the new So Very Black cardstock to do some no-line pencil coloring. The finished effect reminds me of a Gerbera daisy, with its cheery petals and bright colors! I started my project by stamping the daisy, stem, and some foliage from Artsy Florals on the So Very Black cardstock using Simon Says Stamp’s white pigment ink. I find that white pigment ink works beautifully for pencil coloring, as it sits atop the cardstock and blends nicely into the pencil strokes.

After I had stamped all of the images using the white pigment ink and allowed it to dry sufficiently, I used colored pencils in a vivid peachy pink and bright apple green to create these vibrant images. I cut the finished images out using their coordinating dies. I love that the flower center cuts out the outline ring and the interior portion separately, so that you can create fun dimension that is really reminiscent of Gerbera daisies! I popped up the outer ring with some thin strips of foam adhesive to add extra height.

After I had finished coloring the flower, I splattered my black A2 card front with some glittering rose gold watercolors and added a coordinating rose gold frame cut using the Nested Domed Arches Frames and Simon Says Stamp’s Rose Gold Metallic foil cardstock. I popped up the flower components and tucked a sentiment strip from the new Reverse Every Day Sentiments amongst the foliage. Finally, I added a bit more shine to the card front with some new Black Pawsitively Dazzling Gems. I love that we have some neutrals in Pawsitively Dazzling Gems collection now. They’re made of glass and just so very sparkly. Truly luxe!

Well, that’s all for my project today! I have lots more inspiration to share with you using the new Simon Says Stamp Sweet Wishes release; you can subscribe in the box at the top left corner of my blog so that you can be notified every time I post! Thanks so much for stopping by today, and have a marvelous day!

Filed Under: simon says stamp Tagged With: artsy florals, colored pencil, nested domed arches frames, no line coloring, reverse everyday sentiment strips

  • « Go to Previous Page
  • Page 1
  • Page 2
  • Page 3
  • Page 4
  • Page 5
  • Interim pages omitted …
  • Page 12
  • Go to Next Page »

Primary Sidebar

  • Facebook
  • Instagram
  • Pinterest
  • YouTube

Favorite Shops

Secondary Sidebar

Subscribe

Enter your email address to subscribe to this blog and receive notifications of new posts by email.

Instagram
Something is wrong.
Instagram token error.
Follow
Load More

Archives

Tags

3D embossing folder alcohol markers better press birthday birthday card blog hop card kit christmas christmas card christmas tag colored pencil copic copic coloring Daniel Smith die cutting embossing folder embroidery felt giveaway holiday holiday card hot foil ink blending karin brushmarker pro layered stencil masculine my monthly hero new release no line coloring no line watercolor OLO marker olo markers original illustration pawsitively saturated rainbow shaker card slimline stamping stamptember stencil thank you thinking of you valentine's day video watercolor

Popular Posts

Simon Says Stamp Sending Cheer Blog Hop- Day 2 + Freebie + Giveaway!
Altenew October 2026 Release Blog Hop + Giveaway!
Rustic Monochromatic Stars for Christmas with Rainbow Splash!
December 2018 My Monthly Hero Blog Hop + Giveaway!
March 2020 Essentials By Ellen Blog Hop+Giveaway!
The Ton Stamps Summer Release: Day 1
Hero Arts Partners Blog Hop: Lawn Fawn!
Waffleflower July Release Blog Hop!
Simon Says Stamp STAMPtember Tim Holtz Collaboration: Festive Holidays!
The Ton Anniversary Release: Day 1!

Disclosure

Some affiliate links are used in my posts. This means that, should you click on one of my links and purchase something from that company, I will receive a small portion of the sale at no extra cost to you. I use the money earned from these sales to help maintain my blog. I so appreciate you visiting and, if you do choose to use one of my affiliate links, thank you so much for your support!
Copyright © 2026 ·Brunch Pro Theme · Genesis Framework by StudioPress · WordPress · Log in
Loading Comments...