• Skip to main content
  • Skip to primary sidebar
  • Skip to secondary sidebar

Sixth Street Sundries

Emily Midgett

  • Home
  • About Me
  • Contact
  • OLO Marker Color Swatch Chart
  • Shop

copic

Wplus9 Holiday Release Playtime!

October 26, 2018

Good morning! Today, I have a few special projects using the new holiday release from Wplus9! Dawn was kind enough to let me play with the products a little in advance, and so I have two holiday cards and a tag to share with you today using some of the brand new goodies from this year’s holiday release. These images are so timeless… and perfect for making some sweet holiday cards. Let’s get started with the details!

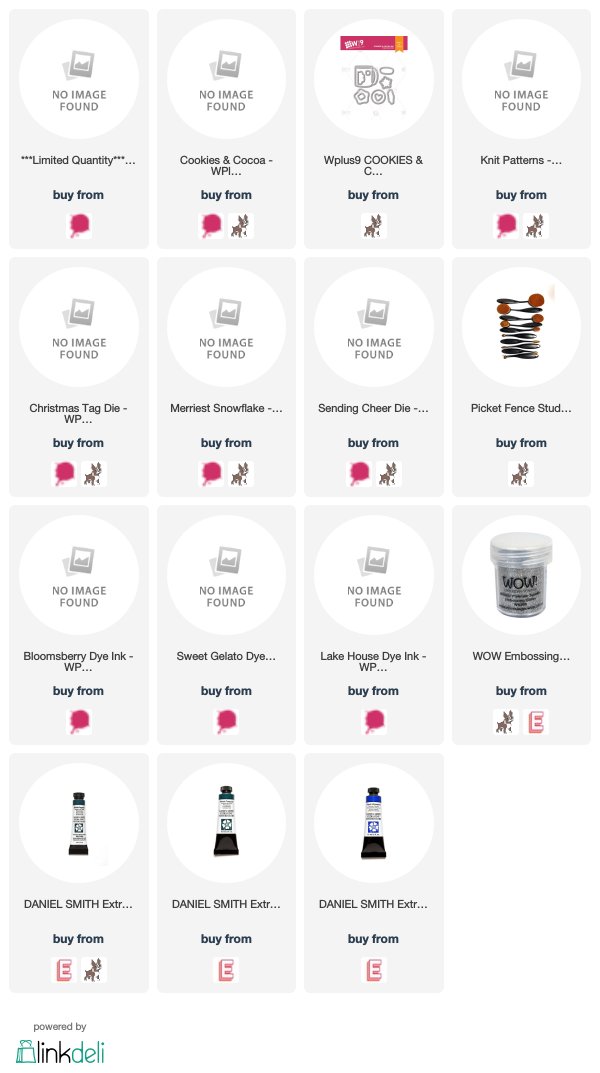
My first project today focuses on the darling new Cookies and Cocoa stamp and die (which you can also purchase in a discounted bundle for a limited time!). This set is super cute, not to mention versatile, because not only does it include the outline stamps for a lot of the images, it also includes the solid stamps, so if you’re in need of a quick card, you can do some lightning-fast stamping… or you can choose to do some leisurely coloring with the medium of your choice, as I chose to do for this project. I stamped the main mug outline onto some white, Copic-friendly card stock, then used my Copic markers to color the mug a vibrant, Christmas red. I also stamped and die cut some marshmallows that fit perfectly in the little slit at the top of the mug die cut (so clever!).

I wanted a simple, easily mailed holiday card, so for the backdrop for my mug, I used the new Picket Fence Studios blending brushes to blend a subtle gray halo towards the center of the white A2 card front. I adhered my mug using dimensional foam adhesive, then added a sentiment strip (with the sweet greeting also from Cookies and Cocoa) using dimensional adhesive. Quick, easy peasy, and perfect for mass-production, especially if you omitted the Copic coloring and used the solid stamp included in the stamp set!

For my second project, I whipped up a quick, colorful tag using the new Knit Patterns stamp set. You can create so many different patterns and textures using the stamps included in this set… tons of options! I created a background on an A2 panel of card stock lickety split using Wplus9’s Bloomsberry, Sweet Gelato, and Lake House inks. I die cut the tag using Wplus9’s Christmas Tag die, which is an older die set, but definitely a classic, and a lovely, generous size, too. I added a die cut greeting from the Christmas Tag die set cut from some purple card stock and added a twine loop. Done and dusted in about 20 minutes!

For my final project today, I wanted to focus on that beautiful snowflake included in the Merriest Snowflake stamp set, so I heat embossed it randomly across an A2 sheet of Arches Cold Press watercolor paper using Wow’s Platinum Sparkle embossing powder. I wanted to create an ethereal watercolored background, so I chose to drop in color using the wet-on-wet technique. I taped my embossed panel down to a cutting board, then thoroughly wet the panel and dropped in touches of Daniel Smith Ultramarine Blue and Phthalo Turquoise, swirling them around until I achieved the mottled, colorful background I was after. I also spritzed this already-super-sparkly watercolored panel with some shimmer spray… let me tell ya, these photos do not do this one justice. #sosparkly

While my panel was drying, I worked on the greeting. I used the new Sending Cheer die to create a dimensional die cut, twice from plain white card stock, once from blue shimmer card stock, and once more from some card stock that I’d embossed with the Platinum Sparkle embossing powder. (I hate when my metallics don’t match! Ack!). I layered all of the pieces together with liquid adhesive. I also stamped a greeting from Merriest Snowflake on a strip of minty card stock. I trimmed 1/8″ off of each edge of the snowflake panel and matted it on some more shimmery blue card stock, adhered my greeting pieces, and added a few gems for even more sparkle. (Because why not?)

Well, I hope you’ve enjoyed my projects today! Wplus9’s new release is just gorgeous, so if you haven’t looked already, I’d encourage you to go check it out! Thanks so much for stopping by today, and have a marvelous Friday!

Filed Under: christmas card, heat embossing, holiday card, watercolor, Wplus9 Tagged With: christmas, copic, holiday, tag

The holidays are a-coming!

September 2, 2018

Good morning! It’s officially September… I am beginning to feel the holiday card crunch. It might be 90* and swelteringly humid outside, but the holiday cards won’t make themselves! I have a sweet, wintry project for you today using some of the adorable new Lawn Fawn release that is now available at Ellen Hutson!

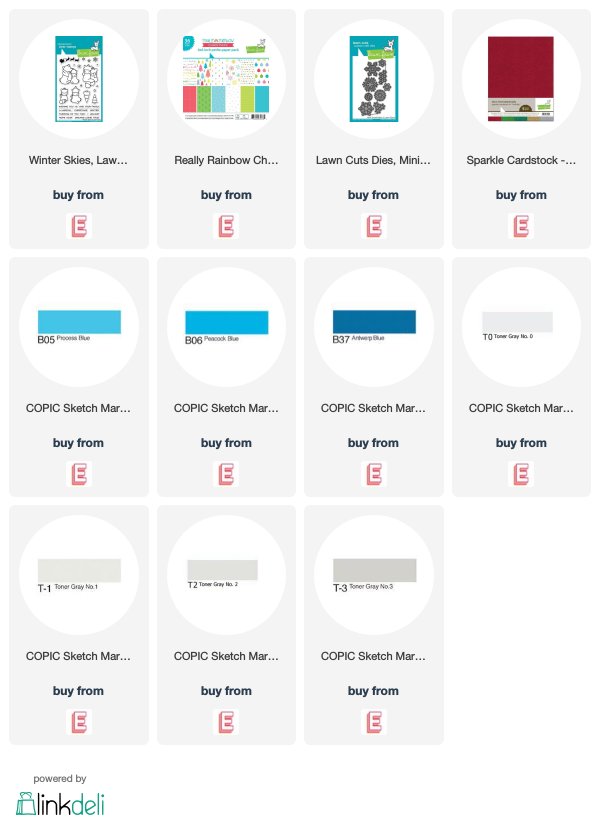
I absolutely adore the new Winter Skies stamp set from the most recent Lawn Fawn release. The little hugging bears made me so happy. I stamped the bears using Copic-friendly black ink on some white card stock, then colored the image using Copic markers- B05, 06, 37; T0, 1, 2, 3, and Colorless Blender.

To create the wintry background, I used the snowflake printed card stock from Really Rainbow Christmas. I die cut the Small Stitched Snowflakes from some silver glitter paper, then adhered them randomly across the card front using liquid adhesive. I fussy cut the bears, then stamped the holiday greeting on a strip of card stock. I adhered the bears and greeting to the snowflake panel with foam adhesive.

I added some strips of glitter paper and bright blue card stock at the top and bottom to help tie all of the colors together.

Well, that’s all for me today! I hope this helps inspire your holiday cardmaking! If you haven’t already, go check out the new release from Lawn Fawn, now available at Ellen Hutson! Thanks for stopping by, and have a marvelous day!


Filed Under: Ellen Hutson, holiday card, lawn fawn Tagged With: copic, copic coloring, holiday, new release

Ellen Hutson June Essentials By Ellen Release!

June 10, 2018

Good morning! Today is the day… the new Essentials By Ellen  release is now available! Ellen knows how much you all love the Leading Ladies… and we have three new Leading Ladies (and coordinating dies) and a new pattern building set being added to the lineup! I’ve worked with two of the ladies today to create some super cute little cards with these fabulous chicas!

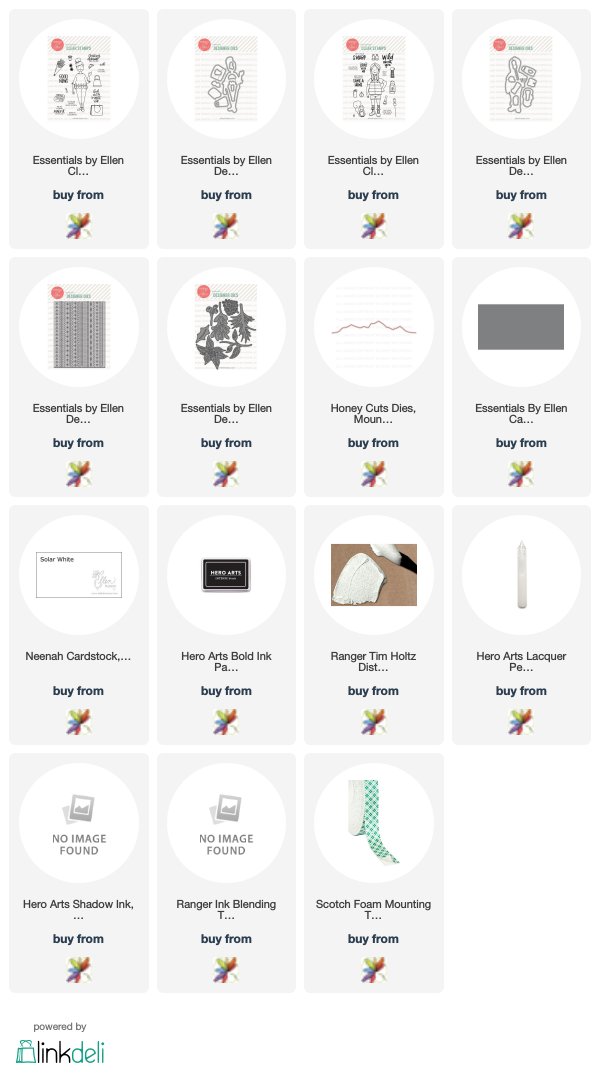
For my first project, I wanted to work with the Woodsy Lady and Woodsy Lady Dies. I have really been trying to practice my Copic shading lately, trying to add lots of extra depth to non-floral images (ha!). These ladies and their accessories were perfect for getting in a little practice! For the Woodsy Lady, I first stamped her in Hero Arts Intense Black Ink, then used various Copic markers to color her in. After I had colored her vest, I used my T10 marker to add tiny little dabs of dark gray to the corners of each individual “puff,” then used my maroon Copics to really work the color to blend out the dark gray. Just those small dabs of gray made a huge difference! I will definitely be trying that technique again.

After I’d colored my happy camper and her little squirrel friend, I began working on the background. I began by die cutting some Ellen Hutson Slate Gray cardstock using the Honey Bee Mountain die and adding a bit of snowy texture paste to the tops.

I die cut a few of the Poinsettia and Pine pine boughs from some green card stock to add to the top of my card front. I blended some blue sky, then adhered the pine boughs to the top with liquid adhesive. I added my (now dry) mountains and hiking duo with dimensional foam adhesive, then added a quick sentiment from the Woodsy Lady stamp set using black ink. Super cute and lots of texture! Scene-building has never been my forte, but I’m trying! 🙂

For my second card, I wanted to use the City Lady and City Lady Dies. I love the top that this chic chickie is wearing… looks like something I might wear myself haha! I again stamped the City Lady, her purse, some shopping bags, and a bouquet of fresh flowers using Intense Black ink, then added coloring with my Copics.

After I’d colored all of the elements, I added some Crystal Lacquer to her sunglasses to really help them pop. While they were drying, I die cut one of the beautiful Stitches cover plate dies from some plain white card stock. I wanted the colored images to really pop off of the page, so the subtly textured monochromatic background was a perfect fit.

I clustered all of my Copic colored images together on the card front, then adhered them using dimensional foam adhesive. I stamped a sentiment from City Lady on a piece of white card stock, then trimmed it down to a rectangle and adhered it to the stitched card front using dimensional foam adhesive.

Isn’t this release just so darn cute?! And I haven’t even had a chance to play with the new Beach Lady or Pattern Play set yet! I hope you’ll go check out all of the new goodies! Thanks for stopping by! Have a marvelous Sunday!


Filed Under: Ellen Hutson Tagged With: city lady, copic, essentials by ellen, new release, woodsy lady

  • « Go to Previous Page
  • Page 1
  • Interim pages omitted …
  • Page 7
  • Page 8
  • Page 9

Primary Sidebar

  • Facebook
  • Instagram
  • Pinterest
  • YouTube

Favorite Shops

Secondary Sidebar

Subscribe

Enter your email address to subscribe to this blog and receive notifications of new posts by email.

Instagram
Something is wrong.
Instagram token error.
Follow
Load More

Archives

Tags

3D embossing folder alcohol markers better press birthday birthday card blog hop card kit christmas christmas card christmas tag colored pencil copic copic coloring Daniel Smith die cutting embossing folder embroidery felt giveaway holiday holiday card hot foil ink blending karin brushmarker pro layered stencil masculine my monthly hero new release no line coloring no line watercolor OLO marker olo markers original illustration pawsitively saturated rainbow shaker card slimline stamping stamptember stencil thank you thinking of you valentine's day video watercolor

Popular Posts

Simon Says Stamp Sending Cheer Blog Hop- Day 2 + Freebie + Giveaway!
Altenew October 2026 Release Blog Hop + Giveaway!
Simon Says Stamp Sending Cheer Release: Now Available!
Simon Says Stamp October 2026 Card Kit of the Month: Homespun Gratitude!
A Double Leftovers Card Set with New Simon Says Stamp Stencils and Dies!
Simon Says Stamp November 2025 Card Kit: Give Thanks!
Joyful Snowman with New Simon Says Stamp Sending Cheer Release!
Hero Arts Partners Blog Hop: Lawn Fawn!
Altenew February 2020 Stamp+Die+Watercolor Blog Hop+Giveaway!
Altenew Standalone Die Blog Hop+Giveaway!

Disclosure

Some affiliate links are used in my posts. This means that, should you click on one of my links and purchase something from that company, I will receive a small portion of the sale at no extra cost to you. I use the money earned from these sales to help maintain my blog. I so appreciate you visiting and, if you do choose to use one of my affiliate links, thank you so much for your support!
Copyright © 2026 ·Brunch Pro Theme · Genesis Framework by StudioPress · WordPress · Log in
Loading Comments...