• Skip to main content
  • Skip to primary sidebar
  • Skip to secondary sidebar

Sixth Street Sundries

Emily Midgett

  • Home
  • About Me
  • Contact
  • OLO Marker Color Swatch Chart
  • Shop

curvy leaves

VIDEO: Acetate Window Card Using Pinkfresh Studio Fairytale Frame Press Plate with Hot Foil!

May 1, 2024

Hi friends! I am up on the Pinkfresh Studio YouTube channel today with this fun window card featuring the utterly lovely Fairytale Frame Press Plate and coordinating die. My favorite feature of the Press Plates are their versatility; you can use them both to create letterpress images or with your favorite hot foil machine! I wanted to highlight the details of this gorgeous plate with some shining iridescent foil, shown to amazing advantage when hot foiled on a luxuriously thick pearlescent mint cardstock from Memory Box. You can watch the video below or click HERE to watch on YouTube:

In case you can’t watch the video, here are some details on how I created this project:

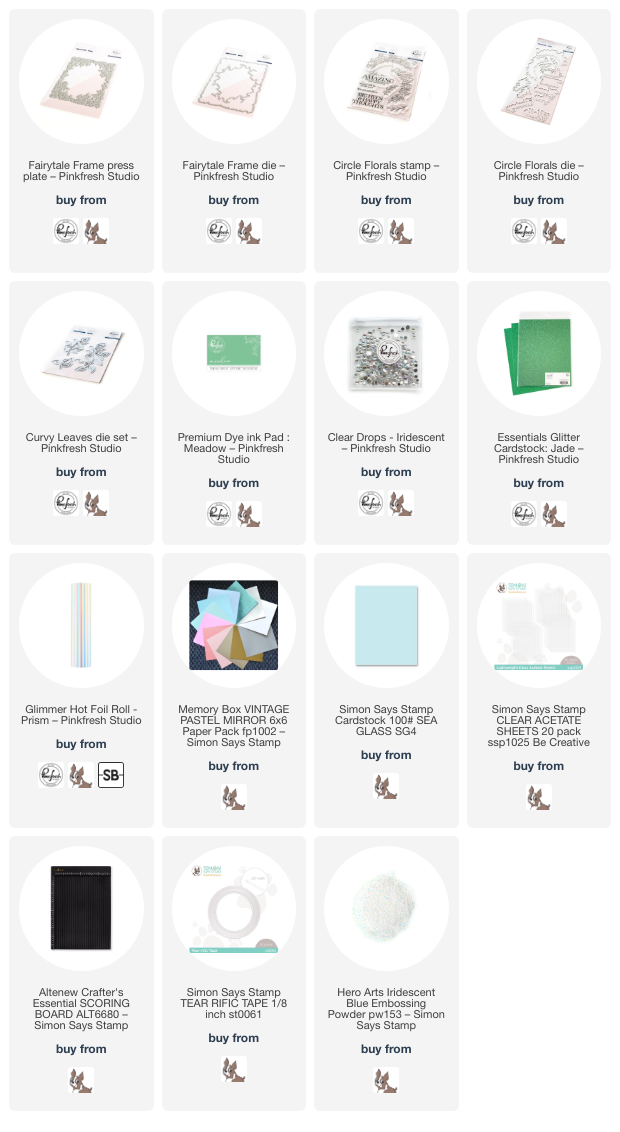
I started by hot foiling the luscious Fairytale Frame Press Plate into that glorious pearlescent mint cardstock using Prism Glimmer hot foil roll. This cardstock is so thick that the impression created with the hot foiling is almost akin to letterpress, giving you lots of texture and spectacular shine! I die cut the finished image with the coordinating die; the die is super detailed and showcases the intricacies of the pattern beautifully.

To create my window card, I first trimmed down some Sea Glass cardstock from Simon Says Stamp to 4.25″ x 5.75″. I then used my score board to score a lip .25″ from the edge of the long side of the cardstock in order to create a top-folding notecard and used my bone folder to create a nice crisp crease. I placed some super strong tape on the lip and added an A2 panel of clear acetate, onto the top of which I adhered my hot foiled frame with some more super strong double sided tape.

To add a bit of interest and contrast behind my minty foiled frame, I used a blending brush to blend Meadow ink around the edges of my mint panel, effectively the back of the card. Because these layers are fairly monochromatic, that contrast is important to help differentiate between the different elements. The cardstock is also a bit more blue than my minty pearl cardstock used for the frame, so layering the green ink over the top helps to tie those colors together a bit more closely.

For the greeting, I stamped a sentiment from the Circle Florals stamp set using Meadow ink, then again directly over the top with embossing ink and embossed it with Hero Arts Iridescent Blue embossing powder. This additional step adds lovely shine and iridescence to the sentiment, making it extra special. I die cut the finished sentiment with the coordinating die. To accent the sentiment and add a bit more visual interest to the center of my acetate window (and perhaps provide an area to write a hidden message), I die cut the Curvy Leaves die from leftover pearly mint cardstock and some Jade glitter cardstock. I arranged the leaves and greeting in the center of my window, adhering with both liquid and foam adhesive, then added a few Iridescent Clear Drops for some additional shine and texture.

Well, that’s all for my project today! I think that these window cards are just so much fun, definitely something different for me. I have shied away from them before simply because I didn’t know where I would put my sentiment, but I have found that there is plenty of room on the back side of the card to write a longer message! I hope you’ll try out this fun technique! Thanks so much for stopping by today, and have a marvelous day!
Filed Under: pinkfresh studio Tagged With: better press, circle florals, curvy leaves, fairytale florals, hot foil, ink blending, monochromatic, press plate, window card

VIDEO: Using Cardmaking Dies and Inks for Easy Custom Tags with Pinkfresh Studio!

October 11, 2023

Hi friends! I am up on the Pinkfresh Studio YouTube channel today with some holiday tag inspiration using a ton of dies and the new Pinkfresh Studio Inks from the September 2023 release.

Watch the video below or HERE on YouTube.

Not everybody has the room or the budget to have an extensive stash of colorful cardstock, so being able to make custom colored cardstock using white cardstock, your inks, and blending brushes opens up a whole new host of possibilities! The new ink colors are exceptionally unique and beautiful, and I used some of them to create these festive tags that you won’t feel too guilty about tossing in the trash on Christmas morning. Let’s get started with the details!

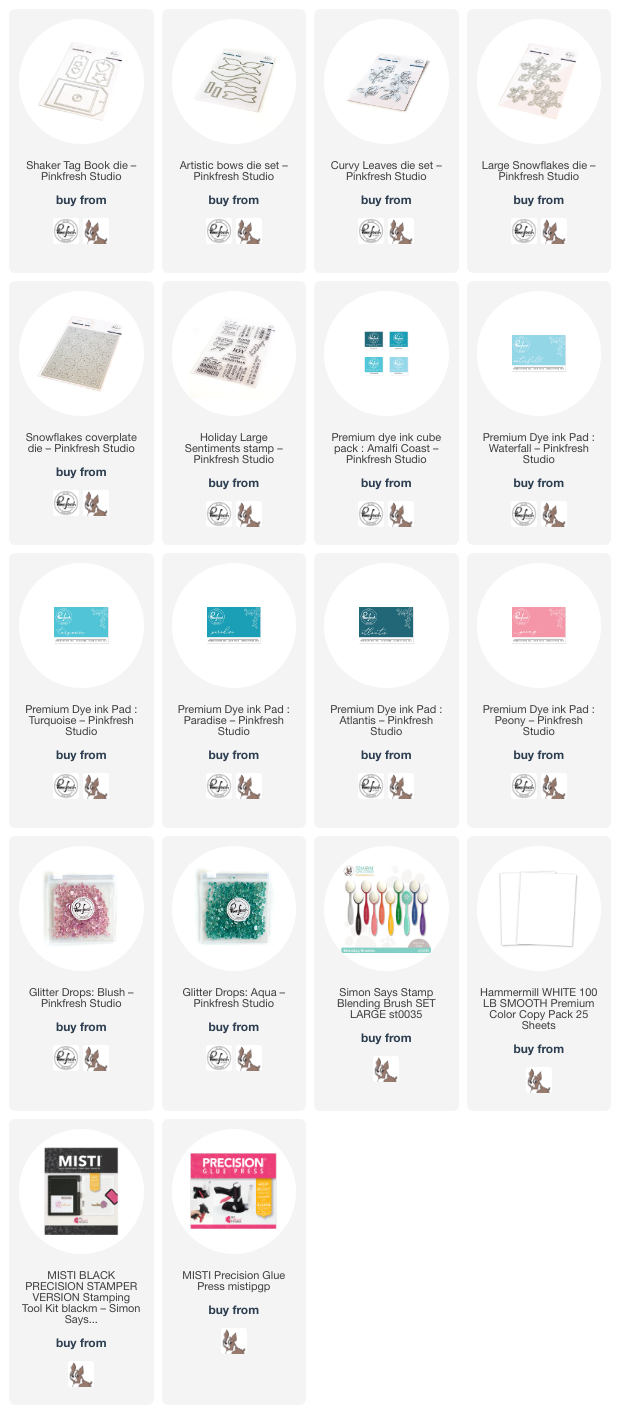
To start, I die cut 6 of the large tags from the Shaker Tag Book dies set. Two tags fit on one panel of A2 cardstock. I don’t know about you, but my die cutting plates are very well-used, which makes the back of my die cuts look a little rough. Cutting two tags and putting the scratched back sides against each other helps to keep your tags nice and clean on both sides!

This first tag features some light Waterfall ink blending around the edge of my top tag, which I die cut using the Snowflakes Cover Plate die . This die features both a stitching detail and cut outs to create this lovely, textured background pattern. I die cut some of the smaller snowflakes from white glitter cardstock using the Large Snowflakes dies and layered them directly over the die cut background tag. I stamped a sentiment from the Holiday Large Sentiments stamp set and sandwiched both the back and front together with liquid adhesive, adding a white paper twine loop and Aqua Glitter Drops for some more sparkle!

For my second tag, I used a blending brush to blend Paradise ink from the bottom up, fading away to white as the ink reach the top of the tag. I created some custom coordinating Curvy Leaves dies foliage using Paradise and Atlantis inks, as well as a pretty pink bow by blending Peony ink on some white cardstock and die cutting it with the Artistic Bows dies. I arranged all of the die cuts on my blended tag and added some Blush Glitter Drops for “berries” amongst my holiday foliage.

For my final tag, I blended Waterfall, Turquoise, and Paradise inks down the front of my blank tag die cut. I then die cut the large and medium sizes of the gorgeous Large Snowflakes dies from some more sparkling white glitter cardstock. I layered the two snowflakes together, adhering the smaller snowflake to the center of the larger snowflake with a small square of foam adhesive.

Each tag has a different greeting from the Holiday Large Sentiments stamp set stamped on the back in Atlantis ink. You could totally make this simpler by using your MISTI and one sentiment for all of your tags!! I am in love with the beautiful sentiments and fonts in the Holiday Large Sentiments stamp set.

Well, that’s all for my projects today! I encourage you to try making your own custom colored cardstock using your inks and blending tools. You can create such a huge rainbow of cardstocks with your inks and a little elbow grease! Thanks so much for stopping by today, and have a marvelous day!

Filed Under: pinkfresh studio Tagged With: amalfi coast, artistic bows, christmas tag, curvy leaves, holiday large senitments, holiday large sentiments, holiday tag, large snowflakes, misti, peony ink, shaker tag book die, snowflakes cover plate

Pinkfresh Studio March Challenge-Layers!

March 8, 2023

Hi friends! March has begun, so we are introducing a new challenge over at Pinkfresh Studio. This month, our theme is Layers. This theme was pretty darn easy for me, as I layer layer layer on pretty much all of my cards…Creating a flat card is so difficult for me! I love foam tape and I cannot lie. I used a variety of older products, including my Magnolia stamp set, which is great fun for watercoloring. Let’s get started with the details!

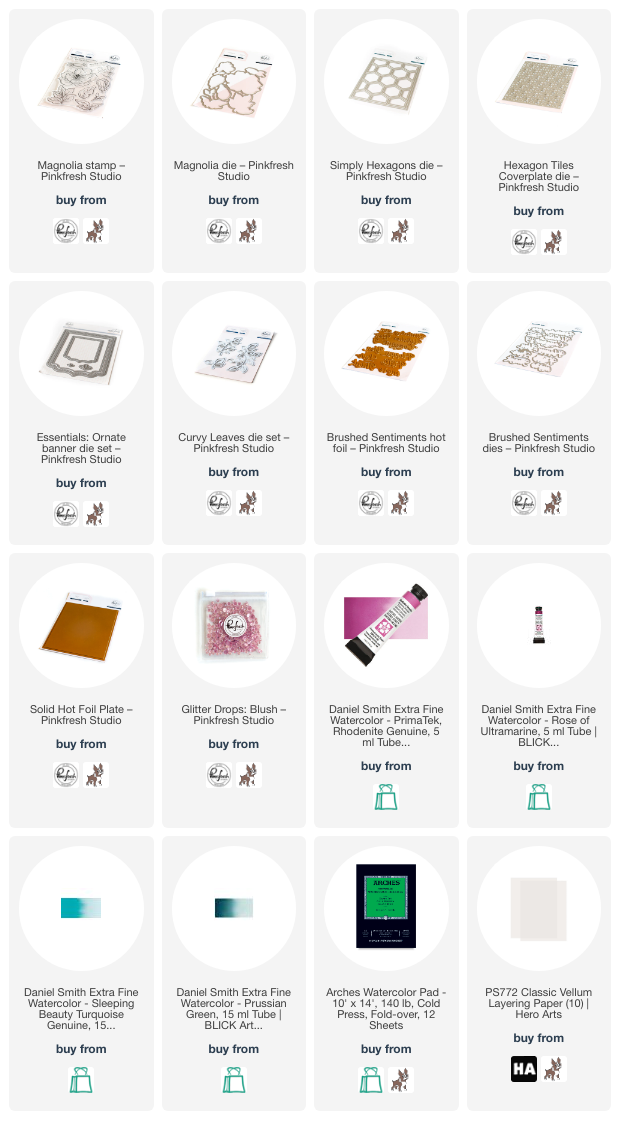
I began by heat embossing all of the images from one of my favorite sets that I’ve illustrated for Pinkfresh Studio: Magnolia! I used white embossing powder to emboss the one-and-done stamp. (I love that you only have to stamp once to stamp all of the images included in this set! So quick and easy.) When I want to create a softer look, I reach for the lighter embossing powders, like white or white satin pearl. It helps to give the softness of no-line coloring, but with the ease of having those raised ridges to make your watercoloring a little simpler. I heat embossed the images on the smoother side of some Arches cold press watercolor paper, then used my Daniel Smith watercolors to add some soft painting in shades that coordinated with the color scheme for this month’s challenge. I made sure to add some pale turquoise watercolor around the edges of my images so that the die cuts would have that finished, polished look on the eventual card front. I used the coordinating one-and-done die to cut out my watercolored magnolia flowers.

Because this month’s challenge was layers, I turned to my dies to see what dies I could layer beneath the pretty pink blooms to create subtle layers without overwhelming the card. I always like to have some subtle texture behind my flowers to help add interest, and I usually achieve this with either tone-on-tone cover plate die cuts or adding stitched texture with a cover plate, so I thought why not combine the two techniques? I wanted to use the Simply Hexagons Cover Plate Die, so to coordinate with the hexagon shapes in the cover plate, I also pulled out the Hexagon Tiles Cover Plate die, which adds a beautiful stitched pattern to your solid cardstock. I used a favorite shade of icy pastel blue cardstock for both die cuts, creating a tone-on-tone background for my pretty pink blooms.

To create a ground for my floral bouquet, I die cut a small Essentials: Ornate Banner die from some vellum. The die cut shape itself provides a bit of a ground around which my floral bouquet can shape itself, while the semi-transparent vellum does not had any extra bulk. I arranged my die cut and watercolored flowers around the corner of the vellum, adhering them to the vellum die cut with liquid adhesive and then hiding my foam tape behind the solid die cuts. I also added a few iridescent white leaves cut using the Curvy Leaves dies (another layer!), tucking them in amongst the floral bouquet. For the greeting, I used one of my previously-hot foiled Brushed Sentiments greetings, foiled using the “leftovers” and the Solid Hot Foil Plate. I popped that up with a double layer of foam tape to help the greeting stand out even more, then added a few sparkling Blush Glitter Drops for one last layer and bit of sparkle!

Well, that’s all for my project today. The Pinkfresh Studio March 2023 Challenge runs through March 28, 2023, and there is a $50 shopping spree up for grabs! Simply create your own project (or projectS!) with lots of layers, and link them up to the challenge before 3/28 to be eligible to win. Thanks so much for stopping by today, and have a marvelous day!

Filed Under: pinkfresh studio Tagged With: brushed sentiments, challenge, curvy leaves, Daniel Smith, hexagon, hexagon tiles, hot foil, magnolia, ornate banner, solid hot foil, watercolor

Primary Sidebar

  • Facebook
  • Instagram
  • Pinterest
  • YouTube

Favorite Shops

Secondary Sidebar

Subscribe

Enter your email address to subscribe to this blog and receive notifications of new posts by email.

Instagram
Something is wrong.
Instagram token error.
Follow
Load More

Archives

Tags

3D embossing folder alcohol markers better press birthday birthday card blog hop card kit christmas christmas card christmas tag colored pencil copic copic coloring Daniel Smith die cutting embossing folder embroidery felt giveaway holiday holiday card hot foil ink blending karin brushmarker pro layered stencil masculine my monthly hero new release no line coloring no line watercolor OLO marker olo markers original illustration pawsitively saturated rainbow shaker card slimline stamping stamptember stencil thank you thinking of you valentine's day video watercolor

Popular Posts

Simon Says Stamp Sending Cheer Blog Hop- Day 2 + Freebie + Giveaway!
Altenew October 2026 Release Blog Hop + Giveaway!
Rustic Monochromatic Stars for Christmas with Rainbow Splash!
December 2018 My Monthly Hero Blog Hop + Giveaway!
March 2020 Essentials By Ellen Blog Hop+Giveaway!
The Ton Stamps Summer Release: Day 1
Hero Arts Partners Blog Hop: Lawn Fawn!
Waffleflower July Release Blog Hop!
Simon Says Stamp STAMPtember Tim Holtz Collaboration: Festive Holidays!
Honey Bee Stamps Autumn Blessings Blog Hop-Day 2!

Disclosure

Some affiliate links are used in my posts. This means that, should you click on one of my links and purchase something from that company, I will receive a small portion of the sale at no extra cost to you. I use the money earned from these sales to help maintain my blog. I so appreciate you visiting and, if you do choose to use one of my affiliate links, thank you so much for your support!
Copyright © 2026 ·Brunch Pro Theme · Genesis Framework by StudioPress · WordPress · Log in
Loading Comments...