• Skip to main content
  • Skip to primary sidebar
  • Skip to secondary sidebar

Sixth Street Sundries

Emily Midgett

  • Home
  • About Me
  • Contact
  • OLO Marker Color Swatch Chart
  • Shop

cute duckling

More Darling Duckies with Simon Says Stamp + Memorial Day SALE!

May 21, 2026

This post was sponsored by Simon Says Stamp. Thanks, Simon! *I have gathered links to all of the products used at the bottom of the post for your convenience, using affiliate links at no extra cost to you. Thank you for shopping with my links! I truly appreciate your support for my work!*

Hi friends! I am back with another Darling Duckies card, this time featuring only the stencils and a few other fun products that I used to create this sweet shaker card, perfect for a birthday for a little one! Make Way for Ducklings has always been one of my favorite books from childhood, and creating bunches of fluffy little yellow ducklings with the fun duckie products from Simon Says Stamp is super fun. Yesterday’s project (click HERE to see it!) was perfect for a baby card (boy or girl as ducks are fairly gender-neutral imagery!), so today I thought I’d create a birthday card for a little one. And what kiddo could resist a shaker card?? Let’s get started with the details on my project!

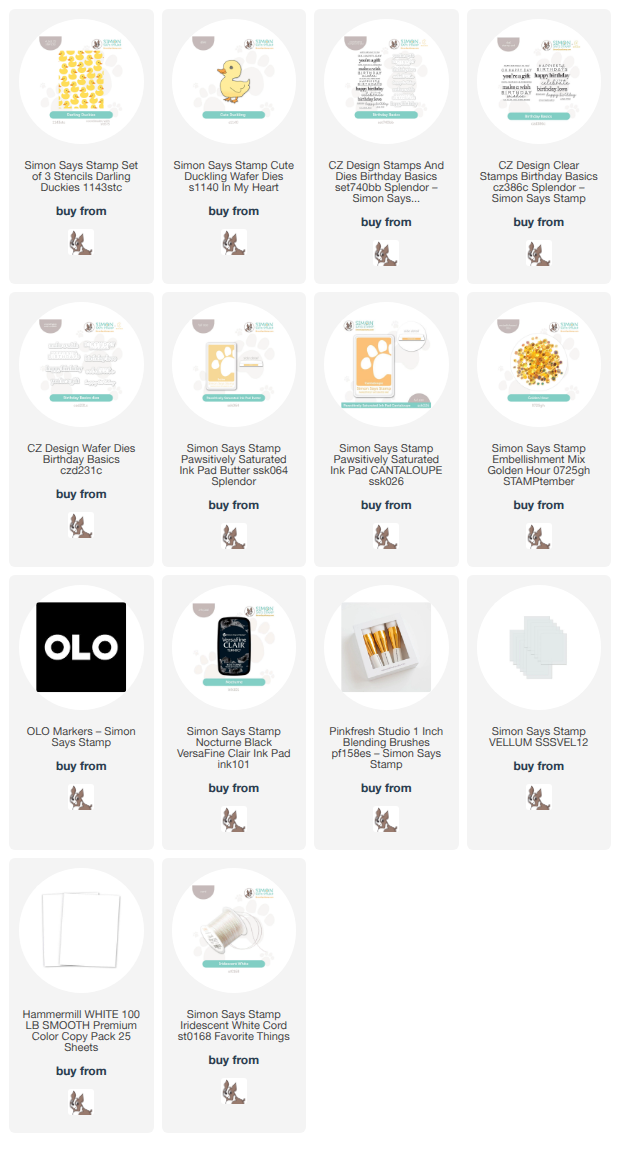
To begin, I used blending brushes to blend Butter and Cantaloupe Pawsitively Saturated Ink over the the Darling Duckies Stencils on a panel of 3.75″ x 5″ white cardstock. I used my Stencil Station to make for super quick and easy stenciling! After I had finished blending all of the layers, I used some leftover stamp packaging to construct a clear pocket to create my shaker card. I filled the shaker pouch with gorgeous Golden Hour Embellishment Mix and placed it in the center of a full sized A2 card base, leaving a white frame around the exterior edge.

I had a mild love affair with the adorable Cute Duckling die set when it was released, and to my delight, it matched beautifully with the Darling Duckies Stencils! I die cut one of the Cute Duckling dies from white cardstock, then used my OLO Markers to add shadows and shape to the flat die cut. I think it looks so darn cute!! I also stamped and die cut a couple of greetings from Birthday Basics, stamping the sentiments using Nocturne pigment ink, then adding clear embossing powder over the top to make the lines super crisp and vibrant, then die cut them with their coordinating dies.

After I had created all of the components for the card, I trimmed a rectangle of vellum down to fit just across the stenciled shaker panel, then layered my duckie and sentiment die cuts over the top of the vellum. This semi-opaque cardstock creates a bit of a visual barrier from the busy background without adding more visual weight to the card. I adhered the die cuts with thin foam adhesive squares, then flipped the vellum piece over and added more thin foam adhesive behind the solid die cuts so that they were hidden behind the die cuts and didn’t show through the vellum. I placed the vellum piece on the card front, then added an Iridescent White Cord bow beneath the die cuts to add a bit more texture and whimsy!

Well, that’s all for my project today! Isn’t it just darling? How sweet would it be for a first or second birthday party?

To celebrate Memorial Day, Simon Says Stamp is offering 25% off of ALL Simon Says Stamp-branded products!! Click HERE to see everything!
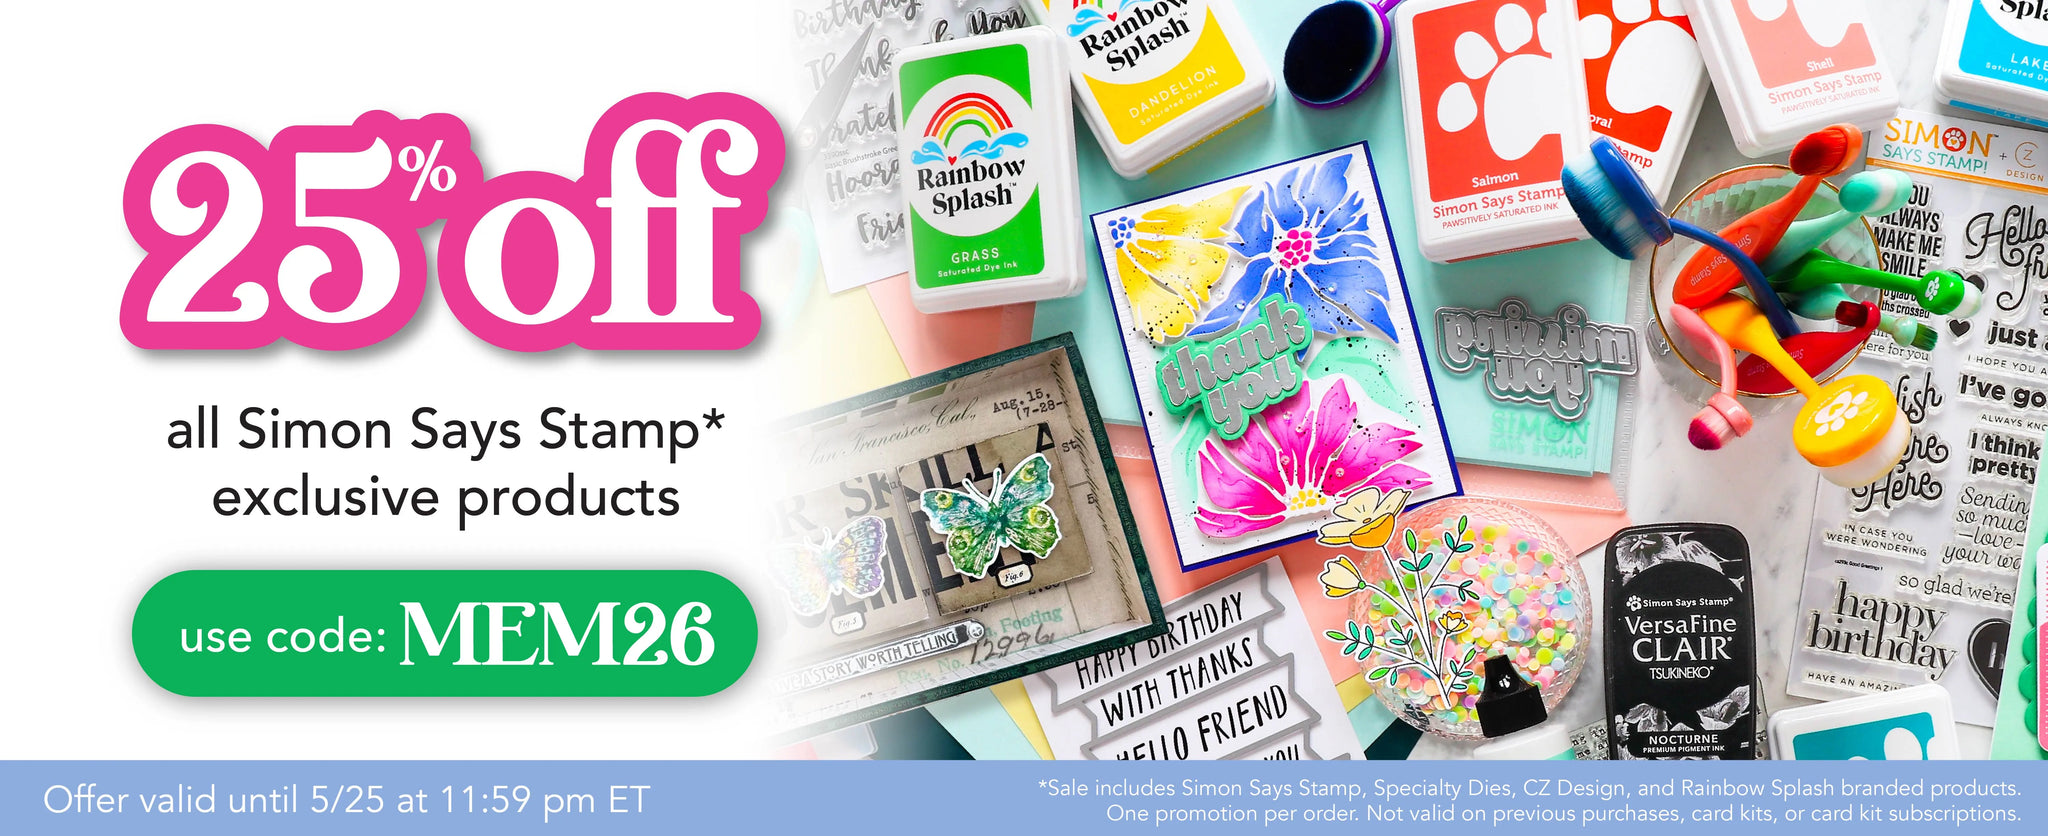
Fill your cart with Simon merch and add code MEM26 at checkout to receive 25% off through the end of Monday, May 25, 2026. Score, right?!

Thanks so much for stopping by today, and have a marvelous day!
Filed Under: simon says stamp Tagged With: birthday basics, birthday card, cute duckling, CZ design, darling duckies, die cutting, ink blending, layered stencil, no line coloring, olo markers, stencil, stencil station

Fun with Felt: Floral Duckling Using New Simon Says Stamp!

April 9, 2026

This post was sponsored by Simon Says Stamp. Thanks, Simon! *I have gathered links to all of the products used at the bottom of the post for your convenience, using affiliate links at no extra cost to you. Thank you for shopping with my links! I truly appreciate your support for my work!*

Hi friends! I am back with another quintessentially springy project for you today using some super sweet dies from the new Simon Says Stamp In My Heart release! (Click HERE to see the entire new release!) I shared a similar project HERE using the darling little duckling die, but I thought I’d take this one a few steps further with some more florals, some beading, and a touch of embroidery. This is so perfect for a baby gift, I think! Let’s get started with the details!

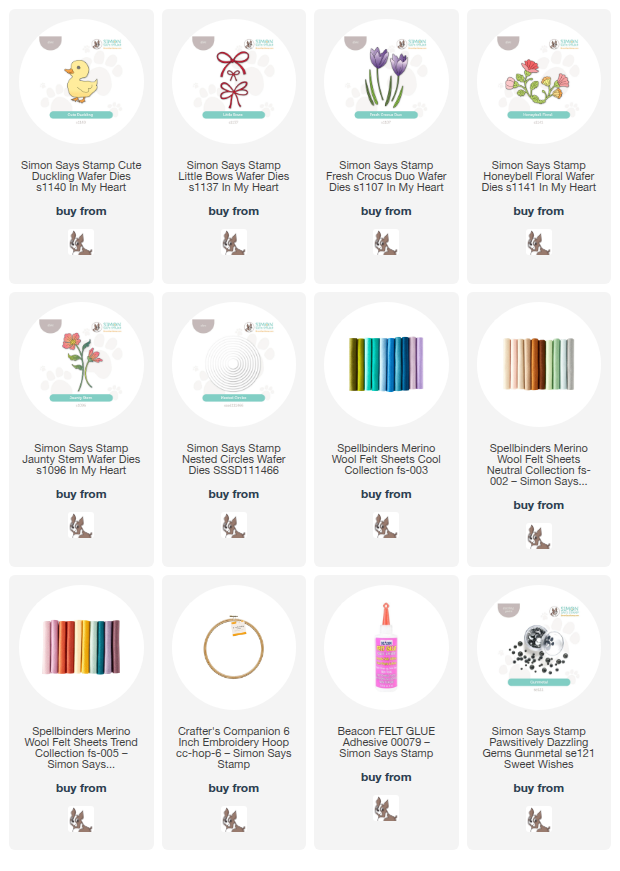
To start, I fitted an embroidery hoop with some lovely blue and white patterned fabric from my stash. I then die cut the different elements from the precious Cute Duckling die set. When I am working with delicate dies and felt, I try to make sure that I’m using 100% wool felt. The fibers in the 100% wool felt are a bit more tightly woven, and so hold their shape more easily than felt blends. The felt blends do work nicely for larger, solid shapes like the main body of the duckling. I adhered the pieces of the duckling together with liquid felt adhesive, adding a sweet little bowtie from the new Little Bows set. I also added a sparkling gem to his eye using a Pawsitively Dazzling Gems Gunmetal.

To embellish my duckling and make a little wreath for him to sit on, I created an arrangement using some new floral dies from the In My Heart release. I die cut the flowers from the Fresh Crocus Duo and the Jaunty Stem die sets, cutting white crocuses and a yellow blossom to start my wreath, then added foliage from the Fresh Crocus set as well as the Honeybell Floral. I adhered the die cut pieces with more felt glue, arranging them around my duckling.

To add a little shimmer to my arrangement, I used some metallic embroidery floss and beads to add some berry sprigs in my floral arrangement, as well as adding yellow beads to the stamens of the blooms. I cleaned up the back of the hoop by hot glueing the excess fabric on the back as well as a felt die cut circle, cut using the Simon Says Stamp Nested Circles dies and adhered with my hot glue gun. I think this turned out so cute and would make perfect nursery decor!

Well, that’s all for my project today! I love playing with felt and finding new ways to use my papercrafting dies. Thanks so much for stopping by today, and have a marvelous day!

Filed Under: simon says stamp Tagged With: baby gift, cute duckling, embroidery, felt, fresh crocus, honeybell floral, jaunty stem, little bows

Primary Sidebar

  • Facebook
  • Instagram
  • Pinterest
  • YouTube

Favorite Shops

Secondary Sidebar

Subscribe

Enter your email address to subscribe to this blog and receive notifications of new posts by email.

Instagram
Something is wrong.
Instagram token error.
Follow
Load More

Archives

Tags

3D embossing folder alcohol markers better press birthday birthday card blog hop card kit christmas christmas card christmas tag colored pencil copic copic coloring Daniel Smith die cutting embossing folder embroidery felt giveaway holiday holiday card hot foil ink blending karin brushmarker pro layered stencil masculine my monthly hero new release no line coloring no line watercolor OLO marker olo markers original illustration pawsitively saturated rainbow shaker card slimline stamping stamptember stencil thank you thinking of you valentine's day video watercolor

Popular Posts

Simon Says Stamp Sending Cheer Release: Now Available!
Joyful Snowman with New Simon Says Stamp Sending Cheer Release!
Autumn Legs with Colorado Craft Company and Catherine Pooler!
February 2018 My Monthly Hero Blog Hop!
Altenew Paint A Flower: Carnation Blog Hop+Giveaway!
Special Release: Simon Says Stamp Limited Edition STAMPtember Christmas Card Kit!
Altenew March 2020 Release Blog Hop+Giveaway!
Pinkfresh Studio 5th Birthday!
Pinkfresh Studios June Washi and Stamp Release Blog Hop!
Advent Calendar Extravaganza with Taheerah Atchia

Disclosure

Some affiliate links are used in my posts. This means that, should you click on one of my links and purchase something from that company, I will receive a small portion of the sale at no extra cost to you. I use the money earned from these sales to help maintain my blog. I so appreciate you visiting and, if you do choose to use one of my affiliate links, thank you so much for your support!
Copyright © 2026 ·Brunch Pro Theme · Genesis Framework by StudioPress · WordPress · Log in
Loading Comments...