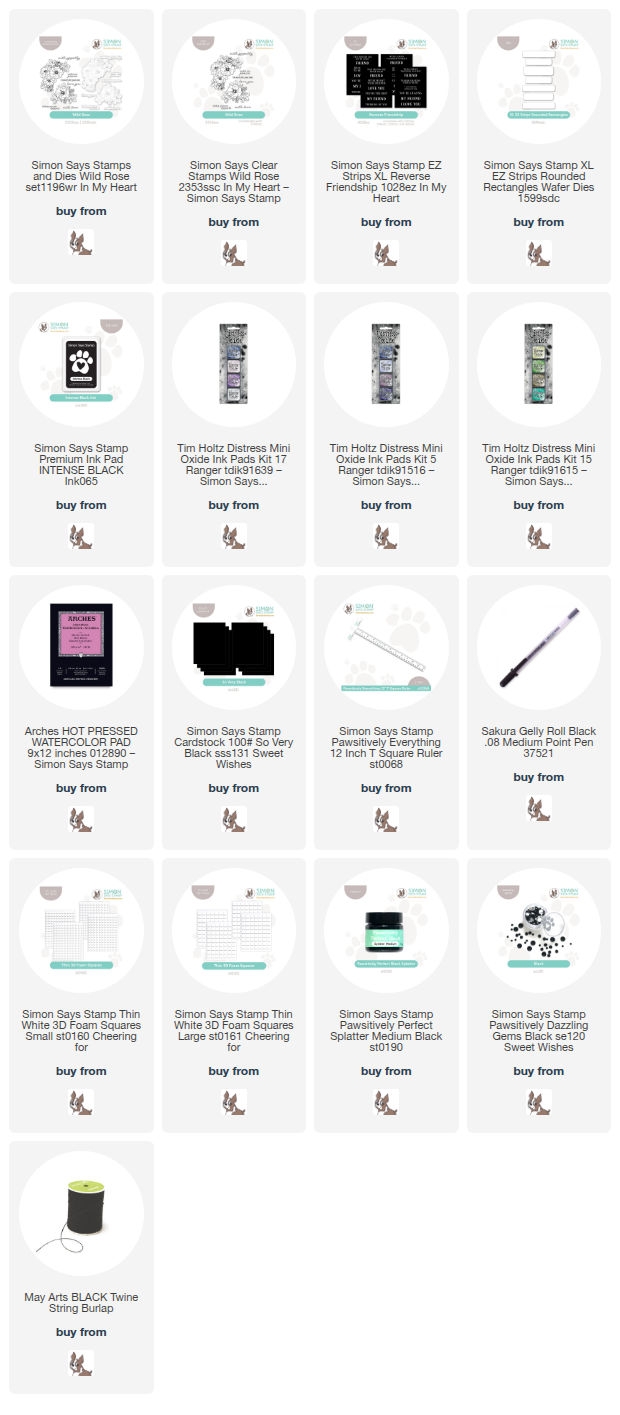
This post was sponsored by Simon Says Stamp. Thanks, Simon! *I have gathered links to all of the products used at the bottom of the post for your convenience, using affiliate links at no extra cost to you. Thank you for shopping with my links! I truly appreciate your support for my work!*

Hello friends! The new Simon Says Stamp In My Heart release is now live and ready to spark your creativity! (Click HERE to see the entire new release!) These springtime releases are filled with all kinds of things that I love: flowers, butterflies, textures, poignant sentiments… but I am especially excited when one of these releases features a new stamp set that I’ve designed. My new Wild Rose stamp set (click HERE to see the whole set!) features two large bouquets of wild roses with clusters of eucalyptus and some dainty filler flowers to create lush nosegays of blooms! I love creating large bouquets that you can use as a focal point to practice coloring or that you can use as simple stamped images to create a pretty background. For today’s project, I used the larger bouquet to create an A7 watercolored panel. Let’s get started on the details for my project!

To begin, I placed the larger bouquet from Wild Rose in the corner of a 4.75″ x 6.75″ panel of hot press watercolor paper (hot press=smooth surface) inside my MISTI, then stamped the image using Simon Says Stamp Intense Black Ink, which works nicely with water media, then rotated the panel inside my MISTI 180* so that the opposite corners had switched and stamped the image again. This leaves me with two large bouquets in opposite corners! After I had stamped the images and given them a few minutes to dry completely, I used Distress Oxide inks to watercolor the images. Did you know that you can watercolor with Oxide inks the same way that you can with regular Distress Inks? Simply tap the inkpad onto your palette or glass mat, then pick up the color with your damp paintbrush and apply it to your watercolor paper! The Oxide inks create a slightly opaque, almost velvety effect on your watercolor paper.

After I had finished watercoloring the images, I used my Simon Says Stamp T-Square and a black pen to add a frame around my florals, which I think helps make the panel look more polished and intentional! I added some opaque gold gel pen to the stamens of the open flowers and splattered some Simon Says Stamp Pawsitively Perfect Black Splatter Medium on the panel as well, highlighting the crisp black stamped lines of the stamped images. I typically like to use floral stamps with no-line coloring ink, but wanted to do something a bit simpler for this project (no-line watercolor can be somewhat fussy) and so decided to lean in to the black lines by adding multiple black accents to make the black lines pop!

To complete the card, I mounted the watercolor panel to a full sized A7 panel of So Very Black cardstock using Tear-rifically Tacky Tape, which helps to minimize any warping that might occur during watercoloring. For the greeting, I die cut the new Reverse Friendship XL EZ sentiment cards with the new XL EZ Strips Rounded Rectangles, selected one, and mounted it in the center of the watercolored panel with some thin foam adhesive squares. Finally, I added two more touches of textured black accents with some Black Pawsitively Dazzling Gems and a black twine bow tucked beneath the sentiment strip!
Well, that’s all for my project today! The new In My Heart release (click HERE to see the entire new release!) has so many marvelous products and truly inspired tons of creativity for me. I can’t wait to share the other projects that I’ve created with you! Thanks so much for stopping by today, and don’t forget to come back for the blog hops tomorrow and Saturday! Have a marvelous day!