• Skip to main content
  • Skip to primary sidebar
  • Skip to secondary sidebar

Sixth Street Sundries

Emily Midgett

  • Home
  • About Me
  • Contact
  • OLO Marker Color Swatch Chart
  • Shop

distress watercolor

Chinoiserie Inspiration with New Simon Says Stamp!

June 18, 2025

This post was sponsored by Simon Says Stamp. Thanks, Simon!

Hi friends! I recently watched a video on Instagram showcasing an ancient enameling technique in which the artisan bent copper strips to create an incredibly ornate design on a porcelain vase, then crushed colorful enamel into powder and carefully placed it inside each element of the pattern, firing the finished product to melt the enamel and create an exquisite enameled vase! I found the finished product enchanting, and so I decided to try to recreate it with my cardmaking products, adding some watercoloring and die cutting into the mix. Let’s get started with the details!

*I have gathered links to all of the products used at the bottom of the post for your convenience, using affiliate links. Thank you for shopping with my links! I truly appreciate your support for my work!*

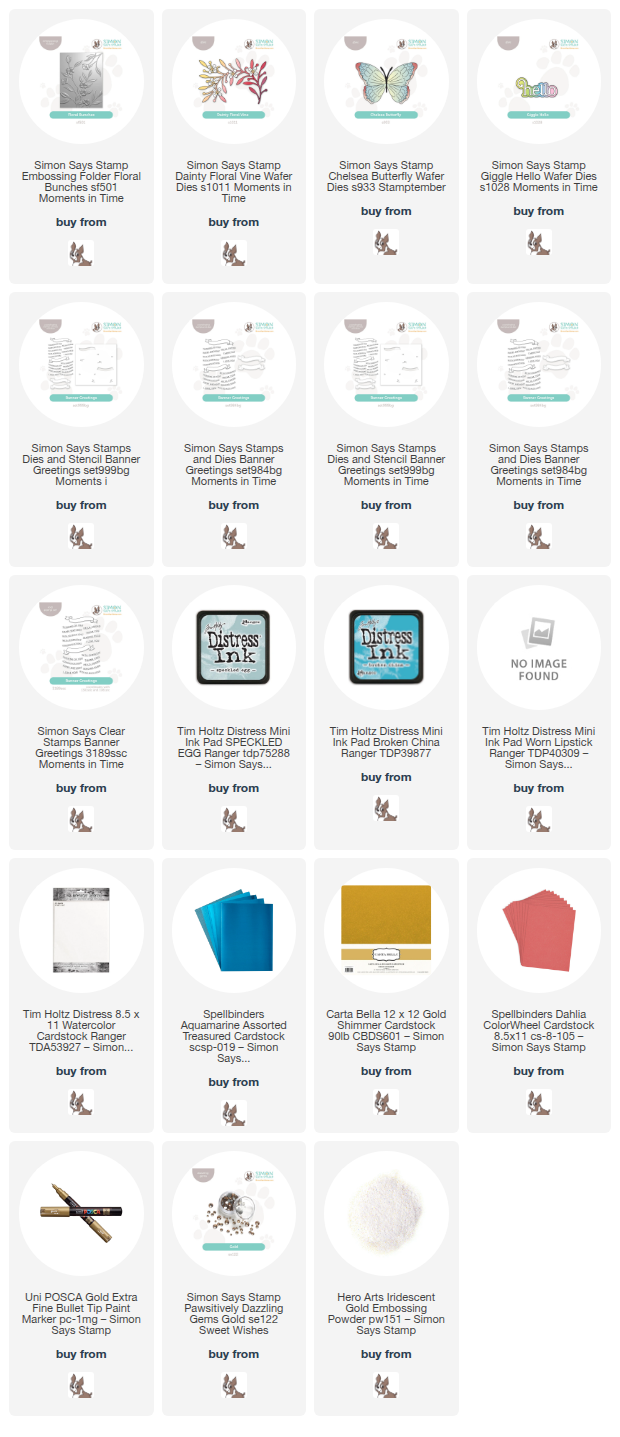
I began by running an A2 panel of Tim Holtz Distress Watercolor Cardstock through my die cutting machine using the new Floral Bunches Embossing Folder. I then used Speckled Egg, Broken China, Worn Lipstick Distress Ink Cubes to do some watercoloring on this pretty floral background, tapping the color out on my glass mat and picking up the diluted color with my damp paintbrush. I always forget how fun it is to watercolor with my Distress Inks… I need to do it more often! I used Broken China to create a hazy blue background, then used Speckled Egg for the foliage and Worn Lipstick for the blooms, creating a colorful floral background. To take it to the next level, I used a gold acrylic paint pen around the edges of the embossed images. It’s so hard to photograph the shine, but it’s amazing in real life!

To add to the detailed background, I die cut the Chelsea Butterfly from pearlescent white cardstock and the details from teal mirror cardstock, coordinating with the lovely teal watercolored background. I also die cut the new Giggle Hello die from pearlescent gold and vellum cardstocks, layering the two together with liquid adhesive. To complement the simple hello greeting, I used the fabulous new Banner Greetings product suite, which includes stamps, stencils, and coordinating dies! I heat embossed the sentiment using Iridescent Gold embossing powder, then blended Speckled Egg ink with the stencils to add some extra dimension and color to the image, finally cutting it out with the coordinating die.

Before adhering my die cuts and sentiment pieces, I decided to add one final die cut element, cutting the foliage from the Dainty Floral Vine from pearlescent gold cardstock and the blooms from Spellbinders Dahlia cardstock. I adhered the die cuts in a cluster on the patterned card front using a combination of liquid and foam adhesive, creating lots of dimension and layers on this card. Finally, I added a few Gold Pawsitively Dazzling Gems for one last sparkling touch!

Well, that’s all for my projects today! It’s amazing how inspiration can strike from the most random videos that pop up in your social media feed, right? I’m so glad that I saw that video about the enameled vase, not only because it inspired this card, but it showed me that art can be timeless and a worthwhile skill to hone! Thanks so much for stopping by today, and have a marvelous day!
Filed Under: simon says stamp Tagged With: banner greetings, chelsea butterfly, chinoiserie, dainty floral vine, die cutting, distress ink, distress watercolor, embossing folder, floral bunches, giggle hello, watercolor

Limited Edition: Simon Says Stamp Easter Kit!

February 20, 2024

This post was sponsored by Simon Says Stamp. Thanks, Simon!

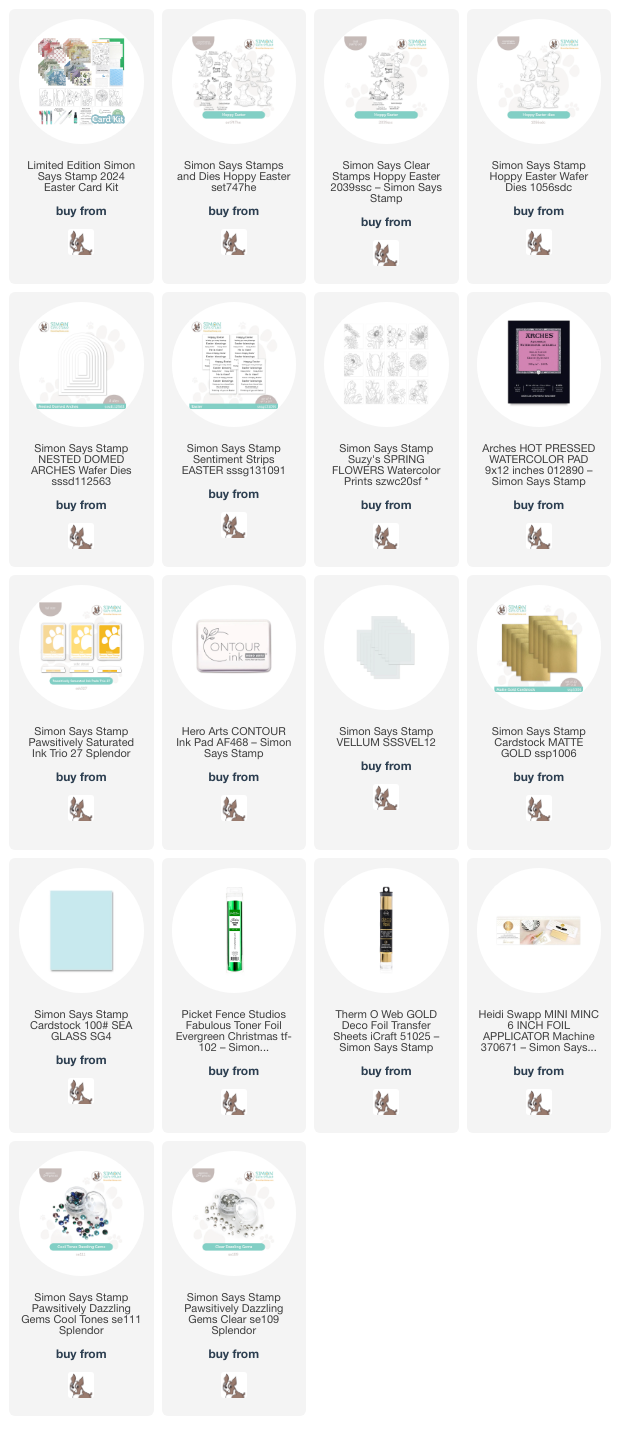
Hi friends! Simon Says Stamp released a special surprise tonight: a brand new Limited Edition Easter Kit! This kit is absolutely packed with product that is perfect for creating your Easter and springtime cards. Here’s a rundown of everything included in the kit:

NEW and EXCLUSIVE Simon Says Stamp Hoppy Easter 6×8 inch clear stamp set
NEW and EXCLUSIVE Simon Says Stamp Bunny Embossing Folder and Die 
24 double-sided 5×6 inch sheets of Tim Holtz Idea-ology Backdrops Volume 5 Assortment 
1 Simon Says Stamp Easter Sentiment Strip Sheet
5 white pom poms (bunny accents!)
Set of 6 Simon Says Stamp Suzy Watercolor Cards in a Floral Assortment
1 Detail Watercolor Brush Pen
2 A2 Scored Watercolor Notecards
1 Package of Ranger Tim Holtz Distress Holiday Pearl Crayons (including Sugary Gumdrop, Wonderland, and Frosty Mint)
1 Simon Says Stamp Exclusive 3×4 inch acrylic block
1 Ranger Pipette
1 bottle of Tim Holtz Ranger Merry Mint Mica Spray Stain
1 Sheet of 8.5 x 11 Inch Simon Says Stamp Pawsitively Velvet Cardstock in Snow White (perfect for bunnies!)
1 Sheet of 8.5 x 11 Inch 65 LB Cardstock in Gamma Green

Wowzers, such a lot of value packed into this kit for only $59.99! These kits are limited edition, meaning that they won’t be restocked, so if you’re in love with these elements, you will not want to miss out on this exceptional value! I have three cards to share with you today using lots of different components from the kit, so let’s get started with the details!

Nothing screams spring to me quite like seeing those cheerful yellow daffodils that pop up all over the place in early spring. The entire kit has tons of daffodils in the different elements, and ach of my cards features a daffodil in some form, whether it is at the feet of the sweet little Easter egg-hunting girl, the bunny hiding behind the bloom, or as the large focal point on one of Suzy Plantamura’s exceptionally lovely watercolor cards! I used Distress Inks to watercolor all of my images today, which I tapped out onto my palette and picked up with my damp paintbrush.

For my first card, I did some no-line watercoloring with some of the stamped images from the Hoppy Easter stamp set found in this Limited Edition Easter Kit. I stamped her using Contour Ink onto hot press watercolor paper, then used lots of different springy shades of Distress Inks to do some no-line watercoloring, adding some fine tipped black pen to her eyes, mouth, and tag, as well as some sparkly watercolor details and dots for added interest! I used the Hoppy Easter coordinating dies to cut the finished image out.

The Limited Edition Easter Kit also contains a wide variety of beautiful patterned papers with a beautiful vintage aesthetic. I selected three of my favorite papers in varying patterns and colors, then used my trimmer to cut down some thin strips from each paper, as well as with the white velvet paper included with the kit. I laid all of the strips down on my white A2 card base, keeping the patterns that contrasted the most next to each other to keep things from being too busy. To help ground my little watercolored Easter egg hunter, I trimmed down a block of vellum and mounted the watercolored die cut to the vellum, along with a sentiment from Hoppy Easter. To hide the foam adhesive, I flipped the vellum rectangle over and added some foam squares to the back of the solid die cuts, then adhered the entire thing to the center of the card front. Finally, I added a few Pawsitively Dazzling Clear Gems for some sparkle!

For my second card, I watercolored the precious little bunny from the Hoppy Easter stamp set using some more Distress Inks, cutting her out with the coordinating dies. Isn’t the expression on the bunny’s face so adorable? To ground the shy little bunny, I used a leftover Nested Domed Arches die cut around the edge of which I blended the new Pawsitively Saturated Trio 27. I added some strips of the papers included with the Limited Edition Easter Kit to create “grass,” as well!

For the background and the greeting, I took advantage of the fact that the Easter Sentiment Strip sheet and Suzy’s Watercolor Cards that are included with the Limited Edition Easter Kit are both toner foil-friendly! I ran both the sentiment strips and the crocus watercolor card through my Minc using some kelly green foil that coordinated perfectly with the green accents on my watercolored image, adding some beautifully shiny foil accents to the card! I splattered the crocus background with the Merry Mint Mica Spray Stain to add some more metallic green shine to the card. I popped up the arch die cut with the bunny and patterned paper strips using some foam adhesive, then popped up the sentiment strips on the arch with some more foam adhesive, finishing everything off with the Pawsitively Dazzling Clear Gems.

My last card takes advantage of the toner foil-friendly printing on Suzy’s Watercolor Cards included in the Easter Kit. I ran the gorgeous daffodil panel through my Minc using gold foil, adding some lovely shine to the crisp black lines! I used Distress Inks in shades of Scattered Straw, Wild Honey, Spiced Marmalade, Rustic Wilderness, and Speckled Egg, tapped out onto my palette and picked up with my damp paintbrush. Because these cards are printed on Distress Watercolor Paper, they work beautifully with Distress Inks! After I finished watercoloring the image, I trimmed the watercolor panel down and matted it on a slightly larger panel of Simon Says Stamp’s Matte Gold foil cardstock, framing those two pieces on a full A2 panel of Sea Glass cardstock.

For the greeting, I chose to allow the watercolored background image to be the star of the show, selecting a small Happy Easter greeting from Hoppy Easter, which I heat embossed in gold on some more Sea Glass cardstock and fussy cut with my sharp scissors. I popped the greeting up with some foam adhesive, then finished off my “rule of three” for metallic accents with a gold twine bow tucked beneath the sentiment. Finally, I added a few pale blue gems from the Pawsitively Dazzling Cool Tones gem set for even more sparkle!

Well, that’s all for my projects today! The exceptional value in this new Limited Edition Easter Kit is fantastic, so if you are loving it, don’t wait, because it won’t be restocked! Thanks so much for stopping by today, and have a marvelous day!

Filed Under: simon says stamp Tagged With: distress inks, distress watercolor, easter, hoppy easter, nested domed arches, no line watercolor, suzy's spring flowers, toner foil

With Love on Valentine’s Day!

February 14, 2024

This post was sponsored by Simon Says Stamp. Thanks, Simon!

Hi friends! Happy Valentine’s Day! I hope you feel loved today! I am not really huge on hearts; if I’m going to use a basic shape, I’d rather use something a bit more neutral. But, on a day celebrating love, hearts are pretty much the only shape that counts, right? When I was looking through the stamps which I’ve illustrated for Simon Says Stamp, I saw the floral heart in my Mother’s Day Dogwood set and knew that I needed to make a valentine out of it! Let’s get started with the details.

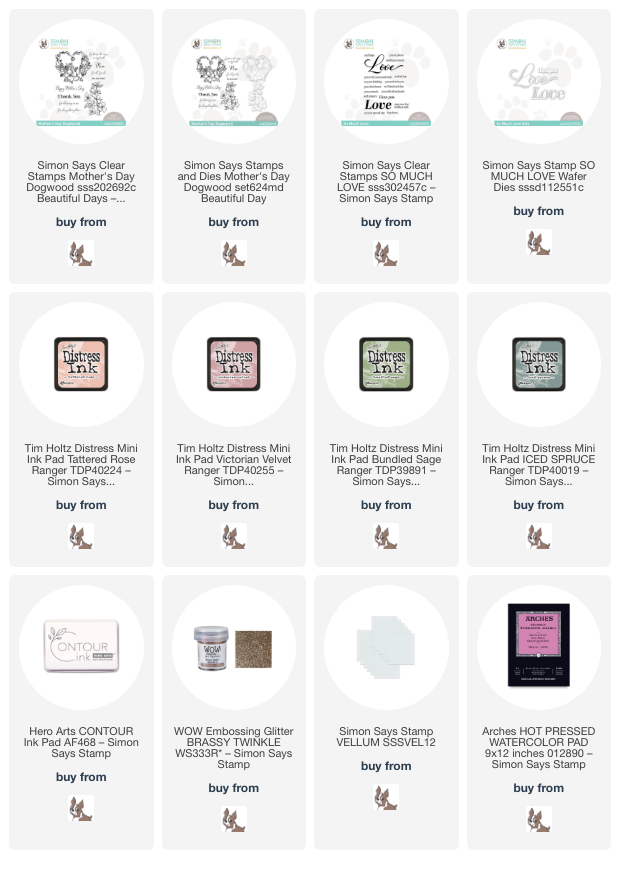
I began by stamping the dogwood heart arrangement from Mother’s Day Dogwood onto some Arches hot press watercolor paper using Contour ink, which is my favorite ink for use with no-line watercolor and alcohol marker coloring techniques. I have really been enoying using Distress Inks for watercoloring lately, so I pulled out my Distress Minis and selected several colors in muted shades of blush and olive green. For today’s project, I used Tattered Rose, Saltwater Taffy, Victorian Velvet, Bundled Sage, and Iced Spruce. I tapped them out on my palette, then used a damp paintbrush to pick the colors up and maneuver them around on my smooth watercolor cardstock. I find that hot press watercolor paper works beautifully with liquid watercolor mediums like the Distress Inks or Karin markers, while the super smooth surface picks up stamped details really well!

After I had finished watercoloring the image, I wanted to take advantage of the coordinating dies for the Mother’s Day Dogwood set to create a shaped card. I die cut the finished image, then trimmed down a piece of cardstock to create a small 3″ x 3.5″ card. I placed the heart die over the seam of the folded notecard and ran it through my die cutting machine so that it would create a shaped notecard. On the interior, I stamped a greeting from the So Much Love stamp set, which would be hidden behind the solid portion on the heart die cut. Such a fun way to take advantage of these detailed dies!

For the greeting on the front, I stamped the scripty “love” from the So Much Love stamp set onto Simon Says Stamp vellum using glittery embossing powder, then die cut it with the coordinating die. I adhered the greeting die cut to the front of my card using small dots of liquid adhesive, making sure to overlap the top portion of the die cut with the top of the floral heart image, adding some more stability to the delicate shaped card. For a final accent, I added a few dots of super sparkly metallic watercolors to the centers of the flowers and the dainty baby’s breath!

Well, that’s all for my project today. I hope you’ll try making a shaped card base the next time you need a special card… it really makes the project extra special and exciting! Thanks so much for stopping by, and Happy Valentine’s Day!

Filed Under: original illustrations, simon says stamp Tagged With: distres ink, distress ink, distress watercolor, mother's day dogwood, no line watercolor, original illustration, shaped card, valentine, valentine's day

Songs of the Season, January 2024: There’s No Place Like Home for the Holidays!

January 25, 2024

This post was sponsored by Simon Says Stamp. Thanks, Simon!

Hi friends! I’m back with this month’s installment of Songs of the Season- holiday cheer throughout the year, inspired by the songs of Christmas! Music was such a huge part of my life for so long that it seems appropriate for me to combine my past with my present. I am not ashamed to say that I have my Christmas decorations still up; we will be taking them down this weekend, but I couldn’t resist leaving the glow and festiveness of the lights up for just a couple more weeks after Christmas. This month’s song is a classic: There’s No Place like Home for the Holidays by Perry Como. Listen to it below:

The song reminds me of Christmas at my Grammy and Papa’s house as a child; my uncles and their families all lived in different parts of the country, but each Christmas, they would pack up and descend on our hometown to spend the Christmas holidays with us. It never truly felt like Christmas until they arrived, and as an adult, I still yearn for that kind of gathering, though we are all scattered all over the globe.

“Oh, there’s no place like home for the holidays,
’cause no matter how far away you roam,
if you want to be happy in a million ways
For the holidays, you can’t beat home sweet home.”

I suppose it is now my husband’s and my job to create that sense of family for our little ones, and I strive to create those kinds of precious memories for our kiddos!

“Tiny houses” are more than just a building trend; they are everywhere in the stamping world, too! Simon Says Stamp has a few different sets that feature some adorable houses, and today I created snowy little villages using different techniques to create t both a simple A2 card and a more involved A7 card. Today’s projects feature two different holiday house sets from Simon Says Stamp: Home For Christmas and Cozy Christmas. The Home For Christmas set features simple layered stamps that would be great for mass production, while the Cozy Christmas Set features outline images that are perfect for coloring both as simple images with black lines as well as the no-line watercoloring that I’ve chosen to do today. I kept both projects to a simple, festive, modern color scheme with cherry red, mint, and coral, with plenty of sparkle and shine added in for festive measure.

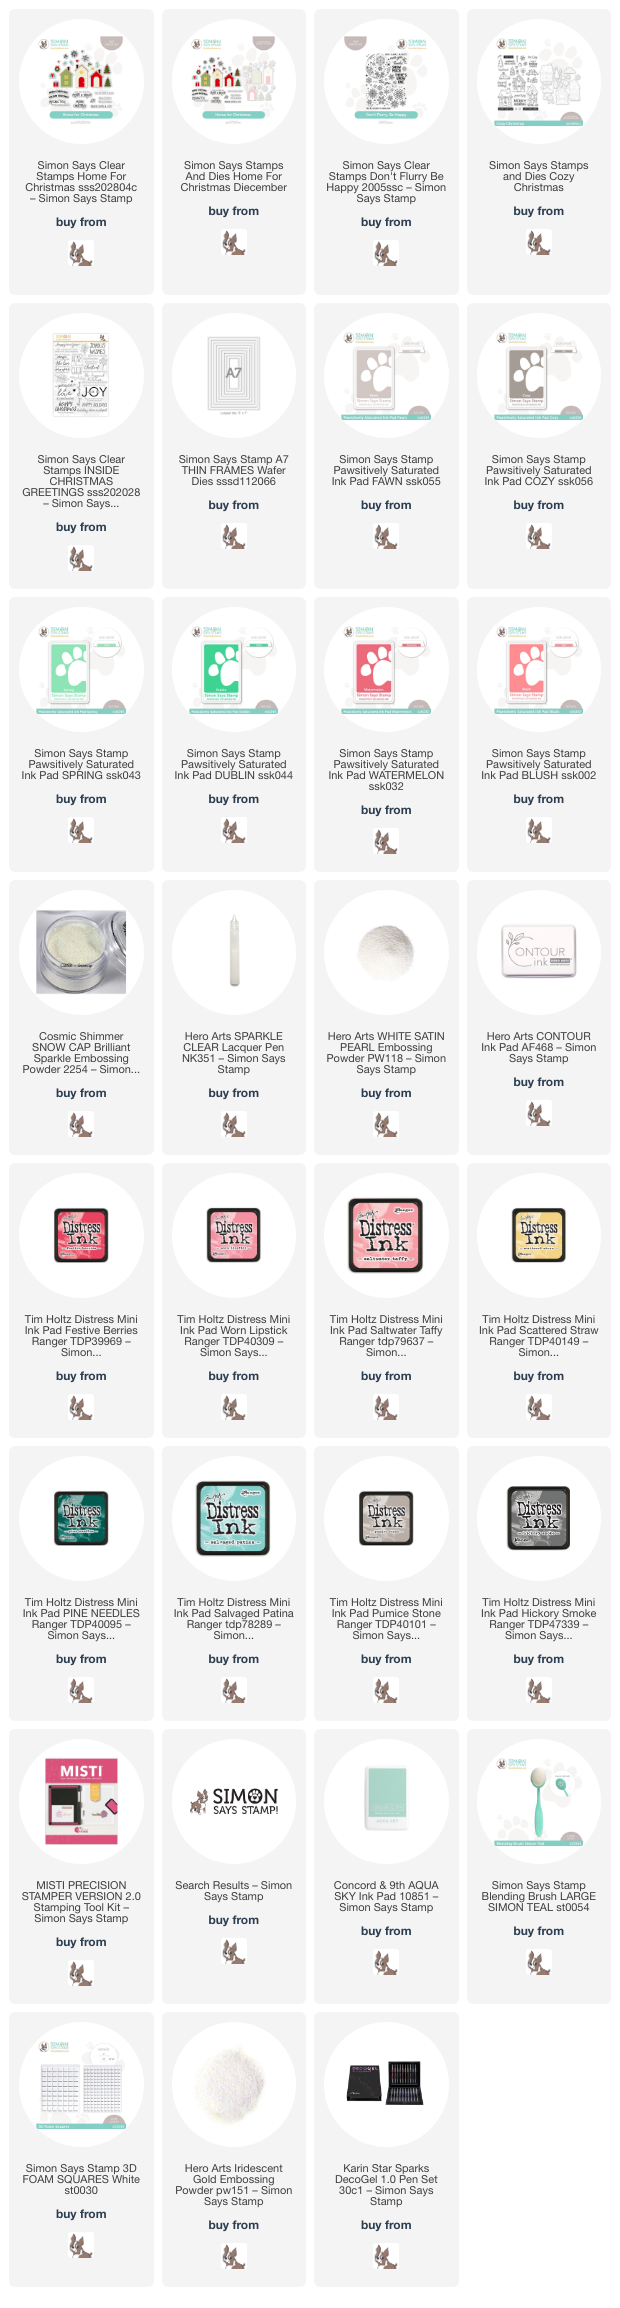
For my first, somewhat simpler card, I used the Home For Christmas set with bunches of Pawsitively Saturated Inks: Fawn, Cozy, Spring, Dublin, Watermelon, and Blush, stamping each layer in just the right spot by using my MISTI. I also stamped a couple of greetings from the set using the dark gray ink to keep things a bit lighter than if I’d chosen to use stark black ink. I die cut each image using the coordinating dies, fussy cutting the curved sentiment with my sharp scissors.

For the background, I wanted to create a bit of a snowglobe illusion, so I stamped the circular snowflake image from Don’t Flurry Be Happy onto my white card front using embossing ink and white satin pearl embossing powder. The shine from the pearlescent embossing powder helps the embossed image stand out just enough from the white background so as to add some subtle texture and pattern behind my little neighborhood. I arranged my cluster of houses and holiday decor on my card front, popping them up with foam adhesive. For some snowy sparkle, I used white glitter with the Hero Arts Sparkle Lacquer pen. I love the shimmering texture this adds to the card without adding tons of bulk!

For my second card, I wanted to create a vintage feel with some no-line watercolored images, so I stamped several of the images from the beautiful Cozy Christmas Set onto watercolor paper using Contour Ink. I then pulled lots of different Distress Ink cubes to finalize my color palette: Festive Berries, Worn Lipstick, Saltwater Taffy, Scattered Straw, Pine Needles, Salvaged Patina, Pumice Stone, Hickory Smoke. Watercoloring with Distress Inks is such fun; the incredible vibrance and super easy blending make them really easy to use for both beginning watercolorists and experienced watercolorists alike. I simply tap my ink pads on a ceramic palette or plastic plate (your glass craft mat would work, as well!) and pick up the color with my damp paintbrush as I would from pan paints! The color moves beautifully on the paper and reacts so well with water, making it ideal for no-line coloring.

(Also, just FYI-Simon Says Stamp is celebrating 20 Years of Distress with a contest over on Instagram. You can check out all of the details HERE. There is a $500 gift card giveaway *every month*!!! Don’t miss out!)

After I had finished watercoloring my images, I turned my attention to the card base. I wanted to keep things super simple so that my vibrant neighborhood was the star of the show, so I selected a gold foil frame cut using the A7 Thin Frames, making the canvas for my scene a bit smaller and less intimidating. Before I adhered the frame, I masked off the edges on three of the sides of my A7 card front and blended some Concord and 9th Aqua Sky ink using a blending brush. I removed the masking tape around the edges, adhered my gold frame, and popped up the houses in a row using foam squares.

I popped up a greeting from the Inside Christmas Greetings which I embossed using Iridescent Gold embossing powder from Hero Arts, tucking it neatly behind the little car with it’s Christmas tree. To add a little extra sparkle, I added some white glitter to the watercolored snow using a Hero Arts Sparkle Lacquer pen and embellished the ornaments and gifts with some Star Sparks Decogel pen.

I absolutely adore how this card turned out!! The A7 canvas helps to keep the houses from feeling too crowded, and the intricate watercoloring makes such an impact.

Well, that’s all for my projects for this month’s installment of Songs of the Season. If you want some more holiday inspiration, check out my friend Jenn’s Get Cracking on Christmas challenge! I love having any excuse to keep my Christmas craft supplies out all year long! Thanks so much for stopping by today, and have a marvelous day!

Filed Under: simon says stamp Tagged With: A7 thin frames, christmas card, cozy christmas, distress ink, distress watercolor, don't flurry be happy, holiday card, home for christmas, songs of the season, watercolor

Dramatic Black, Red, and Gold for Christmas!

November 30, 2023

This post was sponsored by Simon Says Stamp. Thanks, Simon!

Hi friends! I am back with another project using one of my new holiday illustrations for Simon Says Stamp: Festive Bouquets. I was on a roll with the vibrant red lilies when I was coloring a couple of weeks ago; I used OLO markers to create this vivid bouquet for THIS post, but for today’s project, I used Distress Inks to watercolor these bold blooms. Let’s get started with the details!

To start, I heat embossed the lily bouquet from the Festive Bouquets set onto some Fabriano Artistico Cold Press watercolor paper using gold embossing powder. Next, I tapped Barn Door, Aged Mahogany, and Forest Moss Distress Inks onto my palette and picked up the color with my damp paintbrush to add some vibrant watercolor! Once I’d finished watercoloring the images, I tapped Black Soot ink on my palette and did a wash around the edge of the embossed image. I knew that I wanted a black background behind the die cut watercolored image, and adding the black around the edges helps keep the color palette cohesive throughout the project even after die cutting.

After I had finished my watercoloring, I turned to the card base. The lily bouquet in the Festive Bouquets set is quite generously-sized, making it perfect for use with larger card sizes. I trimmed down a panel of Rainbow Splash black to A7 size, then masked around the edges using Satin Masking Tape. I placed the Snow Pattern stencil over the masked area, keeping it in place with a few pieces of washi tape, then spritzed Tim Holtz Mica Spray in Tart Cranberry and Tarnished Brass over the top of the stencil. These beautiful Mica Sprays are opaque enough that they add a subtle shimmer and color to even black cardstock. (Bonus: you can get the super cute Walter the penguin die as a free gift with purchase if you purchase $25 of Tim Holtz product, which includes these fabulous Mica Sprays!)

Once my stenciled pattern had dried and I’d removed the masking tape around the edges, I die cut the A7 Thin Frames dies from Matte Gold Metallic foil cardstock. I always keep my Thin Frames dies wired together, rather than snipping them apart, so that I can create a variety of widths of frames with just one pass through my die cutting machine! I found a frame to cover the edges of the stenciled area and adhered it, then added a slightly larger thinner frame to nest around the outer edge of my stenciled frame. I die cut some Airy Pine Needles using gold glitter cardstock, then added the flowers and pine needles on the top corner of my card using foam adhesive. I added some gold embossed and die cut sentiments from Festive Bouquets using some more foam adhesive, finishing everything off with some matte gold pearl embellishments.

Well, that’s all for my project today! Can you believe that DieCember starts tonight at midnight? I’m so excited to share all of the projects I’ve been creating lately! Thanks so much for stopping by, and have a marvelous day!

Filed Under: original illustrations, simon says stamp Tagged With: A7 thin frames, airy pine needles, distress watercolor, festive bouquets, mica spray, snow pattern, stencil

  • Page 1
  • Page 2
  • Go to Next Page »

Primary Sidebar

  • Facebook
  • Instagram
  • Pinterest
  • YouTube

Favorite Shops

Secondary Sidebar

Subscribe

Enter your email address to subscribe to this blog and receive notifications of new posts by email.

Instagram
Something is wrong.
Instagram token error.
Follow
Load More

Archives

Tags

3D embossing folder alcohol markers better press birthday birthday card blog hop card kit christmas christmas card christmas tag colored pencil copic copic coloring Daniel Smith die cutting embossing folder embroidery felt giveaway holiday holiday card hot foil ink blending karin brushmarker pro layered stencil masculine my monthly hero new release no line coloring no line watercolor OLO marker olo markers original illustration pawsitively saturated rainbow shaker card slimline stamping stamptember stencil thank you thinking of you valentine's day video watercolor

Popular Posts

Simon Says Stamp Sending Cheer Blog Hop- Day 2 + Freebie + Giveaway!
Altenew October 2026 Release Blog Hop + Giveaway!
Rustic Monochromatic Stars for Christmas with Rainbow Splash!
Waffleflower July Release Blog Hop!
Hero Arts Partners Blog Hop: Lawn Fawn!
March 2020 Essentials By Ellen Blog Hop+Giveaway!
December 2018 My Monthly Hero Blog Hop + Giveaway!
The Ton Stamps Summer Release: Day 1
The Ton Anniversary Release: Day 1!
Altenew Paint A Flower: Carnation Blog Hop+Giveaway!

Disclosure

Some affiliate links are used in my posts. This means that, should you click on one of my links and purchase something from that company, I will receive a small portion of the sale at no extra cost to you. I use the money earned from these sales to help maintain my blog. I so appreciate you visiting and, if you do choose to use one of my affiliate links, thank you so much for your support!
Copyright © 2026 ·Brunch Pro Theme · Genesis Framework by StudioPress · WordPress · Log in
Loading Comments...