Hi friends! I am hopping along with Pinkfresh Studio today to share inspiration using the beautiful new July 2023 Stamp, Die, and Stencil Release! You can see the full hop list at the bottom of this post. There’s a little something for everyone in this release, but I was particularly enamored with the gorgeous new Dotted Chevron Cover Plate Die (PFS | SSS) and Thanks For Being There Stamps (PFS | SSS), Stencils (PFS | SSS), and Dies (PFS | SSS). I created two different projects with coordinating colors to create a sweet little card set, so let’s get started with the details!

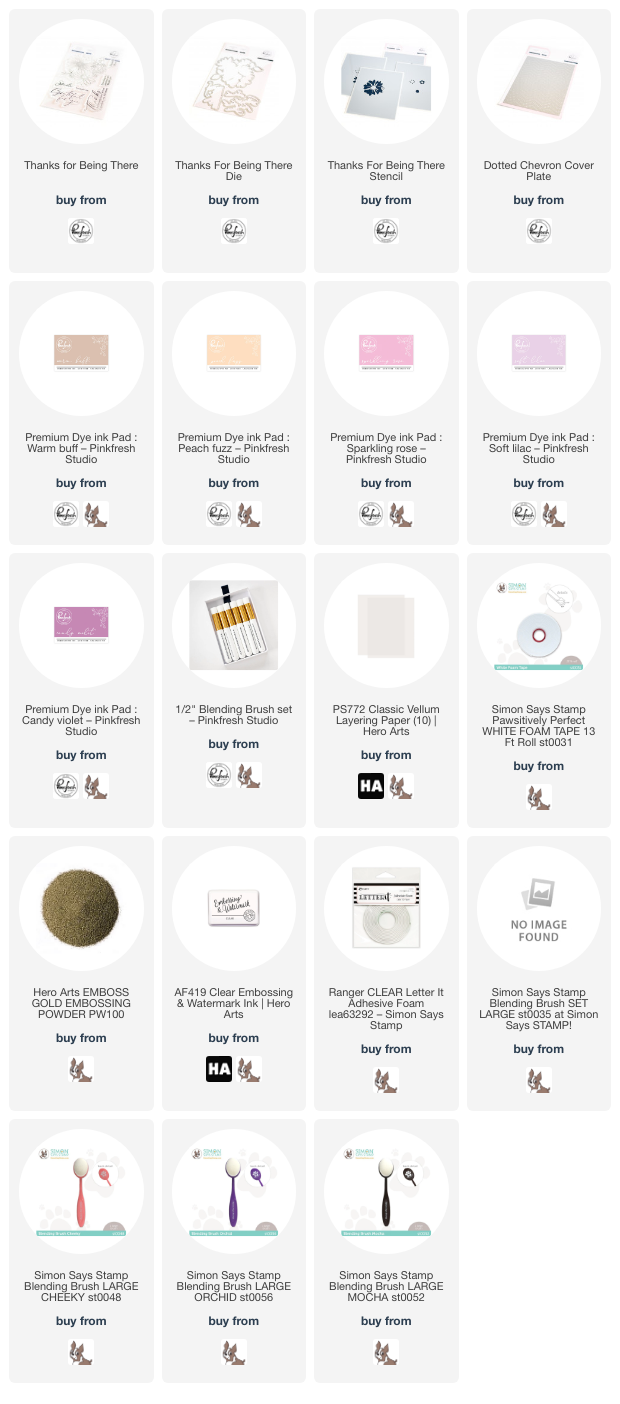
When I am working with new product, one of the first things that I figure out is a color scheme. I went to my Pinterest color combo board searching for something unique and stumbled upon a gorgeous, warm sunset gradient. I matched the colors to 5 of Pinkfresh Studio’s inks: Warm Buff, Peach Fuzz, Sparkling Rose, Candy Violet, and Soft Lilac. I based both of my cards around these beautiful colors!

For my first card, I began by blending a gradient using blending brushes and Warm Buff, Peach Fuzz, Sparkling Rose, Soft Lilac, and Candy Violet inks onto a full size slimline card front. I always seem to forget about Warm Buff, but it really does go with so many different and unexpected color combinations. After I had gone over the blending a couple of times to make sure that the colors moved smoothly into each other, I used the new Dotted Chevron Cover Plate Die (PFS | SSS) to create a textured patterned background.
This die is technically sized for an A2 card front, so I had to do a little finagling to get the entire slimline panel covered with the pattern. I basically die cut the entirety of the cover plate over as much of the cardstock as possible, then placed the panel approximately where the pattern would work seamlessly and kept it in place with some light tack tape while I ran it through my die cutting machine. I didn’t get it perfect, but I was able to cover up the imperfect spots sufficiently with other die cuts! After die cutting, I splattered some sparkling gold watercolors on the background for some added texture and shimmer.

To adorn my colorful textured background, I gold embossed the beautiful floral image from Thanks For Being There (PFS | SSS) several times onto some heavyweight vellum. I love using detailed images like this on vellum; the embossing is super smooth, and the details are heavenly! I die cut the embossed images using the Coordinating Die (PFS | SSS). To add another element of sparkle, I used my trimmer to cut down a glittering gold frame for the background, which I popped up on the blended slimline card front using foam adhesive.

For the greeting, I heat embossed one of the beautiful sentiments from Thanks For Being There (PFS | SSS) onto some coordinating fuchsia cardstock using more gold embossing powder to coordinate with the gold floral images. I arranged the floral die cuts so that they were dripping down the card front and adhered them with clear foam adhesive. I tucked the greeting die cut amongst the flowers on the peachy top side of the background so that it would pop!

My second card features the same ink shades, this time used with the Thanks For Being There Stamps (PFS | SSS) and Stencils (PFS | SSS). I began by stamping a patterned background using the outline stamp from the Thanks For Being There Stamp set (PFS | SSS) and Warm Buff ink. To create a full background pattern using one stamp, I make sure to rotate the stamp and stamp the image at different angles, allowing it to fall off the edges of the cardstock to ensure that the pattern doesn’t become repetitive.

Once I had finished stamping the background pattern, I used Warm Buff, Peach Fuzz, Sparkling Rose, Soft Lilac, and Candy Violet inks with the new Thanks For Being There Stencils (PFS | SSS). This color combination with the floral pattern reminds me of a classy, kinda groovy pattern from the 70’s! I used the Pinkfresh Studio 1/2″ Blending Brushes to add some extra details to the centers of some of the flowers and on the smaller images. Once I had finished blending, I used the Coordinating Die (PFS | SSS) to cut out the flowers. Because I had stamped them along the edges of my card front, I knew exactly where to place them when I assembled the card!

I wanted to add extra dimension to my card front, so I trimmed down a 3.75 x 5″ white panel of cardstock, then adhered my stenciled floral die cuts to the panel with foam adhesive. I used some more foam tape to adhered this smaller panel to a full size A2 panel of white cardstock, creating tons of height and dimension. I heat embossed another greeting from Thanks For Being There (PFS | SSS) using gold embossing powder onto heavyweight vellum, then popped it up using some more clear dimensional adhesive.
Well, that’s all for my projects today! Now for some fun giveaway information:
Pinkfresh Studio will be giving away the full release on the Pinkfresh blog & YouTube channel.
They will also be giving away a total of TEN $25 gift cards along the hop. The winners will be selected from the comments, so be sure to leave a comment on each stop along the hop for maximum entries and chances to win! Winners will be announced on August 4, 2023 on our GIVEAWAY PAGE. Winners must check that page & claim their prize within 2 weeks.
Here’s the full hop list in case you get lost:
Thanks so much for stopping by today, and happy hopping!