• Skip to main content
  • Skip to primary sidebar
  • Skip to secondary sidebar

Sixth Street Sundries

Emily Midgett

  • Home
  • About Me
  • Contact
  • OLO Marker Color Swatch Chart
  • Shop

easter

Hot Foil Friday with Simon Says Stamp!

March 24, 2023

Happy Friday, my friends! We are mere hours away from the weekend, thankfully! I always love the weekends, not just because I don’t have to roust my kiddos out of bed before they’re ready, but also because the days just feel a little slower and less chaotic when we aren’t scheduled down to the minute with activities. I know that will change as the kids get older and get involved in more activities, but for now, I’m savoring it. It took me a bit to jump on the hot foil bandwagon, but once I finally got comfortable with it…. I was hooked. I came up with the idea of “Hot Foil Friday” a while ago, thinking I would share hot foil projects with you all on Fridays, and I thought I’d share a hot foil project today using the new Spring Florals Hot Foil Plate from the new Just For You release from Simon Says Stamp!

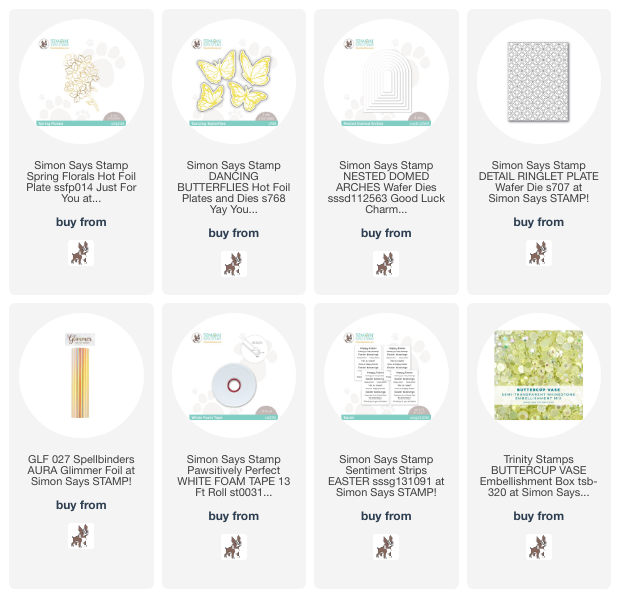
I began by hot foiling these lovely spring blooms using the Spring Florals Hot Foil Plate and some Aura hot foil from Spellbinders. I love the subtle iridescent rainbow on this hot foil roll. At first glance, it looks like a cool golden metallic foil, but as you shift the card, it takes on a rainbow shine! I used Copic markers to add some pale yellow to these blooms, then cut them out with my sharp scissors.

To create a ground for my buttery yellow blooms, I used my favorite Nested Domed Arches dies to cut a frame and a solid background. I ran the large solid piece through my die cut machine with the Detail Ringlet Cover Plate to add some subtle texture, then layered the exterior frame over the top. The white on white is so classic and creates such a lovely backdrop for my sunny blooms! I popped the arch up on a white card front using some foam adhesive, then nestled my colorful Spring Florals blooms in the corner and popped them up with another layer of foam tape, making a double layer of foam adhesive.

To enhance the simplistic color scheme of this card, I wanted a simple greeting, so I trimmed down one of the Sentiment Strips: Easter greetings, snipping it in half to create two shorter strips instead of one long one. I nestled the sentiment strips amongst the flowers with some more foam tape, then added a vellum butterfly that I created using more Aura foil and the Dancing Butterflies Hot Foil Plate and Dies. The final touch was a few Buttercup Vase gems for one last bit of sparkle.

Welll, that’s all for my project today! Thanks so much for stopping by, and have a wonderful weekend, friends!
Filed Under: simon says stamp Tagged With: copic, dancing butterflies, easter, hot foil, hot foil friday, nested domed arch, sentiment strips, spring florals

Spellbinders Stamp of the Month-March!

March 10, 2021

Hi there! Spellbinders has a large variety of monthly club kits to which you can subscribe featuring fun stamps and dies. Their monthly stamp club is a real bargain: $10 for a full size stamp set when you subscribe! The sweet little bunnies in this March Stamp of the Month remind me of springtime toile, so I created a trio of cards using these beautiful stamps.

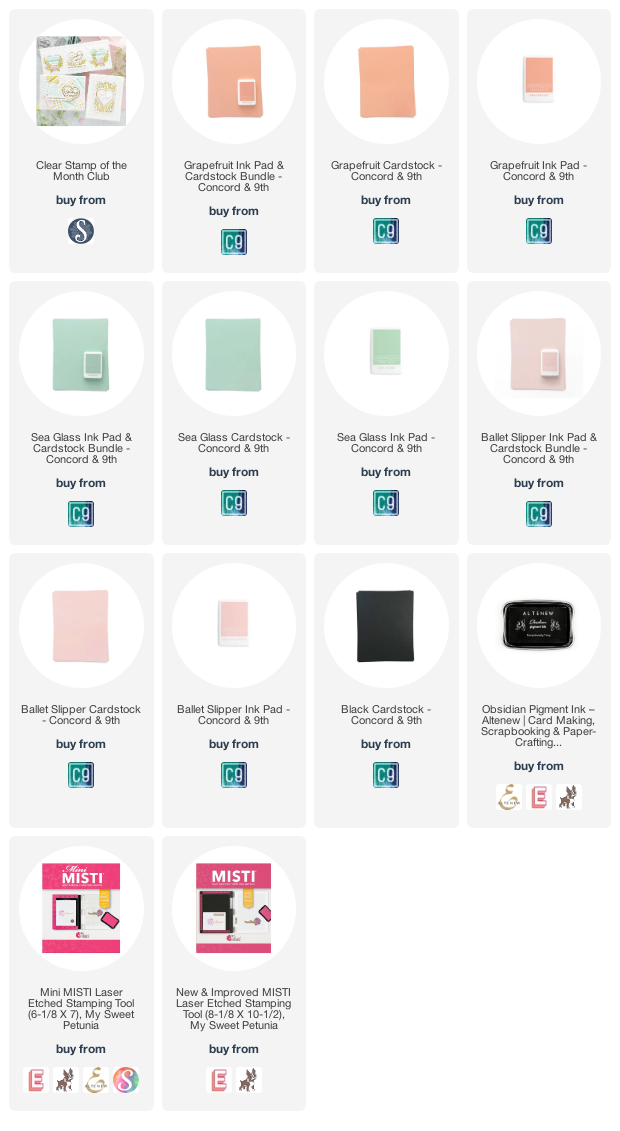
Sometimes, using one ink color can be just as impactful as a variety of ink colors, and it can allow the detail in the stamps to really shine! Using my trusty Misti stamping tool, I was able to create three stamped panels using three different shades of ink- Ballet Slipper, Grapefruit, and Sea Glass- super springy colors, in my opinion!

After I’d stamped each panel with the bunny and wreath of flowers using colored ink, I used a black pigment ink to add a crisp black sentiment from the March Stamp of the Month on each panel. I then trimmed them down from A2 size and added a black mat that was very slightly larger to create a thin black frame around the edge.

For the bases, I chose coordinating shades of colored cardstock and trimmed them down to A2 size. I then used the same ink shades to stamp a custom tone-on-tone pattern just around the edge of each colored cardstock panel using some of the individual floral stamps from the March Stamp of the Month stamp set.

Once I had stamped all of the pieces of colored cardstock, I mounted the black framed panels on each of them using foam adhesive. Such clean and springy projects! I love when you can create lovely projects easily and quickly because of beautifully designed stamps.

Well, that’s all for my projects today! I hope you’ll check out all of the Spellbinders Monthly Club Kits… there are so many fun options to choose from, and the variety of styles and products represented is a wonderful value!

Filed Under: spellbinders Tagged With: bunny, easter, mass produce, springtime, stamp of the month, toile

To Some Bunny Special…

March 6, 2021

Hi there! I’m up on the Honey Bee Stamps blog with some punny Easter inspiration for you using some of the products from the latest release! I never have been much for “cute” or punny projects, preferring to keep things a bit more elegant, but the new Easter Basket Builder stamp set is a great combination of elegant and adorable! Let’s get started with the details on my project.

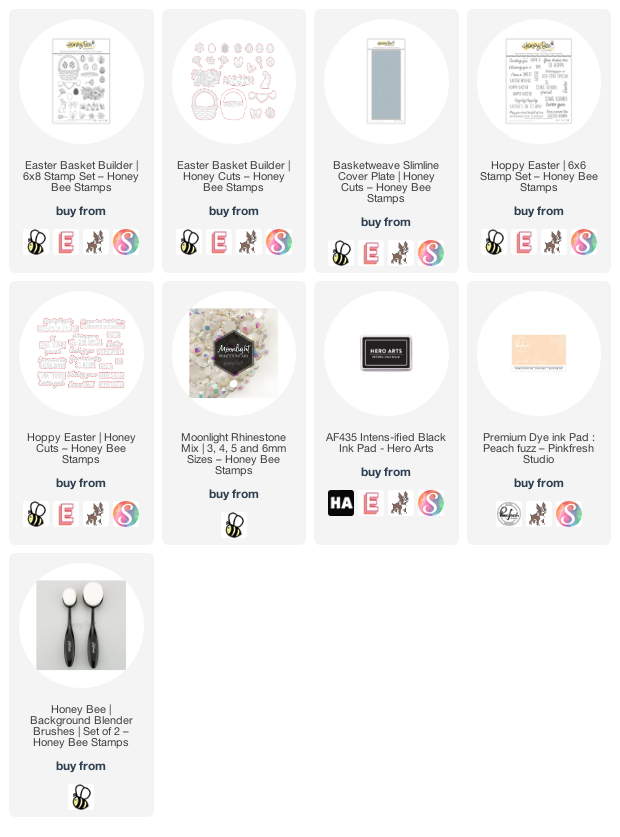
To start, I stamped several elements from the Easter Basket Builder using Copic-friendly ink on some Neenah cardstock, then used my Copic markers to color them. I like to use unexpected color palettes, this time going with a raspberry, peach, and sunny yellow color scheme for the basket full of eggs. I die cut the colored images using the coordinating Honey Cuts.

Next, I die cut a panel using the Basketweave Slimline Die to create some beautifully subtle tone-on-tone texture. Because this die is made to create a slimline card, the dimensions are not quite wide enough to cover the entirety of the A2 card front, but I like the plain frame that it leaves on each side! I blended a bit of peach ink in the spot behind where the basket sits using a blender brush, helping to draw the eye to the focal point of the card.

I adhered the die cuts to the card front using foam adhesive, then added a greeting from Hoppy Easter, which I stamped in black and then die cut from the coordinating dies. Finally, I added a few Moonlight gems for some sparkle.

Well, that’s all for my project today! We are supposed to have some really beautiful weather the next few days… spring is definitely on the way! Thanks so much for stopping by today, and have a marvelous day!

Filed Under: Honey Bee Stamps Tagged With: basketweave slimline die, copic, copic markers, easter, easter basket builder, hoppy easter

  • « Go to Previous Page
  • Page 1
  • Interim pages omitted …
  • Page 3
  • Page 4
  • Page 5

Primary Sidebar

  • Facebook
  • Instagram
  • Pinterest
  • YouTube

Favorite Shops

Secondary Sidebar

Subscribe

Enter your email address to subscribe to this blog and receive notifications of new posts by email.

Instagram
Something is wrong.
Instagram token error.
Follow
Load More

Archives

Tags

3D embossing folder alcohol markers better press birthday birthday card blog hop card kit christmas christmas card christmas tag colored pencil copic copic coloring Daniel Smith die cutting embossing folder embroidery felt giveaway holiday holiday card hot foil ink blending karin brushmarker pro layered stencil masculine my monthly hero new release no line coloring no line watercolor OLO marker olo markers original illustration pawsitively saturated rainbow shaker card slimline stamping stamptember stencil thank you thinking of you valentine's day video watercolor

Popular Posts

Simon Says Stamp Joy For You Blog Hop- Day 1!
Vibrant Poinsettia Holiday Wishes with Simon Says Stamp!
March 2020 My Monthly Hero Blog Hop+Giveaway!
Simon Says Stamp Glory to the Newborn King Holiday Kit-Now Available!
Charity Blog Hop!
Vintage Peach Ornament with New Simon Says Stamp Joy For You Release!
2018 Autism Awareness Hop!
April 2018 My Monthly Hero Blog Hop+Giveaway!
Honey Bee Stamps Birthday Blog Hop, Day 2!
Altenew July Stamp and Die Blog Hop+Giveaway!

Disclosure

Some affiliate links are used in my posts. This means that, should you click on one of my links and purchase something from that company, I will receive a small portion of the sale at no extra cost to you. I use the money earned from these sales to help maintain my blog. I so appreciate you visiting and, if you do choose to use one of my affiliate links, thank you so much for your support!
Copyright © 2026 ·Brunch Pro Theme · Genesis Framework by StudioPress · WordPress · Log in
Loading Comments...