• Skip to main content
  • Skip to primary sidebar
  • Skip to secondary sidebar

Sixth Street Sundries

Emily Midgett

  • Home
  • About Me
  • Contact
  • OLO Marker Color Swatch Chart
  • Shop

emboss and cut

Bokeh + Butterflies = A Match Made In Heaven!!

August 4, 2023

This post was sponsored by Simon Says Stamp. Thanks, Simon!

Hi friends! I have a thing about bugs. I’m not a fan. (shocking, right?) Bugs give me the heebie jeebies… except butterflies. Butterflies and their beautiful colors, their delicate wings, the way they gracefully-but-a-little-awkwardly fly about, bobbing around without any real direction… they entrance me. Add in the fact that they are descended from chubby caterpillars, and I’m sold. When I picture butterflies, I picture them bobbing about in a garden surrounded by flowers, fairies, and shimmering fountains. It’s a fanciful mental picture, but butterflies are so ethereal that I think it works. I created an ethereal encouragement card today using the beautiful Graceful Butterfly embossing folder and die combo from Simon Says Stamp. Let’s get started with the details!

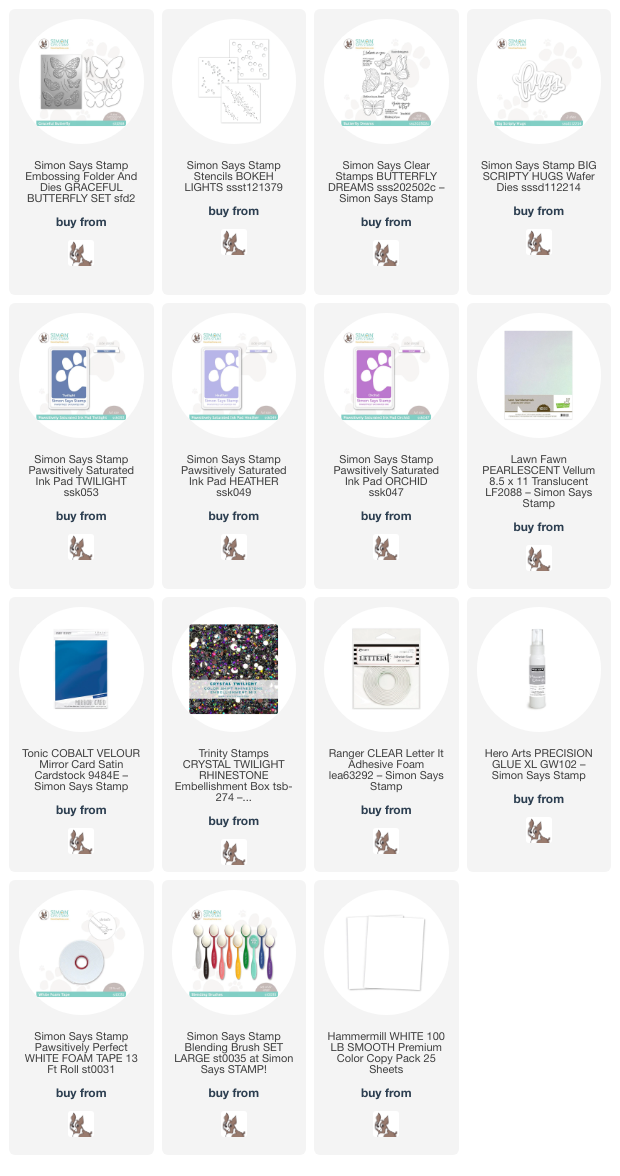
To create that ethereal background in my imagination, I pulled out the Bokeh Lights stencils. I have a love affair with bokeh; very little is quite as magical to me as a bokeh background. I first blended Orchid, Heather, Twilight inks at random on a white A2 background, then used the stencils to blend the same shades. I used the Orchid for the largest bubbles, the Heather for the medium, and the Twilight for the smallest. I didn’t want the dark blue of the Twilight to overpower the rest of the colors, so I saved that color for the smallest pattern. Once I had finished blending the stenciled pattern on the background, I blended some more Twilight ink lightly around the edges to give it a cohesive look and draw the eye to the center of the card. To add to the magic, I splattered some super shiny handmade glitter watercolors on the background, as well.

To create the fluttering butterflies, I die cut and embossed the Graceful Butterflies Embossing Folder + Dies using Lawn Fawn pearlescent vellum. This vellum is a bit thinner than my normal heavyweight vellum, but the pearlescent sheen is absolutely magical and embossed beautifully with the coordinating embossing folder! I also die cut the butterflies’ bodies with pearlescent white foil cardstock and adhered them to the embossed butterflies using liquid adhesive.

For the greeting, I die cut the Big Scripty Hugs once from some cobalt blue matte foil cardstock from my stash and twice more from white cardstock, layering them together to create a dimensional die cut. I also heat embossed a greeting from Butterfly Dreams onto some coordinating purple cardstock using silver embossing powder. I adhered all of the die cuts and sentiment pieces using clear foam adhesive, liquid adhesive, and regular foam adhesive, then tucked a few shimmering iridescent rhinestones on the background to add one more glint of sparkle!

Well, that’s all for my project today. I love the magically luminous feel of this card! It’s so sparkly and shimmery in real life. Thanks so much for stopping by today, and have a marvelous day!
Filed Under: simon says stamp Tagged With: big scripty hugs, bokeh, bokeh lights, butterflies, butterfly dreams, emboss and cut, embossing folder, graceful butterfly, layering stencils, pawsitively saturated, pearlescent vellum

New Release: Simon Says Stamp Holiday Sparkle!

November 9, 2022

Hi there! Simon Says Stamp is releasing a whole slew of marvelous new holiday products tonight for their Holiday Sparkle release! You can check out the entire release HERE. Sooo many gorgeous new holiday goodies, both secular and religious, winter and holiday-specific. Something for everyone!! I have an icy holiday card to share with you tonight, so let’s get started with the details!

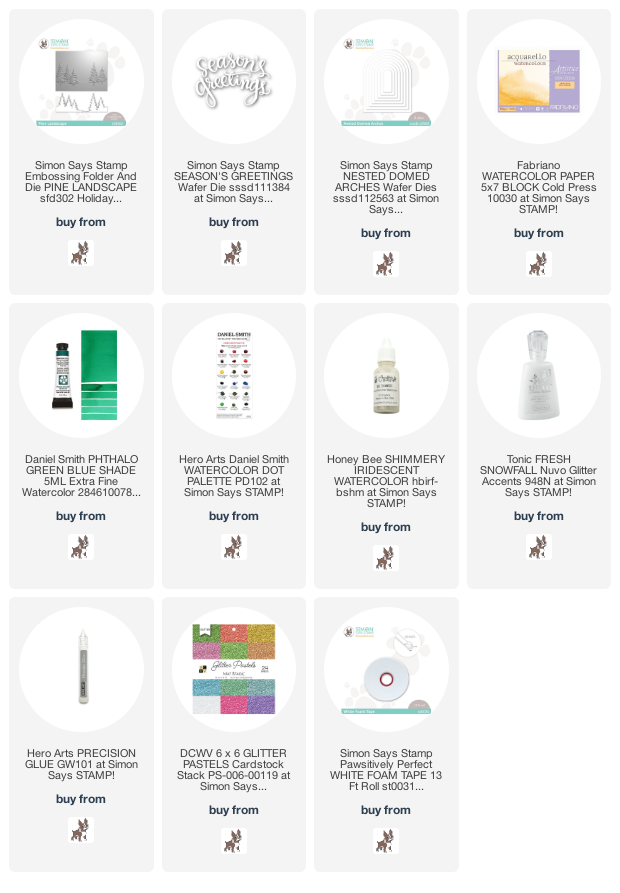
Die-cut-and-emboss combos are allll the rage right now, and Simon Says Stamp has some absolutely stunning additions to that product category, including the new Pine Landscape folder/die combo! Watercoloring these beautiful three dimensional embossing folders is one of my most favorite ways to use them, so I couldn’t resist adding some color to this beautiful, snowy landscape.

I began by trimming down two pieces of Fabriano Artistico Cold Press watercolor paper to A2 size. I then die cut one section of one panel using the die from the Pine Landscape folder/die combo. The key to these die/folder combos is to do your die cutting first, then run your die cut through your machine with the embossing folder. It’s super simple to line up and stays in place nicely, though you can use a piece of washi tape to hold it if you’re worried about the die cut shifting. I wanted to offset the trees in the background of my die cut, so I made sure to check my placement on the full size panel of watercolor paper so that the embossed and die cut trees in the front were slightly shifted from the embossed trees in the background.

Once I had both sets of embossed trees finished, I taped my panels down to my watercolor board and used my Daniel Smith watercolor paints to add beautiful greens and blues to the images. This technique is similar to no-line watercolor, in that you have to keep your wet sections separate in order to maintain the integrity of the individual images (or in this case, branches). Once the paint had dried completely, I splattered the background with some shimmering white watercolor to create subtle, sparkling snowfall. I also used Fresh Snowfall Nuvo Glitter Accents to add some sparkling snow to the tips of the branches on the trees. The entire effect is so realistic… all it needs is a tiny sledder going down the slope between the trees!

To frame my trees and ground them a bit, I die cut one of the large arches from some white cardstock using the Simon Says Stamp Nested Domed Arches dies, reserving the die cut and keeping the negative A2 sized frame. I also die cut the Simon Says Stamp Season’s Greetings die twice from white cardstock and once from white glitter cardstock that I had in my stash that was simply sparkling white-no iridescence or color of any kind on the glitter! I adhered all of the die cuts together using liquid adhesive to create a dimensional die cut. I popped up the arched frame using foam tape over the top of the full embossed and watercolored A2 panel and added the die cut trees in the front of the frame using more foam tape. Finally, I added my dimensional die cut greeting using more liquid adhesive. The curve of the die cut sentiment matches the curve of the arched frame so beautifully!

Well, that’s all for my project today! I have a few more projects to share with you, so I hope you’ll come back soon. You can check out the entire Holiday Sparkle release HERE. Thanks so much for reading, and have a marvelous day!

Filed Under: holiday card, simon says stamp, watercolor Tagged With: christmas card, Daniel Smith, emboss and cut, embossing folder, holiday card, nested domed arches, pine landscape, season's greetings, watercolor

Primary Sidebar

  • Facebook
  • Instagram
  • Pinterest
  • YouTube

Favorite Shops

Secondary Sidebar

Subscribe

Enter your email address to subscribe to this blog and receive notifications of new posts by email.

Instagram
Something is wrong.
Instagram token error.
Follow
Load More

Archives

Tags

3D embossing folder alcohol markers better press birthday birthday card blog hop card kit christmas christmas card christmas tag colored pencil copic copic coloring Daniel Smith die cutting embossing folder embroidery felt giveaway holiday holiday card hot foil ink blending karin brushmarker pro layered stencil masculine my monthly hero new release no line coloring no line watercolor OLO marker olo markers original illustration pawsitively saturated rainbow shaker card slimline stamping stamptember stencil thank you thinking of you valentine's day video watercolor

Popular Posts

Simon Says Stamp Joy For You Blog Hop- Day 1!
Simon Says Stamp Joy For You Release-Now Available!
Frozen Fractals All Around with New Simon Says Stamp Joy For You Release!
Shaped Holiday Shaker Card with New Simon Says Stamp Jolly Season Card Kit of the Month!
Holiday Postage with New Simon Says Stamp!
Simon Says Stamp Glory to the Newborn King Holiday Kit-Part II!
Altenew Build A Flower: Fuchsia Blog Hop+Giveway!
Holiday Joy in Pink and Green with New Simon Says Stamp DieCember!
Pinkfresh Studio 5th Birthday!
Honey Bee Stamps September Release Blog Hop!

Disclosure

Some affiliate links are used in my posts. This means that, should you click on one of my links and purchase something from that company, I will receive a small portion of the sale at no extra cost to you. I use the money earned from these sales to help maintain my blog. I so appreciate you visiting and, if you do choose to use one of my affiliate links, thank you so much for your support!
Copyright © 2026 ·Brunch Pro Theme · Genesis Framework by StudioPress · WordPress · Log in
Loading Comments...