• Skip to main content
  • Skip to primary sidebar
  • Skip to secondary sidebar

Sixth Street Sundries

Emily Midgett

  • Home
  • About Me
  • Contact
  • OLO Marker Color Swatch Chart
  • Shop

embossing folder

Altenew October 2022 Marvelous Monthly Series Release Blog Hop + Giveaway ($300 in Total Prizes!)

October 12, 2022

Hi there! Today, I’m delighted to be the first stop on the Altenew Marvelous Monthly Series Blog Hop! You should have arrived here from the Altenew Blog, and your next stop is Sandra Woodson. This month’s Marvelous Monthly release has an eclectic group of products sure to fulfill your floral fantasies! I’ve got a project featuring the new Build A Garden Dear Dahlias, so let’s get started with the details!

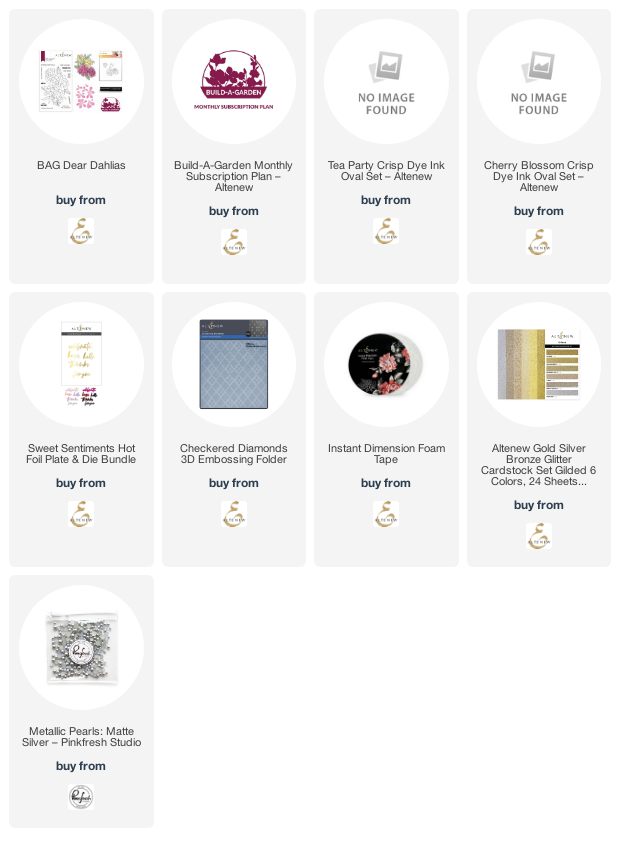
I love that the project kits from the Build A Garden series feature so many unique ways to create, including layering stencils, easily created with the mini blending brush that is included with each kit! (To be sure that you are one of the first to receive these innovative kits each month, and at a discount, be sure to SUBSCRIBE!) Build A Garden Dear Dahlias combines beautiful dahlias with some filler flowers and foliage to create this gorgeous draped bouquet. I began by heat embossing the large main floral image from Build A Garden Dear Dahlias on some white cardstock using white pearl embossing powder. I then used Pink Pearl, Coral Bliss, and Heartbeat inks from the Tea Party ink quartet, as well as Pinkalicious and Rubellite inks from the Cherry Blossom ink quartet for the filler flowers. I used the included small ink blending tool to blend the shades of coral on the dahlias. These brushes make such quick work of these stencils!

I die cut the stenciled image with the coordinating die, which can be purchased separately or in the discounted bundle, all of which you can check out HERE. The coordinating die set also has a super unique standalone layering dahlia included, which would add a really unique touch to this bouquet when layered over the top of the stamped and/or stenciled bouquet!

I created a mini slimline white textured background using the Checkered Diamonds Embossing Folder, trimming the un-embossed areas off to create a slightly smaller than mini-slimline card front. The elongated rectangle created a lovely shape for my draped stenciled floral bouquet! I adhered the flowers with some Instant Dimension Foam Tape, then added a hot foiled greeting from the Sweet Sentiments Hot Foil+Dies Bundle, hot foiled with some matte silver foil on white cardstock. I heat embossed a greeting from Build A Garden Dear Dahlias in silver on a strip of white cardstock, then added a slightly larger strip of silver glitter paper behind it to help it pop from the white background. The final step was to add a few matte silver pearls for one more touch of shine!

Well, that’s all for my project today! As always, Altenew has some wonderful prizes to celebrate this new release:

$300 in total prizes! To celebrate this release, Altenew is giving away a $50 gift certificate to 2 lucky winners and a $25 gift certificate to 8 winners! Please leave a comment on the Altenew Card Blog and/or each designer’s blog post on the blog hop list below by October 18, 2022 for a chance to win. Altenew will draw 10 random winners from the comments left on each stop of this blog hop and announce the winners on the Altenew Winners Page on October 19, 2022.

Here’s the full hop list in case you get lost:

Altenew Blog

Emily Midgett <— you are here

Sandra Woodson

Nathalie Desousa

Jaycee Gaspar

Virginia Lu

Mindy Eggen

Caly Person

Adriana Arminio

Nancy G Souza

Thanks so much for stopping by today, and have a marvelous day!
Filed Under: altenew Tagged With: build a garden, build a garden dear dahlias, dahlias, embossing folder, hot foil, ink blending, monthly subscription, stencil

Altenew September 2022 Marvelous Monthly Series Release Blog Hop + Giveaway ($300 in Total Prizes!)

September 12, 2022

Hi there! Altenew’s new Marvelous Monthly series sets for September are now available, and we’re hopping along to celebrate! You should have arrived here from Dana Joy and your next stop is Kelly Taylor. You can also start back at the Altenew Card Blog to start from the beginning! I have two projects featuring some cheerful sky blue, bright pink, and rose gold to share with you today, so let’s get started with the details!

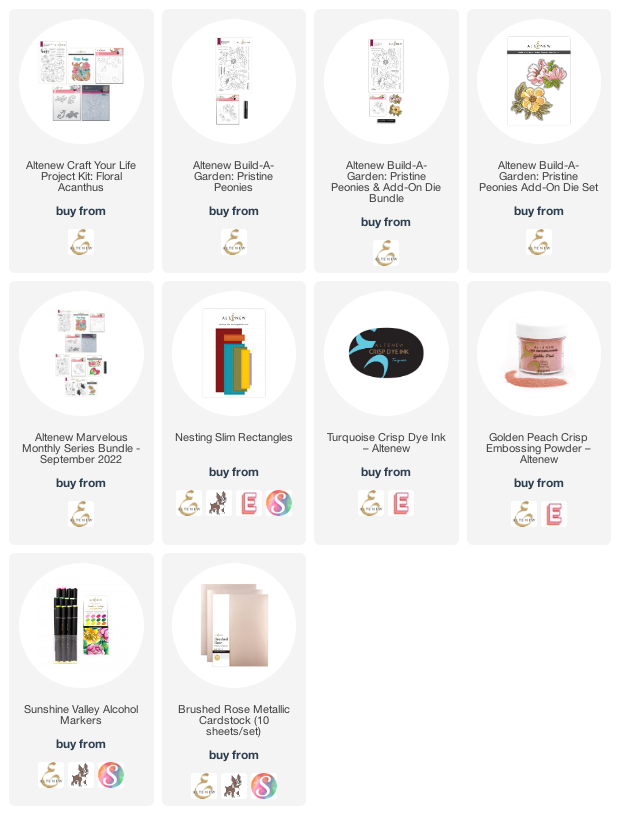
Both of my projects feature some beautiful sky blue backgrounds, with beautiful, feminine rose gold metallic accents. I love how the bright blue backgrounds and feminine pinks make the pretty florals from the Build-A-Garden Pristine Peonies and Craft Your Life Project Kit: Floral Acanthus pop!

To start, I heat embossed the large floral image from Build-A-Garden Pristine Peonies using some Golden Peach embossing powder and colored the images using Sunshine Valley Artist Markers. I die cut the image with the coordinating Pristine Peonies add-on die.

I die cut a Nesting Slim Rectangles die from some beautiful robin’s egg blue cardstock, embossing another of the floral images from Build-A-Garden Pristine Peonies in the corner. I blended a bit of Turquoise ink over the top to highlight it, then added some rose gold watercolor splatters. I popped it up on a full size slimline card base with some foam tape, then added a Fancy Hugs greeting cut from some Brushed Rose Metallic Cardstock. A few rose gold gems helped finish it off!

My second card features the beautifully detailed embossing folder from the Craft Your Life Project Kit: Floral Acanthus kit. I ran the embossing folder through my die cut machine using some more of that gorgeous turquoise cardstock. Then, I swiped my embossing inkpad over the raised embossed areas and sprinkled more Golden Peach embossing powder over the top. This highlights the stunning detail in the embossing folder! I also blended a bit of Turquoise ink around the edges to help highlight the embossed area even more.

For the greeting, I used the hugs die included in the Craft Your Life Project Kit: Floral Acanthus kit. I die cut the outline from some heavyweight vellum, while I cut the more intricate sentiment layer from some Brushed Rose Metallic Cardstock. I added a couple of sentiment strips from the Craft Your Life Project Kit: Floral Acanthus stamp set, heat embossed using more Golden Peach embossing powder. I popped up the greetings on the embossed card front using foam tape, then added some more rose gold gems to finish it off. I love how beautifully each of the elements included in the Craft Your Life Project Kit: Floral Acanthus kit work together *and* separately!

Well, that’s all for my projects today! Now for some fun giveaway information!

$300 in total prizes! To celebrate this release, Altenew is giving away a $50 gift certificate to 2 lucky winners and a $25 gift certificate to 8 winners! Please leave a comment on the Altenew Card Blog and/or each designer’s blog post on the blog hop list below by 09/18/2022 for a chance to win.  Altenew will draw 10 random winners from the comments left on each stop of this blog hop and announce the winners on the Altenew Winners Page on 09/19/2022.

Your next stop is Kelly Taylor. Thanks so much for stopping by today, and happy hopping!

Filed Under: altenew Tagged With: alcohol markers, build a garden, build a garden pristine peonies, craft your life, craft your life project acanthus, embossing folder, marvelous monthly

Altenew March 2022 Whimsical Fairy Tale Collection Release Blog Hop + Giveaway ($300 in total prizes)

March 25, 2022

Hi there! Today, Altenew is releasing another beautiful collection of embossing folders, called the Whimsical Fairy Tale collection, and we’re celebrating with a blog hop! You should have arrived here from Hussena Calcuttawala, and your next stop is LauraJane. You can also start back at the beginning at the Altenew Blog in case you get lost! This beautiful new collection features a variety of themes, but as usual, I gravitated towards the bold floral folders, particularly the Peony Sunshine folder. It’s massive, it’s super detailed, and I absolutely adore it. I’ve taken the “3D” portion of the title to a new level with some watercoloring today, so let’s get started with the details!

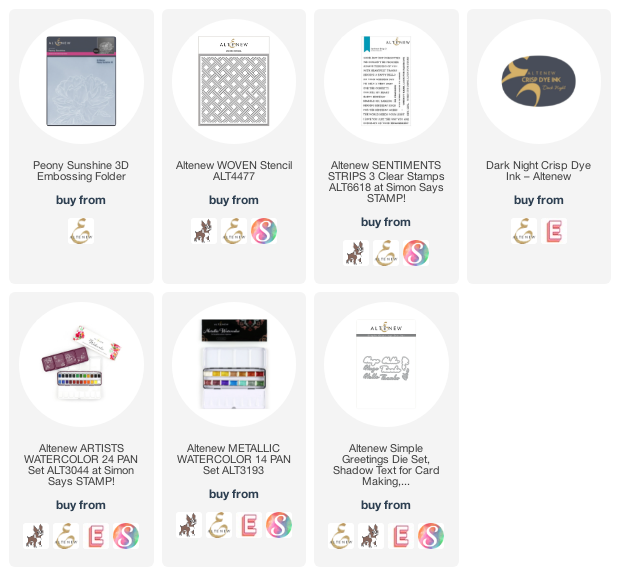
I began by running the Peony Sunshine embossing folder through my die cut machine with a panel of Arches Cold Press watercolor paper. I find that this super heavy duty paper is perfect for use with these embossing folders; the embossing is nice and crisp, and it holds up beautifully to watercoloring. Once I’d embossed my watercolor panel, I used the Artists’ Watercolor 24 Pan Set to add lots of beautiful reds and corals to the image. The 3D embossing creates little wells, but the watercolor can still bleed even with those dimensional hills and valleys, so it’s best to treat this as you would with no-line watercoloring: work in sections, and allow the initial wet areas to dry before moving to the sections next to it to avoid bleeding. Once the panel was dry, I fussy cut around the edge with my sharp scissors.

Next, I used a blending brush with the the Woven stencil to lightly blend some Dark Night ink on a navy blue A2 cardstock base. This pattern is super subtle, but adds just a touch of interest to the area behind the peony! I wanted to keep this color scheme very springy and almost nautical feeling, so I kept things simple with a coral and navy color palette. To help coordinate with those coral tones in the peony, I splattered some rose gold metallic paint from the  metallic watercolor  pan set over the top of the stenciled background.

For the greeting, I die cut the Simple Greeting dies, cutting the background from some more navy cardstock and the detailed top layer from some matte rose gold cardstock to coordinate with the metallic rose gold splatters. I also heat embossed a greeting from Sentiment Strips 3 using rose gold embossing powder onto a strip of the same navy blue cardstock. I popped up the watercolored peony, sentiment strip, and sentiment die cuts using Instant Dimension Foam Tape, finally adding some shimmering gems for some more sparkle.

Well, that’s all for my project today! Now, for some fun giveaway information:

$300 in total prizes! To celebrate this release, Altenew is giving away a $50 gift certificate to 2 lucky winners and a $25 gift certificate to 8 winners! Please leave a comment on the Altenew Card Blog and/or each designer’s blog post on the blog hop list below by 03/31/2022 for a chance to win. Altenew will draw 10 random winners from the comments left on each stop of this blog hop and announce the winners on the Altenew Winners Page on 04/02/2022.

Your next stop on the hop is LauraJane. Thanks so much for stopping by today, and happy hopping!

Filed Under: altenew Tagged With: 3D embossing folder, embossing folder, peony sunshine, watercolor

Guest Post: Simon Says Stamp and Copics on Neenah Desert Storm!

February 8, 2022

Hi there! I’m so excited to be a guest for Simon Says Stamp this month, and I’ve got a couple of projects to share with you today featuring some new goodies from the January And Back Again release, as well as one of the stamp sets I illustrated, Orchid Rose Bouquet (which also was part of the February Card Kit). I have never colored on Neenah Desert Storm cardstock, and I love the look of red with Kraft cardstock, so I thought this would be the perfect opportunity to do some experimenting! Let’s get started with the details.

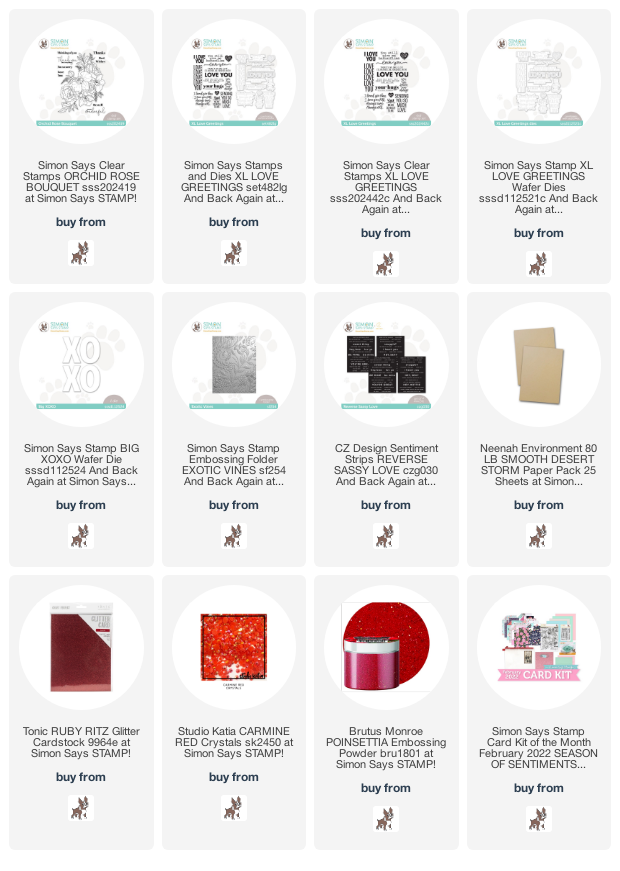
The Orchid Rose Bouquet is a huge stamp, great for cutting into pieces and use on multiple projects. I stamped the entirety of the bouquet on a panel of Desert Storm cardstock using Hero Arts’ Intens-ified Black ink. I used Copic markers in several RV shades: T6, RV29, RV25, RV13, RV21 for the orchids, and V06, RV14, RV13, and RV21 for the roses. I had never worked with Desert Storm cardstock before, and I was absolutely stunned at how vibrant the coloring was on this relatively dull color of cardstock! So much fun to work with something different than my usual crisp white cardstock. I fussy cut the entire piece and trimmed it into a few different pieces, edging around the orchids that were fully visible.

My first card is an A7. It takes full advantage of the size of the Orchid Rose Bouquet stamp. I began by die cutting the XO with the Big XOXO die from some glittery red cardstock. I also trimmed one of the fabulous sentiment strips from the Sassy Love Sentiment Strips. (This is my first time using these pre-printed sentiments; they are so much fun and make adding a greeting so darn simple!)

I am a bit of a stickler for cohesive color scheme; once I decide on a color scheme, I like to do my best to make sure that there are no other colors to detract from the overall color palette, like an unseemly white edge to a die cut piece on a colorful cardstock background. Keeping this in mind, I cut an A7 card base from some more Desert Storm cardstock upon which I could arrange my different die cut and colored elements.

I arranged the different elements on the large card front and adhered them using both liquid and foam adhesive to add lots of dimension to the project. The final touch was to add some iridescent red jewels for some more sparkle.

My second card features the leftover portion of the Copic colored Orchid Rose Bouquet as an accent. This piece was trimmed from around one of the fully visible orchids in the bouquet, so portions of the flower were missing. In order to cover this up, I heat embossed one of the greetings from XL Love Greetings on Desert Storm cardstock using Brutus Monroe Poinsettia Embossing Powder. I die cut the sentiment using the coordinating die.

For the card base, I created a subtly textured background by running an A2 panel of Desert Storm cardstock through my die cut machine with the Exotic Vines Embossing Folder. This delicate texture is a perfect backdrop for the brightly colored flowers and sparkly cherry red greeting!

To add a touch more texture and some sparkle to the card base, as well as to create a sort of ground for my greeting and florals, I trimmed a few strips of glittery red cardstock and mounted them vertically on the textured card base. I added the floral piece and greeting die cut using foam adhesive, then added some more sparkling jewels for one last hint of sparkle.

Well, that’s all for my projects today! I hope that you will give Desert Storm cardstock and Copics a try if you haven’t already… what an unexpected delight! Thank you so much for stopping by today, and have a marvelous day!

Filed Under: original illustrations, simon says stamp Tagged With: copic coloring, embossing folder, Orchid Rose Bouquet, XL love greetings, xoxo die

Altenew Rustic Charm Stamp/Die/Stencils/Embossing Folders/Washi Tape/Brush Marker/Fine Mister Collection Release Blog Hop + Giveaway ($300 in total prizes)

October 5, 2021

Hi there! Altenew is releasing their brand new, fabulous product collection: Rustic Charm. This new collection is chock full of some great images, including some beautiful holiday products. We are celebrating with a blog hop! You should have arrived here from Amanda Baldwin, and your next stop is Reiko Tsuchida. You can also start back at the beginning at the Altenew Blog. I have four projects for you today featuring the new goodies, so let’s get started with the details!

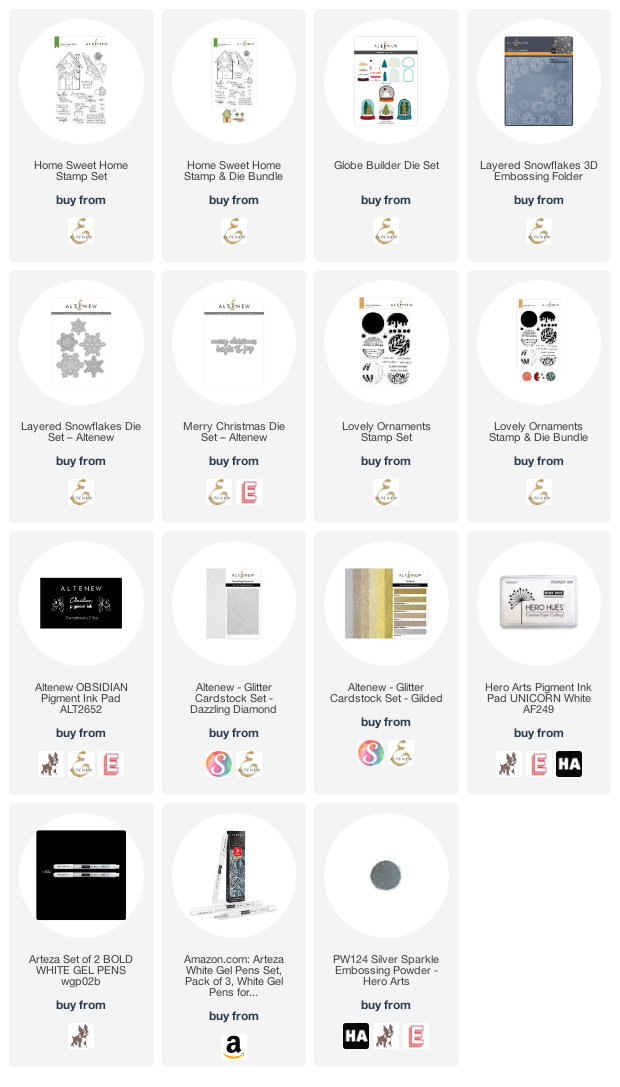
This first project uses the darling, whimsical new Home Sweet Home stamp set. I love the storybook feel of this stamp set, and the sweet sentiments are so meaningful! I began by trimming down a mini slimline card front from some Altenew watercolor paper, then taping it to my watercolor board with washi tape. Next, I used the Altenew Artists’ 24 Pan Watercolor to add lots of loose watercolor to the house, path, and sky. I kept things simple and loose by maintaining a high water/low pigment ratio, which make the color lighter and more easily moved on the watercolor paper.

Next, I stamped some individual potted plants on another scrap of watercolor paper and watercolored them, then fussy cut them once they were dried. I also stamped one of the greetings from Home Sweet Home on some white cardstock using Obsidian ink, covering it with clear embossing powder to quickly set it with my heat gun. I trimmed the watercolored background slightly, then matted it on a full size mini-slimline black card base. I popped up the individual potted plants and the sentiment block with some Instant Dimension Foam Tape for extra dimension and depth. I kind of adore this simple little card! Such a beautiful stamp set!

My next three cards feature some of the new holiday goodies in the Rustic Charm release. This first holiday card features the darling new Globe Builder die set paired with the Layered Snowflakes 3D Embossing Folder. I began by cutting all of the components for the snow globe from some matte cardstock for the trees, background, and globe frame portion, clear acetate for the “glass” globe, and some Dazzling Diamond glitter cardstock for the snowy ground, scallop accent, and sweet little snowman. I adhered all of the components together using both liquid and foam adhesive for lots of dimension, adding some white gel pen snowflakes before I adhered the glass dome over the top of the snowy little scene.

For the card base, I used the same slate blue cardstock that I used for the background of the snow globe. This allows the globe to look transparent and gives the illusion of the snow truly drifting down inside the globe. I ran the slate blue cardstock through my die cut machine with the Layered Snowflakes 3D Embossing Folder, then lightly swiped my white pigment ink pad over the raised areas to help add a bit more definition to them and make them look “frosted.” I adhered the die cut snow globe, then added a white embossed greeting on a strip of charcoal gray cardstock using a double layer of foam adhesive. So much dimension and texture on this card!

My next card also features the new Layered Snowflakes 3D Embossing Folder, this time allowing it to be a beautifully subtle background for some shiny silver snowflakes. I began by running a panel of white cardstock through my die cut machine with the embossing folder. I then splattered the background with some silver metallic watercolor to add a bit of shine to the background.

I die cut some sparkling silver glitter and vellum snowflakes using the Layered Snowflake dies. I also die cut a greeting using the Merry Christmas die set and some shiny silver foil cardstock. I adhered all of the die cut pieces to the super textured and delicate embossed card base using liquid adhesive, finally adding some shiny silver gems to help add even more texture and dimension to the card front!

My final project today uses the new Lovely Ornaments stamps and dies to create this colorful, non-traditional holiday card. I began by die cutting three of the circular ornaments from some colorful fuchsia, lilac, and teal cardstock, then adding the decoration and sentiments to the ornaments using silver sparkle embossing powder. I also die cut the ornament hangers from some Dazzling Diamond glitter cardstock.

For the card base, I stamped a few of the solid baubles from the Lovely Ornaments stamps and dies using ink shades that coordinated with the colorful cardstock. I then used blending brushes to lightly blend the same ink shades on the bare areas of the mini-slimline card base, creating an almost bokeh effect. I popped up the embossed die cut baubles using Instant Dimension Foam Tape, then added a few iridescent gems for some more festive sparkle. You can’t have too much sparkle on a Christmas card, right?

Well, that’s all for my post today (phew, that was a long one!). Now, to celebrate this release, Altenew is sponsoring some fabulous giveaways:

$300 in total prizes! To celebrate this release, Altenew is giving away a $50 gift certificate to 2 lucky winners and a $25 gift certificate to 8 winners! Please leave a comment on the Altenew Card Blog and/or each designer’s blog post on the blog hop list below by 10/11/2021 for a chance to win. Altenew will draw 10 random winners from the comments left on each stop of this blog hop and announce the winners on the Altenew Winners Page on 10/13/2021.

Your next stop on the hop is Reiko Tsuchida. Thanks so much for stopping by today, and happy hopping!

Filed Under: altenew Tagged With: christmas, embossing folder, globe builder, holiday, home sweet home, ink blending, latered snowflakes 3D embossing folder, lovely ornaments, watercolor

  • « Go to Previous Page
  • Page 1
  • Interim pages omitted …
  • Page 25
  • Page 26
  • Page 27

Primary Sidebar

  • Facebook
  • Instagram
  • Pinterest
  • YouTube

Favorite Shops

Secondary Sidebar

Subscribe

Enter your email address to subscribe to this blog and receive notifications of new posts by email.

Instagram
Something is wrong.
Instagram token error.
Follow
Load More

Archives

Tags

3D embossing folder alcohol markers better press birthday birthday card blog hop card kit christmas christmas card christmas tag colored pencil copic copic coloring Daniel Smith die cutting embossing folder embroidery felt giveaway holiday holiday card hot foil ink blending karin brushmarker pro layered stencil masculine my monthly hero new release no line coloring no line watercolor OLO marker olo markers original illustration pawsitively saturated rainbow shaker card slimline stamping stamptember stencil thank you thinking of you valentine's day video watercolor

Popular Posts

Simon Says Stamp Sending Cheer Blog Hop- Day 2 + Freebie + Giveaway!
Altenew October 2026 Release Blog Hop + Giveaway!
Altenew Build A Flower Sweet Violet+Giveaway!
Floral Follies on Canvas with New Simon Says Stamp STAMPtember!
Simon Says Stamp STAMPtember Tim Holtz Collaboration: Festive Holidays!
Altenew March 2020 Release Blog Hop+Giveaway!
Honey Bee Stamps Bee Bold Release Blog Hop!
Waffleflower July Release Blog Hop!
Altenew Paint A Flower: Carnation Blog Hop+Giveaway!
Autumn Legs with Colorado Craft Company and Catherine Pooler!

Disclosure

Some affiliate links are used in my posts. This means that, should you click on one of my links and purchase something from that company, I will receive a small portion of the sale at no extra cost to you. I use the money earned from these sales to help maintain my blog. I so appreciate you visiting and, if you do choose to use one of my affiliate links, thank you so much for your support!
Copyright © 2026 ·Brunch Pro Theme &middot; Genesis Framework by StudioPress &middot; WordPress &middot; Log in
Loading Comments...