• Skip to main content
  • Skip to primary sidebar
  • Skip to secondary sidebar

Sixth Street Sundries

Emily Midgett

  • Home
  • About Me
  • Contact
  • OLO Marker Color Swatch Chart
  • Shop

encouragement

A Double Leftovers Card Set with New Simon Says Stamp Stencils and Dies!

April 17, 2026

This post was sponsored by Simon Says Stamp. Thanks, Simon! *I have gathered links to all of the products used at the bottom of the post for your convenience, using affiliate links at no extra cost to you. Thank you for shopping with my links! I truly appreciate your support for my work!*

Hi friends! I am back with another post for my Use Your Leftovers focus week! (My husband very generously shared some stomach flu germs with me, so it feels like ages since I’ve posted, but I guess it’s only been two days? Ha-time moves slower than molasses in January when you’re sick to your stomach!) The beautiful new Friendly Blossoms stencil and die duo are such a unique concept: stencils that create a complete A2 patterned panel, customizable to your own color preferences of course, and coordinating dies that also add fabulous debossed texture to the die cuts! I stenciled three complete panels in order to create this two-fer with tons of dimension and shaky bits. Let’s get started with the details on my projects!

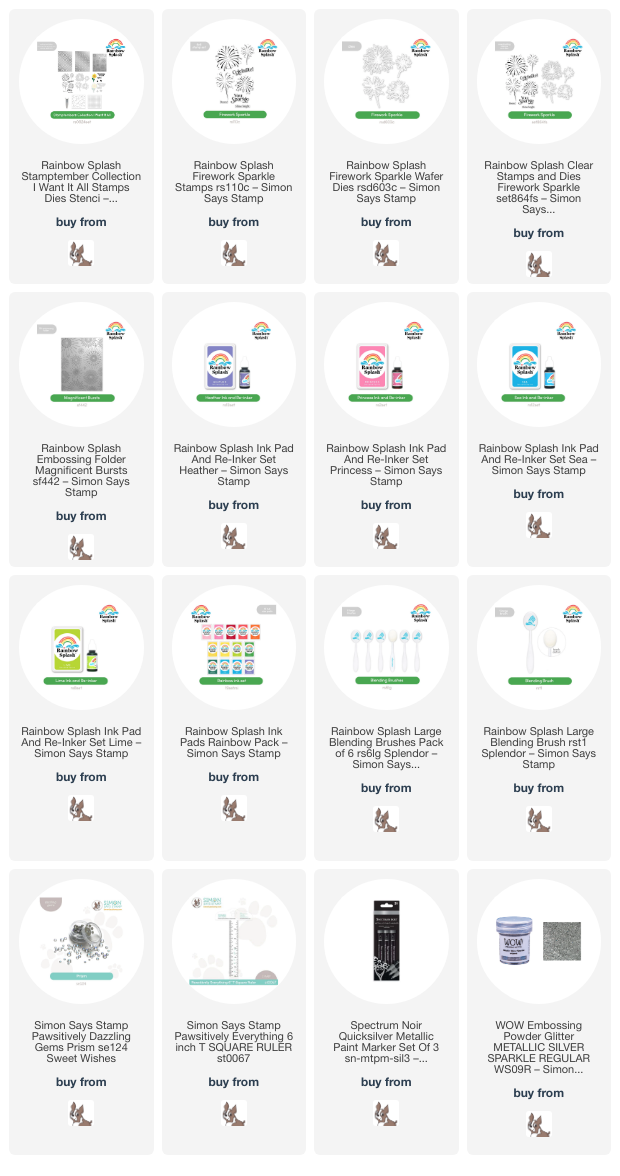
For both projects, the main ingredient is the Friendly Blossoms stencil and die set, as well as the gorgeous and serene Pawsitively Saturated Inks trio in Dew, Mist, and Raindrop. These bold, graphic blooms work perfectly with this non-traditional color palette. I kept the colors simple, because the techniques and die cutting were going to be the star of these cards. As I mentioned, I created three separate, full sized A2 panels from these layered stencils, blending the images with soft strokes to keep the color palette tranquil. I used my “stencil station” to create these lickety split; the Craft Tacky Mat keeps things in place so perfectly while I do my stenciling!

For my first project, I wanted to create a shaker card out of the negative space left from die cutting the blooms from the Friendly Blossoms stencil images. Using low-tack tape to hold my dies in place, I carefully die cut the stenciled images from one of the stenciled panels, reserving the actual die cuts themselves for the next project. I backed the resulting window panel with clear acetate, then carefully added a continuous thin strip of foam adhesive around the edges of the openings to be able to create my shaker windows. I flipped the resulting panel over and filled the openings with Mist Sequins Mix before adhering one of the remaining stenciled panels to the back, making sure that the flowers were lined up to their coordinating openings as closely as possible.

After I had finished creating and filling my shaker background, I selected a larger scale sentiment set to create a bold sentiment. I die cut the detail layer of the Be Patient die set using coordinating teal glitter cardstock, backing it with a vellum shadow layer. I also stamped a coordinating greeting from the Be Patient stamp set using Raindrop ink on a thin strip of white cardstock. I popped up both of the sentiment pieces with thin foam adhesive squares, then added an Iridescent White Cord bow for a touch more texture! Such a fun shaker card, I think.

My second card uses the leftovers from the die cut windows! I added foam adhesive to these die cut and debossed images, then placed them in their appropriate spot on the final finished A2 stenciled panel. I love how that little bit of debossing and tiny pop of foam adhesive really makes such an impact on the card front! Can’t let such pretty leftovers go to waste, right?

For the greeting, I die cut the detail layer of the “Cheering you on” die set from some more teal glitter cardstock, backing it with a vellum shadow layer. I stamped a greeting from the CheeringĀ stamp set, again with Raindrop ink, and popped both pieces up on the panel using foam adhesive, creating a double layer for the strip and single layer for the die cut sentiment so that they would pop beautifully from the floral background. Finally, I added a trio of Surf Pawsitively Dazzling Gems for another pop of sparkle!

Well, that’s all for my projects today! These “use your leftovers” cards are so fun and definitely kindling my creativity. I hope you’re enjoying them! Thanks so much for stopping by today, and have a marvelous day!
Filed Under: simon says stamp, Uncategorized Tagged With: be patient, cheering, cheering for you, die cutting, encouragement, friendly blossoms, ink blending, layered stencil, leftovers, shaker card, stencil station, stenciling

Masculine Encouragement Card with Simon Says Stamp!

February 24, 2026

This post was sponsored byĀ Simon Says Stamp. Thanks, Simon!Ā *I have gathered links to all of the products used at the bottom of the post for your convenience, using affiliate links at no extra cost to you. Thank you for shopping with my links! I truly appreciate your support for my work!*

Hi friends! Do you ever have days where you want to be creative, but just aren’t sure where to start? I had one of those days recently, and so I started organizing my stamp bins. They’ve been a bit of a mess over the last few months, and so I pulled them all out and started tidying. While I was tidying, my creativity was sparked, refreshing my mental catalog of products and pairing up stamps, dies, and embossing folders for new projects! I always enjoy “technique-y” cards, especially with embossing folders. I used the newer Cedar Sprigs embossing folder with some fun inky techniques to create this masculine encouragement card. Let’s get started with the details!

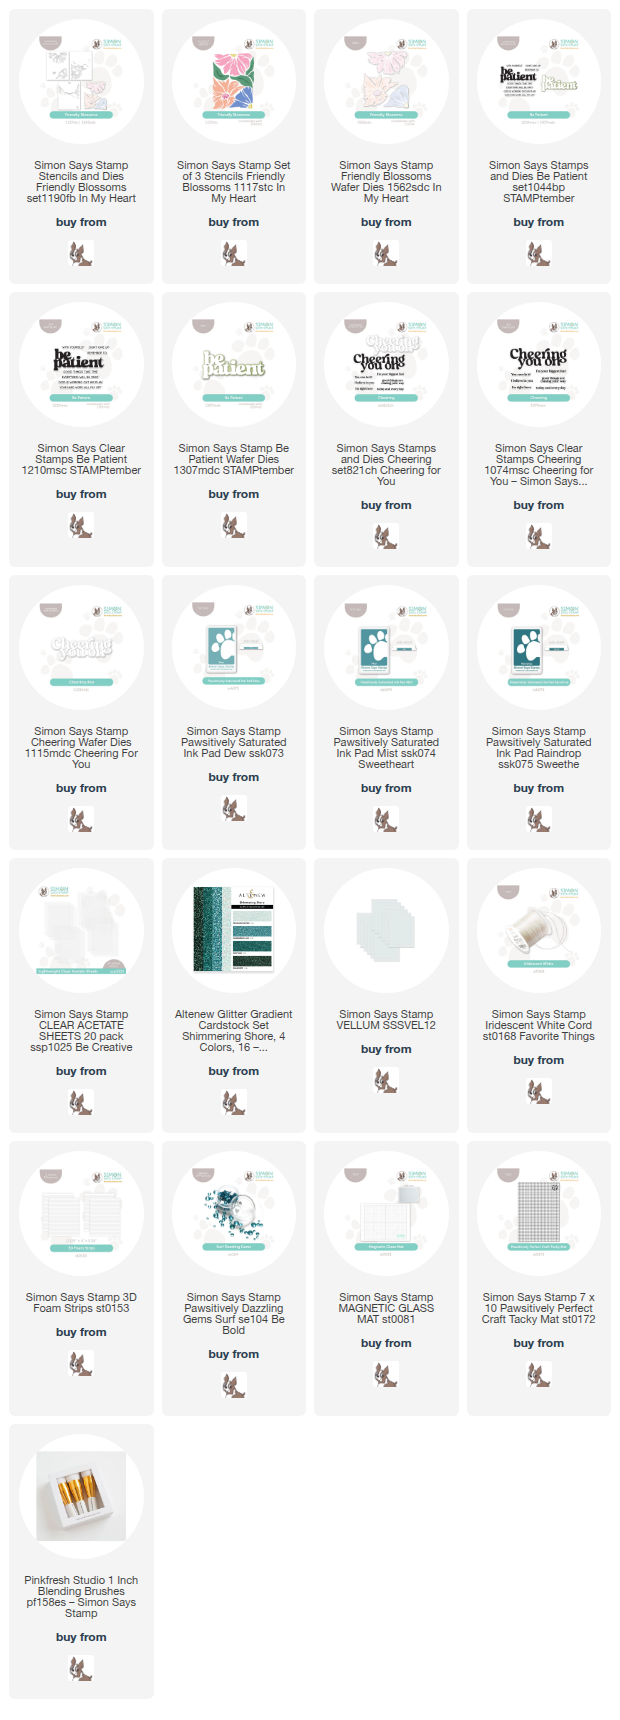
To begin, I ran a panel of white A2 cardstock through my die cutting machine using the Cedar Sprigs embossing folder. I then flipped the panel over so that the debossed side was facing up, with the patterns debossed down into the cardstock rather than the raised texture of embossing. To create my ink-swiped background, I used a blending brush to blend CabbagePawsitively Saturated Ink over the sprigs of greenery that were debossed into the cardstock, not worrying about any ink spilling over into the solid areas. Luckily, the second step covers up any over-blending; I placed the Kale ink pad directly onto the debossed panel and swiped over the solid, raised areas. The result is a lovely, multicolored patterned paper that is full of texture! To add even more interest to this panel, I used a paintbrush to splatter some Simon Says Stamp Gold Splatter Medium. I love the mixed-media feel this additional step adds to the card.

Next, I used two coordinating shades of green cardstock to die cut the Curled Fern Frond die set. When working with a single die set, I like to layer multiples of the same die in different colors to make a lush and full “bouquet,” creating a pretty focal point for my card front.

For the greeting, I heat embossed a chunky sentiment and coordinating sentiment strip from the oldie-but-goodie Well Wishes stamp set, using Platinum embossing powder on coordinating deep green cardstock. I used my trimmer to cut down the sentiment strip and the coordinating die for the chunky sentiment. I adhered the sentiment pieces to the card front with foam adhesive squares, then tucked the greenery behind the sentiment, adhering each piece with liquid adhesive. Finally, I added a double twine bow and some Gold Pawsitively Dazzling GemsĀ for even more texture. I think this makes a perfect masculine encouragement card!

Well, that’s all for my project today! If you struggle with masculine cards like I do, hopefully this gives you some inspiration. Thanks so much for stopping by today, and have a marvelous day!

Filed Under: simon says stamp Tagged With: 3D embossing folder, cedar sprigs, curled fern frond, die cutting, embossing folder, encouragement, ink blending, ink swiping, masculine

More Rainbow Splash Inspiration from Simon Says Stamp STAMPtember!

September 27, 2024

This post was sponsored by Simon Says Stamp. Thanks, Simon!

Hi friends! I have some more colorful inspiration for you today using the new additions to the Simon Says Stamp Rainbow Splash line! This line, specially curated for both seasoned and new stampers alike, features very accessible items, with simple stamp images, embossing folders, gorgeous inks in the most perfect rainbow, and some shimmering adhesive gems to accent your projects. For my projects today, I have used a few elements from the new STAMPtember collection and some of the older products to create this pair of festive cards. Let’s get started with the details!

*I have linked all of the products used at the bottom of the post for your convenience using affiliate links. Thank you for shopping with my links! I truly appreciate your support for my work!*

Both of my cards feature the fabulous pyrotechnic images in the new Firework Sparkle stamp and die set. These images are great for so many celebratory occasions or even just to create an encouragement card for a friend! I created two cards, one super simple and one a bit more complicated to show that even if you are an experienced stamper, these images are great additions to your stash.

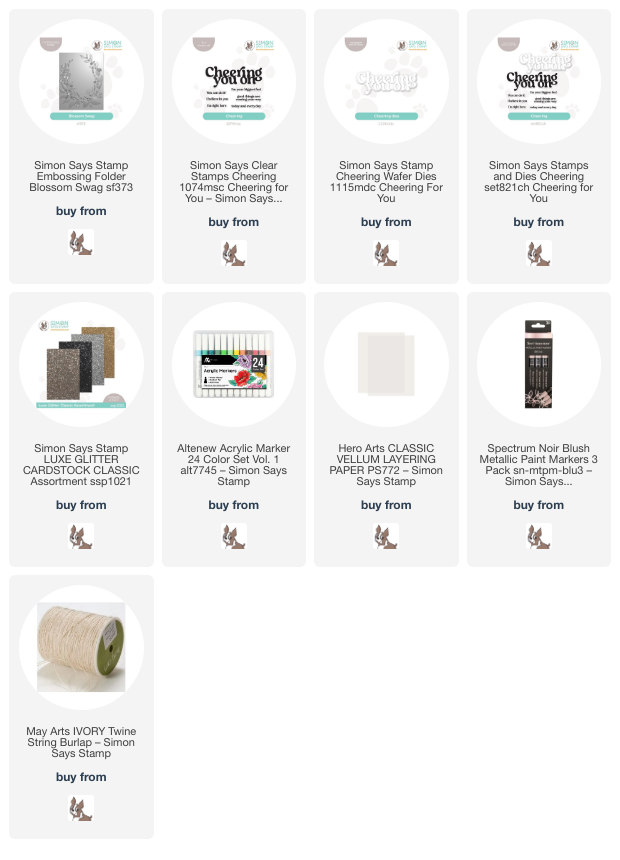
For my relatively simple card, I began by stamping the large sparkler from the Firework Sparkle stamp set once using Rainbow Splash Princess ink, then the two smaller sparklers using Lime and Sea inks. I die cut the images using their coordinating dies, which are super easy to line up, then turned my attention to the card base.

To create that “glow” behind the sparklers, I used Rainbow Splash Blending Brushes to very lightly blend Princess, Lime, and Sea inks approximately where I would be placing the die cuts on the card front. I also used a T-square to add a silver acrylic paint pen frame around the edges of my card, but you could easily omit this step if you wanted to keep things super simple! I popped up the sparklers on the blended background with some foam adhesive squares, then added my sentiment pieces, heat embossed with silver sparkle embossing powder and fussy cut with sharp scissors. Finally, I added a few Prism Pawsitively Dazzling Gems on each of the silver frame’s corners.

For my second card, I chose to create something that looks a bit more involved but actually is quite simple, because the Magnificent Burst folder does a lot of the “work” for you! I started by embossing a panel of white cardstock with the Magnificent Burst embossing folder, then used blending brushes to blend Rainbow Splash Ink in shades of Princess, Heather, and Sea over the exploding fireworks, making sure I chose colors that would blend nicely together if they overlapped.

To enhance the fireworks background, I stamped some fireworks from the Firework Sparkle stamp set and die cut them with their coordinating dies. I heat embossed a greeting using more silver sparkle embossing powder, trimming the pieces out with my sharp scissors and trimmer. I popped up all of the different elements with foam adhesive, then added a few Prism Pawsitively Dazzling Gems for added sparkle!

Well, that’s all for my projects today! I hope you’re enjoying the last days of STAMPtember… it’s been such an incredible month filled with so much stampy goodness. Thanks so much for stopping by today, and have a marvelous day!

Filed Under: simon says stamp Tagged With: celebrate, congratulations, embossing folder, encouragement, firework sparkle, fireworks, magnificent bursts, rainbow splash

New Simon Says Stamp Cheering For You Inspiration!

July 25, 2024

This post was sponsored by Simon Says Stamp. Thanks, Simon!

Hi friends! The new Cheering For You release is now live from Simon Says Stamp, and I have another project to share with you using some of the fabulous new goodies from this release! I have a mild obsession with the utterly luscious embossing folders that Simon Says Stamp does so beautifully, and the new Blossom Swag Embossing Folder is so exquisitely delicate that I knew it required special attention. I love the boldness of opaque coloring on a dark background, so I pulled out some dark chocolate cardstock and my Altenew Acrylic Markers and got to work. Let’s get started with the details!

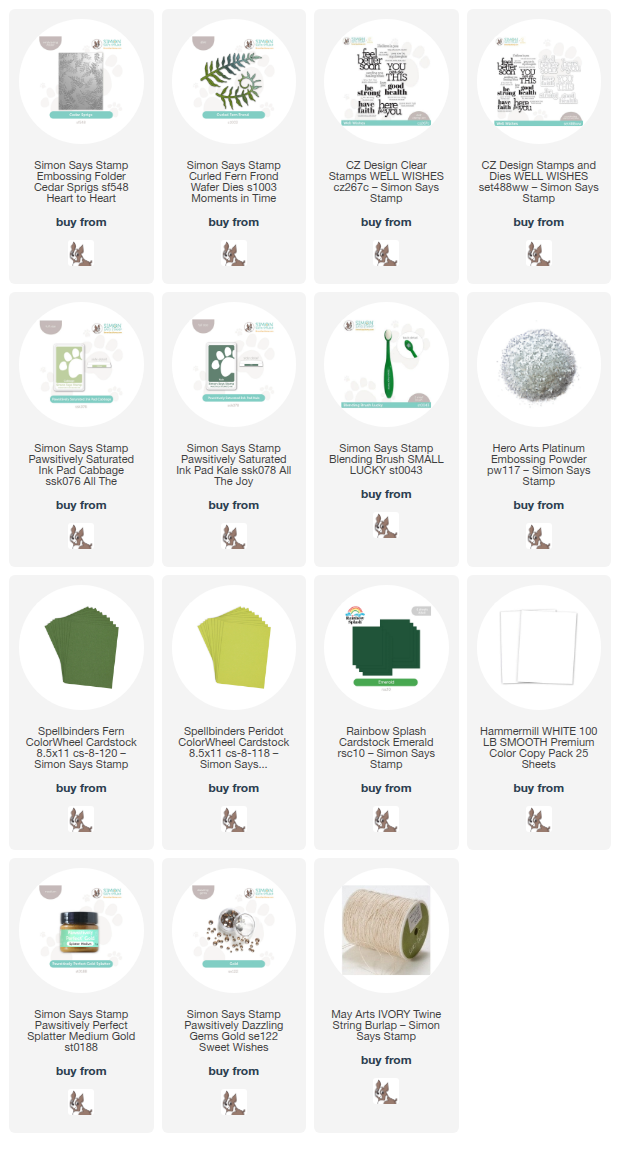
To start, I embossed a panel of deep brown cardstock (so brown that it looks almost black, but I promise, it’s dark brown!) using the Blossom Swag Embossing Folder. After I had embossed those crisp, delicate details, I pulled out some pretty pastel markers from the Altenew Acrylic Markers set. If you’ve ever watched the show Outlander, you might remember one of the impeccably elegant gown that the main character, Claire, wore to Versailles: a stunning brown silk that had been painted with beautiful pink and yellow florals. I channeled that gown with my color selections, allowing those pretty pastel florals to pop from the deep brown backdrop. After adding the colorful markers, I used a white marker to add some highlights to the individual petals and leaf sections. The opacity of the Altenew Acrylic Markers make them perfect for use with intensely-colored cardstock; the colors are bright and crisp without having to work too hard, as you might with colored pencils. I’m hopeful that Altenew will offer more colors in the future!

After I had finished coloring the individual images with their appropriate pastel colors, I used a metallic blush marker to add some details to the image, dotting the centers of the flowers and the berries with this shimmery marker. I also used some handmade glitter watercolors to add highlights and sparkle to the edges of the petals and leaves. The acrylic paint on the fairly porous cardstock helps to create a bit of a barrier for the sparkly watercolors, allowing me to apply them without the paper disintegrating at all.

For the greeting, I heat embossed one of the sentiment strips from the new Cheering Stamp set using Platinum embossing powder on a leftover strip of the same deep chocolate cardstock, then die cut the coordinating sentiment die (you can purchase a bundle HERE) from champagne Luxe Glitter Classic cardstock. I adhered the sparkly detail layer to the vellum shadow layer, then adhered both pieces with some foam adhesive for added dimension. I tucked a twine bow near the sentiment pieces and added a few shimmering gems for added sparkle!

Well, that’s all for my project today. You can check out the entire Cheering For You release by clicking HERE. Be sure to stop by again tomorrow for Day 1 of the Simon Says Stamp Cheering For You blog hop! These blog hops are sure to pique your crafty interest, so I hope you will join us. Thanks so much for stopping by today, and have a marvelous day!
Filed Under: simon says stamp Tagged With: acrylic markers, blossom swag, cheering, embossing folder, encouragement, luxe glitter

Man Card Monday: Minty Green Triangles!

September 4, 2023

This post was sponsored by Simon Says Stamp. Thanks, Simon!

Hi friends! Man Card Monday is back this month featuring some minty green geometric inspiration using the new Intersecting Lines Background stamp from the STAMPtember release! Each month, I try to come up with a more masculine-friendly card amongst the plethora of feminine projects that are my natural habitat, and while last month’s card had a snarky Hawaiian shirt vibe, this month’s super graphic projects are just as guy-friendly!! Let’s get started with the details.

When I work with a large background stamp like the Intersecting Lines Background stamp, I like to try to maximize the use by creating at least two cards from one stamped image. I have really been loving creating my own “custom” embossing powder colors simply by stamping the image using regular, quick-drying dye ink, then using my MISTI to stamp directly over the colorful ink with sticky embossing ink and covering it with clear embossing powder. Today, I stamped the Intersecting Lines Background stamp on a panel of white cardstock using Pawsitively Saturated Ocean ink, then again with embossing ink using my MISTI to ensure perfect placement. I covered the stamped image with White Satin Pearl embossing powder, which created the loveliest shade of pearlescent teal!! I cut the embossed background into two different panels so that I could create two different cards.

For the first card using the larger Intersecting Lines panel, I blended Pawsitively Saturated Ocean ink, Pawsitively Saturated Tropic ink, and Pawsitively Saturated Spring ink to create this gorgeous minty turquoise blend. I love that the pearlescent embossed images stand out so nicely from the minty blended background, but the colors are all so similar that it looks almost monochromatic!

After I had finished blending, I die cut the Wish I Could Hug You die twice from Adriatic cardstock and adhered them together to add a little more height to the sentiment. The dark teal pops beautifully from the monochromatic background without adding any extra color, while the simple type font is perfect for a masculine card! I butted the embossed panel up against the side of the turquoise A2 card front, then added a thin strip of Marina Mist mirror cardstock to add another textural element and create some shine. I adhered the greeting die cut and then added some shining gems (I know, I can’t resist it.)

My second card uses the leftover Intersecting Lines strip, this time blended with only Pawsitively Saturated Ocean ink and Pawsitively Saturated Tropic ink. I used the darker Ocean ink to blend over the entire strip, then blended the lighter Tropic ink along the edges which created a fun reverse-ombrƩ effect! I adhered the blended strip at an angle on an A2 panel of Mint Cardstock, then added some thin strips of Tonic Marina Mist mirror cardstock and Hero Arts Paradise cardstock on each edge, creating a crisp color blocked background.

For the greeting, I die cut the detail layer of the Feel Better Soon die from Adriatic cardstock, then used Lawn Fawn Pearlescent Vellum to die cut the background layer. I used some tiny dots of liquid adhesive behind the solid die cuts to hide the adhesive and added it to my diagonal striped card front. Finally, I added a few shimmering teal gems for one last hint of shine!

Well, that’s all for this month’s Man Card Monday. Keep checking back, because the Simon Says Stamp STAMPtember party is happening all month, with tons of marvelous new releases and limited edition collaboration sets released! Thanks so much for stopping by today, and have a marvelous day!

Filed Under: simon says stamp Tagged With: encouragement, feel better soon, ink blending, intersecting lines, man card monday, masculine, pawsitively saturated, wish i could hug you

  • Page 1
  • Page 2
  • Go to Next Page »

Primary Sidebar

  • Facebook
  • Instagram
  • Pinterest
  • YouTube

Favorite Shops

Secondary Sidebar

Subscribe

Enter your email address to subscribe to this blog and receive notifications of new posts by email.

Instagram
Something is wrong.
Instagram token error.
Follow
Load More

Archives

Tags

3D embossing folder alcohol markers better press birthday birthday card blog hop card kit christmas christmas card christmas tag colored pencil copic copic coloring Daniel Smith die cutting embossing folder embroidery felt giveaway holiday holiday card hot foil ink blending karin brushmarker pro layered stencil masculine my monthly hero new release no line coloring no line watercolor OLO marker olo markers original illustration pawsitively saturated rainbow shaker card slimline stamping stamptember stencil thank you thinking of you valentine's day video watercolor

Popular Posts

Simon Says Stamp Sending Cheer Blog Hop- Day 2 + Freebie + Giveaway!
Altenew October 2026 Release Blog Hop + Giveaway!
Rustic Monochromatic Stars for Christmas with Rainbow Splash!
Waffleflower July Release Blog Hop!
Hero Arts Partners Blog Hop: Lawn Fawn!
March 2020 Essentials By Ellen Blog Hop+Giveaway!
December 2018 My Monthly Hero Blog Hop + Giveaway!
The Ton Stamps Summer Release: Day 1
The Ton Anniversary Release: Day 1!
Altenew Paint A Flower: Carnation Blog Hop+Giveaway!

Disclosure

Some affiliate links are used in my posts. This means that, should you click on one of my links and purchase something from that company, I will receive a small portion of the sale at no extra cost to you. I use the money earned from these sales to help maintain my blog. I so appreciate you visiting and, if you do choose to use one of my affiliate links, thank you so much for your support!
Copyright © 2026 ·Brunch Pro Theme · Genesis Framework by StudioPress · WordPress · Log in
Loading Comments...