This post was sponsored by Simon Says Stamp. Thanks, Simon! *I have gathered links to all of the products used at the bottom of the post for your convenience, using affiliate links at no extra cost to you. Thank you for shopping with my links! I truly appreciate your support for my work!*
Hi friends! I have another project to share with you using new goodies from the In My Heart release! (Click HERE to see the entire new release!) Simon Says Stamp came out with some beautiful stencils with this release, including the new Impressionistic Flower. This oversized flower image creates a beautiful focal point for a card with a small amount of effort. I paired it with some gorgeous blurple inks, creating this lavender blue bloom. Let’s get started with the details on my project!

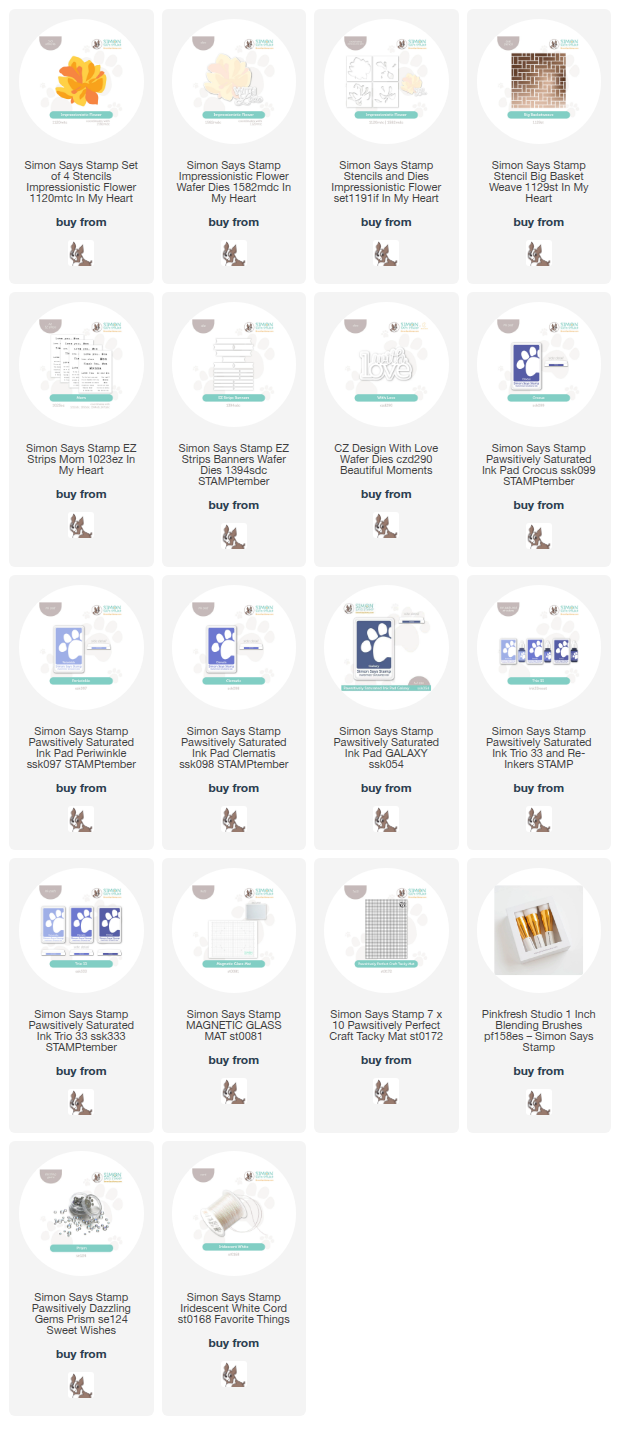
To begin, I placed an A2 panel of white cardstock on my stencil station (a Simon Says Stamp Magnetic Glass Mat on which I have placed a Simon Says Stamp Craft Tacky Mat, which I keep set up and ready to go on my desk to make for quick stenciling!), then began blending the layers of the Impressionistic Flower stencil set using Pawsitively Saturated Inks in shades of Periwinkle, Crocus, Clematis, Galaxy. Once I had finished blending all of the layers, I used the coordinating die to die cut the finished image. I love that the coordinating die comes with a sentiment die, as well! More bang for your buck. I, unfortunately, dropped my detail sentiment die under my desk and have yet to locate it… I know my fellow crafters will know that feeling!

I wanted some delicate texture behind my bold floral image, so I placed another panel of white A2 cardstock on my stencil station and then placed the new Big Basketweave stencil over the top. I used a blending brush to lightly blend Periwinkle ink in the bottom left corner of my panel, gently fading out towards the opposite corner and top. I used some pretty metallic watercolors to splatter extra sparkle on the stenciled background, as well, creating some whimsical texture behind the whimsical flower.

After I had completed the background, I adhered the large stenciled floral die cut to the panel, offsetting it slightly and trimming off the overhang with my sharp scissors. I then die cut the previously-released With Love die, cutting the detail layer from some periwinkle foil cardstock from my stash and the shadow layer from vellum, adhering the two layers together with liquid adhesive. I added some foam adhesive behind the solid die cut and placed it over the floral die cut. I also die cut the new EZ Strips Mom using EZ Strips Banners, which die cuts a ton of sentiments in one fell swoop. I selected one and set the rest aside for a rainy day! I nestled the strip beneath the die cut sentiment, then added an Iridescent White Cord bow beneath it. Finally, I created a flower center with several Prism Pawsitively Dazzling Gems in all three sizes, then added a few in the blank spaces on the card background, adding lots of sparkle to my card!
Well, that’s all for my project today! I love a card created with simple stenciling, made more impactful with small details and textures. Thanks so much for stopping by today, and have a marvelous day!