• Skip to main content
  • Skip to primary sidebar
  • Skip to secondary sidebar

Sixth Street Sundries

Emily Midgett

  • Home
  • About Me
  • Contact
  • OLO Marker Color Swatch Chart
  • Shop

EZ strips

Starry Thanks with New Simon Says Stamp!

July 10, 2026

This post was sponsored by Simon Says Stamp. Thanks, Simon! *I have gathered links to all of the products used at the bottom of the post for your convenience, using affiliate links at no extra cost to you. Thank you for shopping with my links! I truly appreciate your support for my work!*

Hi friends! I haven’t been feeling 100% this week, so my time at my desk has been a bit limited. However, sometimes you don’t need to spend tons of time working to create a lovely handmade card if you have the right tools. A cover plate die like the Falling Stars die from the Simon Says Stamp Always There release (click HERE to see the entire collection) and a large scale sentiment die cut really does a lot of the heavy lifting for you! Let’s get started with the details on this simple and elegant thank you card.

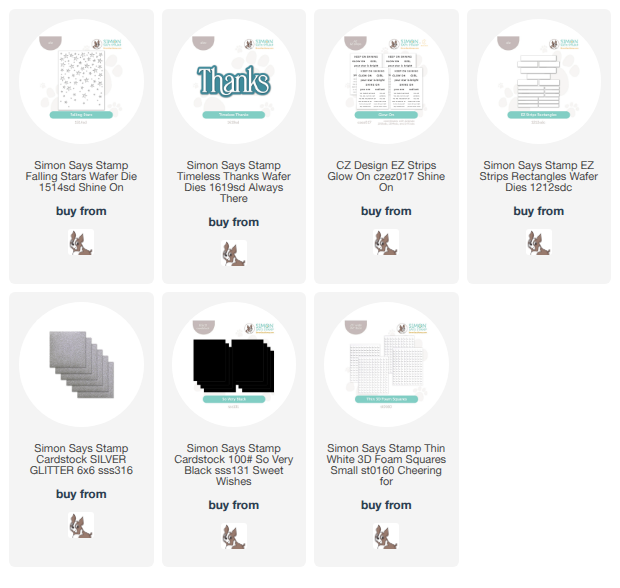
To begin, I die cut the new Falling Stars cover plate die from some sparkling silver glitter cardstock, making sure to reserve the small die cut stars for another project (remember THIS card?). I backed the starry die cut with a panel of plain black cardstock, creating maximum contrast between the star windows and the background.

To keep things super simple, I decided to add a large-scale sentiment die cut. I die cut the newer Timeless Thanks, cutting the detail layer from white cardstock and backing it with a shadow die cut, cut from more So Very Black cardstock. I layered the two die cuts together with liquid adhesive, then popped it up on my starry backdrop with thin foam adhesive squares.

Whenever I have a large, simple sentiment, I like to add a smaller sentiment strip to personalize the message a bit more. I die cut the new Glow On EZ Strips using the EZ Strips Rectangles cover plate die, which cuts all of the sentiments from the EZ Strips card in one fell swoop! I selected one that worked nicely with the starry theme of the card front, then adhered it with more foam adhesive, tucking it beneath the large sentiment die cut. The super sparkly card front didn’t need any extra embellishment, though I did think of adding some shimmering gems.

Well, that’s all for my project today! I love when a few die cuts, some sparkly paper, and a little dimensional adhesive can come together to create a quick and unique card. Thanks so much for stopping by today, and have a marvelous day!
Filed Under: simon says stamp, Uncategorized Tagged With: die cutting, EZ strips, ez strips glow on, falling stars, thank you card, thanks, timeless thanks

Blurple Blooms for the Happy Couple with Simon Says Stamp!

June 23, 2026

This post was sponsored by Simon Says Stamp. Thanks, Simon! *I have gathered links to all of the products used at the bottom of the post for your convenience, using affiliate links at no extra cost to you. Thank you for shopping with my links! I truly appreciate your support for my work!*

Hi friends! I have another wedding card to share with you today using some pretty new dies from the Simon Says Stamp Always There release. (click HERE to see the entire collection) I never tire of standalone dies, because they offer so many ways to customize your project through coloring techniques, cardstock, and color palettes. I chose to create this A7 wedding card with a trio of framed blooms and a simple, pre-printed sentiment. Let’s get started with the details on my project!

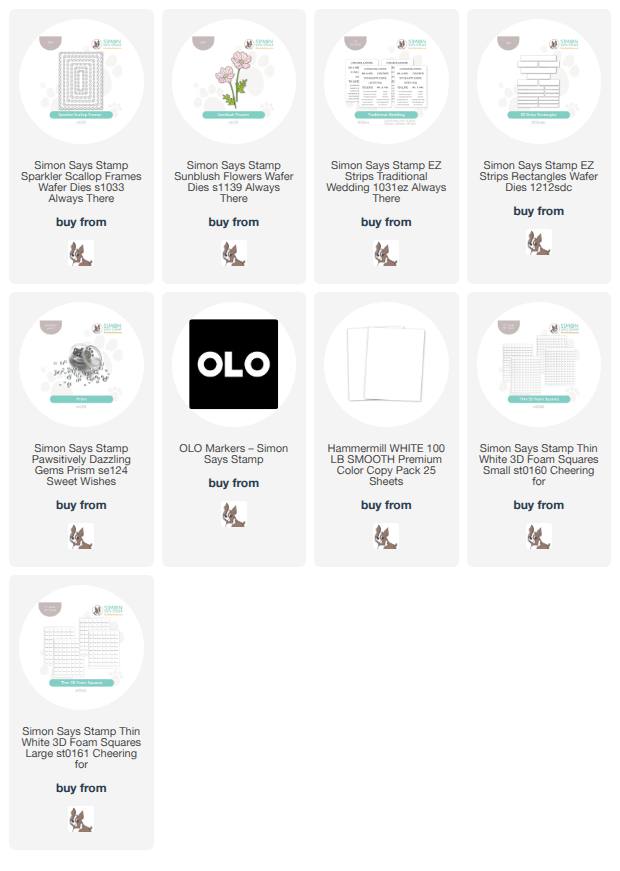
I began by die cutting several sets of the Sunblush Flowers from plain white cardstock. I love using alcohol markers with my standalone dies, giving me the freedom to create a completely custom color palette that goes beyond the colored cardstock in my stash! I used my OLO Markers to create these lovely blurple blooms; they remind me of the delicate blue flowers in my wedding bouquet!

After I had finished coloring all of the blooms and foliage, I decided to frame them with a trio lovely decorative frames cut with the Sparkler Scallop Frame set. These nested scalloped rectangle dies come in a variety of sizes, and I selected one of the medium sizes to perfectly fit within an A7 card front. I think that A7 is a great size for wedding cards; what occasion demands a celebratory card more than a wedding? I popped up the frames on my A7 card front using thin foam adhesive, spacing them evenly across the horizontal card front, then arranged my quartet of blooms on the frames with more thin foam adhesive.

For the greeting, I combined the new EZ Strips Traditional Wedding pre-printed sentiment cards with the older EZ Strips Rectangles, die cutting tons of sentiments with one pass through my die cutting machine! I selected a simple “to the happy couple” and popped it up with more foam adhesive in the center of the card front. I added several sparkling Prism Pawsitively Dazzling Gems to make it feel even more special and celebratory!

Well, that’s all for my project today! Standalone dies can create such elegant cards, and you can add your own special touches with your coloring mediums or color choices. Such a fun way to create! Thanks so much for stopping by today, and have a marvelous day!

Filed Under: simon says stamp Tagged With: die cutting, EZ strips, EZ strips rectangles, no line coloring, olo markers, sparkler scallop frame, sunblush flowers, traditional wedding, wedding card

Beautiful Friend with Lilacs and Bows using New Simon Says Stamp!

February 28, 2026

This post was sponsored by Simon Says Stamp. Thanks, Simon! *I have gathered links to all of the products used at the bottom of the post for your convenience, using affiliate links at no extra cost to you. Thank you for shopping with my links! I truly appreciate your support for my work!*

Hi friends! I am back with another new project featuring gorgeous products from the latest Simon Says Stamp release! (Check out the full Beautiful Moments release HERE!). The Beautiful Moments release is filled with extraordinarily lovely springtime products, from stamps and dies to stencils and embossing folders. Whenever I receive the new release, I always begin the creative process by pulling out products that are immediate favorites, and the new Flower Frame embossing folder was definitely in that first batch! My wedding flowers were blue hydrangeas and white roses, and this gorgeous floral frame absolutely reminded me of a lush bouquet of hydrangeas. Let’s get started with the details on my project!

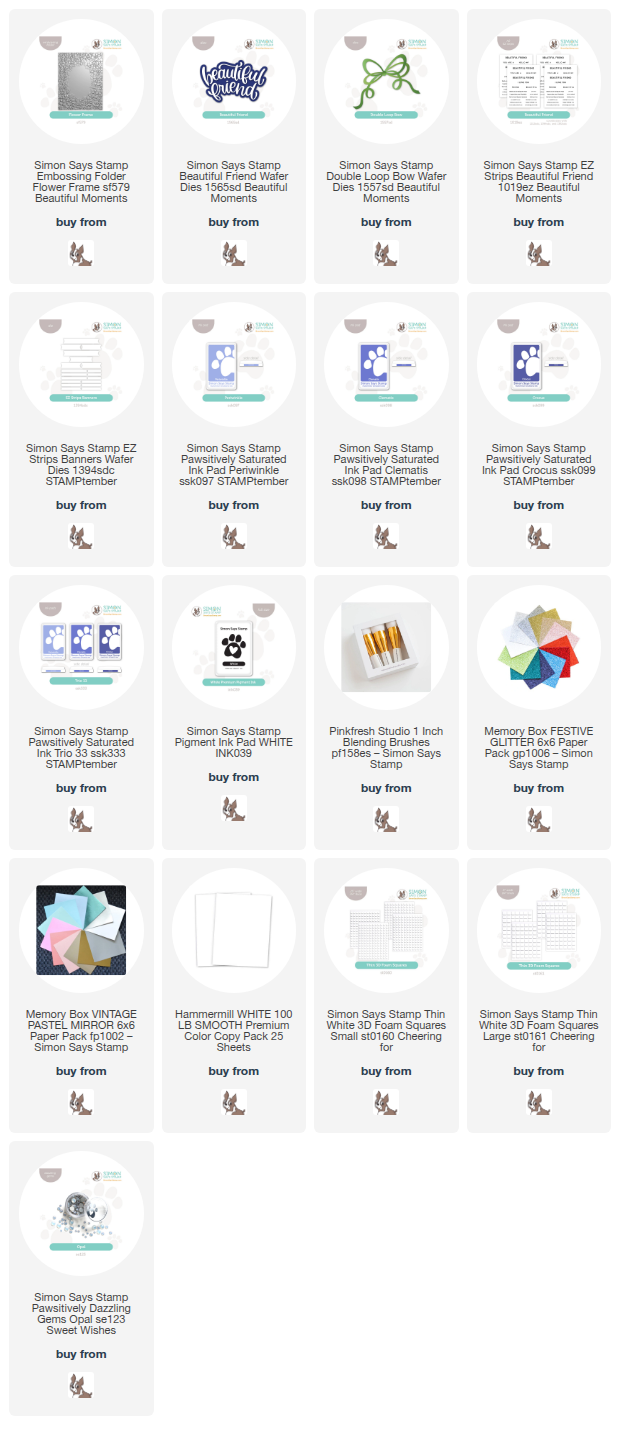
To begin, I blended Pawsitively Saturated Ink Trio 33 (made up of Periwinkle, Clematis, and Crocus inks) in an ombré on a panel of white A2 cardstock. I blended first before embossing, because I wanted to ensure that the colors were smooth and evenly distributed throughout the entire panel, which would have been difficult if I had blended after embossing. The ink gets a bit more condensed in some areas on an embossed panel, so the order of blending and embossing is important! Once I had finished blending, I embossed the panel using the Flower Frame embossing folder, then placed my Simon Says Stamp White Pigment Ink Pad directly on the raised embossed areas and swiped, enhancing the beautifully detailed pattern of the embossed image.

After I had created the background, I did some die cutting. To further coordinate with the inked white blooms, I die cut the detail layer of the new Beautiful Friend die, as well as the Double Loop Bow, from some white specialty cardstock. When I have created a matte background like the blended and embossed floral frame, I like to make the die cut accents extra special with some shimmer and shine. I used white glitter cardstock for the sentiment die cut and iridescent white mirror cardstock for the pieces of the bow.

To enhance the generously-sized sentiment die cut, I used the EZ Strips Banners die to die cut one of the new Beautiful Friend EZ Strips sentiment panels, cutting a multitude of sentiments with one pass through my die cutting machine! I kept the card design relatively simple, popping up the die cut pieces on the embossed background with thin foam adhesive, finally adding some Opal Pawsitively Dazzling Gems for one last touch of sparkling white!

Well, that’s all for my project today. If you would like to see more inspiration using the Beautiful Moments release, Day 2 of the two-day blog hop is happening right now! Check out the Simon Says Stamp blog for all of the info. Not only is it filled with beautiful inspiration projects, there are prizes and freebies to be had, as well! You can check out my project from Day 1’s hop HERE. Thanks so much for stopping by today, and have a marvelous day!

Filed Under: simon says stamp Tagged With: 3D embossing folder, beautiful friend, die cutting, embossing folder, EZ strips, ez strips banners, flower frame, ink blending, ink swiping

Simon Says Stamp Beautiful Moments Blog Hop Day 1 + Giveaway + Free Gift With Purchase!

February 27, 2026

This post was sponsored by Simon Says Stamp. Thanks, Simon! *I have gathered links to all of the products used at the bottom of the post for your convenience, using affiliate links at no extra cost to you. Thank you for shopping with my links! I truly appreciate your support for my work!*

Hi friends! Welcome to Day 1 of the Beautiful Moments Blog Hop, celebrating Simon Says Stamp’s most recent release, called Beautiful Moments! (Check out the full Beautiful Moments release HERE!) You should have arrived here from the Simon Says Stamp Blog, and your next stop is Nichol Spohr. You can see the full hop list at the Simon Says Stamp Blog, as well! This release is chock full of springtime imagery, with beautiful flowers, precious critters, excellent floral and textured embossing folders, even a new stitching die! (You can check out my springtime decor using the new Stitching Bunny die HERE.) For today’s project, I thought I’d shift gears a bit and share some more bunny inspiration, this time creating a sweet Easter card with a punny little greeting. Let’s get started with the details on my project!

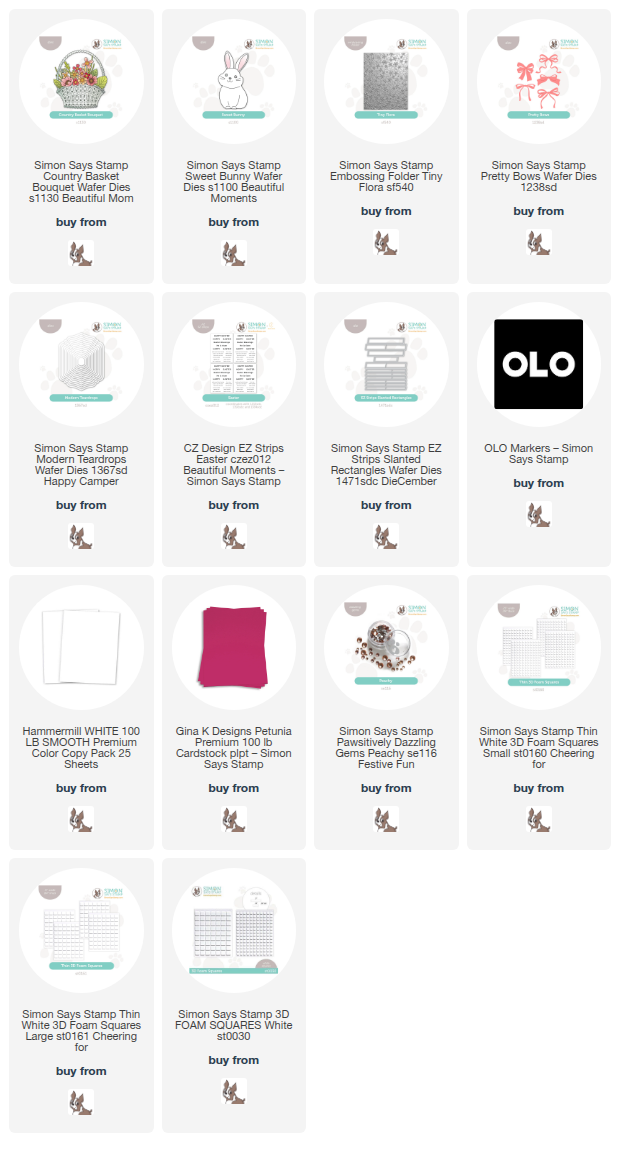
For today’s project, I used lots and lots of white cardstock. White cardstock is one of those things that I keep in large quantities in my craft room; it’s the ultimate blank canvas for so many mediums and techniques! To begin my project, I die cut the beautiful new Country Basket Bouquet from Hammermill white cardstock, die cutting the basket components and an abundance of blooms with which to fill it! I also die cut a darling little bun bun using the new Sweet Bunny die set, again using white cardstock. Before assembling the die cuts, I used my OLO Markers to add lots of beautiful springtime color to these images, selecting a peach, pale pink, and magenta color palette, adding verdant greens and a warm gray bunny. Those white die cuts certainly come to life with a few flicks of your favorite alcohol markers!!

After I had finished coloring all of the die cut elements, I worked on the background behind my colorful basket of blooms. I wanted to add some subtle texture, so I ran another panel of white cardstock through my die cutting machine using the new Tiny Flora embossing folder. I love adding delicate floral texture behind a boldly colorful focal point! To help ground my bunny and basket, I also die cut a frame from more white cardstock (I told you I used a ton of white cardstock for this one!), cutting the center from an A2 panel using the Modern Teardrops nesting die set. I used thin foam adhesive to add this negative frame to the embossed panel, reserving the positive die cut for a future project.

I arranged the basket, bunny, and blooms (say that three times fast!) over my frame, using a combination of thin and thick foam adhesive for tons of dimension. To embellish my frame a bit more, I added a coordinating hot pink bow cut using one of the dies from the Pretty Bows die set. I die cut a greeting from the new Easter EZ Strips sentiment card set using the EZ Strips Slanted Rectangles, which die cuts a ton of sentiments in one pass through your die cutting machine! I tucked the sentiment strip on the card front next to the bunny with some more foam adhesive, then added a few Peachy Pawsitively Dazzling Gems for a touch of sparkle to the card front.

Well, that’s all for my project today! Now for some fun giveaway information”

Simon Says Stamp is giving away a $25 coupon to every stop on the hop, chosen from the blog comment section. Winners will be selected and posted on the Simon Says Stamp blog on Wednesday the 4th of March. Be sure to check out the blog to see if you’re the winner and where to claim your prize!

Simon Says Stamp is also offering a fabulous gift with purchase! The not-yet-released Clover Shaker Sentiments will be automatically added to your cart when you make any purchase from the new Beautiful Moments release (click HERE to check out the full release).

Your next stop on the hop is Nichol Spohr. Thanks so much for stopping by today, and happy hopping!

Filed Under: simon says stamp Tagged With: bunny, country basket, die cutting, easter, embossing folder, EZ strips, modern teardrops, olo markers, pretty bows, sweet bunny, tiny flora

Snowy Poinsettias with New Simon Says Stamp DieCember Goodies + Free Gift With Purchase!

December 4, 2025

This post was sponsored by Simon Says Stamp. Thanks, Simon!

Hi friends! Have you checked out the absolutely incredible Simon Says Stamp DieCember release? It’s absolutely filled to the brim with that most versatile of products: standalone dies! (Click HERE to see all of the fun goodies!) Not only do we have masses of fun new dies to play with, but we also have some super fun new embossing folders, including the truly stunning new Blooming Poinsettia 3D Embossing Folder and coordinating die! I am a sucker for these floral and botanical embossing folders, filled with exquisite details and texture that take a card from wow to WOW so easily. Let’s get started with the details on my project for today! (Keep reading all the way to the bottom to see information and inspiration with the Tim Holtz Freebie!)

*I have gathered links to all of the products used at the bottom of the post for your convenience, using affiliate links at no extra cost to you. Thank you for shopping with my links! I truly appreciate your support for my work!*

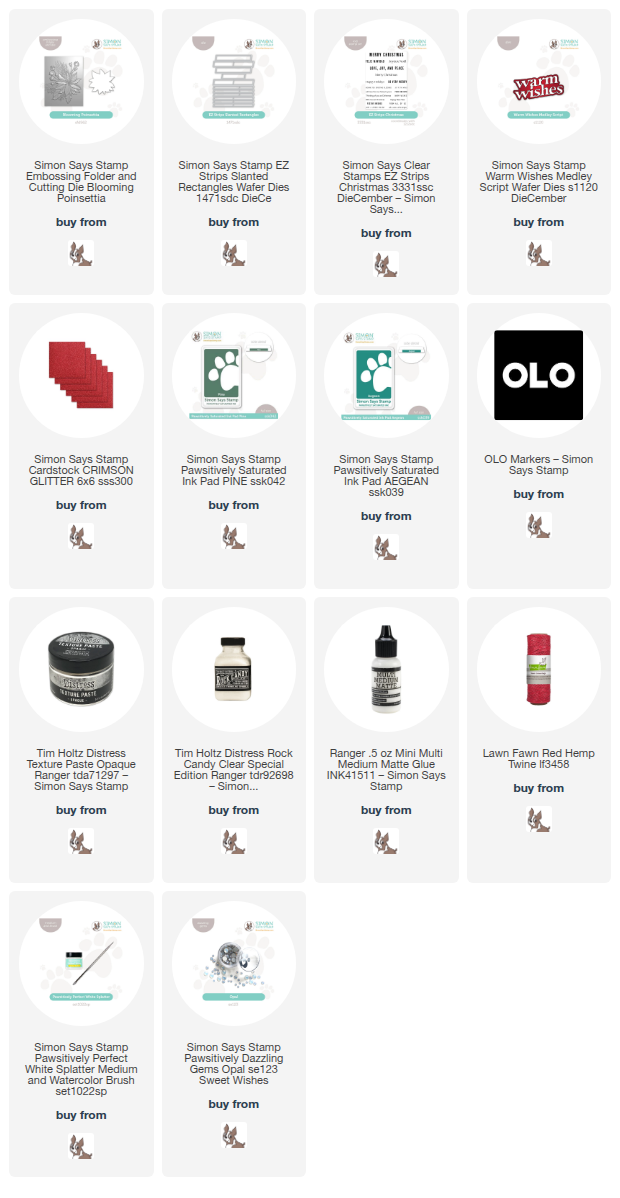
To begin, I ran a panel of white cardstock through my die cutting machine using the new Blooming Poinsettia embossing folder. I wanted the holiday bouquet to be a bit offset, rather that smack in the center of my card, so I placed my cardstock slightly farther to the side within the folder so that the poinsettia was nestled in the corner. Once I had added the detailed and textured embossed image, I used my OLO Markers to add some super vibrant red and teal to the images embossed into the card. I just love how much the alcohol marker coloring enhances the details on these cards!

After I had finished coloring the images, I wanted to add some extra wintry details and enhance the white background. I used blending brushes to blend first Aegean Pawsitively Saturated Ink as close as I could get it to the colored bouquet, blending lightly the closer I got to the bouquet so as not to cause muddiness on the vivid red poinsettia. I added some Pine Pawsitively Saturated Ink around the very edge of the card, creating a super vibrant ombré that perfectly matched the greens and blues in my colored bouquet! I splattered some Simon Says Stamp Pawsitively Perfect White Splatter Medium on the blended edges, then used Distress Opaque Texture Paste and Multi Medium Matte to add snowy Rock Candy Glitter to the poinsettia bloom.

For the greeting, I embossed the new multi-sentiment EZ Strips Christmas onto some deep red cardstock using white embossing powder, then die cut all of the sentiments in one fell swoop using the new EZ Strips Slanted Rectangles, saving the rest of the sentiments for a rainy day! I also die cut the new Warm Wishes Medley Script, cutting the detail layer from some sparkling Simon Says Stamp Crimson Glitter cardstock and the shadow layer from vellum. I popped up the sentiment die cuts on the card front with foam adhesive squares, then tucked a red twine bow beneath the sentiments and added a few Opal Pawsitively Dazzling Gems for additional sparkle!

Now for some fun freebie information! To celebrate DieCember, Simon Says Stamp is offering a super fun freebie from Tim Holtz valued at $30 with any $30 Tim Holtz purchase! Check out All Things Tim Holtz!

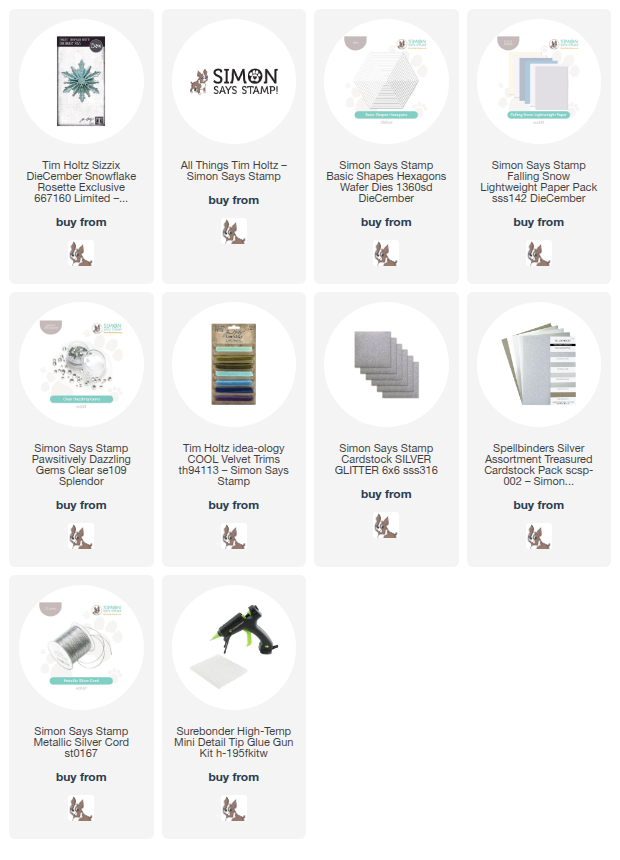
I used the new Snowflake Rosette die freebie to create two different projects: a silvery gift tag/ornament and a gift box! The three dimensional finished product is perfect for non-card projects like these; the gorgeous snowflake makes the gift box and tag extra special and unique, I think! Simply die cut 3-4 of the Snowflake Rosette dies (depending on how tightly you want your snowflake rosette to be put together) and use either strong double sided tape or hot glue, as I did, to assemble them!

I mounted my Snowflake Rosette on a silver pearl Hexagon die cut, adding silver glitter accents and lots of Clear Pawsitively Dazzling Gems for added sparkle! This would be so pretty adorning a package or even on a Christmas tree!

For the gift box, I die cut four of the Snowflake Rosette die cuts from white pearl paper and adhered them together with my glue gun to create the snowflake.

To increase the fancy factor for the box, I used pale blue paint to add color to a small papier mâche box that I found at the dollar store, adding some silvery snowflakes to the bottom portion of the box with a silver paint pen. I also added a velvet ribbon around the edge of the box top and some extra gems on the edges for additional sparkle. Wouldn’t this make such a pretty gift box for some jewelry or a even just a gift card? So fun personalizing gift wrap like this!

You can receive this fabulous Snowflake Rosette die (a $30 value!) for free with any Tim Holtz purchase of $30 or more! You can click HERE to see all of the items included in this gift-with-purchase sale. Some of my favorites: Rock Candy Glitter, Velvet Trims, Multi Medium Matte, and Distress Re-inkers for watercoloring!

Well, that’s all for me today! Be sure to come back tomorrow for Day 1 of the two-day DieCember Blog Hop that is sure to have tons of inspiration, prizes, and possibly a fun freebie! Thanks so much for stopping by today, and Happy DieCember!

Filed Under: simon says stamp Tagged With: alcohol markers, blooming poinsettia, christmas card, christmas tag, diecember, embossing folder, EZ strips, ez strips christmas, gift tag, glitter, holiday card, olo markers, rock candy, snowflake rosette, tim holtz, warm wishes medley script

  • Page 1
  • Page 2
  • Page 3
  • Go to Next Page »

Primary Sidebar

  • Facebook
  • Instagram
  • Pinterest
  • YouTube

Favorite Shops

Secondary Sidebar

Subscribe

Enter your email address to subscribe to this blog and receive notifications of new posts by email.

Instagram
Something is wrong.
Instagram token error.
Follow
Load More

Archives

Tags

3D embossing folder alcohol markers better press birthday birthday card blog hop card kit christmas christmas card christmas tag colored pencil copic copic coloring Daniel Smith die cutting embossing folder embroidery felt giveaway holiday holiday card hot foil ink blending karin brushmarker pro layered stencil masculine my monthly hero new release no line coloring no line watercolor OLO marker olo markers original illustration pawsitively saturated rainbow shaker card slimline stamping stamptember stencil thank you thinking of you valentine's day video watercolor

Popular Posts

Simon Says Stamp Sending Cheer Blog Hop- Day 2 + Freebie + Giveaway!
Altenew October 2026 Release Blog Hop + Giveaway!
Rustic Monochromatic Stars for Christmas with Rainbow Splash!
Waffleflower July Release Blog Hop!
Hero Arts Partners Blog Hop: Lawn Fawn!
March 2020 Essentials By Ellen Blog Hop+Giveaway!
December 2018 My Monthly Hero Blog Hop + Giveaway!
The Ton Stamps Summer Release: Day 1
The Ton Anniversary Release: Day 1!
Altenew Paint A Flower: Carnation Blog Hop+Giveaway!

Disclosure

Some affiliate links are used in my posts. This means that, should you click on one of my links and purchase something from that company, I will receive a small portion of the sale at no extra cost to you. I use the money earned from these sales to help maintain my blog. I so appreciate you visiting and, if you do choose to use one of my affiliate links, thank you so much for your support!
Copyright © 2026 ·Brunch Pro Theme · Genesis Framework by StudioPress · WordPress · Log in
Loading Comments...