Hi friends! Simon Says Stamp’s STAMPtember celebration is in full swing, and today we’re spotlighting the ultra-fabulous Concord and 9th! I have loved C9 almost since they arrived on the scene many years ago, and I have been diligently collecting items from their product lineup since that time. I am a lover of all things color-coordinated, and the luscious inks with their matching cardstocks are simply divine. I paired the new STAMPtember Friendly Florals set with some older and some newer products from the C9 product catalogue to create this trio of coordinating cards. Let’s get started with the details!

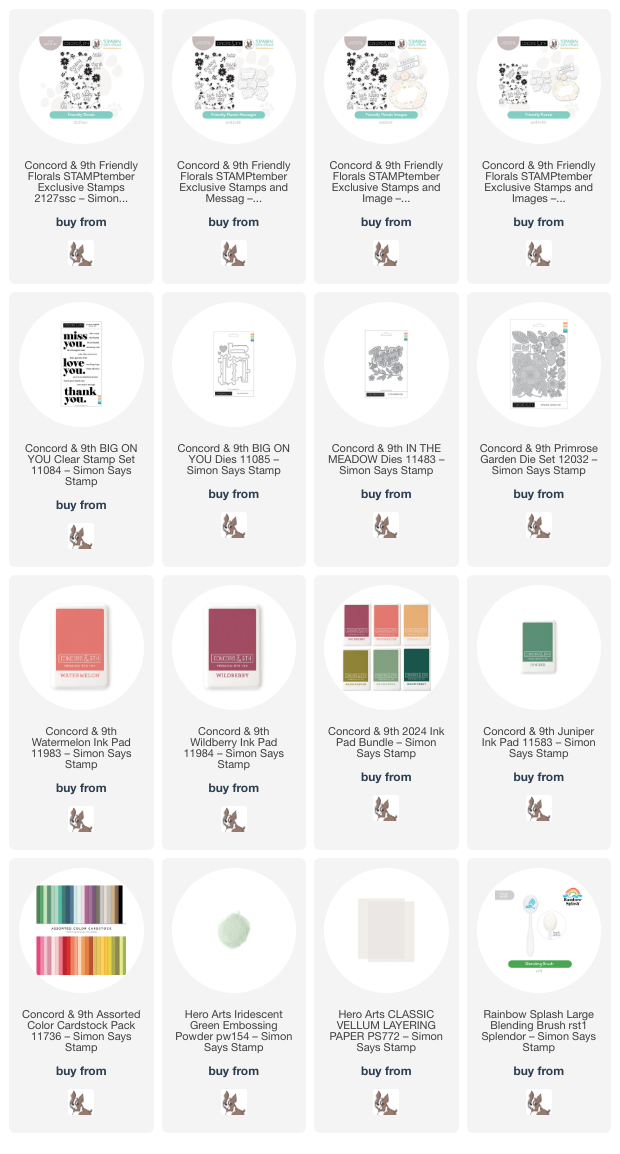
All of my cards today feature the vibrant Watermelon, Wildberry, Eucalyptus, and Juniper inks and cardstock to create a cohesive card set. I love creating sets in this way, each card with its own unique design but still held together by common color palettes or layouts. The stunning new Friendly Florals set features the sophisticated simplicity that we’ve come to expect from Concord and 9th, and so it paired beautifully with many of their older products, as well! I have linked all of the products that I’ve used on today’s projects down at the bottom of my post.

For my first project, I put the beautiful wreath image from the new Friendly Florals set to use with some clear embossing powder to create this colorful background! I stamped the layers of the wreath using Watermelon and Juniper inks, taking advantage of the MISTI by also stamping directly over the top with sticky embossing ink and adding clear embossing powder over the top. Once I had melted the embossing powder with my heat tool, I used a blending brush to lightly blend more Juniper ink over the top, creating a print shop effect with the super smooth and vibrant stamping on the colorful background! This is such a fun technique to apply with solid stamps.

For the greeting, I kept things very simple, die cutting the “thinking of you” sentiment from the In the Meadow die set, cutting the detail layer from Juniper cardstock and the shadow from vellum, adhering the two together with liquid adhesive and adding tiny bits of clear dimensional adhesive behind the solid die cuts and placing it in the center of my stamped and blended card front. Finally, I added a bit of sparkle with some coordinating gems in the center of the flowers!

For my second card, I took advantage of the standalone flower stamps included in the Friendly Florals set to create a custom patterned background. I used the “stamping off” technique to create a subtler color palette, still using the Watermelon and Juniper color scheme from the first card, this time adding a punch of pink with Wildberry ink. I stamped each image individually, starting with the largest flower and working my way down to the smaller images, each time stamping the full-strength inked image on a piece of scrap paper and then on my card front in order to create a softer background. After I had finished stamping the background, I blended a bit of Watermelon ink in the center to highlight my large sentiment from the Big On You stamps + die set. I had embossed the greeting onto vellum using Hero Arts’s Iridescent Green embossing powder, then die cut the sentiment with the coordinating dies. To accent the sentiment, I stamped several individual flowers and leaves from Friendly Florals with full-strength ink and fussy cut them (though you can do this much more quickly with the coordinating dies!) and tucked them around the sentiment with foam adhesive!

For my final project, I used the same color palette, this time creating a lush garden background using the coordinating colored cardstocks and the spectacular Primrose Garden dies. I die cut the images and layers from the Primrose Garden set using Juniper, Wildberry, Sage, Watermelon, Nectar, and Dragonfruit cardstocks, accenting the center of the flowers with some Flaming Orange glitter cardstock. I created a guide for my florals by die cutting only the stitched background die into an A2 Juniper cardstock panel, then began adhering the different die cuts with liquid and foam adhesive in different heights to create an insane amount of dimension. For the greeting, I heat embossed a sentiment from Friendly Florals onto some Watermelon cardstock using white embossing powder, then used my sharp scissors to fussy cut it (again, the dies would be so much quicker!) and tucked it amongst the vibrant florals, finally accenting the greeting with a bit of texture from a twine bow!
Well, that’s all for my projects today! Don’t wait too long on this one…. The limited edition STAMPtember collaboration sets go super fast, and I’m sure Friendly Florals will be no different! And for your convenience, there are several different combinations with the stamps and dies to purchase the set that makes the most sense for you… you can purchase with all of the dies, just the sentiments, just the florals, or even no dies at all if you like to fussy cut! So simple!
And, to sweeten the deal, follow the instructions below to get FREE SHIPPING!

Thanks so much for stopping by today, and happy STAMPtember!