This post was sponsored by Simon Says Stamp. Thanks, Simon!
Hi friends! I am back today with another set of tags, this time with a few more intricate details to help dress up your holiday gifts and make them extra special! Architecture is having a moment in the design world, with doors, windows, houses, and city streets all the rage, and even better if they’re all dressed up for the holidays! The gorgeous new Wrapped with Love stamp and die suite features a large, gorgeous door image with a variety of ways to dress it up for the holidays. The die suite gives you multiple options for customization, allowing you to die cut the solid door image or use the interior die images to allow the doors to actually swing open! I created two different versions of a decorated holiday door for today’s projects, one super involved and detailed and one a little less intricate, but no less lovely. Let’s get started with the details!
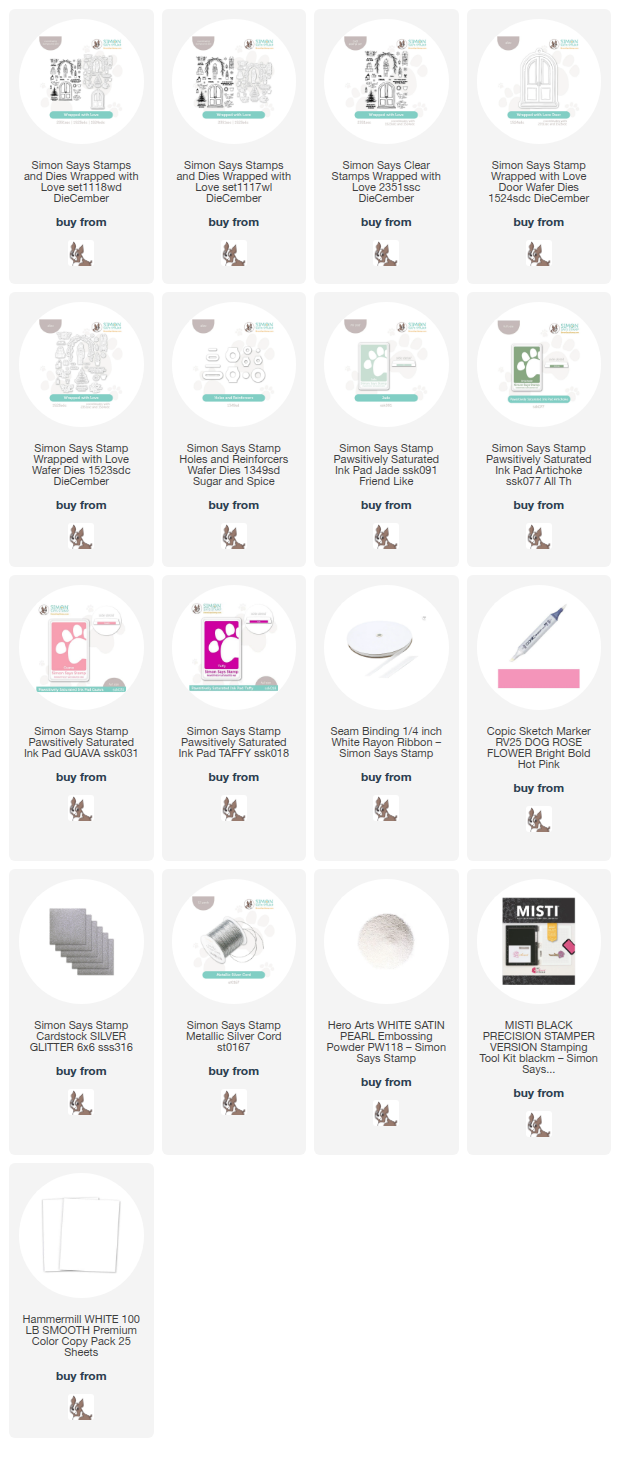
*I have gathered links to all of the products used at the bottom of the post for your convenience, using affiliate links at no extra cost to you. Thank you for shopping with my links! I truly appreciate your support for my work!*

Both of my tags features the door from Wrapped with Love stamped in Pawsitively Saturated Ink in Guava, which is a lovely, vibrant pink. I die cut each of these doors with the solid die so that I could use these images as the base for my tags. You could die cut one solid image and one with the swinging doors to create an interactive tag, but I was going for semi-simplicity!

For this first tag, I went all out, stamping the pine boughs, bow-bedecked wreaths, and gifts using Pawsitively Saturated Inks in shades of Jade, Artichoke, Guava, Taffy. I used a vibrant pink alcohol marker to color in the bows on the gift tower and wreath, then used the same alcohol marker to add color to some plain white ribbon, customizing it to match my color palette perfectly. I added all of the decor to the door using foam adhesive, then added a sentiment that I stamped in Artichoke ink, then again with embossing ink and melted White Satin Pearl embossing powder over the top to create a pearlescent green sentiment that perfectly matches the color scheme!

For both of my tags, I die cut some silver glitter Holes & Reinforcers that I adhered at the top of the tags. It was through these die cuts that I looped the Simon Says Stamp Silver Cord to make for easy hanging on the gifts!

The second tag was much simpler- just some pale minty green pine boughs, a green poinsettia swag with quick alcohol marker coloring added for color, and a simple stamped greeting. This tag came together super quickly and still looks lovely, but won’t cause any guilt when the recipient tosses it with the rest of the wrappings!
Well, that’s all for my projects today! I hope you’re more ready for the big day than I am… I still have mountains of things left to do on my list! Thanks so much for stopping by today, and happy holidays!