• Skip to main content
  • Skip to primary sidebar
  • Skip to secondary sidebar

Sixth Street Sundries

Emily Midgett

  • Home
  • About Me
  • Contact
  • OLO Marker Color Swatch Chart
  • Shop

handlettered greetings

Double Stenciling with New Scalloped Rectangle Stencils from Simon Says Stamp!

June 27, 2023

This post was sponsored by Simon Says Stamp. Thanks, Simon!

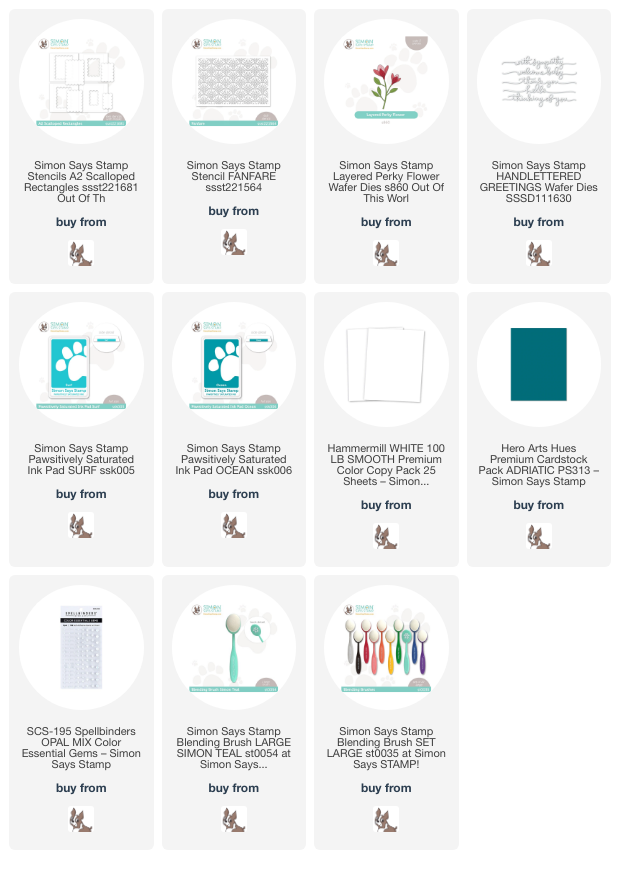
Hi friends! I have some more inspiration to share with you today using the new Scalloped Rectangle Stencils from last week’s Simon Says Stamp’s Out of This World release! These stencils come in a variety of sizes, each with super handy tick marks on the corners so that you can perfectly center your stencil in the center of your A2 card front, as well as a coordinating mask (basically the positive cutout of the stencil itself) so that you can mask the positive or negative space on your card front. So many ways to use these! One of my favorite ways to use large, open stencils like these is to do some “double” stenciling, layering two different stencils together and using the bottom stencil as a mask for the top stencil. Let’s get started with the details on my card!

To start, I laid one of the larger Scalloped Rectangle Stencils over the top of my white A2 card front, centering it using the handy dandy tick marks at the corners! I then lightly blended Pawsitively Saturated Surf ink around the edge of the scalloped frame, concentrating the color toward the edges of the stencil and tapering off towards the center. With the scalloped stencil still in place over my card front, I then placed the Fanfare stencil from Simon Says Stamp directly over the top of the blended area and blended the pattern using Pawsitively Saturated Ocean ink. Layering the two stencils creates a unique and colorful pattern, leaving a crisp white scalloped frame around the edge. Such a fun technique!

To accent my tone-on-tone background, I used the new Layered Perky Flower die from the Out of This World release. I wanted to keep the color scheme relatively simple, so I die cut all of the pieces from the Layered Perky Flower die from white Hammermill cardstock, then used my OLO Markers to add deep teal leaves and some pale gray-purple shadows to the white flowers (I think they look like crocuses!), fading the edges with the Zero marker. I love customizing white standalone die cuts with my favorite coloring mediums; it gives me the ability to perfectly match the images to my color scheme!

To ground my florals, I trimmed a piece of coordinating dark teal cardstock down, then added a die cut sentiment from the Simon Says Stamp Handlettered Greetings die set cut from white cardstock. I popped this sentiment strip up on the card front using foam adhesive, then arranged my floral die cuts behind it to have them “growing” from my sentiment strip. I did trim one of the floral die cuts into a few pieces to create a fuller arrangement, which is another way that I love to customize standalone die cuts. Finally, I added a few Opal gems for some very subtle sparkle. I think that the somber colors on this card make it perfect for a sympathy card.

Well, that’s all for my project today. You can check out more inspiration using the Out of This World release HERE, HERE, and HERE. Thanks so much for stopping by today, and have a marvelous day!
Filed Under: simon says stamp Tagged With: double stenciling, fanfare stencil, handlettered greetings, ink blending, layered perky flower, out of this world, pawsitively saturated ink, scalloped rectangle stencil, sympathy card

Simon Says Stamp Just For You Release+New Illustration!

March 16, 2023

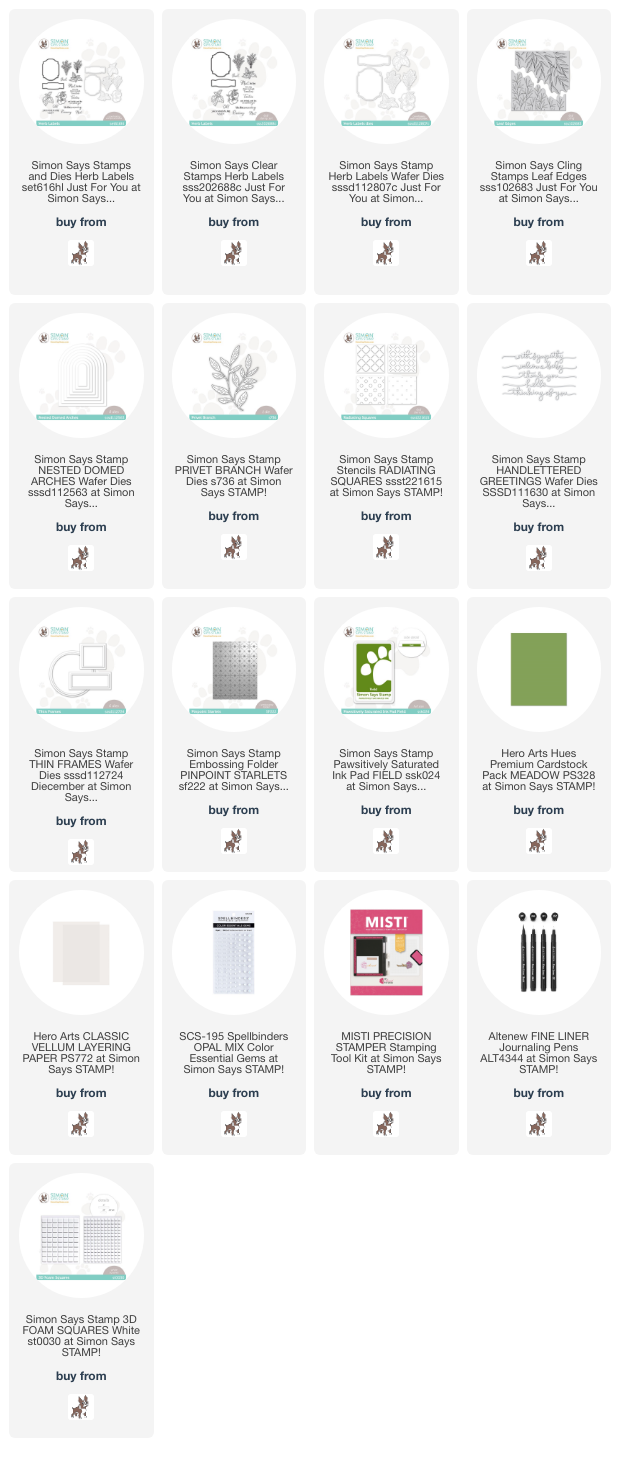
Hi there! I am really excited for this month’s Simon Says Stamp Just For You release, not just because it’s full of fun springy products, but also because I have a new illustration included in the release: Herb Labels! I designed this set to create super cute labels for your herb garden, including Mint, Basil, Rosemary, Dill, and Tomatoes (which aren’t technically an herb, I know). Because I’m a cardmaker and have a black thumb, I also included several super cute, punny sentiments to give you multiple uses for this set! I have a couple of cards using some new and old goodies from Simon Says Stamp, so let’s get started with the details!

The world outside is slowly turning green, the light lasting longer, birds are singing… spring is definitely on the way. My cards today channel that crisp brightness with pops of verdant green. I used Field Paws-itively Saturated Ink as the primary color for both of my cards. This bright green embodies the brightness of the greens in springtime, and it was a perfect fit for both of my cards!

My first card starts by stamping the new Leaf Edges stamp with Field ink onto a panel of white cardstock, then cutting it out with one of the Nested Domed Arches. I blended some more Field ink along the bottom left edge, as well, which covered up a spot that I didn’t get stamped perfectly. (wink wink) As I was looking through my bin of dies from Simon Says Stamp, I discovered that the Privet Branch die was a very close match to the leaves on one side of the the new Leaf Edges stamp. I cut the foliage die from some Meadow cardstock from Hero Arts. You could also use the Field ink to blend your own custom cardstock to make sure it was a perfect match!

To create a background for my leaves, I used Field ink to blend all of the layers of the Radiating Squares layered stencil set. I thought this geometric pattern looked lovely juxtaposed with the graceful movement of the Leaf Edges and Privet Branch images. To prevent my leaf images from being overpowered by the busy background pattern, I trimmed down a panel of vellum slightly smaller than A2 size and layered it directly over the top of the stenciled panel. This helped to soften the pattern without completely covering it. I adhered the stamped, blended arch die cut with some liquid adhesive, then added the branch die cut with some foam tape. I flipped it over and hid my liquid adhesive on the vellum behind the solid die cuts.

I die cut a Handlettered Greetings “with sympathy” die cut from some more Meadow cardstock, snipping the individual words apart with my sharp scissors. I die cut the rectangular Thin Frames die, once for the larger rectangle, and twice for the thin frame and interior rectangle portion, which I adhered together to add a bit of height. I adhered the sentiment word die cuts on the rectangle using liquid adhesive, then popped it up with some foam tape. The final touch was to add a few Opal gems for some subtle sparkle and added texture.

My second card uses the same fresh, crisp green-and-white color scheme, this time with my new Herb Labels. I began by die cutting the large frame from Herb Labels from the center of an A2 panel of white cardstock. I layered a solid A2 piece of white cardstock behind the negative of the frame, then placed them both in my MISTI and used the opening as my guide to place the large label stamp in the center of my full piece of cardstock. I stamped it with the Field ink to create a vibrant, crisp frame behind my die cut frame.

I also stamped the dill bunch from the Herb Labels set, again using Field ink to coordinate with my frame. I used a very fine tipped black pen to outline the string wrapped around the base of my dill bunch. I also used the Field ink to stamp the smaller label, adding one of the punny greetings from the Herb Labels set and die cutting both the dill bunch and the frame using the coordinating dies.

To add a little extra texture to the large frame die cut, I ran the entire panel through my die cut machine using the Pinpoint Starlets embossing folder. I love the sweet texture this provides to this crisp white cardstock! I popped up the embossed panel on the stamped background using some foam squares, then added a double layer of foam squares to the back of the dill bunch. I also popped up the sentiment label using foam squares. The extra height and texture would help to add some interest to the simplistic color scheme of the card!

Well, that’s all for my project today! I have some more goodies to share with you using the Just For You release, as well as some more cards using my new Herb Labels set. Be sure to check back tomorrow! Thanks so much for stopping by today, and have a marvelous day!

Filed Under: simon says stamp Tagged With: die cutting, handlettered greetings, herb labels, ink blending, layered stencils, leaf edges, nested domed arches, original illustration, pinpoint starlets, privet branch, radiating squares, sympathy card, thin frames, with sympathy

Primary Sidebar

  • Facebook
  • Instagram
  • Pinterest
  • YouTube

Favorite Shops

Secondary Sidebar

Subscribe

Enter your email address to subscribe to this blog and receive notifications of new posts by email.

Instagram
Something is wrong.
Instagram token error.
Follow
Load More

Archives

Tags

3D embossing folder alcohol markers better press birthday birthday card blog hop card kit christmas christmas card christmas tag colored pencil copic copic coloring Daniel Smith die cutting embossing folder embroidery felt giveaway holiday holiday card hot foil ink blending karin brushmarker pro layered stencil masculine my monthly hero new release no line coloring no line watercolor OLO marker olo markers original illustration pawsitively saturated rainbow shaker card slimline stamping stamptember stencil thank you thinking of you valentine's day video watercolor

Popular Posts

Simon Says Stamp Sending Cheer Blog Hop- Day 2 + Freebie + Giveaway!
Altenew October 2026 Release Blog Hop + Giveaway!
Rustic Monochromatic Stars for Christmas with Rainbow Splash!
December 2018 My Monthly Hero Blog Hop + Giveaway!
March 2020 Essentials By Ellen Blog Hop+Giveaway!
The Ton Stamps Summer Release: Day 1
Hero Arts Partners Blog Hop: Lawn Fawn!
Waffleflower July Release Blog Hop!
Simon Says Stamp STAMPtember Tim Holtz Collaboration: Festive Holidays!
The Ton Anniversary Release: Day 1!

Disclosure

Some affiliate links are used in my posts. This means that, should you click on one of my links and purchase something from that company, I will receive a small portion of the sale at no extra cost to you. I use the money earned from these sales to help maintain my blog. I so appreciate you visiting and, if you do choose to use one of my affiliate links, thank you so much for your support!
Copyright © 2026 ·Brunch Pro Theme · Genesis Framework by StudioPress · WordPress · Log in
Loading Comments...