• Skip to main content
  • Skip to primary sidebar
  • Skip to secondary sidebar

Sixth Street Sundries

Emily Midgett

  • Home
  • About Me
  • Contact
  • OLO Marker Color Swatch Chart
  • Shop

holiday card kit

More Inspiration using the Simon Says Stamp Warmth and Wonder Limited Edition Holiday Kit!

October 1, 2025

This post was sponsored by Simon Says Stamp. Thanks, Simon!

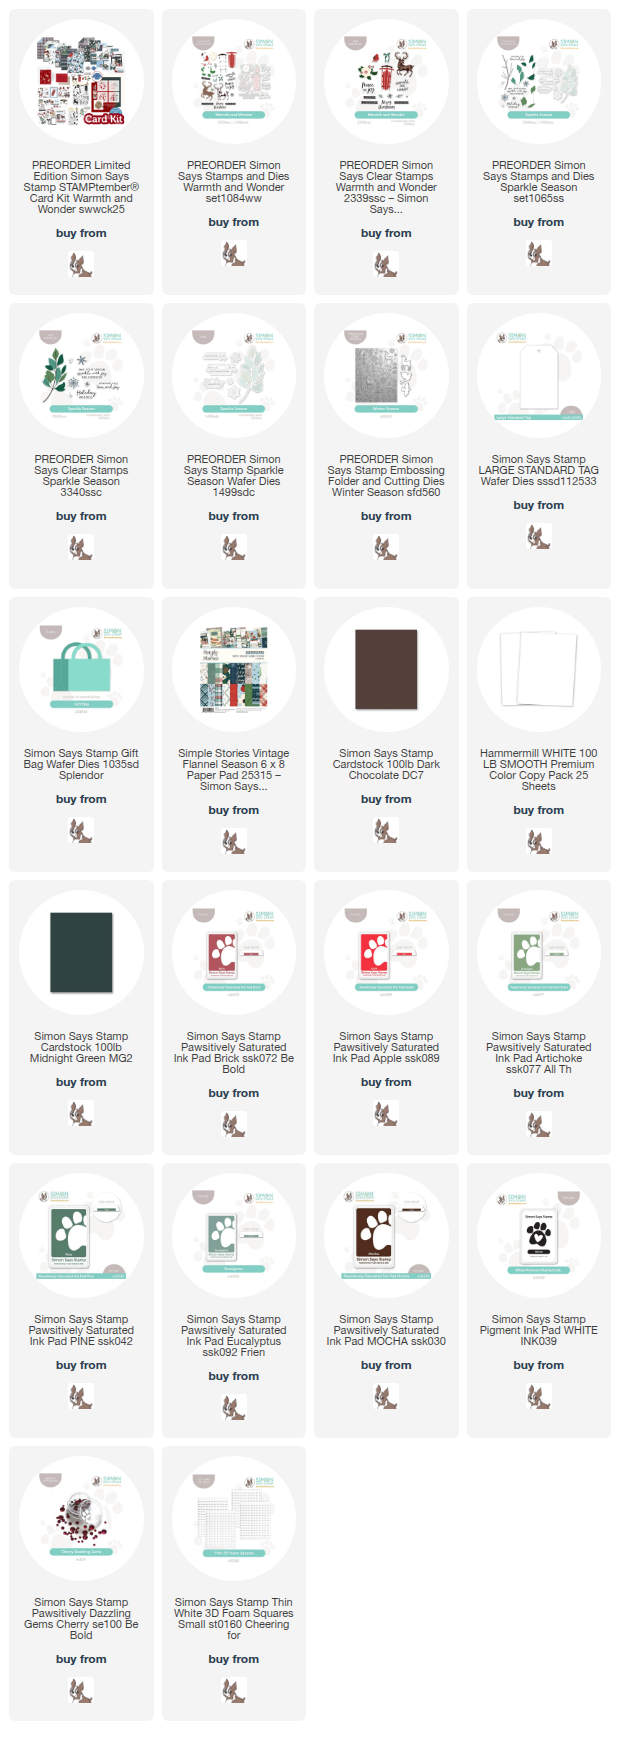
Hi friends! I am back today with some more inspiration using the new, limited edition Simon Says Stamp Warmth and Wonder Holiday Card Kit! (Click HERE to see the whole kit!) This limited edition kit was one of the last fun surprises for the month-long STAMPtember celebration, and it is available for preorder right now with the intent to ship later in October. The kit comes absolutely jam-packed full of goodies to make your holiday cardmaking a breeze: two stamp sets, a fancy standalone die, embossing folder + die set, stencil set, ink cubes, patterned papers and coordinating ephemera, cardstock, envelopes… everything you need to create tons of marvelous coordinating-but-not-matching holiday cards! Some people love to mass produce, but some others, like myself, get a bit bored with creating the same card over and over again. To keep things simple but still creatively interesting, each of the elements of this card kit work beautifully in concert or individually, making your creative process a breeze! I created no less than six different projects using this card kit and barely made a dent in the goodies; when you add in dies, inks, and cardstock from your own stash, it stretches even further! For yesterday’s projects, I focused mainly on the marvelous patterned papers included in the kit. (Click HERE to see that post.) Let’s get started on the details for my projects today, which focus on the amazing stamps and other non-consumable items in the kit.

*I have gathered links to all of the products used at the bottom of the post for your convenience, using affiliate links. Thank you for shopping with my links! I truly appreciate your support for my work!*

Using the colors of some of the patterned paper as my inspiration point, I selected Pawsitively Saturated Inks in shades of Brick, Apple, Artichoke, Pine, Eucalyptus, and Mocha, which create a rich, vibrant holiday color palette!

I used some plaid patterned paper and ephemera bits to create this fun little gift bag, die cutting the Gift Bag die from Midnight Green cardstock and adding the ephemera bits with foam adhesive.

I also created this coordinating festive, detailed card using both of the stamp sets included in the Warmth and Wonder kit, using the coordinating dies to cut out the stamped images. I love how the simplicity of the solid stamped images from the Warmth and Wonder stamp set work so beautifully with the layered foliage branch from the Sparkle Season stamp set!

I ran a panel of Dark Chocolate cardstock through my die cutting machine with the new Winter Season embossing folder, then swiped the Simon Says Stamp White Pigment Ink Pad directly over the raised areas to enhance the imagery quickly and simply. I then trimmed a strip of red foil cardstock to be 4.75″ long, notching the ends with my sharp scissors to create a flag, and arranged the stamped die cuts around the red foil flag strip, popping everything up with lots of foam adhesive. The final touch was to add a few sparkling Cherry Pawsitively Dazzling Gems for some holiday shine!

Finally, I created this simple and elegant tag using the layered sleigh image from the Warmth and Wonder stamp set along with some foliage and that gorgeous stamped bow. I stamped the sleigh using Apple and Mocha ink, the foliage using Pine ink, and the bow using Apple and Brick inks. I die cut two Large Standard Tags from Chocolate cardstock, adhering the scratched sides together so that the outward sides were both clean, then adhered the sleigh and foliage die cuts to the front. I added a red seam binding loop to the tag for a simple and elegant gift adornment!

Well, that’s all for my projects today! You can’t go wrong with this kit; the value is over $100, but Simon Says Stamp has priced these fabulous kits at only $69.99. As always with Simon Says Stamp kits: you can purchase individual items outside of the kits when it sells out or if you would like duplicates (like that fabulous ephemera and patterned paper!). Don’t wait to purchase this kit at an incredible value! Thanks so much for stopping by today, and have a marvelous day!
Filed Under: simon says stamp Tagged With: card kit, christmas, christmas card kit, christmas tag, embossing folder, gift bag, holiday, holiday card kit, holiday tag, limited edition, patterned paper, sparkle season, warmth and wonder, winter season

More Inspiration Using the Warm Hearts Christmas Card Kit for Simon Says Stamp!

September 26, 2024

This post was sponsored by Simon Says Stamp. Thanks, Simon!

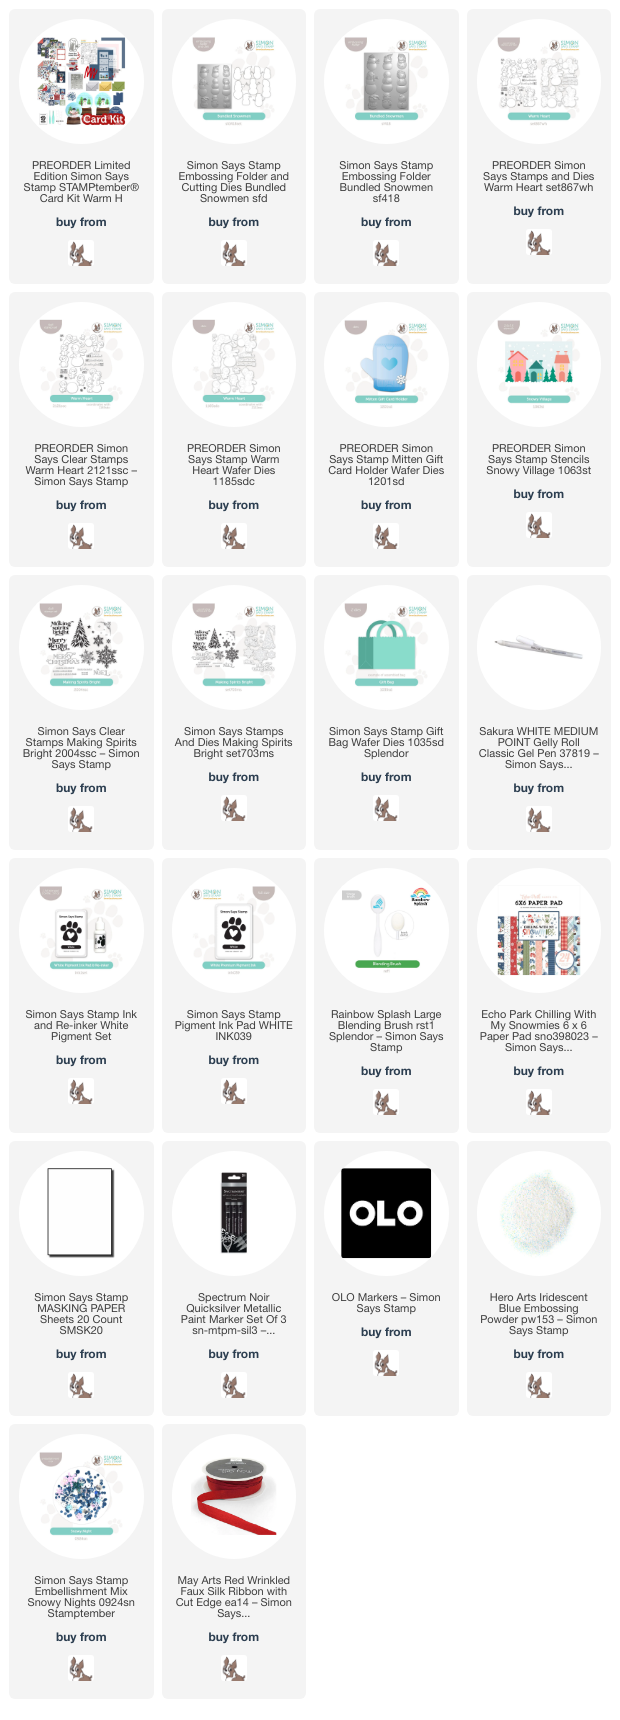
Hi friends! I am back today with some more inspiration using the new Warm Hearts Holiday Card Kit that was released for preorder yesterday! These kits, available for preorder now, are absolutely chock full of incredible products that you can use alone, together, or combined with other items in your stash! Here’s a peek at the kit, which is an incredible bargain for only $69.99:

If you purchased all of the individual items in the kit, the cost would be well over $100, but Simon has bundled all of these items to give you an awesome price. However, if you are not interested in all of the items or only see yourself using some of them, you can purchase almost all of the items individually to suit your own preferences. I will have the kit and the individual items used on my projects today linked at the bottom of the post!

I created a pair of pretty projects that I shared HERE, but I wanted to share another pair of projects that I created based on the patterned paper in the kit. Having patterned paper gives me a jumpstart on my projects, because it answers the color palette question for me. I loved the shades of blue, red, and pink in the beautiful paper pad included in the kit, so I used that along with the sweet snowmen and some additional goodies in my stash to create this pair of coordinating projects for today’s cards. Let’s get started with the details!

*I have linked all of the products used at the bottom of the post for your convenience using affiliate links. Thank you for shopping with my links! I truly appreciate your support for my work!*

The kit also contains several individual 8.5 x 11″ sheets of solid cardstock, including the lovely deep navy, petal pink, and shimmering matte silver foil. I kept the color palette to these colors, adding in some pops of shining silver and rich red!

For my first card, I used the sweet snowman images from the Bundled Snowman Embossing Folder, first die cutting three of them from white cardstock using the Bundled Snowman dies (not included with the kit, but available as an add-on individually!), then embossing them using the embossing folder. I always die cut first, then emboss in order to make the embossed texture as crisp as possible. Next, I used OLO markers to add color to the accessories on each snowman, keeping the color palette to that pretty pink and blue. I also used a silver acrylic paint marker to add some shimmering details to each snowman. I love adding these little details; I think they really make such a difference on the finished product!

After I had finished the main snowman images, I used some masking paper to mask off a horizon line on a panel of the deep navy cardstock included in the kit. I used a blending brush to blend some of the white pigment ink included in the kit, creating a snowy halo behind my trio of snowmen. After I had finished blending the background, I trimmed the blended panel down 1/4″ on each side and mounted it in the center of a silver foil card front, which is included in the kit. I removed the masking paper and arranged the snowmen die cuts on the card front, adhering them with a single and double layer of foam adhesive for varied heights. I added some snowflakes on the background using a white gel pen as well as the same silver acrylic paint marker used to accent the snowmen. For the greeting, I stamped a sentiment from the Warm Heart stamp set included in the kit using white pigment ink on the navy blue cardstock, then added some Iridescent Blue embossing powder and heated it, creating a unique shimmery sentiment! I die cut and popped up the sentiment using foam adhesive, then added two clear gems on either side to add a tiny bit of interest.

For my second project, I paired the papers included in the kit with the previously-released Gift Bag Die. I die cut the bag itself from the pale pink cardstock included with the kit, then accented it with some of the pretty patterned snowflake paper, the edges of which I blended some pinky red ink with a blending brush. I added some strips of navy and silver cardstock, as well as handles cut from the silver foil cardstock included in the kit. To create a “tag,” I stamped one of the beautifully intricate snowflakes from the older Making Spirits Bright stamp set onto some of the navy cardstock using white pigment ink and added more Iridescent Blue embossing powder, then die cut the snowflake with the coordinating die and added a silver twine loop. After adding my tag to the gift bag, I added a fluffy red bow created using the length of May Arts Red Silk Ribbon included in the kit and stuffed it with some navy blue tissue paper!

Well, that’s all for my projects today. If you are looking for a kit to help inspire your holiday cardmaking and don’t love mass production, this kit definitely will do the job… it has so many elements that all work beautifully both together and individually that I could have made tons more projects and not gotten bored. You can preorder your entire discounted kit today, or if you don’t want to wait, you can purchase some of the individual items in the kit! How fun is that? BUT! Supplies are limited, and once the kit is sold out, it’s gone forever, so don’t wait if you love it!

Thanks so much for stopping by today, and have a marvelous day!

Filed Under: simon says stamp Tagged With: bundled snowman, christmas card, embossing folder, gift bag, gift card holder, holiday card, holiday card kit, making spirits bright, patterned paper, snowflake, stamptember, warm hearts

Primary Sidebar

  • Facebook
  • Instagram
  • Pinterest
  • YouTube

Favorite Shops

Secondary Sidebar

Subscribe

Enter your email address to subscribe to this blog and receive notifications of new posts by email.

Instagram
Something is wrong.
Instagram token error.
Follow
Load More

Archives

Tags

3D embossing folder alcohol markers better press birthday birthday card blog hop card kit christmas christmas card christmas tag colored pencil copic copic coloring Daniel Smith die cutting embossing folder embroidery felt giveaway holiday holiday card hot foil ink blending karin brushmarker pro layered stencil masculine my monthly hero new release no line coloring no line watercolor OLO marker olo markers original illustration pawsitively saturated rainbow shaker card slimline stamping stamptember stencil thank you thinking of you valentine's day video watercolor

Popular Posts

Simon Says Stamp October 2026 Card Kit of the Month: Homespun Gratitude!
Honey Bee Stamps Cheerful Love Blog Hop!
Altenew Craft A Flower: Poppy Blog Hop+Giveaway!
Autumn Legs with Colorado Craft Company and Catherine Pooler!
Simon Says Stamp Cozy & Bright Inspiration, Part Two!
February 2018 My Monthly Hero Blog Hop!
The Ton Anniversary Release- Day 2
Sunflower Home Decor with Simon Says Stamp!
Simon Says Stamp STAMPtember Surprise: Boo Bundle Halloween Card Kit!
Hero Arts Spring 2020 Catalog Release Blog Hop+Giveaway!

Disclosure

Some affiliate links are used in my posts. This means that, should you click on one of my links and purchase something from that company, I will receive a small portion of the sale at no extra cost to you. I use the money earned from these sales to help maintain my blog. I so appreciate you visiting and, if you do choose to use one of my affiliate links, thank you so much for your support!
Copyright © 2026 ·Brunch Pro Theme · Genesis Framework by StudioPress · WordPress · Log in
Loading Comments...