• Skip to main content
  • Skip to primary sidebar
  • Skip to secondary sidebar

Sixth Street Sundries

Emily Midgett

  • Home
  • About Me
  • Contact
  • OLO Marker Color Swatch Chart
  • Shop

holiday

Poshta Designs Release Day!

July 5, 2025

Well, friends, Poshta Release Day is finally here! All of these new Christmas In July products are NOW AVAILABLE! Click HERE to check them all out! If you’re treating yourself for Christmas in July, here’s a direct link to the July 2025 All-In-One Bundle. Below, I will include links to all of the products that I used on each project for easy shopping!

Products to the Baker’s Dozen Sugar Cookie Banner:
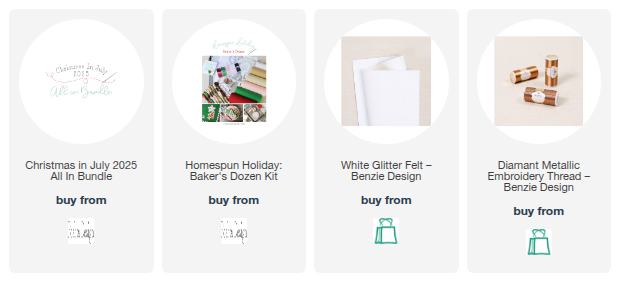
View the coordinating blog post HERE.

Products for the Kringle Krew decorative banner:
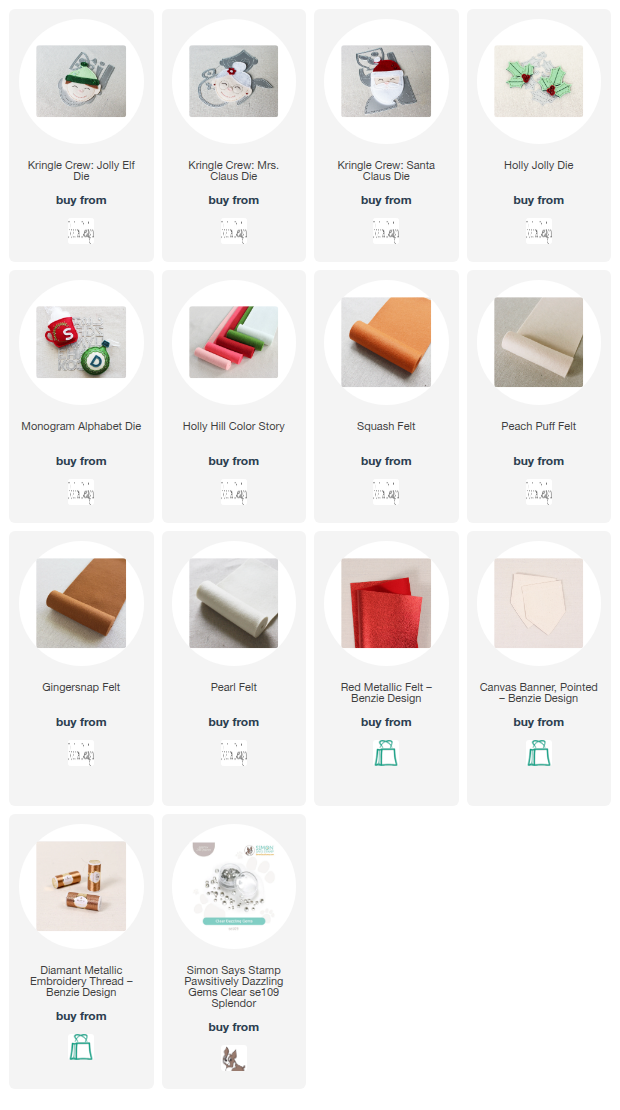
View the coordinating blog post with all of the details HERE.

Products for the Sassy Sleigh Hoop:
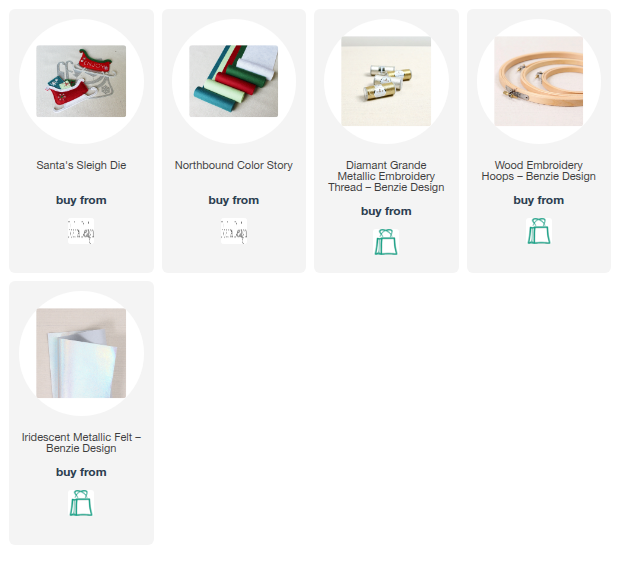
View the coordinating blog post HERE.

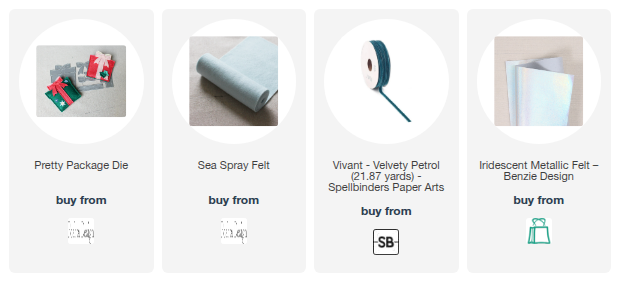
Products for the Gift Box Ornament:
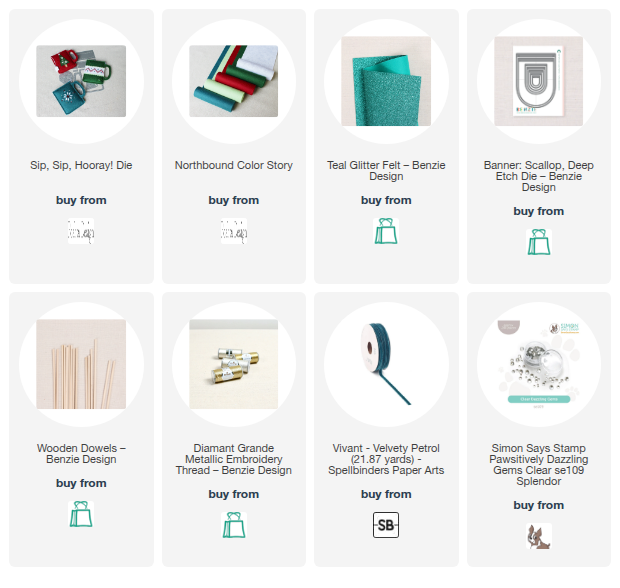
And I have one bonus project using the new Sip, Sip, Hooray die: a mini banner perfect for hanging in a kitchen! I embellished the mug and banner with some fun snowflake embroidery. I used the gorgeous Northbound Color Story for the majority of the pieces, adding in some glittering teal felt from my stash for the top layer of the mug.

Sead beeds, a few sparkling gems, and some velvet ribbon finished this project off!

Here are the products used for my mug mini banner:
Well, that’s all for me today! This entire new release is fabulous; I can’t decided which of my projects is my favorite. Just a reminder: the Baker’s Dozen Homespun Holiday Kit is limited edition, so if you’re loving it as much as I do, you won’t want to wait to purchase!

Be sure to check out the Poshta Blog for all of the details on these new products, as well as more inspiration from Lizzie and the other, super talented guest creators! (Psst-there’s a gift card giveaway up for grabs, as well!) Thanks so much for stopping by today, and have a marvelous day!

Filed Under: Poshta Design Tagged With: baker's dozen homespun holiday, banner, decor, embroidery, holiday, holly hill, holly jolly, kringle krew, monogram alphabet, northbound color story, pretty package, santa's sleigh, sip sip hooray, stitching

Poshta Designs Sneak Peeks-Day 2!

July 3, 2025

Hi friends! I am back with another project from the new Poshta Designs Christmas In July release. Today, we are introducing the Kringle Krew: a sweet grouping of your favorite holiday characters!! Meet Santa, Mrs. Claus, one of the elves, and a reindeer, easily customized to work with your favorite color palette. Lizzie herself inspired me so much with THIS sweet birthday banner that I decided to create my own and super size it to fit the Kringle Krew. Let’s get started with the details on my project!


*I have gathered links to all of the products used at the bottom of the post for your convenience, using affiliate links. Thank you for shopping with my links! I truly appreciate your support for my work!*

Reminder: All of the links for the products will be available after the official Christmas in July release on Saturday, July 5th, 2025 at noon Eastern time.

To start, I die cut all of the faces from Peach Puff felt from Poshta, then used Pearl felt for Santa’s beard and the greens and red from the Holly Hill Color Story for the hats.

I stitched everything together using the coordinating DMC floss, adding some coppery metallic thread from my stash for Mrs. Claus’s glasses!

To make Mrs. Claus a little festive and fancy, I cut the Holly Jolly die from the two different shades of green felt and two shades of pinky red included with the Holly Hill Color Story and tucked them on her bun. I also gave her some twinkling earrings using some gems from my stash!

I stitched all of my holiday characters onto a black canvas banner, placing them neatly in a row with Santa in the middle, of course!

I couldn’t help but add Santa’s jolly “ho ho ho” to the banner, so I die cut the letters from the Monogram Alphabet die set using metallic red foil felt. I stitched them to the banner with coordinating red thread, adding a period after each word with another sparkling gem.

I also added a pretty sprig of holly at the center of the point of the canvas banner, helping to fill in some of the empty space beneath my letters!

Finally, taking my inspiration from Lizzie’s banner that I linked above, I added some coordinating red pom pom trim around the edges of the banner, adhering the trim with Fabri-Tac glue. To make the back as neat as the front, I also adhered some holiday fabric that I have in my stash to cover up the stitches and the messy back of the trim. I added a black and white gingham ribbon with a bow to hold my banner on the wall, as well. I think this turned out just darling. I can’t wait to hang it up this Christmas!

Well, that’s all for my project today! Be sure to check out the Poshta Blog for all of the details on these new products, as well as more inspiration from Lizzie and the other, super talented guest creators! (Psst-there’s a gift card giveaway up for grabs, as well!) Thanks so much for stopping by today, and have a marvelous day!

PS: These new products will be available for purchase on Saturday, 7/5/25 at noon Eastern time!

Filed Under: Poshta Design Tagged With: banner, christmas, decor, embroidery, holiday, kringle krew, stitching

Poshta Designs Christmas In July Sneak Peeks- Day !

July 2, 2025

Hi friends! My sweet friend Lizzie Jones from Poshta Designs asked me to be a guest creator for her Christmas In July release, and I was so over the moon to help her introduce these Christmas products! I have such a soft spot (obsession?) with holiday crafting, and with my newfound love (more obsession?) with felt and all things stitching, I was totally thrilled and honored to be a part of the release. For Day 1 of the sneak peeks, we are showcasing the new Santa’s Sleigh, Pretty Packages, and some new festive felt colors to adorn your holiday projects. I have two different projects to share with you today, so let’s get started on the details!

Reminder: All of the links for the products will be available after the official Christmas in July release on Saturday, July 5th, 2025 at noon Eastern time.

I paired the gorgeous new Northbound Color Story to bring this beautiful sleigh to life. I am a huge fan of non-traditional color palettes at Christmas, and the cool teal, minty green, and icy blue in this color story won my heart over immediately. I paired it with some beautiful iridescent silver felt that I already had in my stash for the runners and accents, because who doesn’t love all things shiny and metallic at Christmas?? After die cutting, I stitched all of the components onto some printed snowflake cloth that I’d mounted in an embroidery hoop, using the coordinating floss colors for the Northbound Color Story. Now, if you’re new to stitching like I am (well, relatively new!) you will be so pleased to know that Lizzie includes the most helpful and detailed stitching guides with each die purchase so that you can easily assemble the pieces in the correct order. She also has tons of marvelous videos available to show you how to create your own felt masterpieces!

Once I had stitched my sleigh filled with gifts to my embroidery hoop, I used my iPad to create a beautiful calligraphic “sleigh” sentiment, a play on the current slang “slay” that my 11 1/2 year old daughter says constantly with an adorable giggle! I simply typed “sleigh” out on my iPad using Procreate in my chosen font, then placed my fabric directly on top of the screen and traced the outline of the letters. My daughter gave me the idea; she likes to trace pictures on her school laptop to use as coloring pages! I used a satin stitch with the coordinating deep teal embroidery floss to stitch the sentiment, and I am so pleased with how smoothly the embroidery came out and how vivid the contrast is between the deep teal lettering and the delicate snowflake fabric background.

Once I had finished embroidering the cheeky word, I added lots of sparkling and metallic details with the coordinating embellishments that are included with each Color Story collection. While the Santa’s Sleigh die set comes with a beautiful snowflake embellishment for the sleigh itself, I chose to create my own decoration for the sleigh with some sparkling holographic thread, seed beads, and sequins to embroider this elegant sleigh just waiting for Santa!

My second project is in the same color family, this time pairing the beautiful icy blue felt included with the Northbound Color Story with the new Pretty Packages die! This project was a fairly quick one once I had decided on the color palette. I kept the cool blues from the previous project, adding some more of that iridescent silver foil felt for the bow and ribbon. If you can’t be extra sparkly and shiny at Christmas, then when can you?

After I had stitched all of the layers together following Lizzie’s fabulous guide, I decided to add a loop of deep teal velvet ribbon to the top to create a pretty ornament! Wouldn’t this be perfect to add to the packaging on a special Christmas gift, so that the recipient could also add it to their Christmas tree later?

Well, that’s all for my projects today! You can see more inspiration over on the Poshta Designs Blog, and don’t forget to come back tomorrow for more sneak peeks and inspiration! Thanks so much for stopping by today, and have a marvelous day!

Filed Under: Poshta Design Tagged With: christmas in july, embroidery, felt, holiday, poshta designs, pretty packages, santa's sleigh, stitching

Fun With Felt: Baking Spirits Bright with Honey Bee Stamps + SALE!

December 30, 2024

Hi friends! I am back with another couple of felt projects today created using some absolutely darling products from the  Cozy Christmas release. I will admit that I have a felt and embroidery obsession right now; after my mom’s accident in November, I found it a very therapeutic way to channel my anxiety into something a bit more tangible than my normal projects. (Also, the shopping was a great distraction, lol) I also love giving Christmas gifts, and handmade Christmas gifts are the best ones to give, don’t you think?

*I have gathered links to all of the products used at the bottom of the post for your convenience, using affiliate links. Thank you for shopping with my links! I truly appreciate your support for my work!*

I don’t normally do “cute” very well, but I made an exception to create this adorable banner for my mom to give as a gift to her boss! I knew that I wanted to create some holiday kitchen decor using the adorable Lovely Layers: Christmas Cookies images, but needed to create a larger scale sentiment to fit the blank canvas banner that I had purchased. I decided to create a custom message by pairing some alphabet dies with the “bright” portion of the Merry & Bright die, die cutting the individual letters for the first two words using an older alphabet die set and some metallic bronze felt, then die cut the “bright” from some more bronze felt and using my sharp scissors to snip the extra letters off, creating a completely custom die cut word. I love it when a little extra creativity stretches your supplies even further! It doesn’t hurt that the font for “bright” is totally stunning.

After adhering the sentiment in the center of my black canvas pennant banner using felt glue, I began die cutting and assembling the sweet little cookies from the Lovely Layers: Christmas Cookies, keeping my color palette bright and very traditional. I made gingerbread men and ladies as well as some shaped sugar cookies, all in a vivid red, green, and white color palette! I adhered all of the components together with more felt glue, then used needle and thread to add some seed bead accents to each cookie

I adhered the finished cookies in a whimsical arrangement around the felt die cut sentiment, then used needle and metallic thread to create seed beads, sequins, and bugle bead “snowflakes” (or are they stars? I can’t decide.). These additional bits of sparkle help to add extra texture and fill in some of the larger gaps left between the cookies. Finally, I sewed on a little coordinating metallic thread bow for one last bit of shimmer and texture! So cute, right? I hope that my mom’s boss loved it as much as I do!

With my newfound felt obsession, I am now on the lookout for any dies that might be useful with felt, even if they are maybe not used for what I see in my head! Hey, that’s called “thinking outside the box,” right? I used the Christmas tree from the Lovely Layers: Window Holiday Add-On die set to create a sweet embroidery hoop ornament, as well as some ornaments and pine boughs from the Postcard: Holiday Add-On. Pairing these images with some simple stitching and beading allowed simple shapes to become super special and elegant!

I die cut a couple of pine boughs from the Postcard: Holiday Add-On using kelly green felt and adhered them to my neutral linen embroidery hoop, then used some lovely shades of red, magenta, lilac, and royal purple felt to add ornaments and bows to my Christmas tree branch. To embellish my plain felt shapes, I used needle and thread with seed beads to make the ornaments more ornate and add some fabulous sparkle! Finally, I added a pretty pink bow and loop, as well as some sparkling Prism gems from Simon Says Stamp.

For my last, miniature ornament, I used the plain Christmas tree from Lovely Layers: Window Holiday Add-On, cutting the tree from some beautiful muted teal felt and embellishing it with iridescent seed beads and sequins. I used the same simple stitches to add some silver stars and a few more floating seed beads (snowflakes?) around the tree, finally finishing it off with some sparkling silver ribbon!

Well, that’s all for my felt projects for this holiday season. I am contemplating continuing to make them throughout the year, just because I enjoyed it so very much, and I have so many fun dies with which I could put to work with the felt!

Now, for something even more amazing, my friends at Honey Bee Stamps have their entire store on sale for a whopping 30% off in honor of Melissa’s birthday! You don’t have to even enter a coupon code; the discount is automatically applied at checkout! Click HERE to start shopping! But don’t wait, because the sale ends on 12/31/24 at midnight PST.

Thanks so much for stopping by, and happy shopping!

Filed Under: Honey Bee Stamps Tagged With: christmas, christmas card, embroidery, embroidery hoop, felt, holiday, holiday card, home decor, lovely layers christmas cookies, lovely layers window holiday, ornament, postcard holiday, stitching

Fun With Felt: Feliz Navidad with Honey Bee Stamps!

December 25, 2024

Hi friends! Merry Christmas! I have a few more holiday felt projects to share with you using beautiful new dies from the Honey Bee Stamps Cozy Christmas release. I made so many felt gifts this year and enjoyed myself so much; I am contemplating giving myself some time to just sit and sew each week. It’s good to try new things, isn’t it? Especially when they’re so therapeutic and relaxing! While many companies make dies specifically for stitching with handy dandy little holes to make the stitching as foolproof as possible, I wanted to create these special gifts with some non-stitching dies. Let’s get started on the details for my projects!

*I have gathered links to all of the products used at the bottom of the post for your convenience, using affiliate links. Thank you for shopping with my links! I truly appreciate your support for my work!*

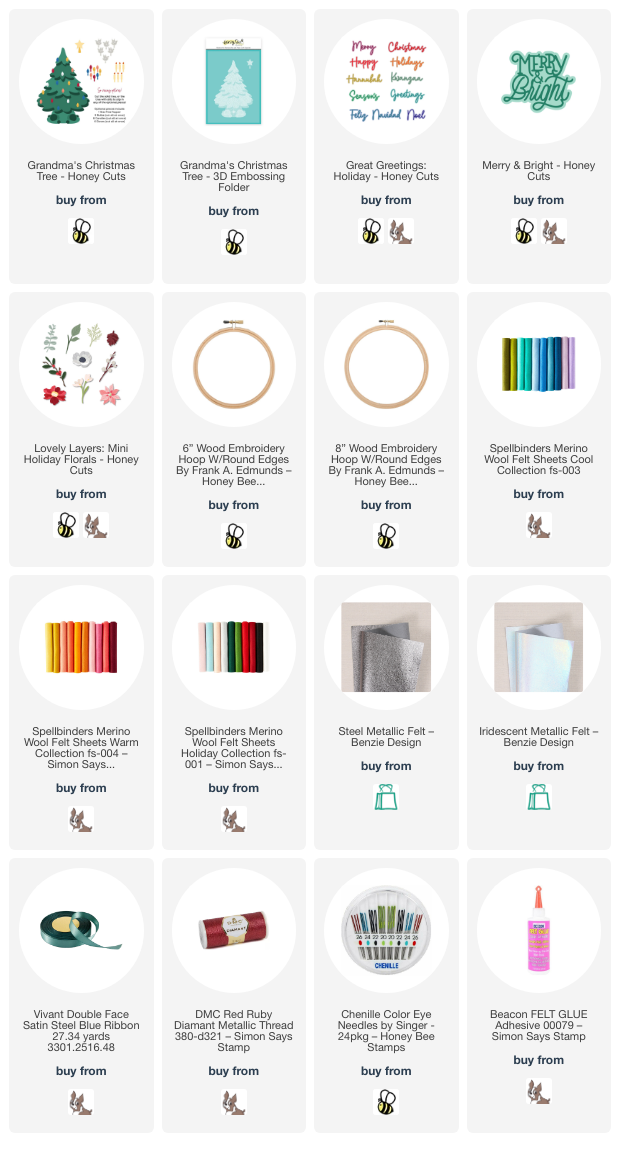
For my first project, I thought that I would combine two of my favorite nostalgic memories from my childhood: my Grammy’s ceramic Christmas tree and my mom’s love of the song “Feliz Navidad.” I feel like every 70’s, 80’s, and 90’s kid had one of these ceramic trees in their family heirlooms, and my Grammy’s, while not pink like this felt tree, was absolutely iconic. The Grandma’s Christmas Tree die set from Honey Bee Stamps is an older set, but no less fabulous for it’s age. The details, the generous size, the coordinating embossing folders and stencils…. perfection! I used some pale pink felt to die cut the tree, then used the coordinating Grandma’s Christmas Tree embossing folder to run the image through my die cutting machine. Even though the embossed details didn’t stay on the springy felt, they were impressed deeply enough that I was able to use some coordinating pink embroidery floss to stitch some larger seed beads onto the edges of the different layers of the tree.

After I had added the beads, I adhered the colorful die cut felt lights with some felt glue, then used the same pale pink embroidery floss to add some stitched details in approximately the same spots as the embossed details. I adhered the tree to an 8″ embroidery hoop to which I had added some neutral linen material using more felt glue. For a greeting, I used the Great Greetings: Holiday dies, cutting the shadow layer from the “Feliz Navidad” sentiment from some hot pink felt, then cut the detail layer from some metallic iridescent silver felt. The metallic coating on the iridescent felt cuts these super detailed letters beautifully. I adhered the greeting beneath the tree with felt glue, then added some embroidered metallic red snowflakes and seed beads for some additional texture and shine!

For my second project, I used the absolutely spectacular Lovely Layers: Mini Holiday Florals to create a felted holiday wreath. I die cut the poinsettias, anemones, and foliage from a variety of red, peach, and teal felt, adhering the different layers of the flowers together using felt glue. Because there are so many layers on the anemone blooms, I did end up trimming some of the center out of the last couple of layers to keep the felt layers from becoming super thick. I think that’s one of my favorite things about felt: you can manipulate the felt a little to get the angles and images just perfect!

Once I had finished adhering the different layers together on the flowers, I decided to embellish the flower centers with some sparkling seed beads. I mixed two different shades of yellow on the center of the anemones, creating lots of interest and texture. Once I had finished embellishing my flowers, I die cut the beautifully intricate Merry & Bright die from some metallic charcoal felt. I adhered the sentiment in the center of a 6″ embroidery hoop, which I had filled with some glittering aqua fabric. To ensure that the glue spread evenly and cleanly, I flipped the embroidery hoop over and placed a glass weight in the center of the hoop, similar to how I weight paper adhered with liquid glue to ensure smooth drying.

After allowing a bit of dry time for the sentiment die cut, I flipped the hoop back over and began arranging my floral die cuts and foliage. I first placed the flowers and adhered them with the felt glue, then began arranging the foliage, tucking some beneath the flowers and arching others around the perimeter of the circular embroidery hoop. Finally, I added a few seed beads and sequins as well as a coordinating satin bow to the top of my hoop. The colors are a bit non-traditional, but I absolutely love how modern and fresh the coral, red, and aqua looks with the traditional floral Christmas imagery!

Well, that’s all for my projects today. These felt gifts have been such a joy to create, and I am looking forward to playing with textiles and embroidery even more after things calm down from the holidays! I hope that you and your loved ones had a restful, yummy holiday filled with lots of love and a few treats, including crafty ones! Thanks so much for stopping by today, and Merry Christmas!

Filed Under: Honey Bee Stamps Tagged With: christmas card, crafting, die cutting, embroidery, grandma's christmas tree, great greetings: holiday, holiday, holiday card, lovely layers: mini holiday florals, merry & bright, sewing

  • « Go to Previous Page
  • Page 1
  • Page 2
  • Page 3
  • Page 4
  • Page 5
  • Interim pages omitted …
  • Page 16
  • Go to Next Page »

Primary Sidebar

  • Facebook
  • Instagram
  • Pinterest
  • YouTube

Favorite Shops

Secondary Sidebar

Subscribe

Enter your email address to subscribe to this blog and receive notifications of new posts by email.

Instagram
Something is wrong.
Instagram token error.
Follow
Load More

Archives

Tags

3D embossing folder alcohol markers better press birthday birthday card blog hop card kit christmas christmas card christmas tag colored pencil copic copic coloring Daniel Smith die cutting embossing folder embroidery felt giveaway holiday holiday card hot foil ink blending karin brushmarker pro layered stencil masculine my monthly hero new release no line coloring no line watercolor OLO marker olo markers original illustration pawsitively saturated rainbow shaker card slimline stamping stamptember stencil thank you thinking of you valentine's day video watercolor

Popular Posts

Simon Says Stamp Joy For You Blog Hop- Day 1!
Watercolor Poinsettia Card and Tag with Tim Holtz and Simon Says Stamp!
Cottagecore Christmas Framed Artwork with New Simon Says Stamp!
Fluted Frames and Tags with New Simon Says Stamp!
Simon Says Stamp Glory to the Newborn King Holiday Kit-Part II!
Warmth and Love at Christmastime with New Simon Says Stamp!
Honey Bee Stamps 4th Anniversary Celebration!
Cottagecore Canvas with New Simon Says Stamp Shine On Release!
Shaped Holiday Shaker Card with New Simon Says Stamp Jolly Season Card Kit of the Month!
Simon Says Stamp Card Kit November 2026: Jolly Season!

Disclosure

Some affiliate links are used in my posts. This means that, should you click on one of my links and purchase something from that company, I will receive a small portion of the sale at no extra cost to you. I use the money earned from these sales to help maintain my blog. I so appreciate you visiting and, if you do choose to use one of my affiliate links, thank you so much for your support!
Copyright © 2026 ·Brunch Pro Theme · Genesis Framework by StudioPress · WordPress · Log in
Loading Comments...