This post was sponsored by Simon Says Stamp. Thanks, Simon!
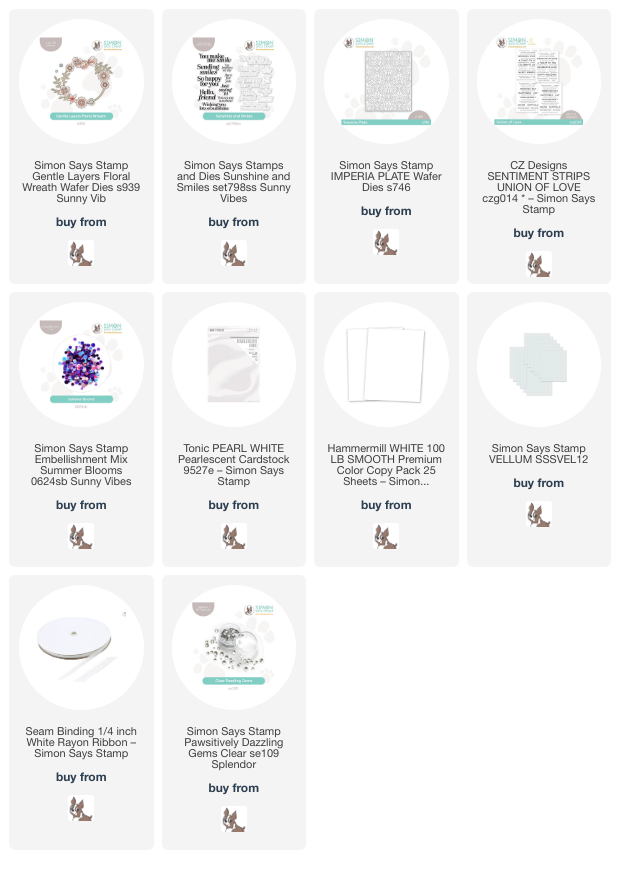
Hi friends! I have a pair of crisp projects to share with you today using the same die in two different ways! When working with monochromatic or tone-on-tone color palettes, I like to use lots of different textures of cardstock in the same color palette to keep the contrast and visual interest high. For today’s projects, I die cut the newer Gentle Layers Floral Wreath dies from both plain Hammermill white cardstock as well as pearlescent white cardstock, then added some coloring and textural details with other die cuts to create these crisp and clean cards. Let’s get started with the details!

For both of my projects, I used the delicate blooms from the Gentle Layers Floral Wreath dies to create some decorative floral focal points, using my alcohol markers to add vibrant pinks to one set of the floral die cuts and keeping the others plain. Using alcohol markers to add vibrant color to specialty cardstocks is a fun way to get extra uses out of your fun coated cardstock!

For my first project, I created a fun shaker card, taking advantage of the open window behind the Gentle Layers Floral Wreath die set for my shaker background. I die cut the floral wreath and coordinating flower dies from both plain white cardstock and white pearl cardstock, then used alcohol markers to add vibrant pinks to only the flower die cuts, layering the finished flowers on their correct spot on the Gentle Layers Floral Wreath die cut. I didn’t go too crazy with the shading on the flowers, simply using one color per flower, then using the different layers to add interest and contrast to the images.

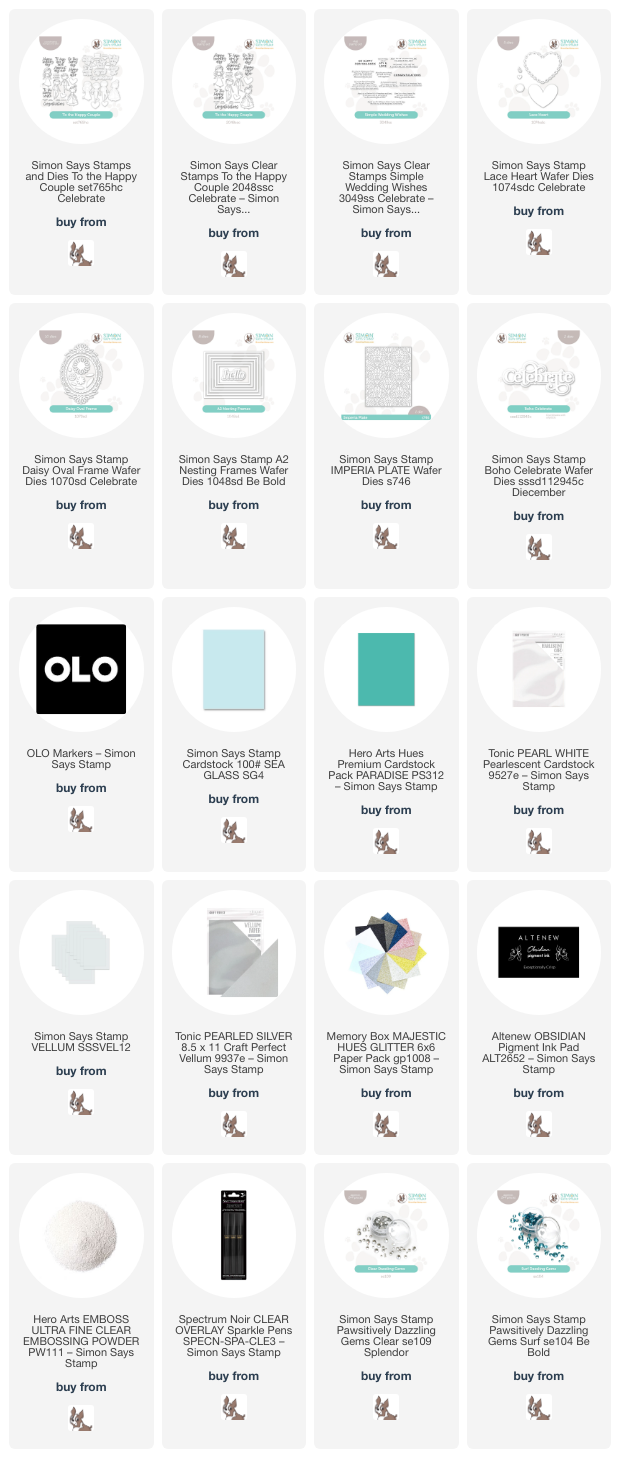
To create my shaker window, I used a circle die that was slightly smaller than the opening for my circular wreath die cut, cut on the bottom right of my A2 card front and backed with some clear acetate. I filled my shaker with some Summer Blooms embellishment mix, then adhered the finished wreath around the circular window using liquid adhesive. I trimmed down a wedding sentiment strip (which I think is from a discontinued set, but THIS set is similar!) and added a delicate bow, dyed a coordinating shade of pink using one of the same alcohol markers and some white ribbon. Finally, I added a few Clear Pawsitively Dazzling Gems for added sparkle!

For my second project, I wanted to take advantage of the leftovers from my first card. Because I had die cut the wreath components from both Hammermill white cardstock and pearlescent white cardstock and used only the pearlescent flowers for the wreath arrangement, I had a pearlescent wreath base and plain white flowers leftover. I changed up the layout a bit, preferring instead to arrange parts of the wreath and flowers around the edge of a vellum die cut circle.

For the background, I die cut a panel of white cardstock using the Imperia cover plate die, which adds beautiful pierced texture to your panel of cardstock without actually cutting any shapes from it. I added the embellished vellum circle die cut to the textured card front, hiding the foam adhesive behind the solid die cuts. I embossed a sentiment from Sunshine and Smiles stamps and dies using silver embossing powder and added it to the center of the vellum circle. Finally, I added a few sparkling Clear Pawsitively Dazzling Gems to fill the arrangement out a bit more and cover more of the card front.
Well, that’s all for my projects today! I cannot believe that we are already approaching back to school time… the summer has flown by so quickly! I can’t wait to get my fill of holiday cardmaking very soon. Thanks so much for stopping by today, and have a marvelous day!